| Ligne 1 : | Ligne 1 : | ||
{{Tuto Details | {{Tuto Details | ||
| − | |Main_Picture= | + | |Main_Picture=Robot_Tondeuse_guid__par_GPS_RTK_IMG_20230922_153448.jpg |
|Description=<translate>Robot Tondeuse guidé par GPS RTK, à base d'Arduino Mega, PX1122R,</translate> | |Description=<translate>Robot Tondeuse guidé par GPS RTK, à base d'Arduino Mega, PX1122R,</translate> | ||
|Area=Electronics, Robotics | |Area=Electronics, Robotics | ||
| Ligne 78 : | Ligne 78 : | ||
<br /></translate> | <br /></translate> | ||
|Step_Picture_00=Robot_Tondeuse_guid__par_GPS_RTK_2023-05-02_12_17_08-Window.png | |Step_Picture_00=Robot_Tondeuse_guid__par_GPS_RTK_2023-05-02_12_17_08-Window.png | ||
| − | |Step_Picture_01= | + | |Step_Picture_01=Robot_Tondeuse_guid__par_GPS_RTK_IMG_20230922_161134.jpg |
| − | |Step_Picture_02= | + | |Step_Picture_02=Robot_Tondeuse_guid__par_GPS_RTK_IMG_20230922_161142.jpg |
| − | |Step_Picture_03= | + | |Step_Picture_03=Robot_Tondeuse_guid__par_GPS_RTK_IMG_20230922_161156.jpg |
| − | |Step_Picture_04= | + | |Step_Picture_04=Robot_Tondeuse_guid__par_GPS_RTK_IMG_20230922_161209.jpg |
}} | }} | ||
{{Tuto Step | {{Tuto Step | ||
| Ligne 103 : | Ligne 103 : | ||
|Step_Picture_01=Robot_Tondeuse_guid__par_GPS_RTK_Tondeuse_2.jpg | |Step_Picture_01=Robot_Tondeuse_guid__par_GPS_RTK_Tondeuse_2.jpg | ||
|Step_Picture_02=Robot_Tondeuse_guid__par_GPS_RTK_Moteur_Tonte.jpg | |Step_Picture_02=Robot_Tondeuse_guid__par_GPS_RTK_Moteur_Tonte.jpg | ||
| + | |Step_Picture_03=Robot_Tondeuse_guid_par_GPS_RTK_IMG_20230917_154909.jpg | ||
| + | |Step_Picture_04=Robot_Tondeuse_guid_par_GPS_RTK_IMG_20230923_162658.jpg | ||
| + | |Step_Picture_05=Robot_Tondeuse_guid_par_GPS_RTK_IMG_20230923_161525.jpg | ||
}} | }} | ||
{{Tuto Step | {{Tuto Step | ||
Version du 25 septembre 2023 à 12:35
Introduction
Construisez-vous même votre robot tondeuse avec un coût maitrisé !
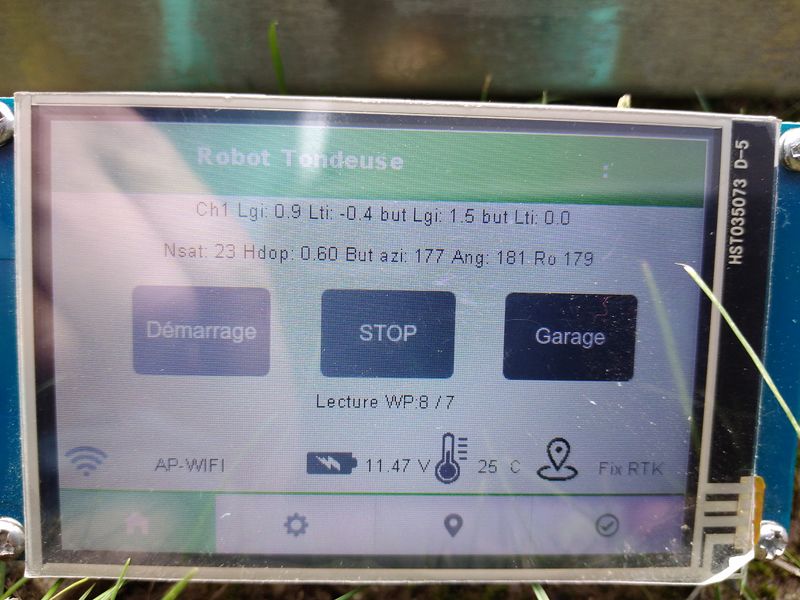
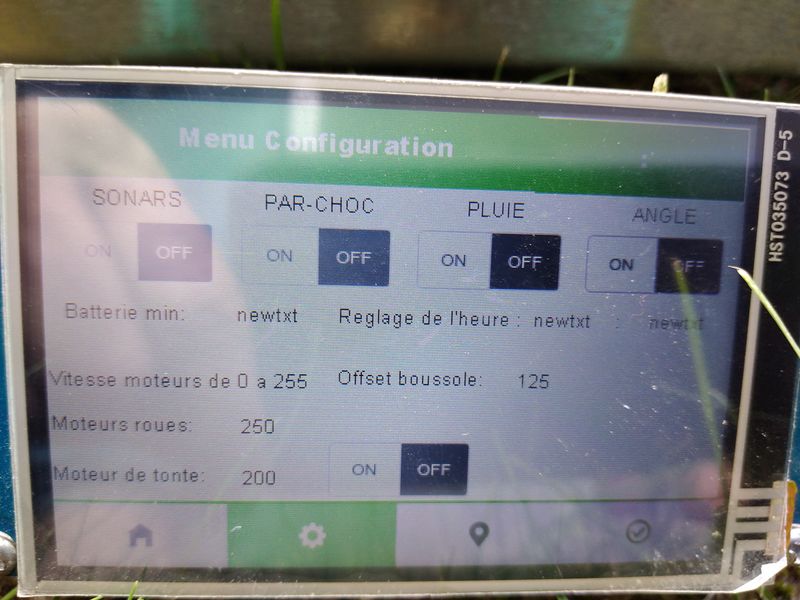
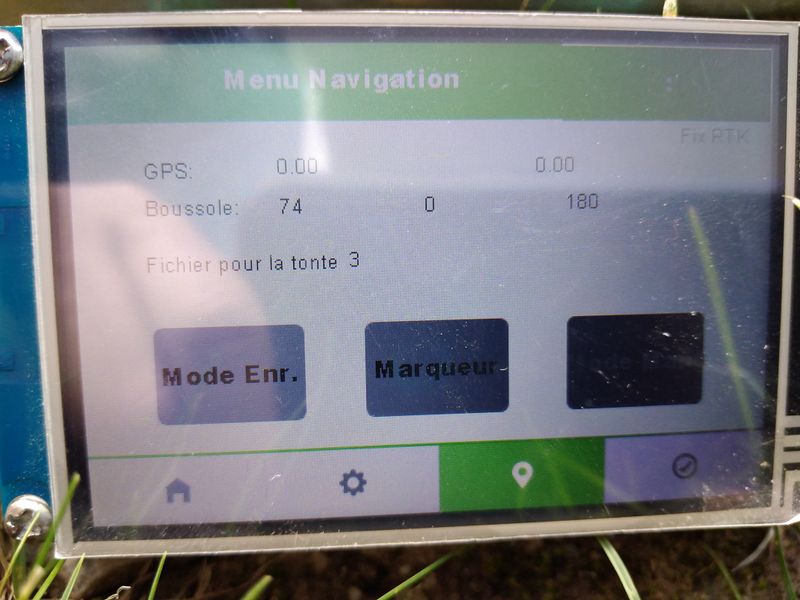
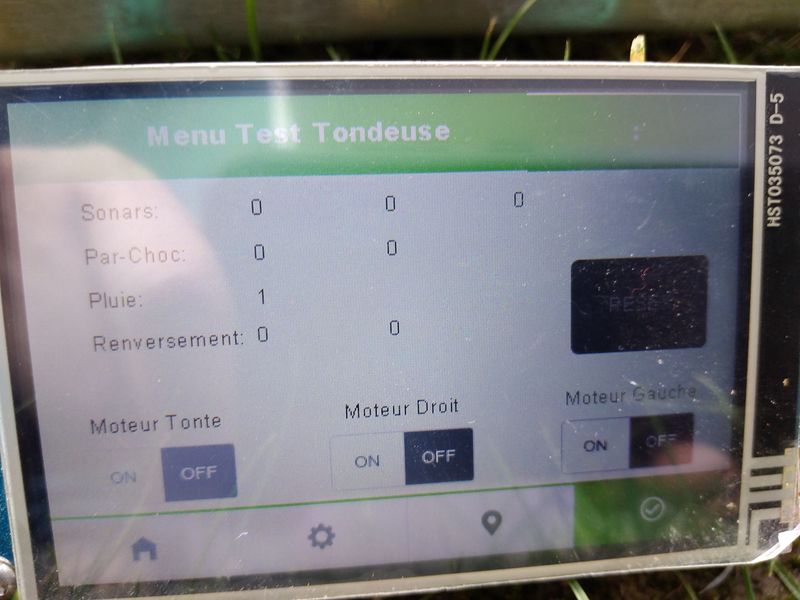
Ce robot sera guidé par GPS rtk avec un parcours programmé/enregistré sur une carte SD, le tout piloté par un écran tactile + Bluetooth (smartphone).
Youtube
Étape 1 - Fabriquer la base et le rover GPS RTK
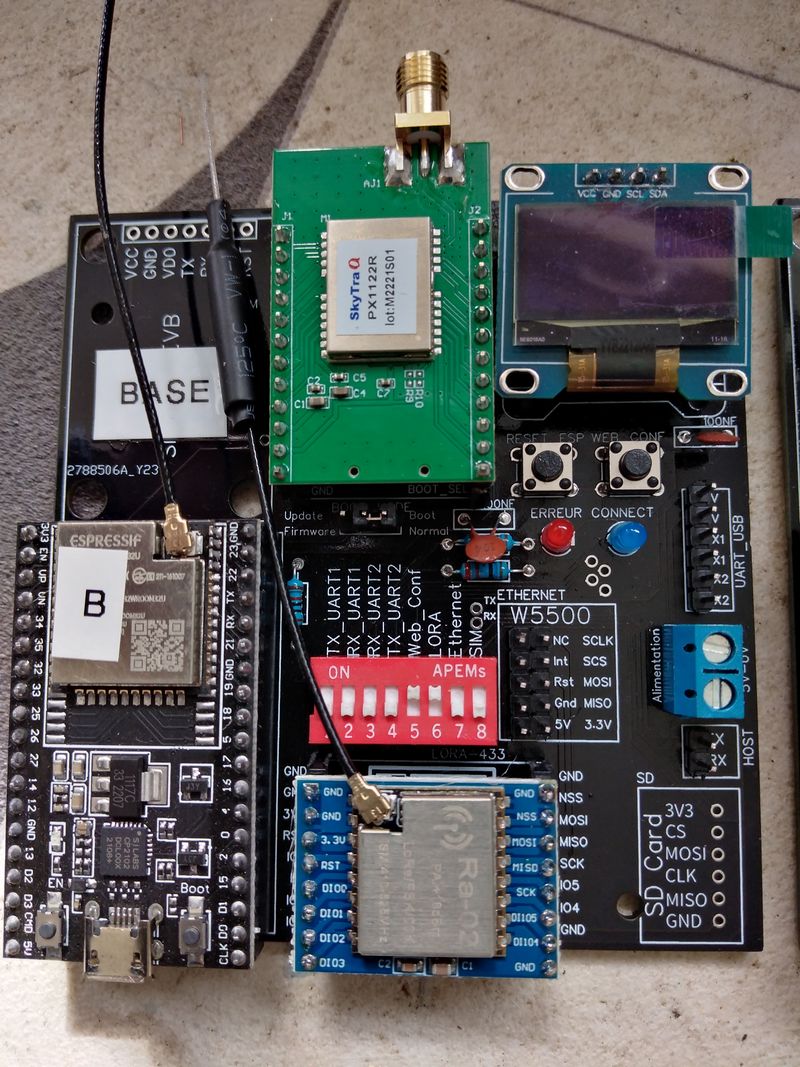
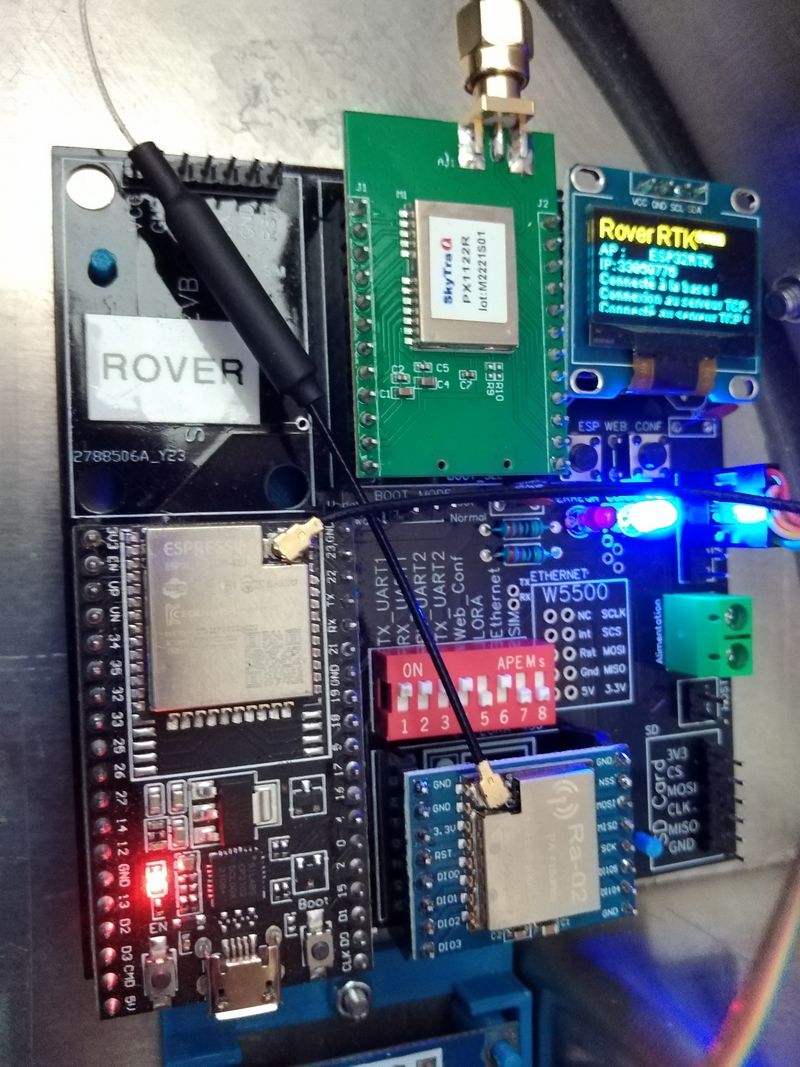
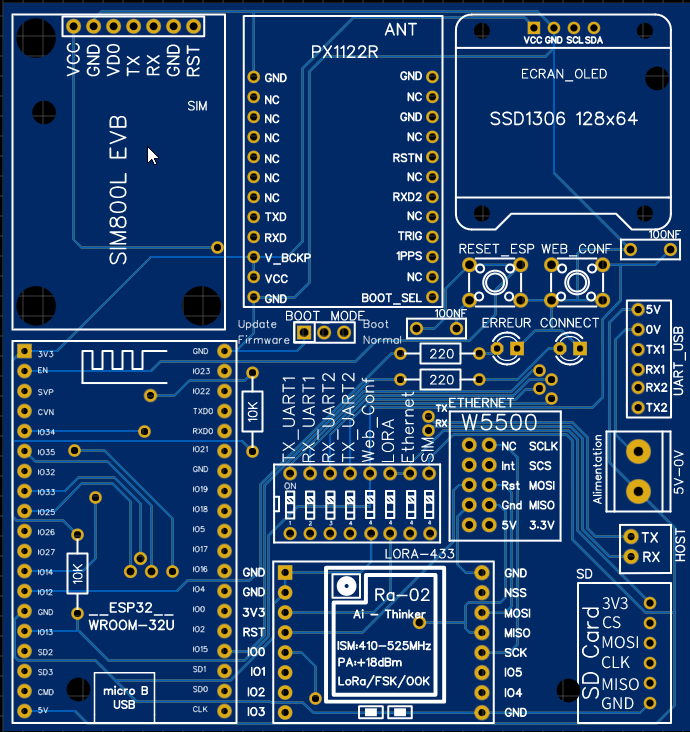
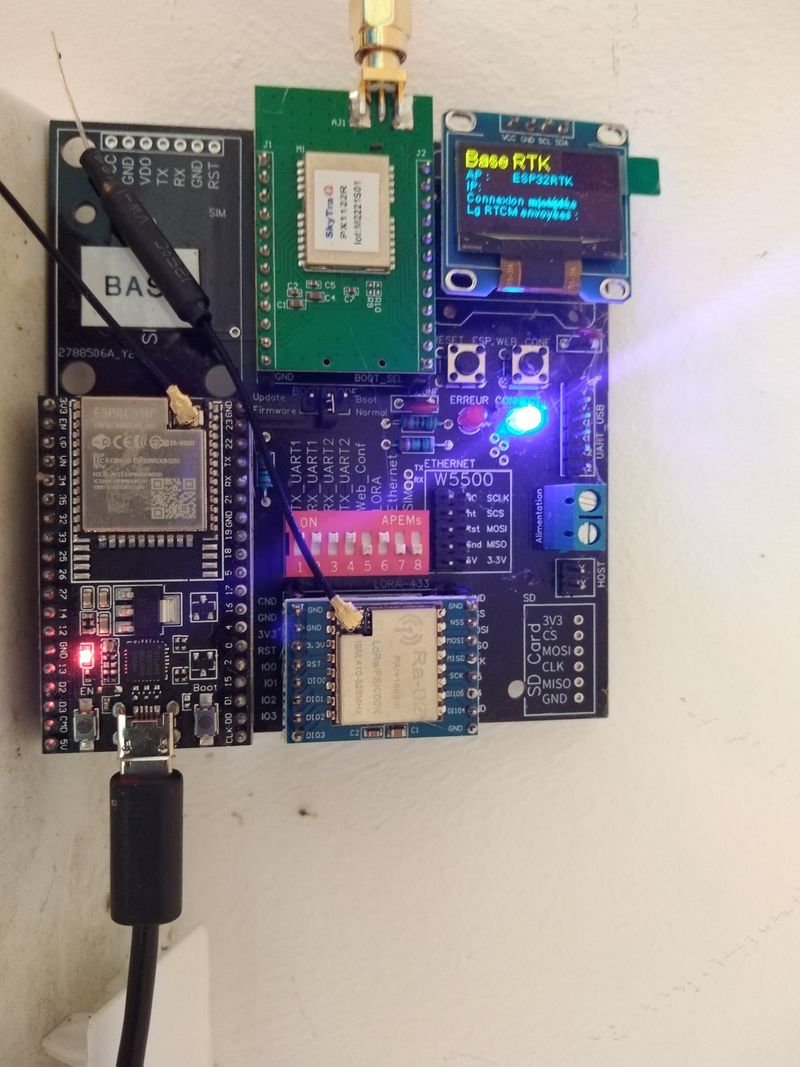
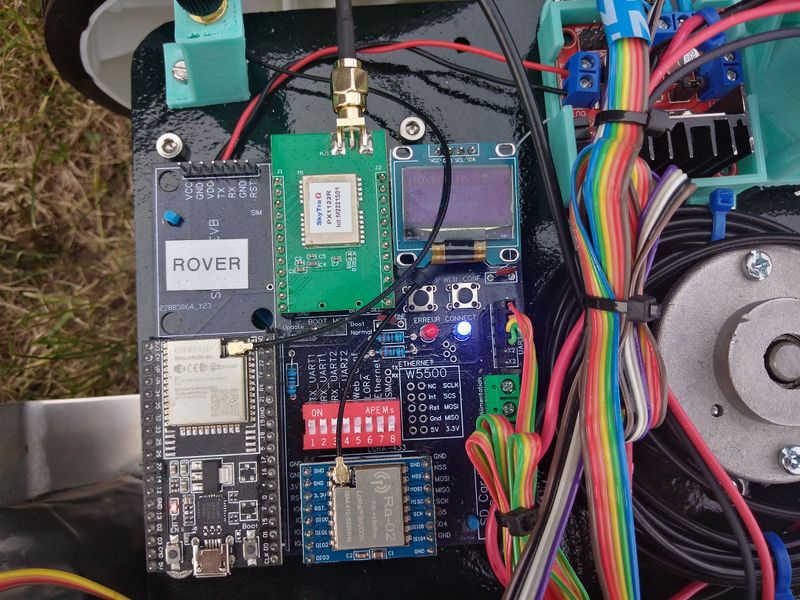
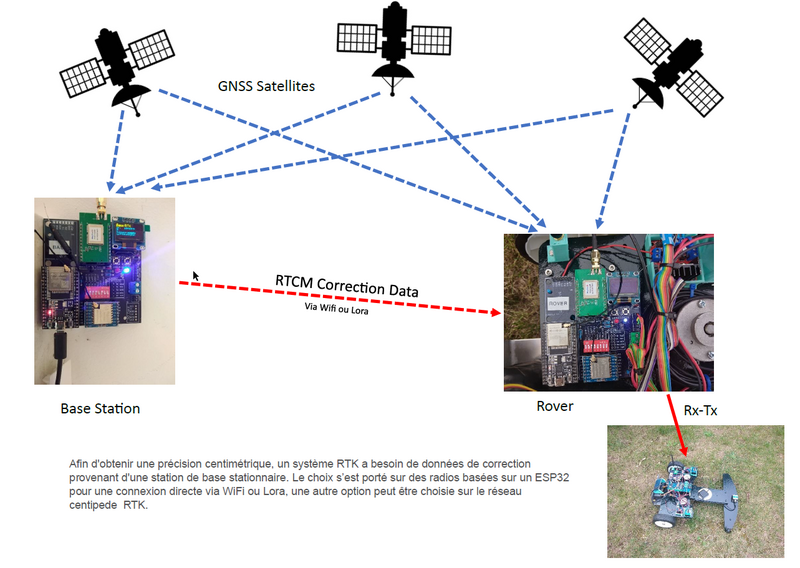
Pour la partie GPS RTK, j'ai décidé de fabriquer un PCB pour la base et le rover, pour une intégration plus propre. Les deux communiqueront par Wifi ou Lora, pour l'envoie de la correction.
Les composants sont identiques pour les deux, seul la config est différentes (voir manuel constructeur)
Liste des composants principaux : PCB, PX1122R, UART USB, Antenne GPS RTK, ESP32 Wroom32U, Lora SX1278, Oled SSD1306.
La partie rover, renvoie les données GPS corrigés, en RX TX vers l’Arduino du robot.
Étape 2 - Fabriquer la partie électronique du robot
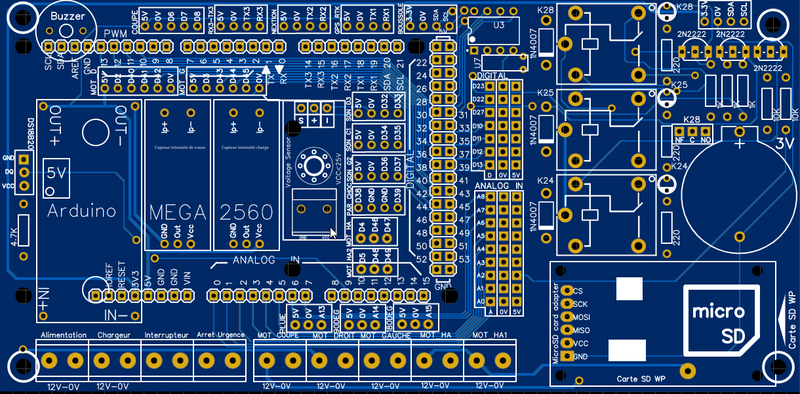
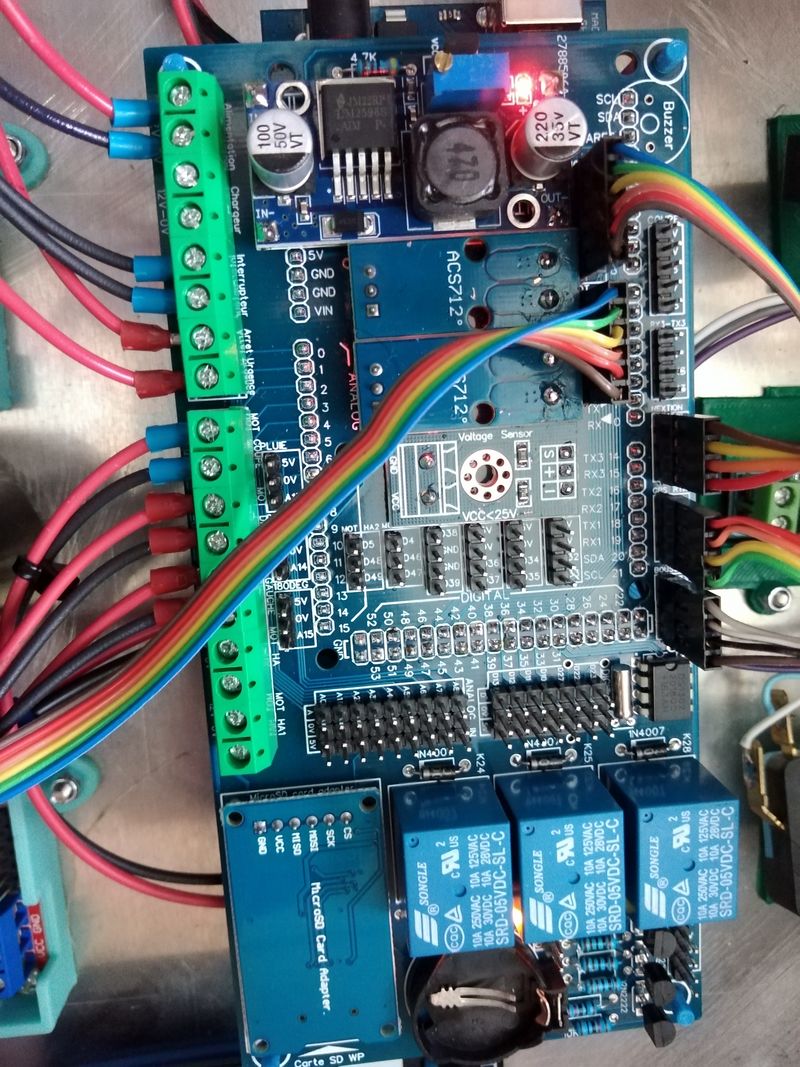
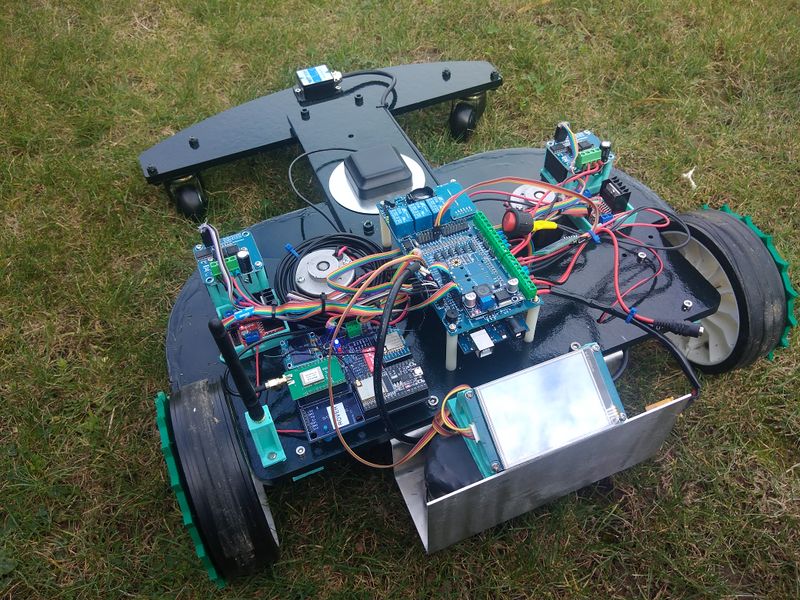
Pour la partie robot, j'ai créé un PCB. Ce dernier va recevoir l'ensemble des informations et les traiter avec un Arduino Mega 2560.
Liste des pièces:
- Arduino Mega 2560
- Récepteur Bluetooth
- IMU HWT901b
- Bouclier Carte Micro SD TF
- Module d'alimentation réglable LM2596S
- 3 x Relais 5V
- 1 x Capteur de tension
- 2 x Capteurs de courant
- Divers électronique (à détailler)
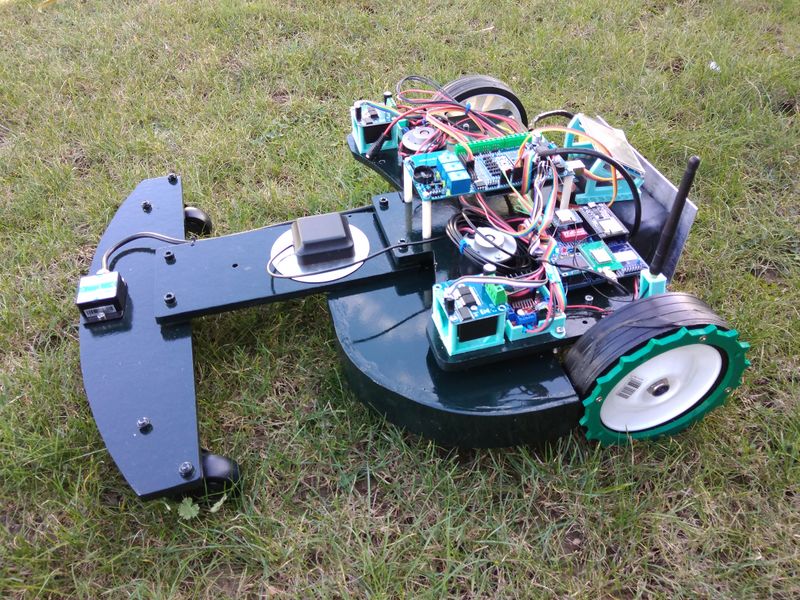
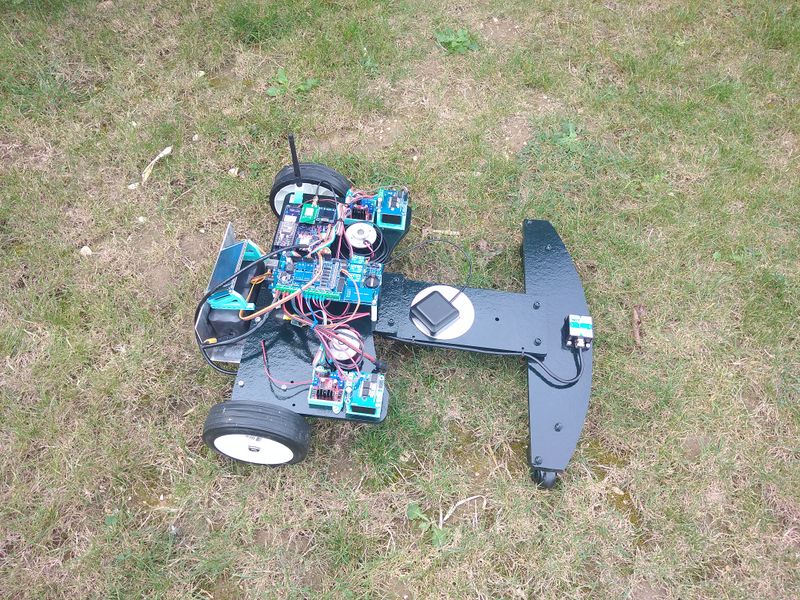
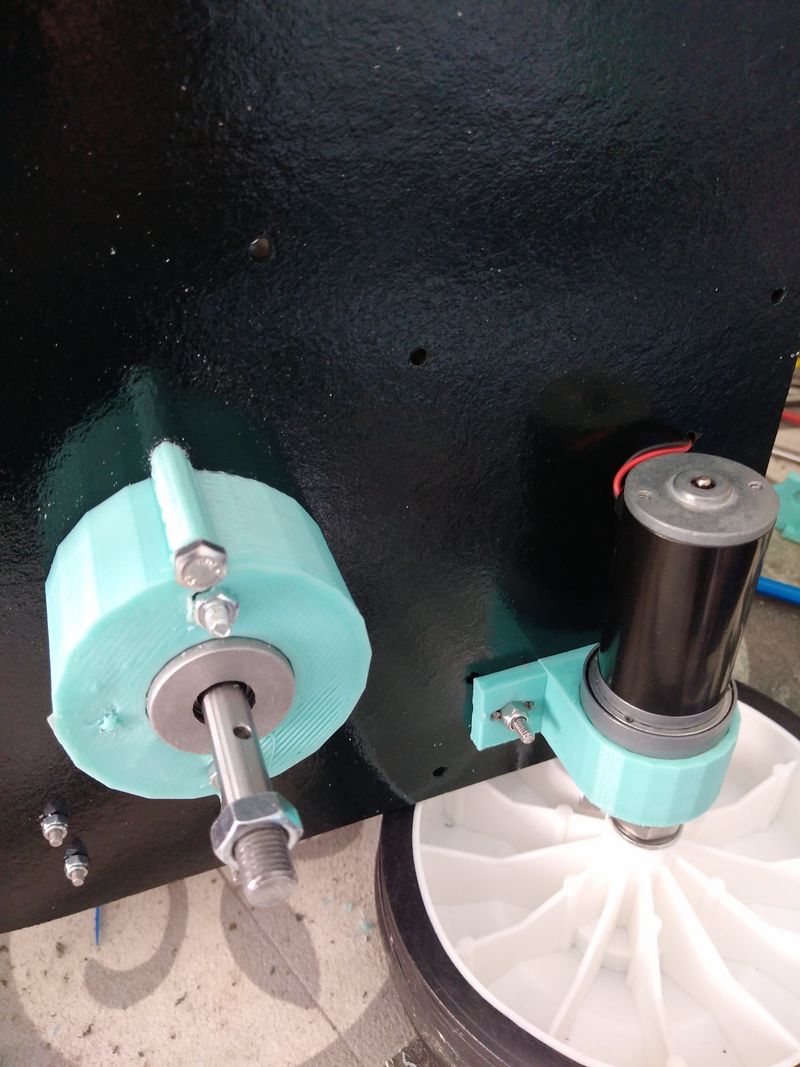
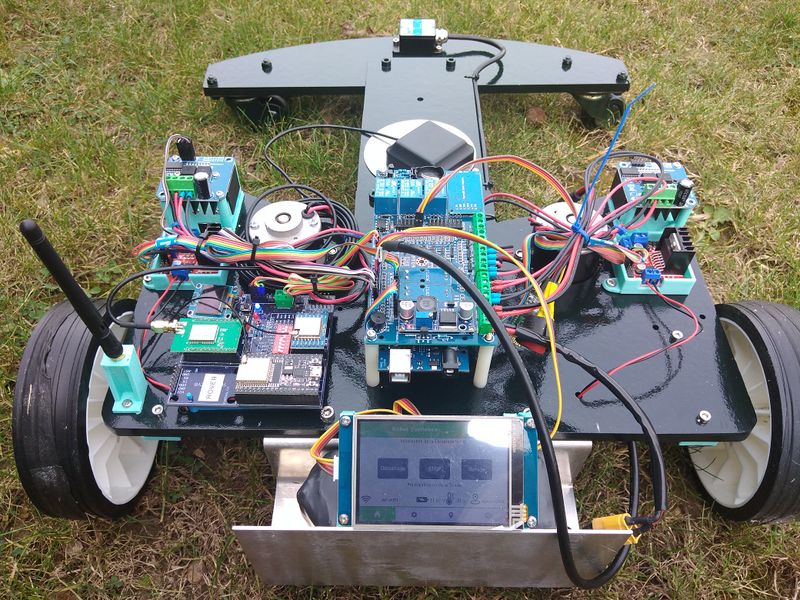
Étape 3 - Fabriquer le robot
Liste des pièces :
- 2 Moteurs de traction
- 2 Controleur moteur traction
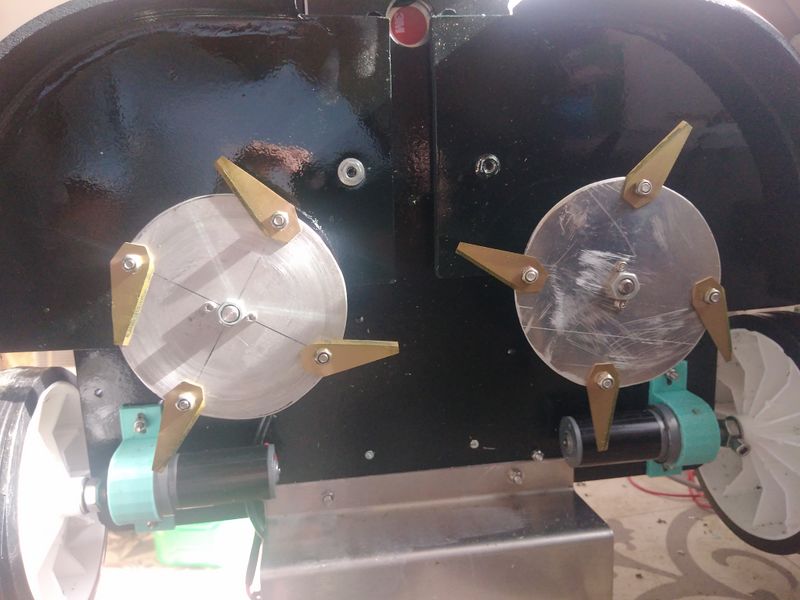
- 2 Moteurs de tonte
- Contrôleur moteur tonte
- Ecran 3.5 Inch HMI Screen
-
Étape 4 - Le code
Opération à traiter :
à détailler...
Draft
 Français
 English
 Deutsch
 Español
 Italiano
 Português