Introduction
- Free IoT platform: Thinger.io provides a lifetime freemium account with only a few limitations to start learning and prototyping when your product becomes ready to scale, you can deploy a Premium Server with full capacities within minutes.
- Simple but Powerful: Just a couple of code lines to connect a device and start retrieving data or controlling its functionalities with our web-based Console, able to connect and manage thousands of devices in a simple way.
- Hardware agnostic: Any device from any manufacturer can be easily integrated with Thinger.io's infrastructure.
- Extremely scalable & efficient infrastructure: A single Thinger.io instance is able to manage thousands of IoT devices with low computational load, bandwidth, and latencies.
- Open-Source: Most platform modules, libraries, and APP source code are available in our Github repository to be downloaded and modified with an MIT license.
Étape 1 - Custom PCB on your Way!
Modern methods of developing, got easier with software services. For hardware services, we have limited options. Hence PCBWay gives the opportunity to get custom PCB manufactured for hobby projects as well as sample pieces, in very less delivery time
Get discount on the first order of 10 PCB Boards. Now, PCBWay also offers end-to-end options for our products including hardware enclosures. So, if you design PCBs, get it printed in a few steps!
Étape 2 - Features of Thinger.io
This IoT Platform provides even more features that are fully customizable and allows IoT connectivity on different protocols, so as to provide customized data in whatever form we need on the Dashboard.
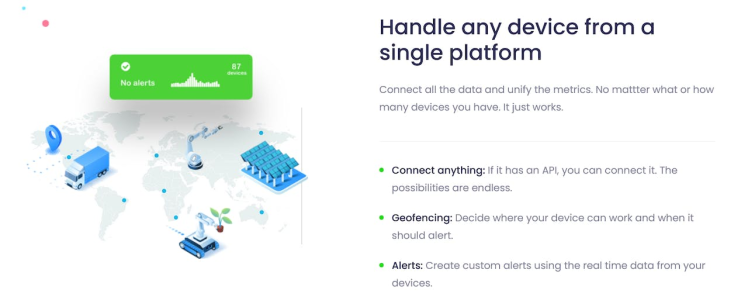
- Connect devices: Fully compatible with every kind of device, no matter the processor, the network, or the manufacturer. Thinger.io allows the creation of, bidirectional communications with Linux, Arduino, Raspberry Pi, or MQTT devices and even with edge technologies like Sigfox or LoRaWAN or other internet API data resources.
- Store Device Data: Create a Data Bucket a store IoT data in a scalable, efficient, and affordable way, that also allows real-time data aggregation.
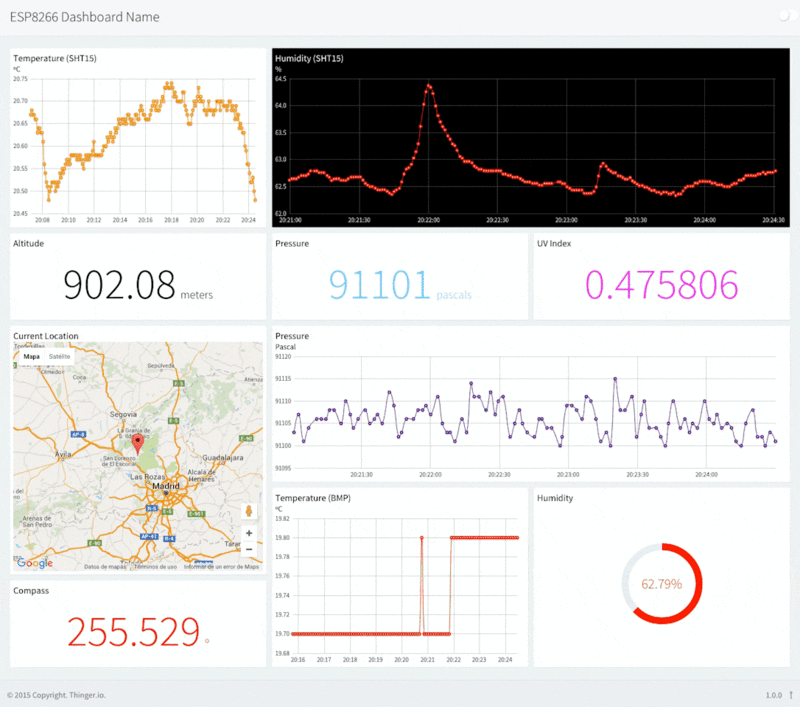
- Display Real-time or Stored Data in multiple widgets such as time series, donut charts, gauges, or even custom-made representations to create awesome dashboards within minutes.
- Trigger events and data values using an embedded Node-RED rule engine.
- Extend with custom features with multiple plugins to integrate IoT projects into any third-party Internet service and allow introducing your branding colors, logotypes, and web domain.
Étape 3 - Getting Started
Let us get started on using the platform, from creating an account. This method would work for most of the free IoT platforms and is very basic to get started.
Go to the Thinger.io website (https://thinger.io/) and click on the "Get Started" button. You will be redirected to the login page. There, click on "Create an Account" and sign up with details like username, email, password, and sector. Under the sector category, the best way to get started would be choosing the 'Maker', so that we can use it for our personal projects too.
Once, we have created the account, we can log in from https://console.thinger.io/login. However, we shall automatically be logged in to our account.
Étape 4 - Add a Device
Once we log in, and the Statistics panel opens, we can head to the Devices section and click on Add a Device.
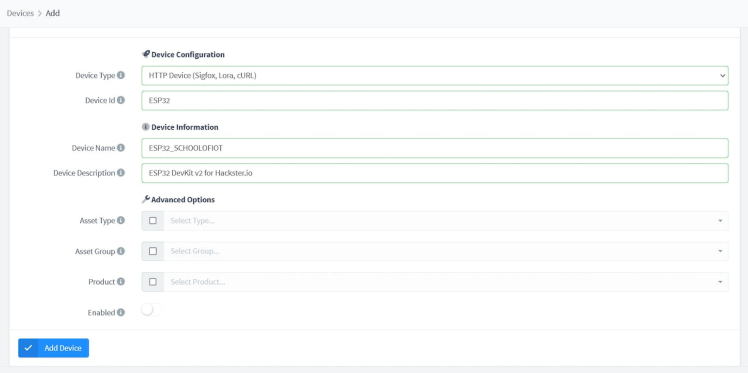
From there, provide the details -
- Device Type - Choice between IoTMP / HTTP / MQTT / NB-IoT. We chose HTTP to continue this article
- Device ID' - We can keep any name, but preferably the device we are using, to be mentioned here - ESP32'
- Device Name - Keep anything, but we kept it as 'ESP32_SCHOOLOFIOT'
- Device Description - Mention in a single line its function use, like "ESP32 Device for Hackster.io"
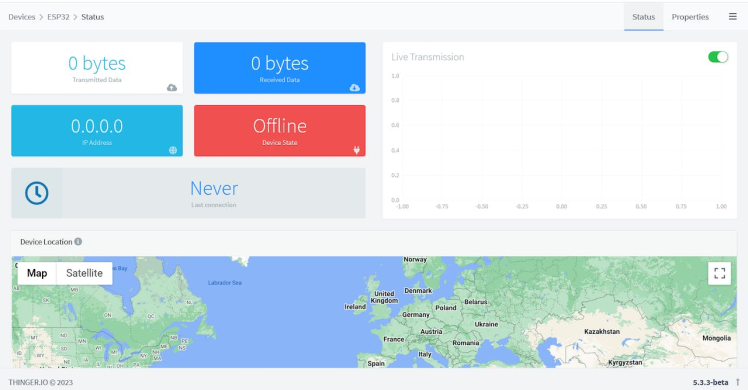
- Once the Device is created, we'd be able to view the status tab of the device. It is the dashboard with device-specific details and provides insight on the condition of it. Let us move ahead now.
Étape 5 - Device Property - Devices
All the data, from so many resources and groups that accumulate through the platform needs to have a property, which we can use to identify and use it for storage of current data - Not historical.
To create properties, visit Devices > Properties > Add Property.
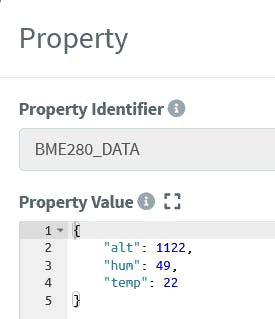
Once the identifier is entered, enter the property value in the form of JSON for payload data, and some other format (or even JSON) for response of data upon called.
I have created a device property to respond with 1 when request is successful.
Notice that the value of BME data is in JSON object format, this allows us to store and utilize the same device property to store multiple data with a single call.
Étape 6 - Dashboards - Data monitoring
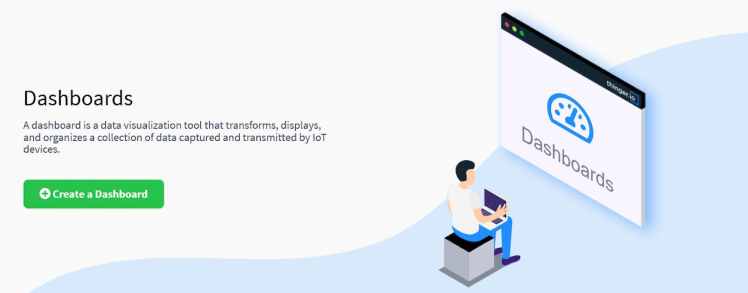
When monitoring end devices, or controlling them, we need an interface to monitor all those device data, and visualize according to the type of data.
For example if we are monitoring the climate or surrounding of a device, using sensors to detect temperature and humidity, we'd need a time-series graph.
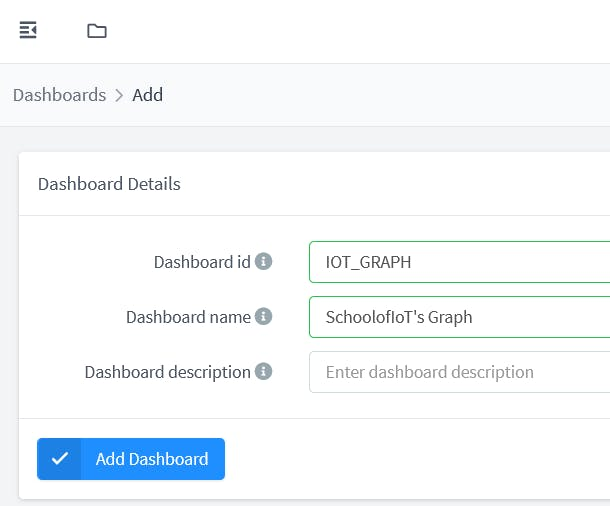
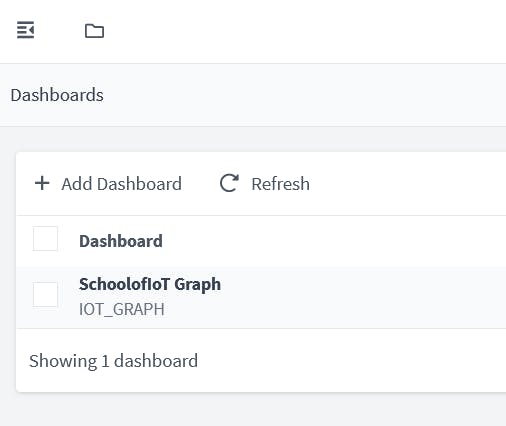
Add a new Dashboard, and give a name to that -
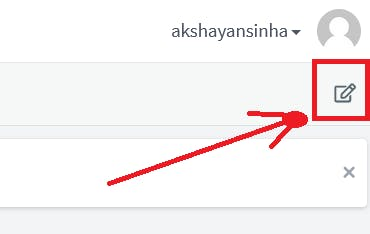
Once the dashboard is created, open the blank dashboard, and on the top right corner, click on 'Edit' button, which will reveal other options.
From here, click on 'Add Widget'.
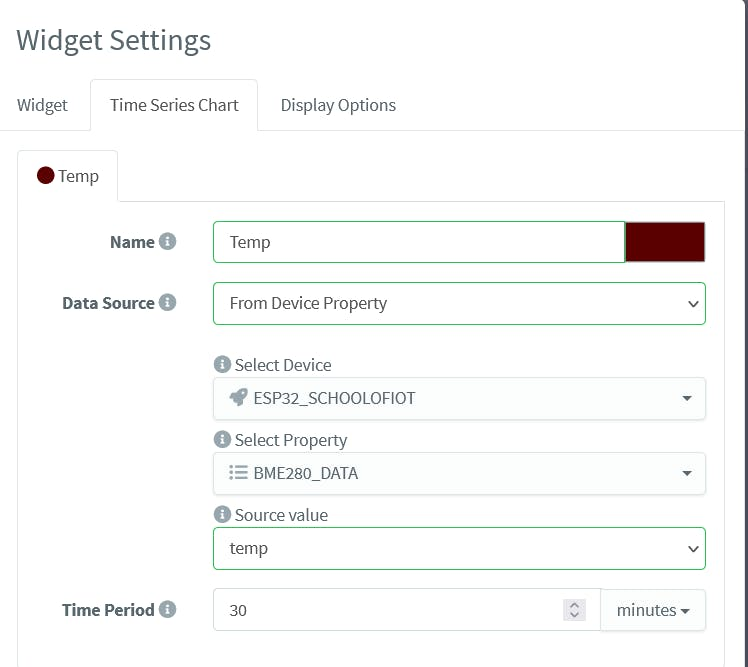
Enter the configurations according to your requirement, based on the payload data.
Once all the widgets have been created, we can view the graph in it's default value as per device property.
Étape 7 - CallBack Function
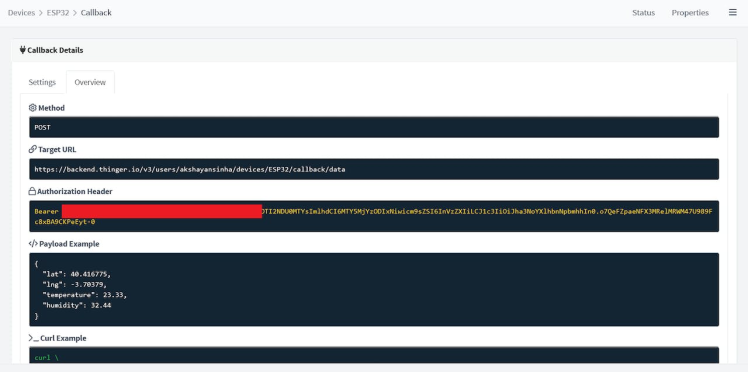
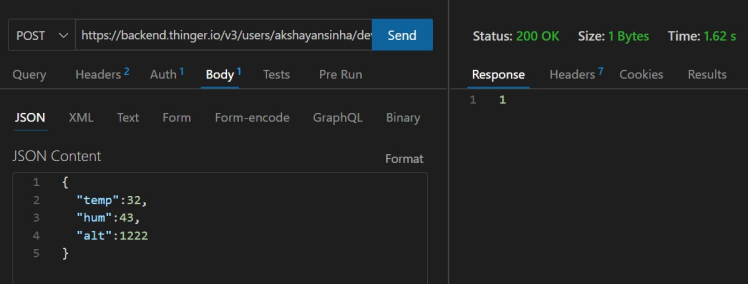
To be able to make an HTTP Request, we need the endpoint and a sample of the payload, that the Platform's backend would receive so as to display on the dashboard.
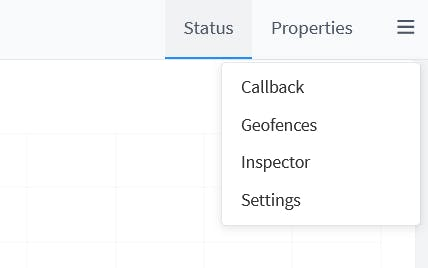
- To view details on the callback, search for the callback tab (current version - top right corner dropdown)
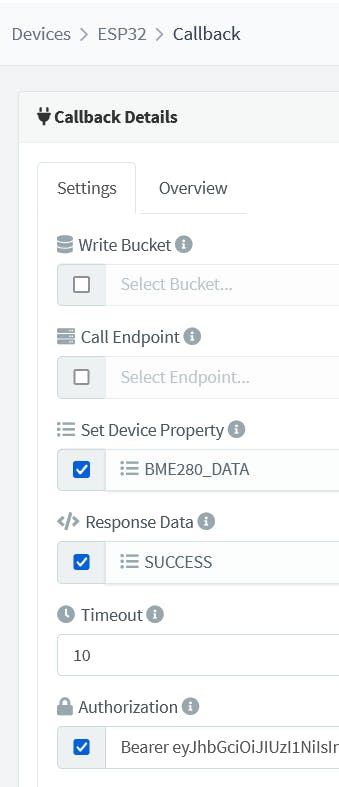
- Now open settings and select the Device Property we created. Enter the details provided below.
- Click on 'Save' to make sure the end point of the server is ready to receive data.
- For testing, I used an API testing tool 'ThunderClient', and noticed that it worked great.
- After a few different data on the content, we could see the variations in the time series graph.
Now, let us move to our ESP32 Dev Board hardware, and code it.
Étape 8 - Code Changes
Visit Code Section and Download the Code.
Below are the variables that need to be changed in the shared code -
const char* ssid = " ";
const char* password = " ";
String serverName = "https://backend.thinger.io/v3/users/<yourusername>/devices/<devicename>/callback/data";
const char* token = "Bearer <token>";
Add the SSID and Password of your wifi network. Then enter the server URL and Authentication as per your callback overview.
After pushing the data, from ESP32 Dev Board, we see the result!
Published




 Français
 English
 Deutsch
 Español
 Italiano
 Português