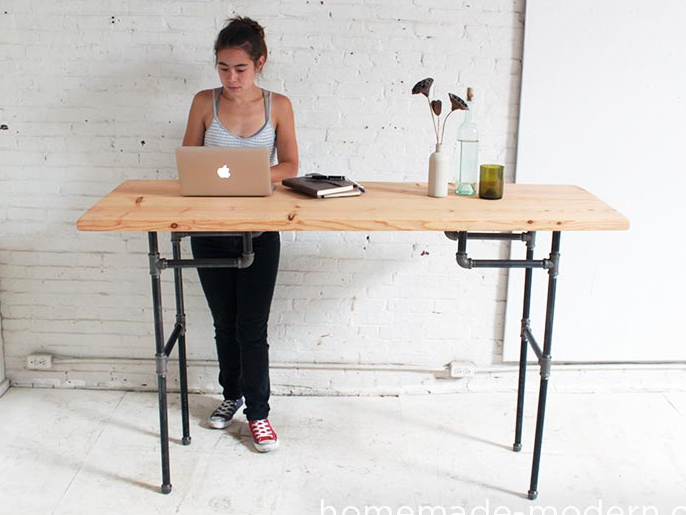
Introduction
Matériaux
- 2"x12"x12' Board (We cut the 12’ board into two 5’6” lengths for our table top.)
- We used the mending plates to join the two tabletop boards together.
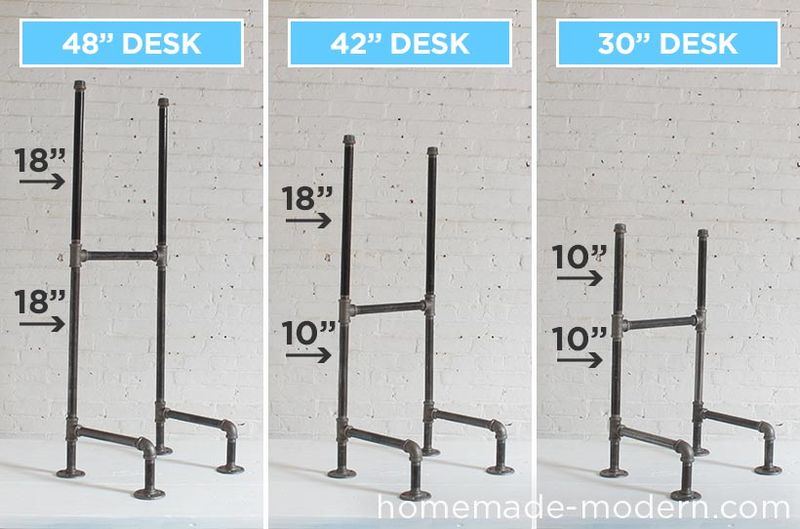
- 3/4" Diameter Black Iron Pipe (see the table)
- 3/4" Black Iron Couplings (see the table)
- 1/4" Black Drywall Screws (We used the screws to attach the mending plates and the legs.)
Outils
- Cordless Drill
- Circular Saw
- Orbital Sander
Étape 1 - Cut the Boards
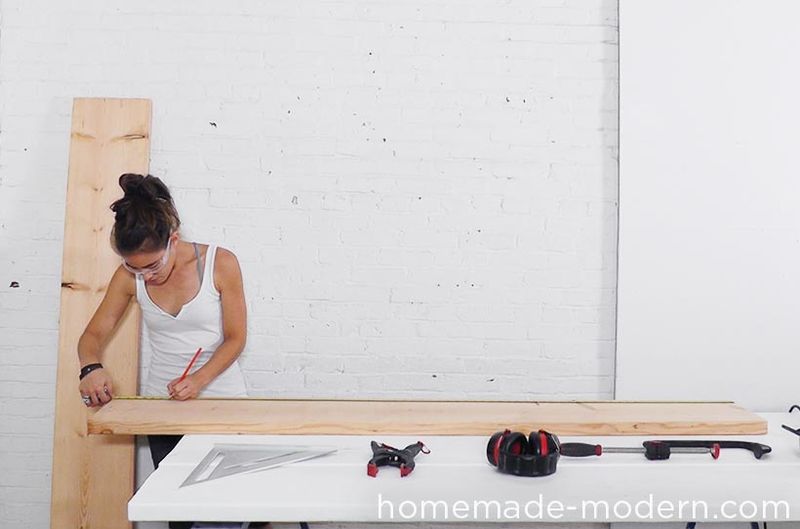
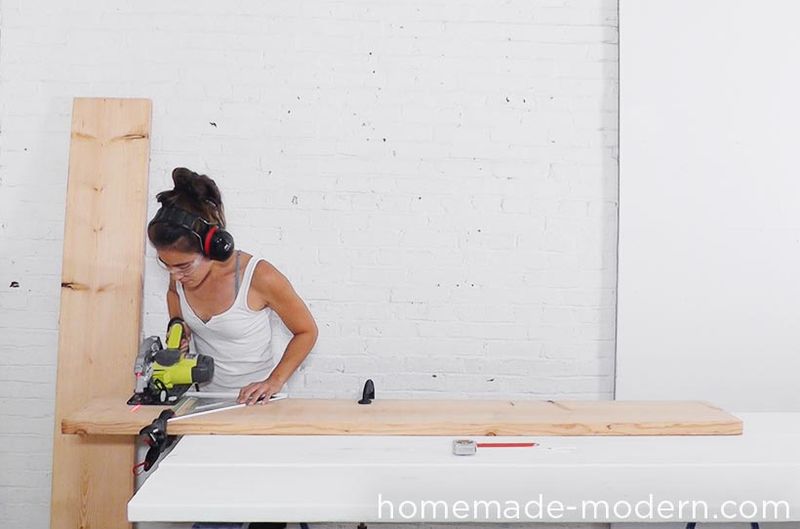
I cut the boards to the finish length of 5’6” using a speed square to make sure I was getting a perfect right angle cut.
Étape 2 - Sand the Edges
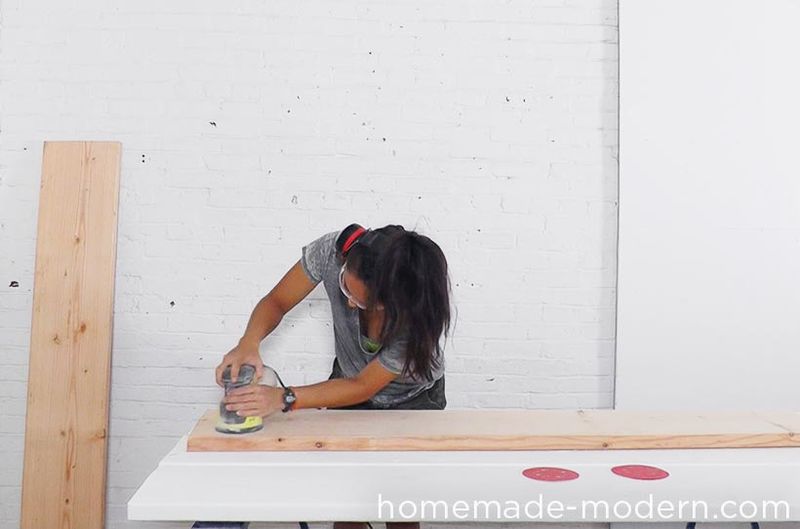
Elle sanded all four sides of both boards taking special care to round all the edges and corners.
Étape 3 - Apply Danish Oil
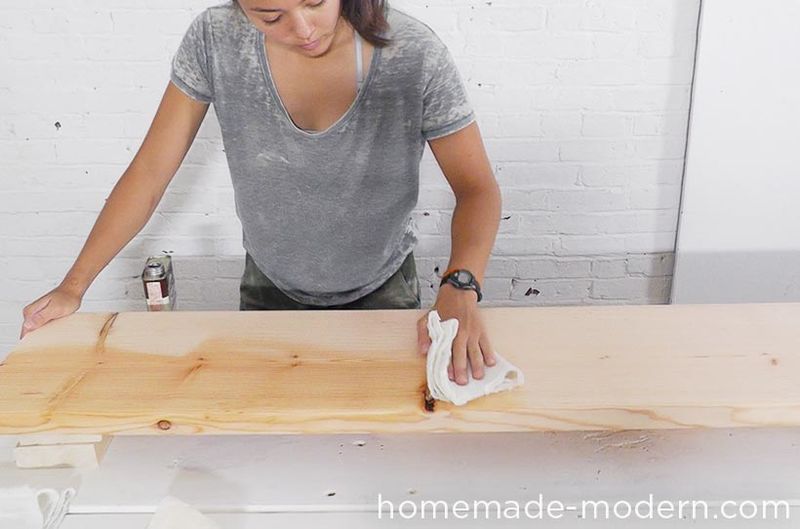
Once all the dust was wiped from the boards, she used a rag to apply one coat of Danish oil.
Étape 4 - Attach the Boards
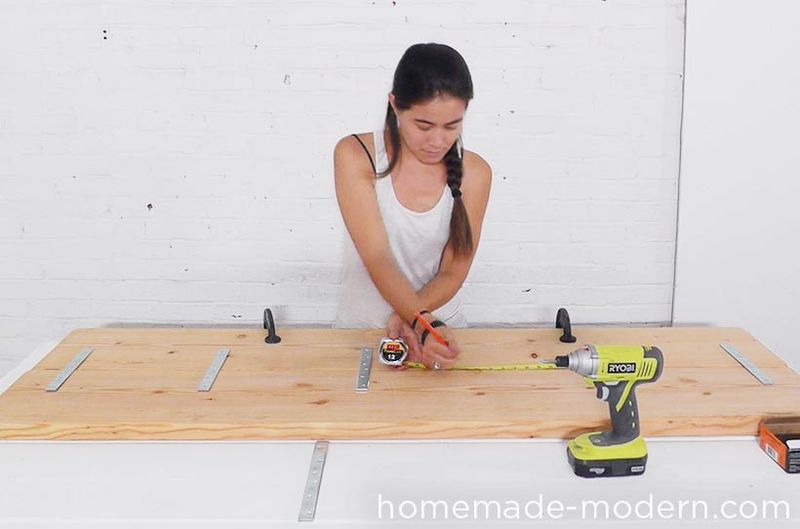
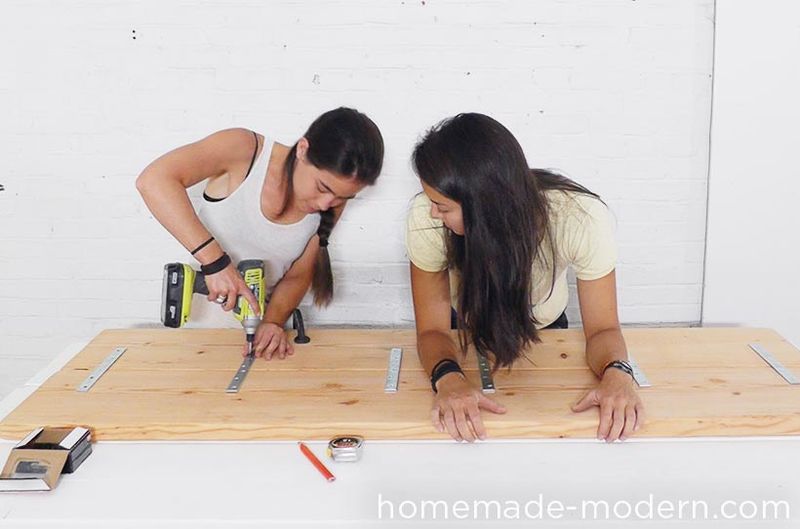
I attached the two 2”x12” boards together with the mending plates. I centered the plates 4” in from the ends of the boards and then roughly 12” apart leaving about 6” of space between the middle two. Because it's important to keep the two boards as close as possible, I clamped one board to the worktable and had Elle pull the second board into the first as I screwed in the plates.
Étape 5 - Assemble the Legs
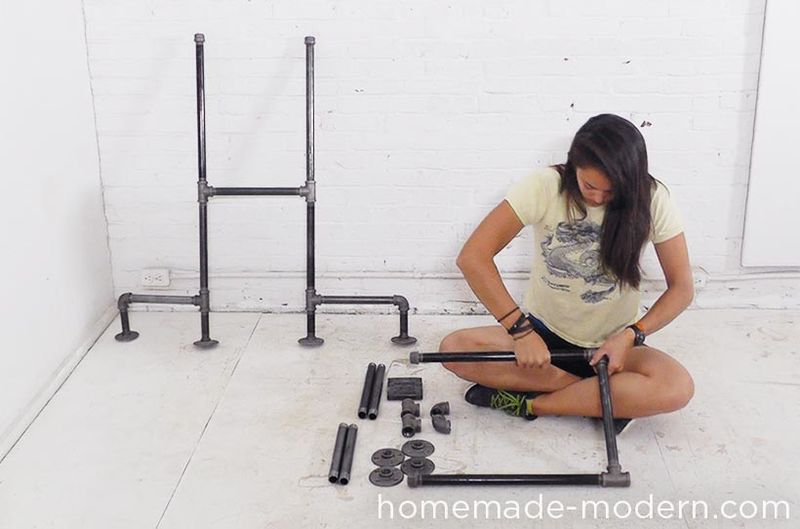
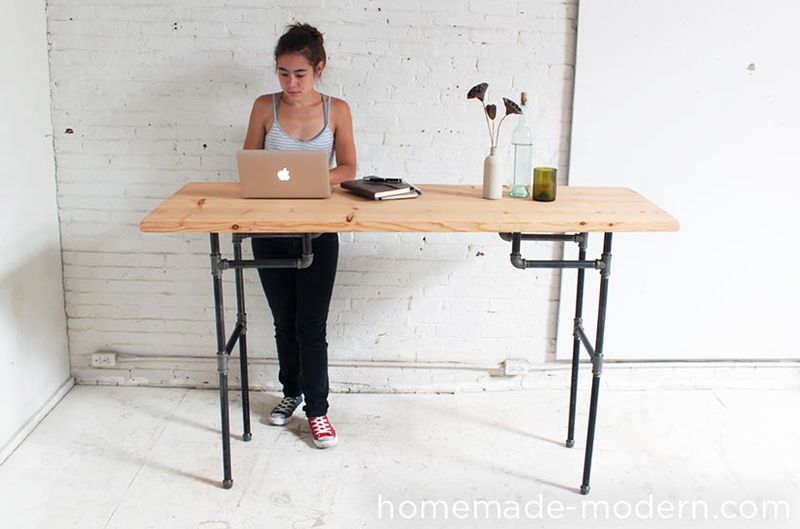
Elle assembled the legs using all the pipes and connectors. Putting them together is easy and fun, but make sure that the end result is straight and screwed together tightly.
Étape 6 - Screw on the Legs
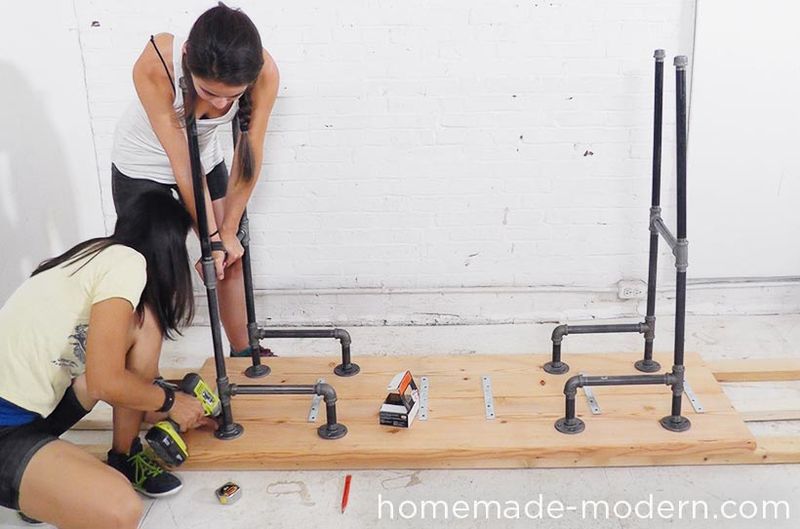
We placed the legs on the inside of the outermost plate about 6” in from the ends and 3” in from the sides. It can be a bit difficult to maneuver the drill so close to the pipes, but be sure to drill the screws straight into the wood.
Étape 7 - Adjust the Height
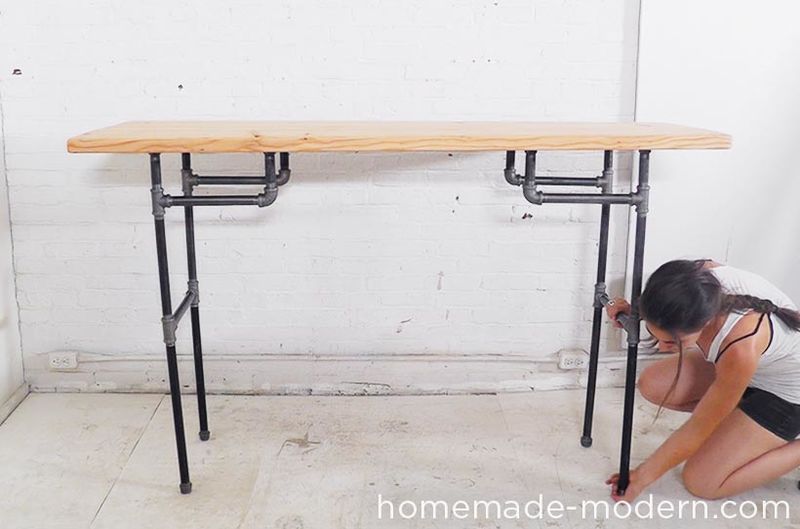
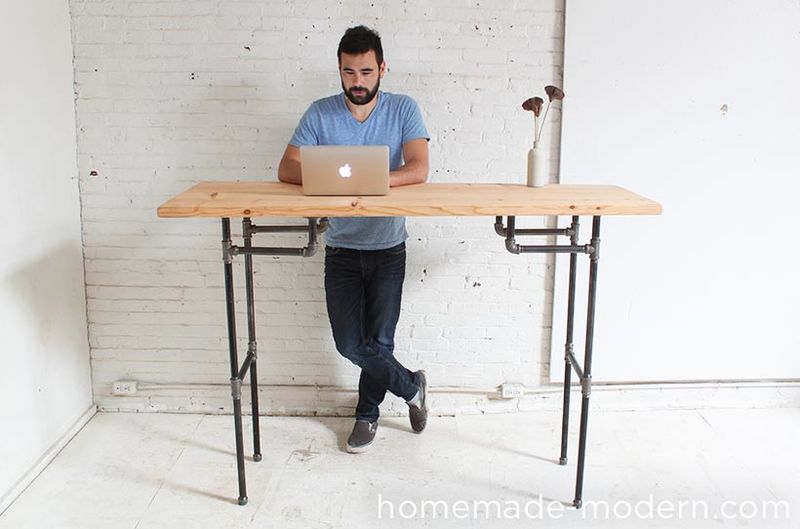
The floor of our workshop is a bit uneven, so I adjusted the end caps to level the tables. There are many different options for the height of your desk. We listed the three that we found most useful for our needs. The exact height of the desk will fluctuate a bit depending on how tightly you're able to screw the pipes to the couplings. .
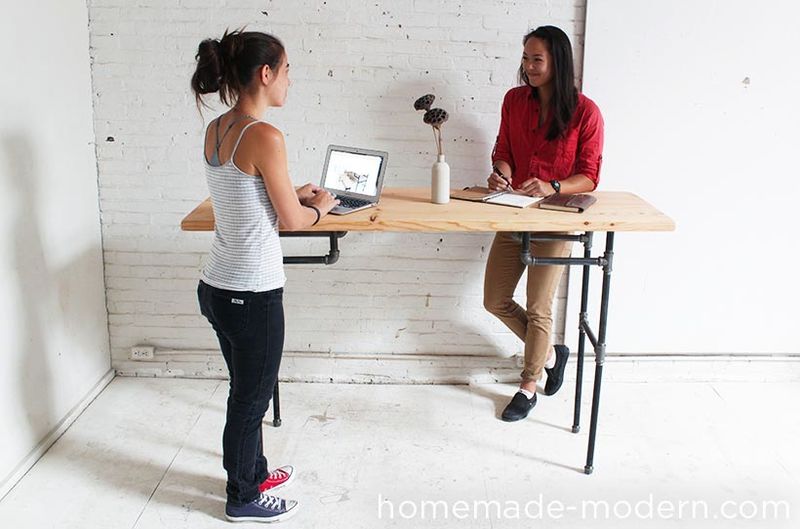
Good luck making your own standing desk and please email, tweet or hashtag photos to @benuyeda, ben@homemade-modern.com or #homemademodern. For more detailed instructions, dimensioned drawings and different variations of the project, check out our soon-to-be-released book.
Notes et références
- This project is also available on my blog
- Watch the video tutorial of this standing desk on my Youtube channel
Published Published
 Français
 English
 Deutsch
 Español
 Italiano
 Português