Introduction
Matériaux
Outils
Étape 1 - Bend copper pipes or just connect the hose
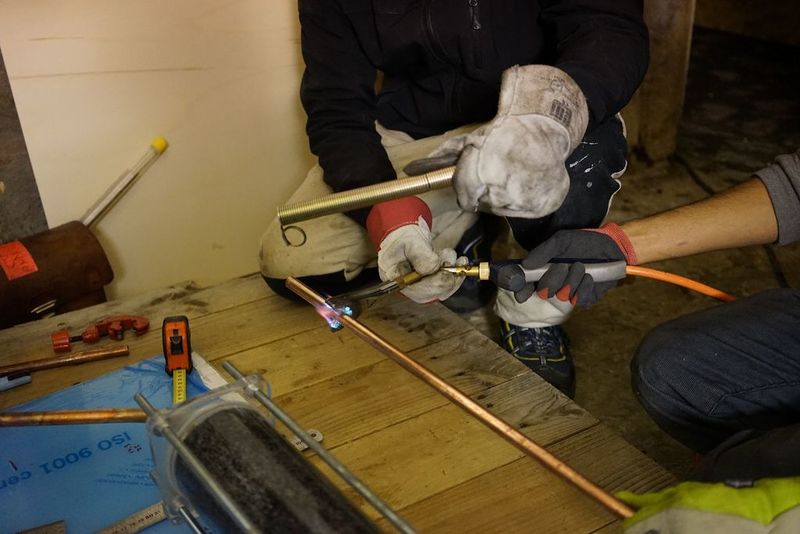
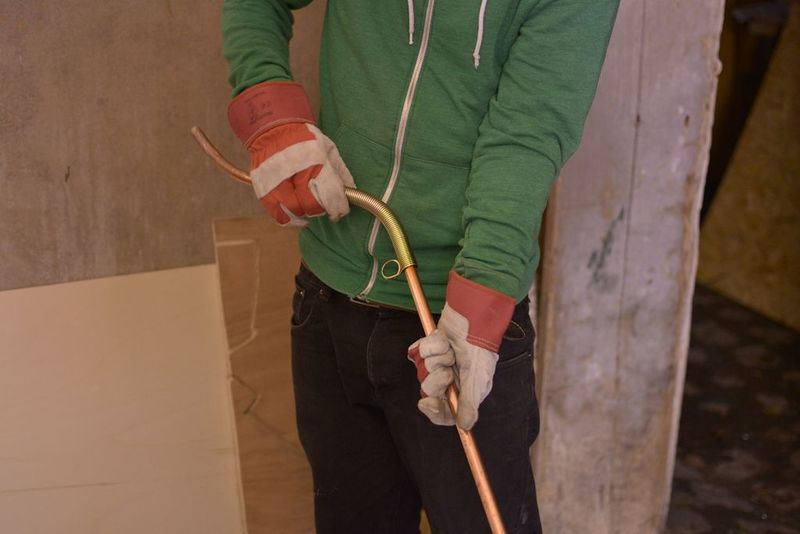
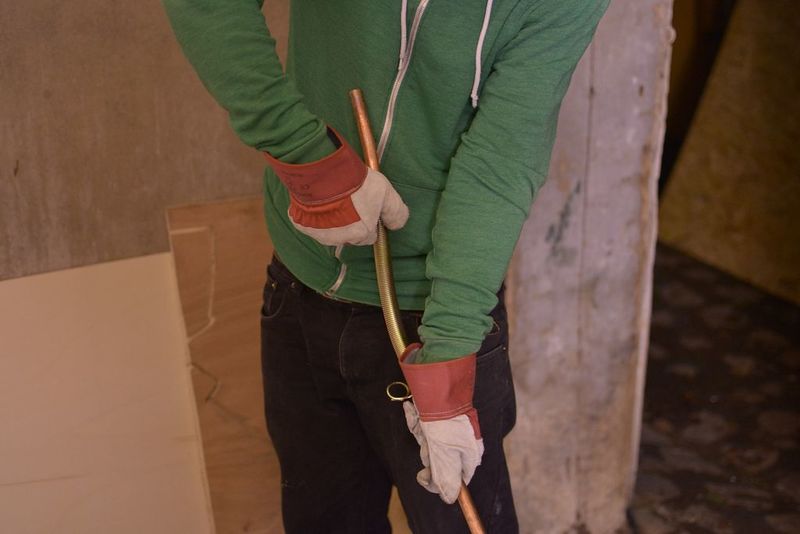
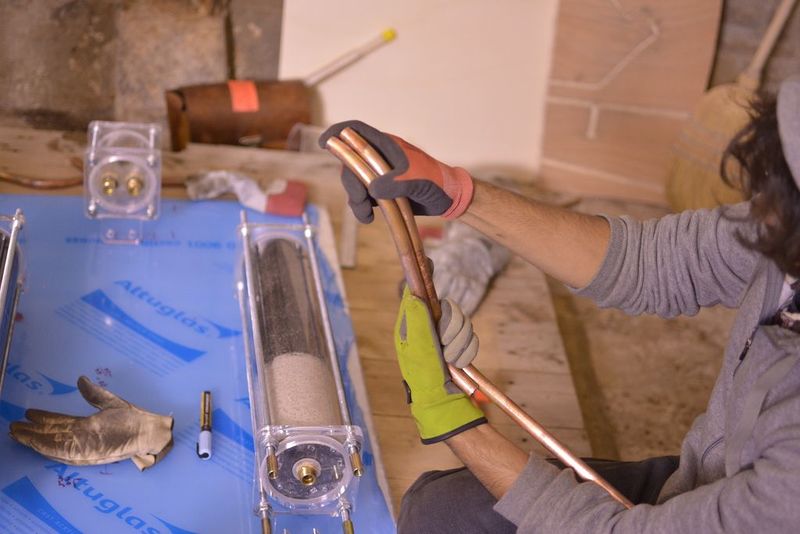
Basics - heat up your copper pipe with a blowtorch. Focus the flame on the areas above and below where you will do the bending so that part doesn’t get hotter and thus weaker than the rest of the steel.
Once the copper turns blackish and starts making a cool psychedelic rainbow effect you know the copper is warm enough to begin bending. Turn off the flame and wait a moment.
Once the pipe has cooled a little use the pipe bending tool so make an appropriate bend. This is more craft than technical skill and you just have to observe and see how the metal flexes.
Étape 2 - Hose connexion
Using rubber hose (or PEX) it is much easier than copper but perhaps it won’t look as cool.
Transparent tube isn’t too bad but the most common material is PVC (which is kind of nasty).
The best and perhaps easiest option is to use drinking water hose (16mm?).
The hose connection is simple, use a hose nipple instead of the threaded connector and fasten the hose with a ring clamp. Make sure it’s really right.
There's a diagram of how to do this with hose earlier on.
Étape 3 -
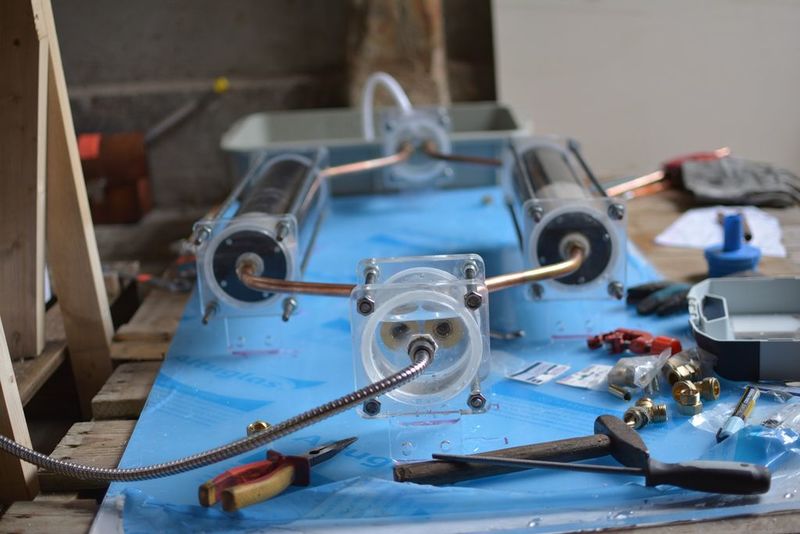
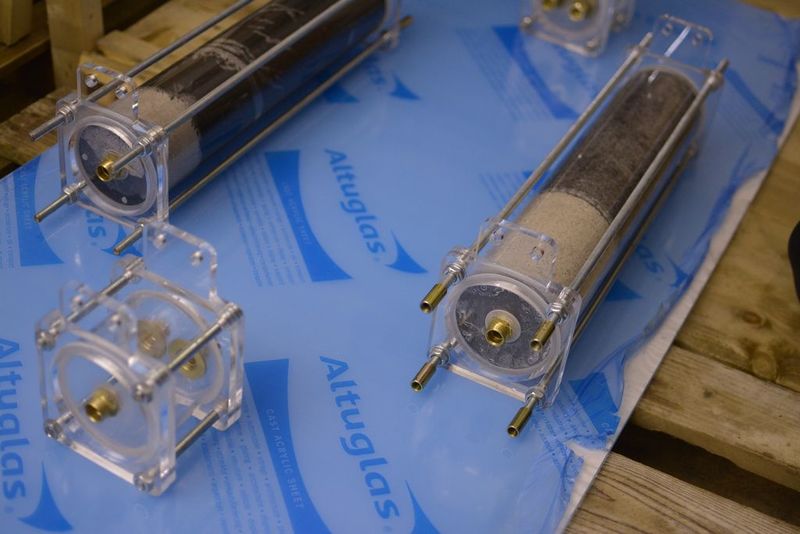
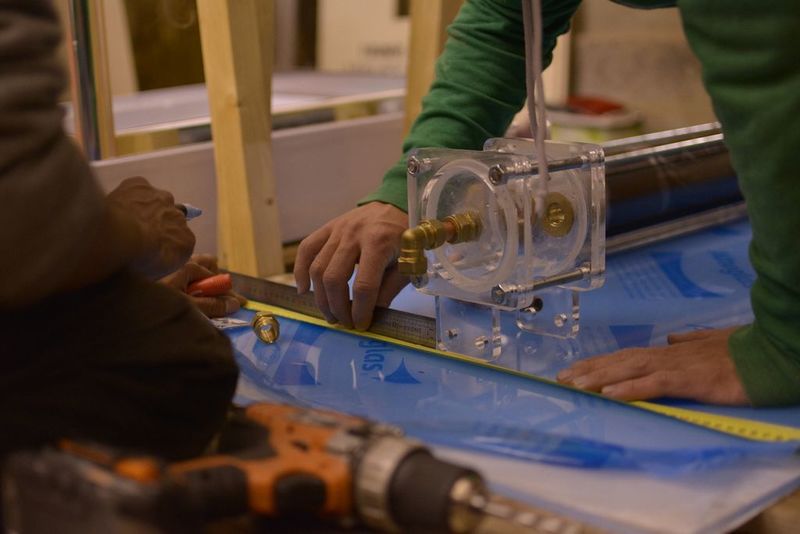
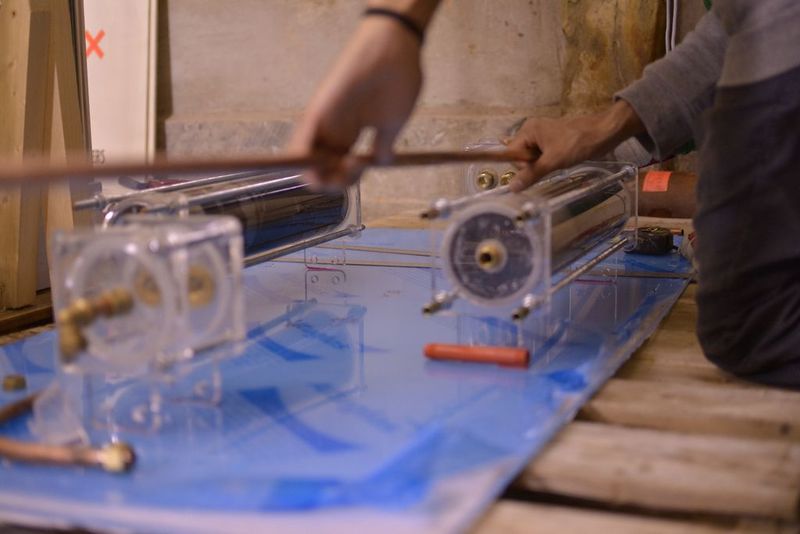
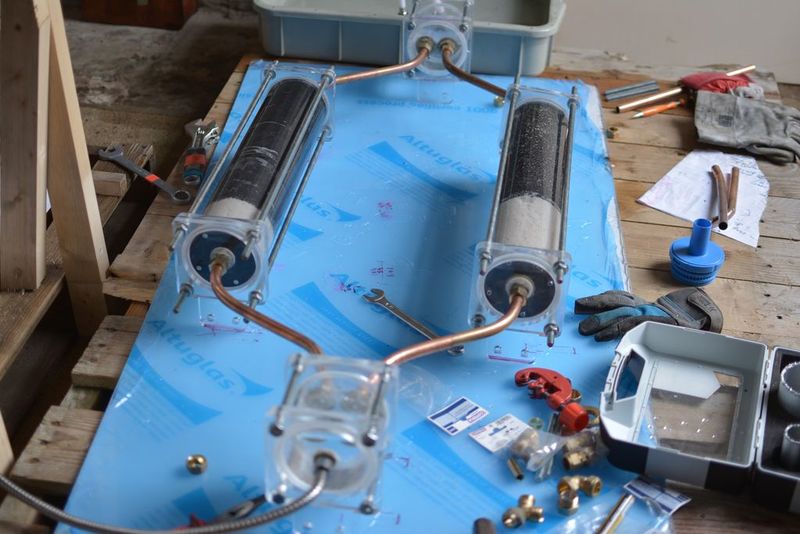
Lay out all the filter components onto a surface. Using common sense and a ruler you can centre everything perfectly.
Étape 5 - Cut the pipe
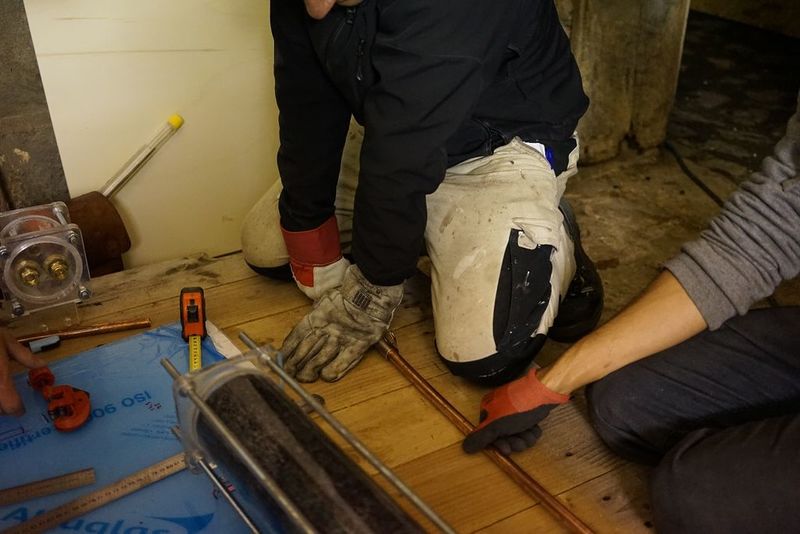
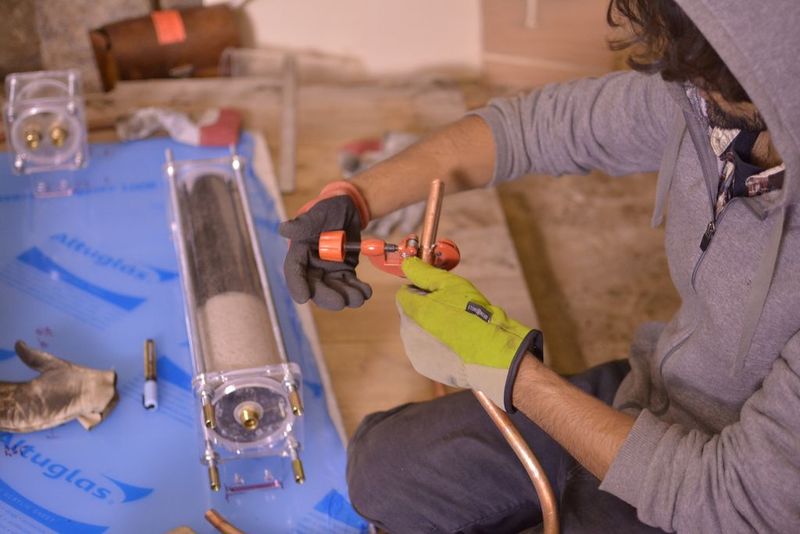
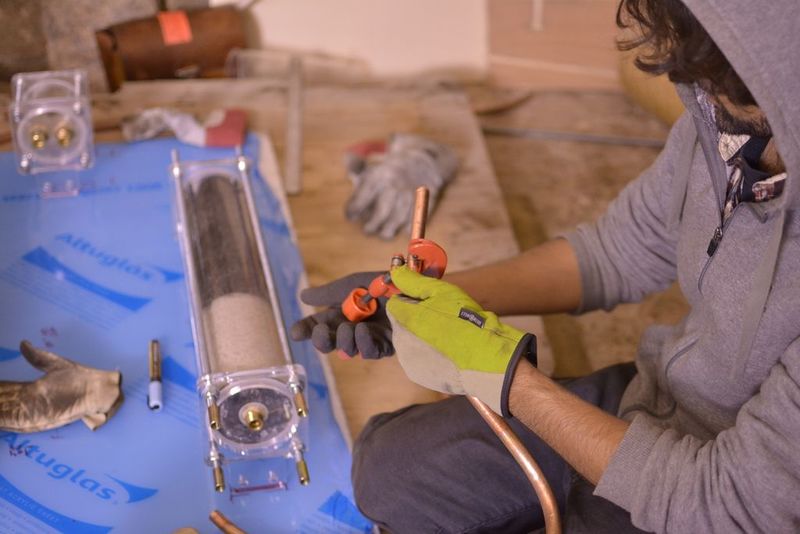
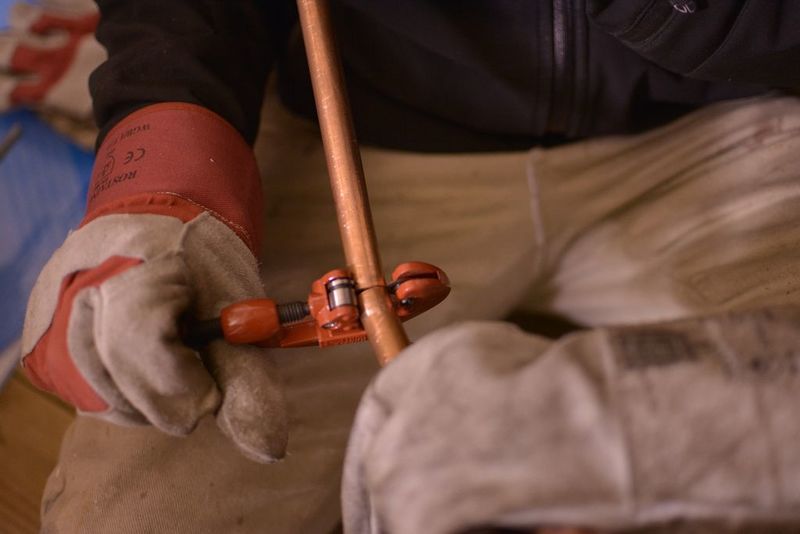
To help cut the pipe you can use a pipe cutting tool but the cheap ones get dull really quickly.
Étape 6 -
Finally ready to test the filters by attaching a shower hose to the input and output of the flow regulators.
Étape 7 -
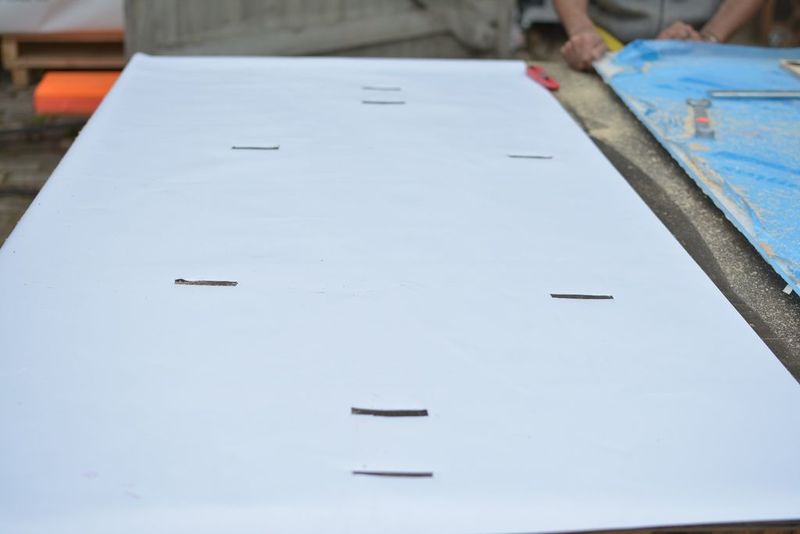
The placement of the filters was drawn onto a waterproof material and holes cut where the mount plates go through.
The mount plates can be bent by 90 degrees which would allow for the filters to be hung directly into the wall. To bend acrylic you need a special device that's basically a heated up wire that weakend specifically the bend point. Once it's warm enough you can just bend it by hand and into the shape you want (it's good to have a template that you can push up against). Let it cool and it will harden into shape. It may be prudent to space the holes in such a way that they screw in between tiles as drilling into tiles without cracking them can be tricky. If you have a basic cement wall you are good to go. Alternatively the threaded rod can be extended all the way from the ground to the roof and fastened with tension (pushing up and down) or simple legs or L-bends can be made so that they can be screwed into the roof and or floor. Or just attach the metal rods used to compress the filter directly to the wall.
Published
 Français
 English
 Deutsch
 Español
 Italiano
 Português