ESP, dht11, home assistantIntegrating_DHT11_with_Beetle_ESP32_C3_and_Home_Assistant_1.JPGCreation
Introduction
This project will allow you to monitor environmental conditions in your home automation setup. Here are the steps to achieve this:
Matériaux
Outils
Étape 1 - Integrating DHT11 with Beetle ESP32 C3 and Home Assistant
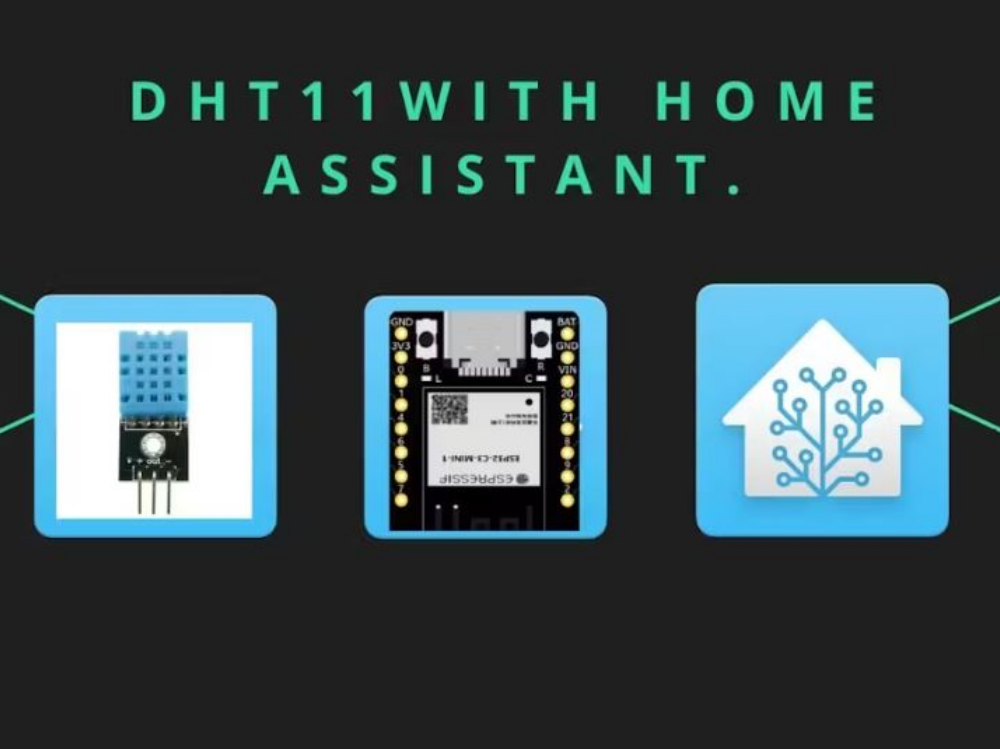
1. Components Required
Before we begin, gather the necessary components:
BeetleESP32C3 development board
DHT11 temperature and humidity sensor
Jumper wires
USB cable for programming
A computer with the Arduino IDE or ESPHome installed
Étape 2 - Get PCBs for Your Projects Manufactured
You must check out PCBWAY for ordering PCBs online for cheap!
You get 10 good-quality PCBs manufactured and shipped to your doorstep for cheap. You will also get a discount on shipping on your first order. Upload your Gerber files onto PCBWAY to get them manufactured with good quality and quick turnaround time. PCBWay now could provide a complete product solution, from design to enclosure production. Check out their online Gerber viewer function. With reward points, you can get free stuff from their gift shop. Also, check out this useful blog on PCBWay Plugin for KiCad from here. Using this plugin, you can directly order PCBs in just one click after completing your design in KiCad.
Étape 3 - 2. Flashing ESPHome to Beetle ESP32 C3
Install ESPHome on your computer. You can follow the instructions in my previous blog.
Create an ESPHome configuration file (e.g., dht11.yaml) with the following content:
Replace placeholders (YourWiFiSSID, YourWiFiPassword, etc.) with your actual values.
Compile and upload the configuration to your Beetle ESP32 C3 using the ESPHome CLI.
Étape 4 - 3. Integrating with Home Assistant
Open Home Assistant.
Click on Configuration (bottom left) and go to Integrations.
Click the + button and select ESPHome.
Enter the IP address of your ESP32 (leave the port as 6053) and click Finish.
Étape 5 - 4. Viewing Temperature and Humidity
Once integrated, Home Assistant will discover the Beetle ESP32 C3 module and create entities for temperature and humidity.
You can access these entities in Home Assistant’s dashboard and display them as cards or graphs.
And that’s it! You’ve successfully integrated the DHT11 sensor with your Beetle ESP32 C3 and Home Assistant. Feel free to customize and expand this project based on your needs. Happy monitoring! 🌡️💧🏠
Commentaires
ennone0Published
×
Erreur de saisie dans le nom du tutoriel
Vous avez entré un nom de page invalide, avec un ou plusieurs caractères suivants :
< > @ ~ : * € £ ` + = / \ | [ ] { } ; ? #
Connexion
Pas encore enregistré ? Créez un compte pour profiter de toutes les fonctionnalités du service !


 Français
 English
 Deutsch
 Español
 Italiano
 Português