Introduction
Matériaux
For furniture:
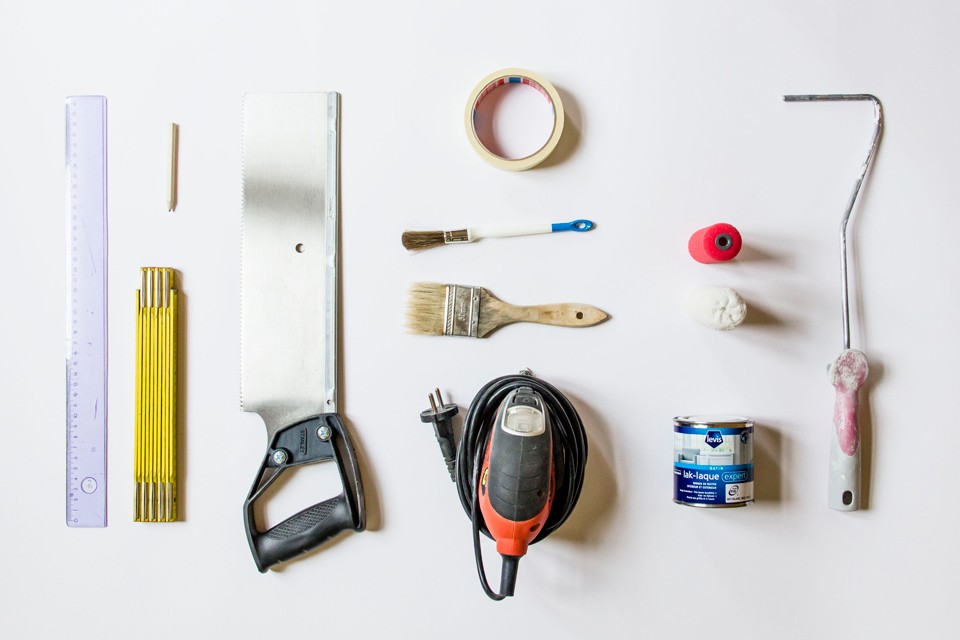
- 1 masking tape for painting
- white lacquer paint
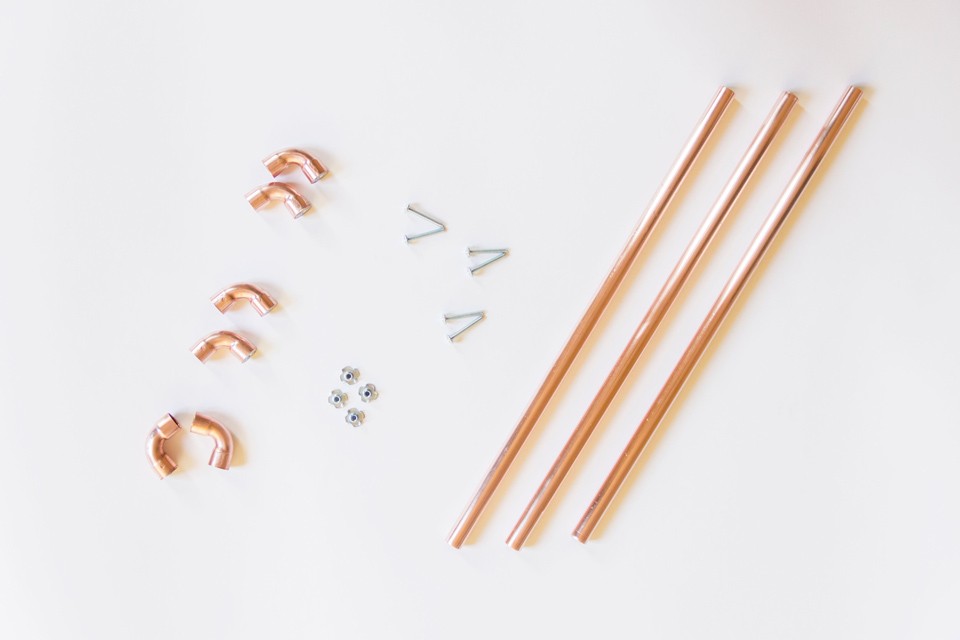
For drawer handles:
- 3 x copper tube diameter 15 mm length 41 cm
- 6 x 90 ° bends in 15 mm diameter copper
- 6 screws
- 6 claw nuts about 14mm diameter (must be able to return in the elbows of 15mm diameter)
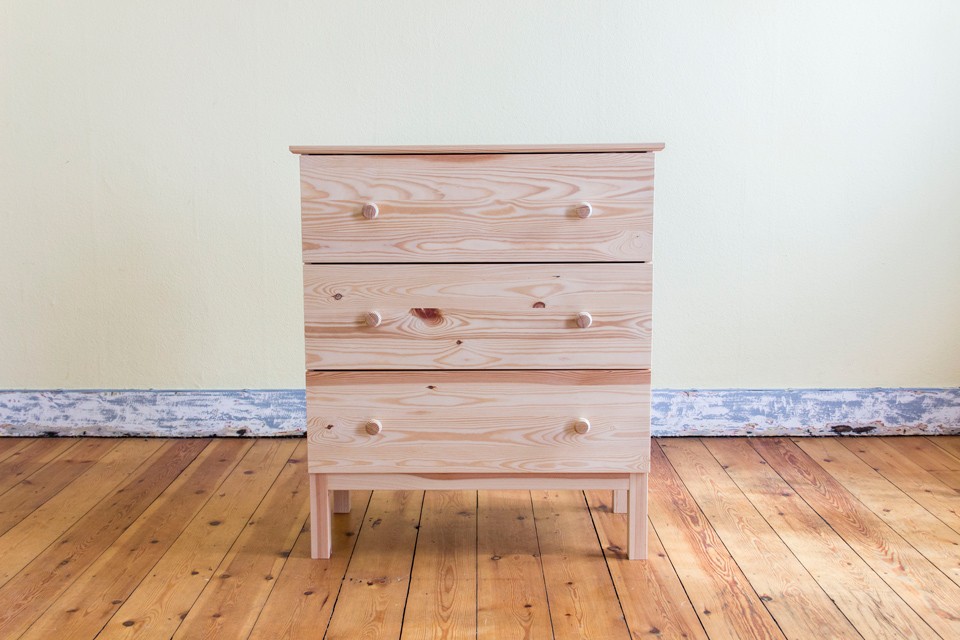
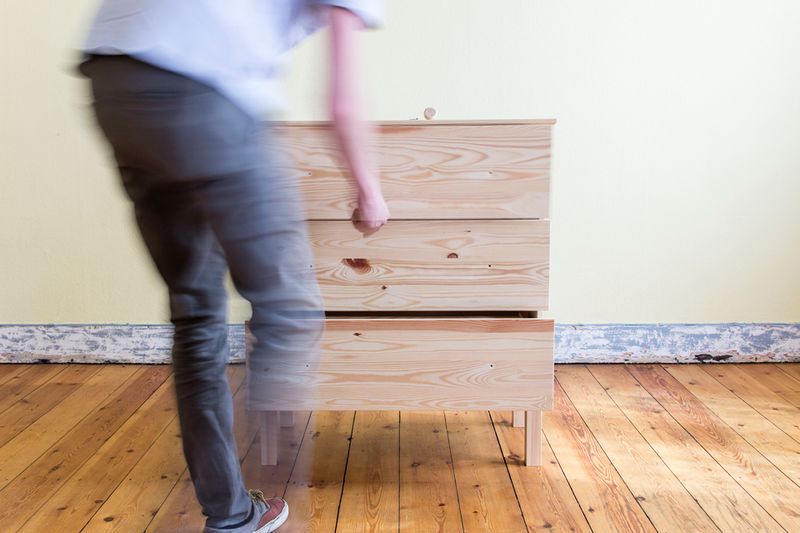
And above all: a TARVA Chest of 3 drawers (€59.90 at IKEA)
Outils
A hand sander (or sandpaper fine grain) gloves a ruler and pencil A small roll, a fine brush
- Phillips screwdriver
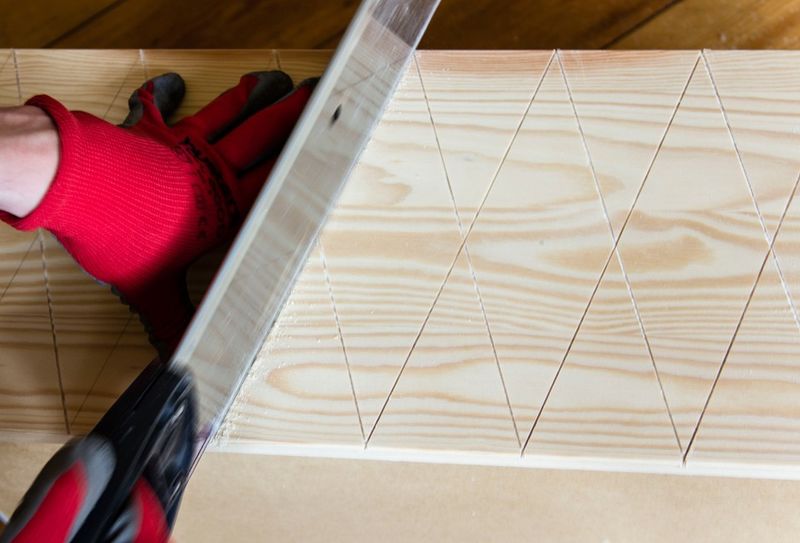
- A wood saw
- A meter
Étape 2 - Draw diamonds
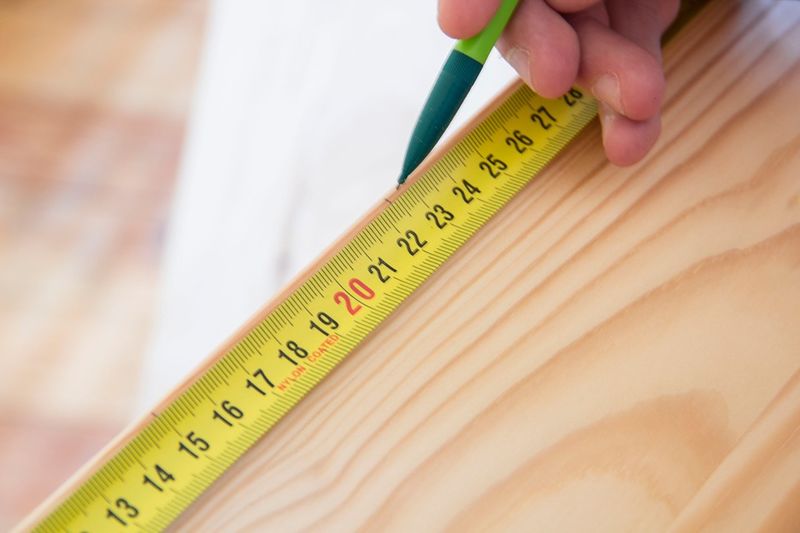
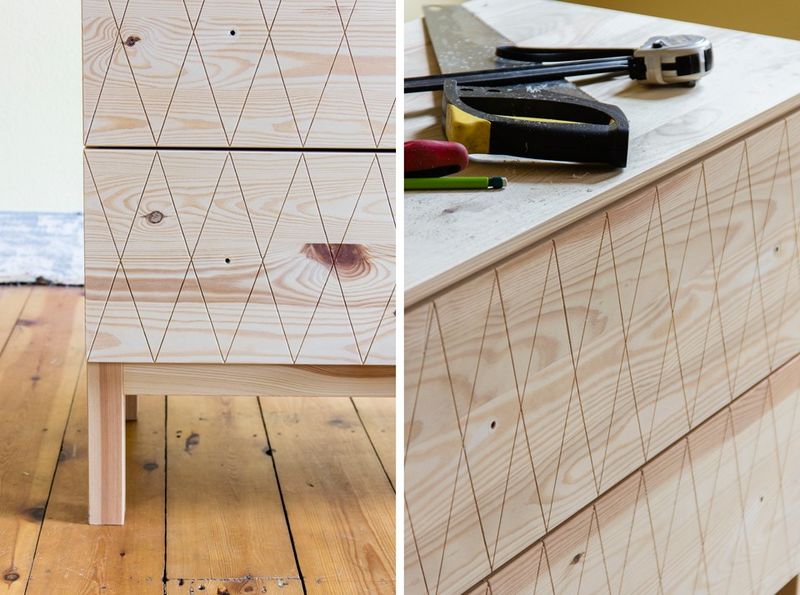
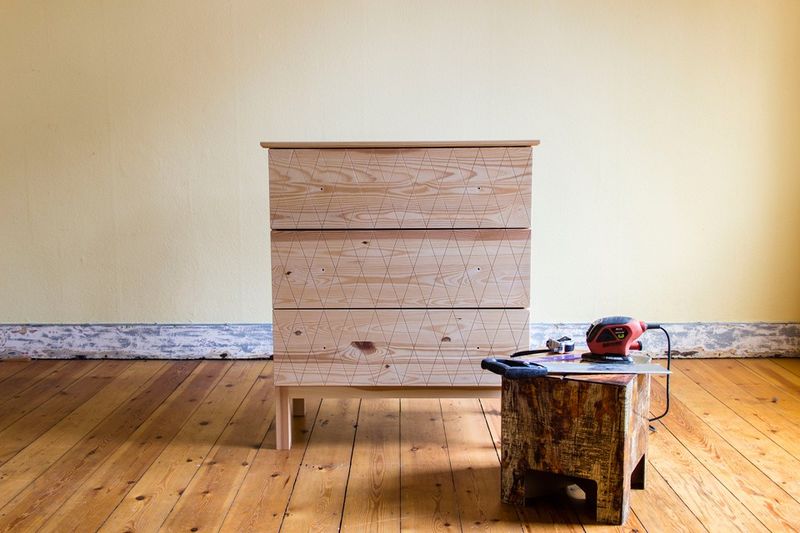
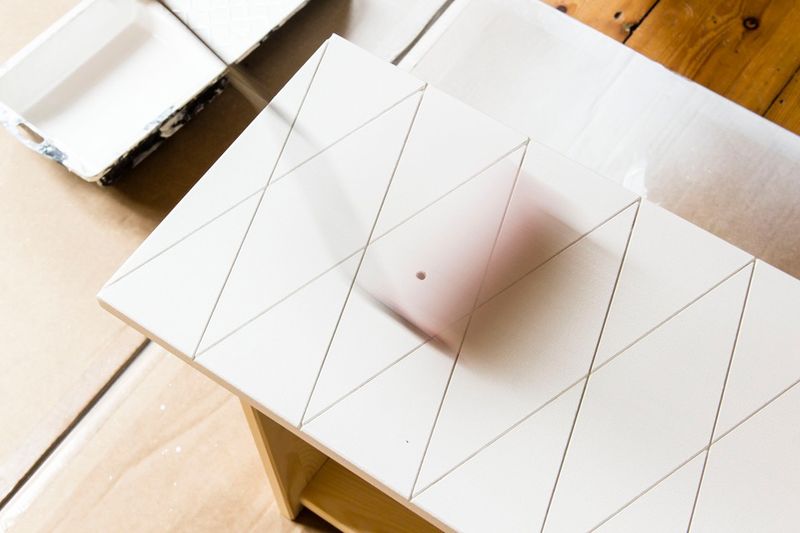
Scoring pencil every 7.5 cm on the long sides of each drawer. Then connect the dots on each other to show the diamonds.
Étape 4 - sand down
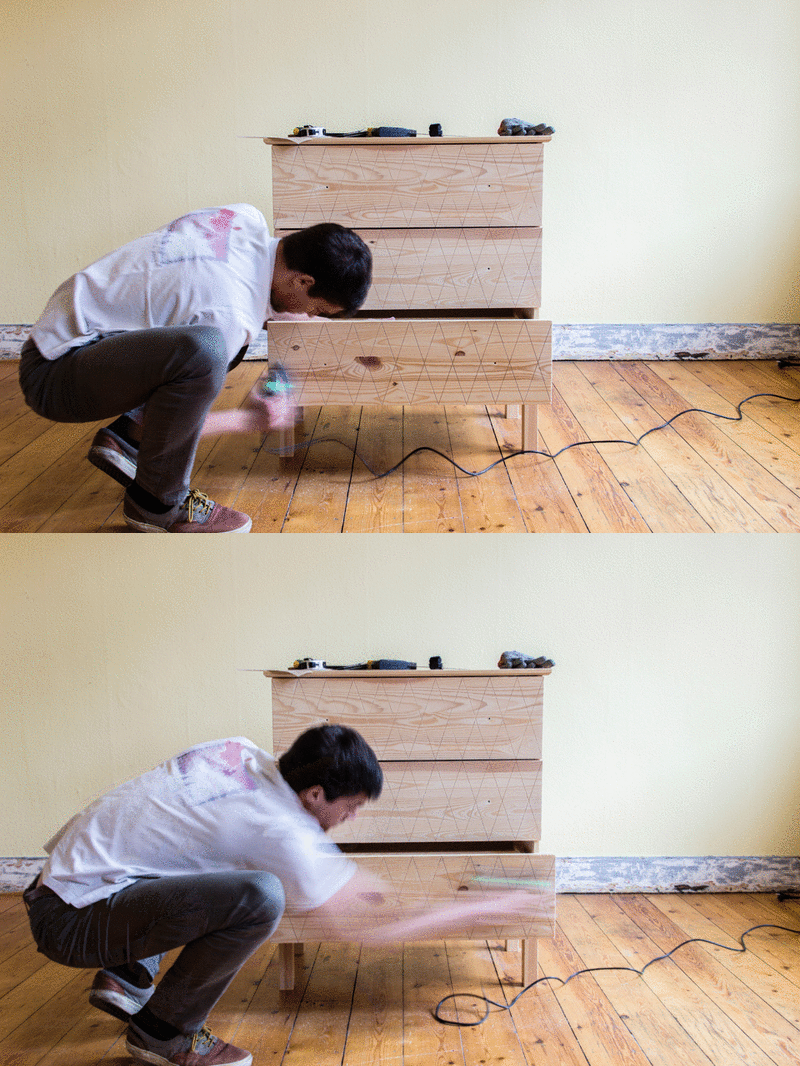
Then pinch the drawers and the parts to paint grain 120. We decided to paint the sides in more drawers, and leave the feet and the raw wood shelf.
Then suck out the whole and the part where you will paint, and have a last shot microfiber cloth to remove the last dust.
Étape 5 - Paint
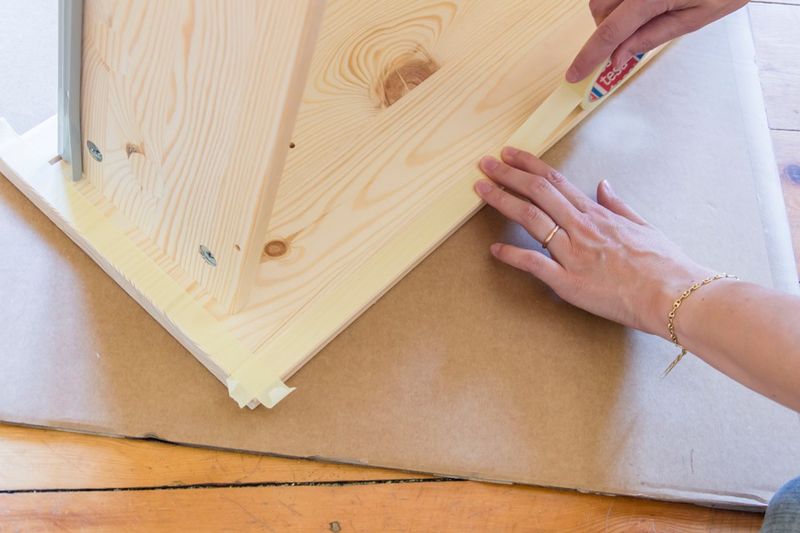
Delineate the edges with masking tape to paint to have good net paint strokes.
You can spend two satin white lacquer layers as if you want a slightly satin appearance.
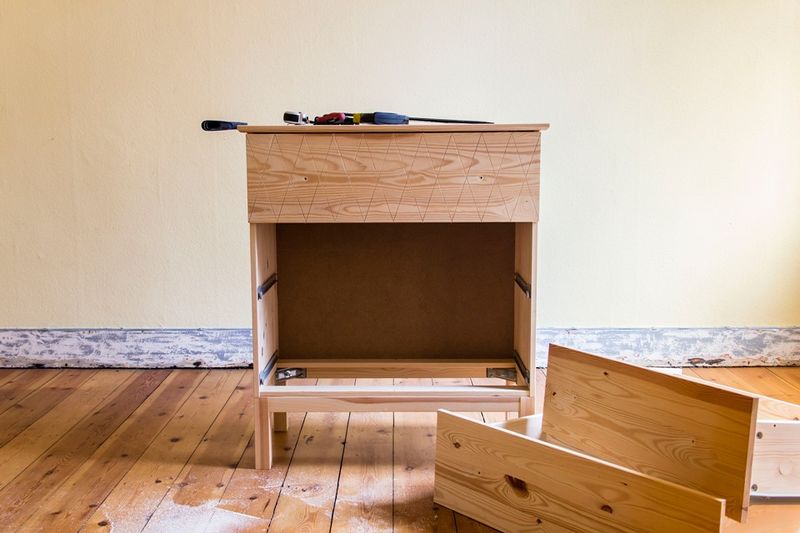
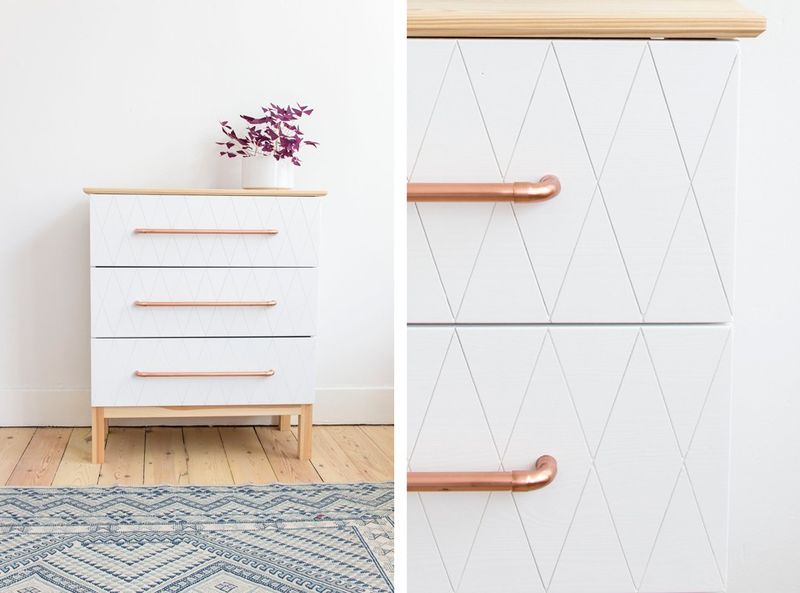
The lacquer brings out the relief cutouts.
Étape 6 - Screw the handles of the drawers
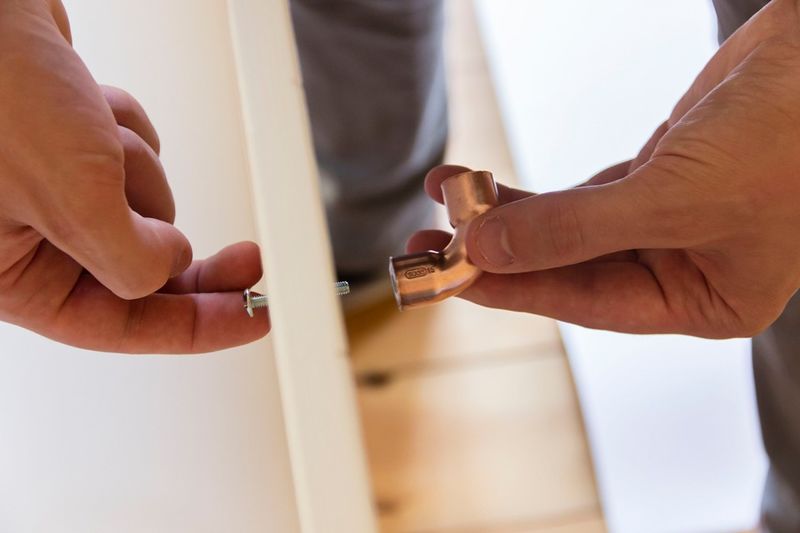
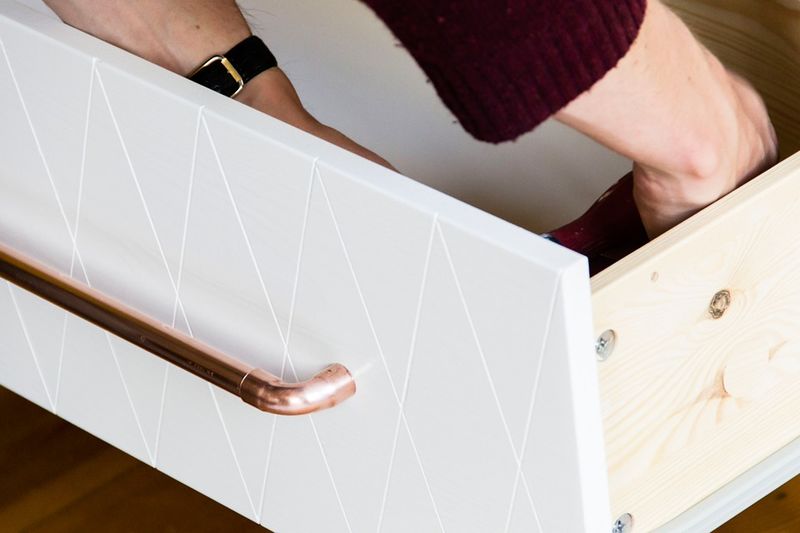
Screw the brass knobs. Each drawers: First screw one piece, then insert the tube into the nozzle screw and snap the second front end screw it.
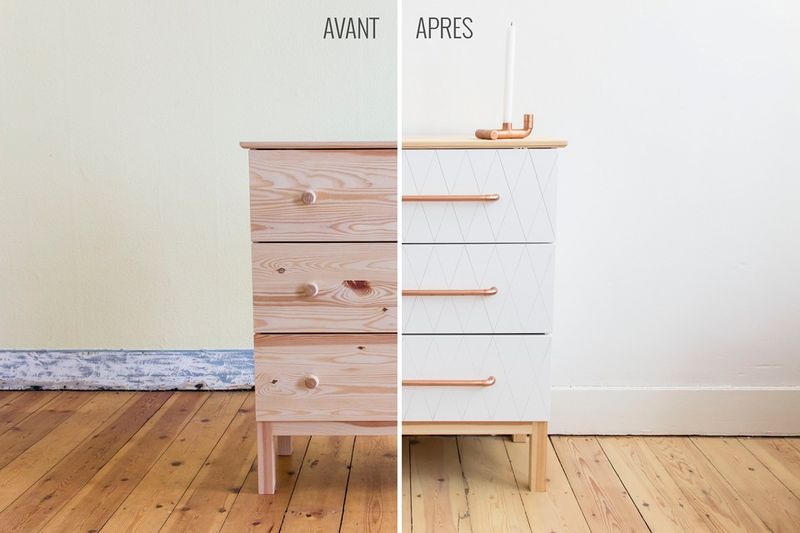
Étape 7 - Ta Da!
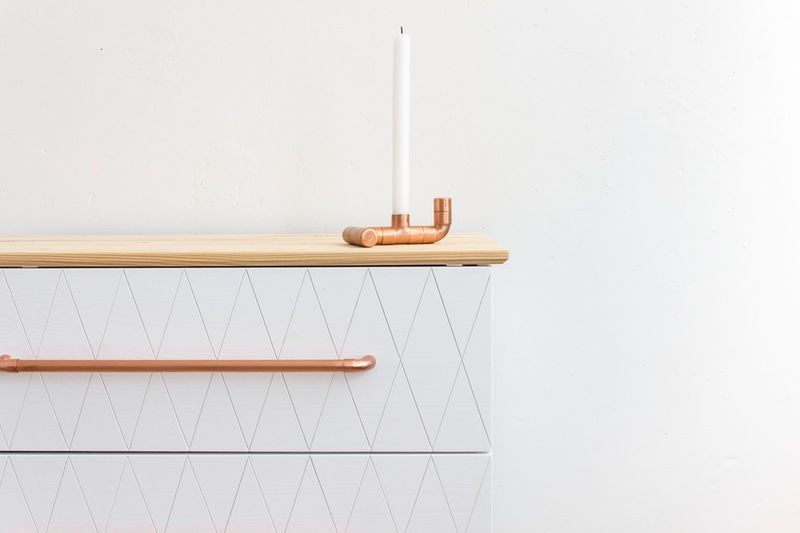
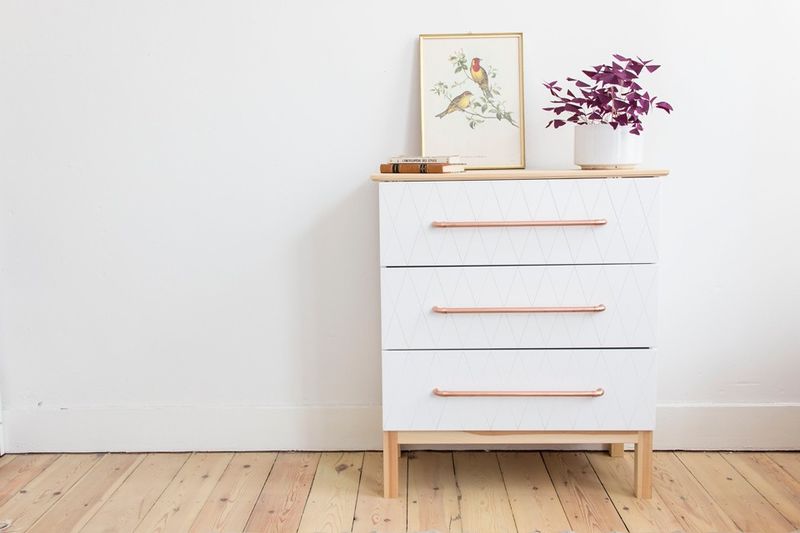
The diamond texture drawers was inspired Superfront us, this Swedish company that has had the brilliant idea to market finishes to "pimp" your IKEA furniture: feet, handles, doors, etc.
If you do not know their concept, it is time to find out! For handles, you should know that we love the copper and when the issue arose, we first thought of placing small elbows only to replace existing buttons. Then we still had tubes in stock and found that it was actually very convenient to have these bars to open the drawers!
Check this box when the tutorial is complete

 Français
 English
 Deutsch
 Español
 Italiano
 Português