(Page créée avec « {{Tuto Details |Main_Picture=How_to_use_the_Multimeter__.jpg |Main_Picture_annotation={"version":"2.4.6","objects":[{"type":"image","version":"2.4.6","originX":"left","ori... ») |
|||
| Ligne 17 : | Ligne 17 : | ||
{{Materials}} | {{Materials}} | ||
{{Tuto Step | {{Tuto Step | ||
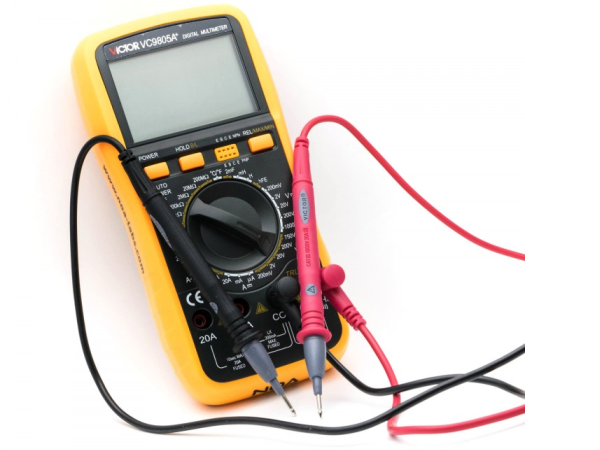
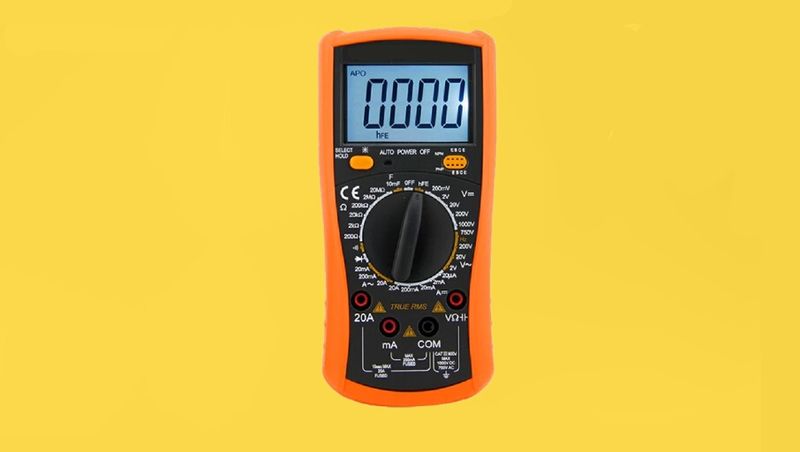
| − | |Step_Title=<translate> | + | |Step_Title=<translate>Before using the multimeter, perform "zero adjustment".</translate> |
|Step_Content=<translate></translate> | |Step_Content=<translate></translate> | ||
|Step_Picture_00=How_to_use_the_Multimeter_1.jpg | |Step_Picture_00=How_to_use_the_Multimeter_1.jpg | ||
}} | }} | ||
{{Tuto Step | {{Tuto Step | ||
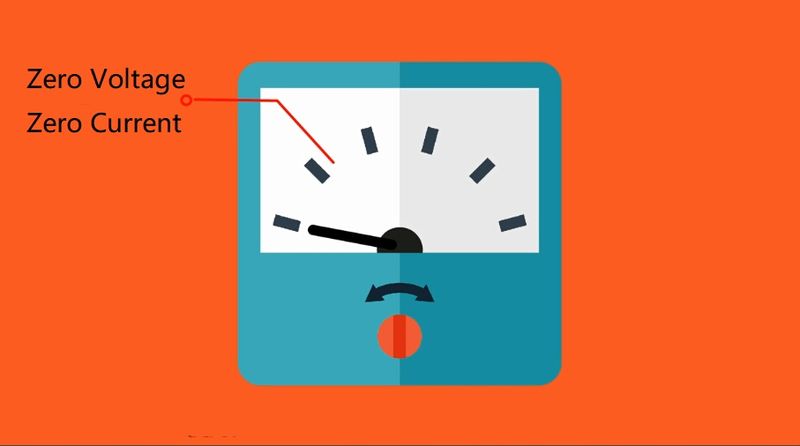
| − | |Step_Title=<translate> | + | |Step_Title=<translate>When there is no measured power, make the pointer of the multimeter point to the position of zero voltage or zero current.</translate> |
|Step_Content=<translate></translate> | |Step_Content=<translate></translate> | ||
|Step_Picture_00=How_to_use_the_Multimeter_2.jpg | |Step_Picture_00=How_to_use_the_Multimeter_2.jpg | ||
}} | }} | ||
{{Tuto Step | {{Tuto Step | ||
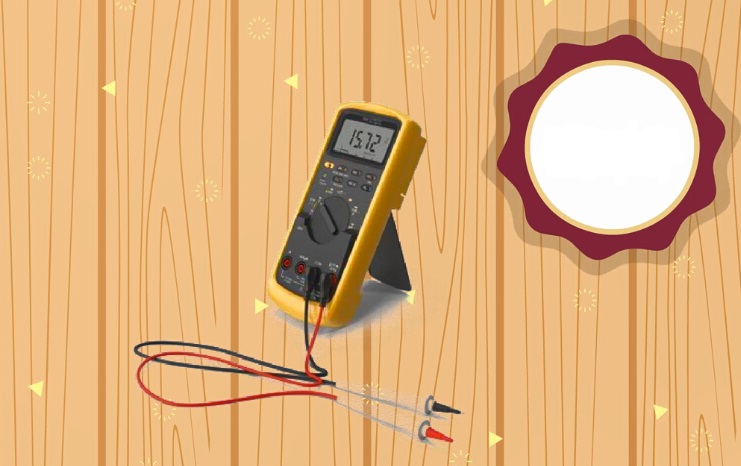
| − | |Step_Title=<translate> | + | |Step_Title=<translate>The multimeter must be placed horizontally when used to avoid errors.</translate> |
|Step_Content=<translate></translate> | |Step_Content=<translate></translate> | ||
|Step_Picture_00=How_to_use_the_Multimeter_3.jpg | |Step_Picture_00=How_to_use_the_Multimeter_3.jpg | ||
}} | }} | ||
{{Tuto Step | {{Tuto Step | ||
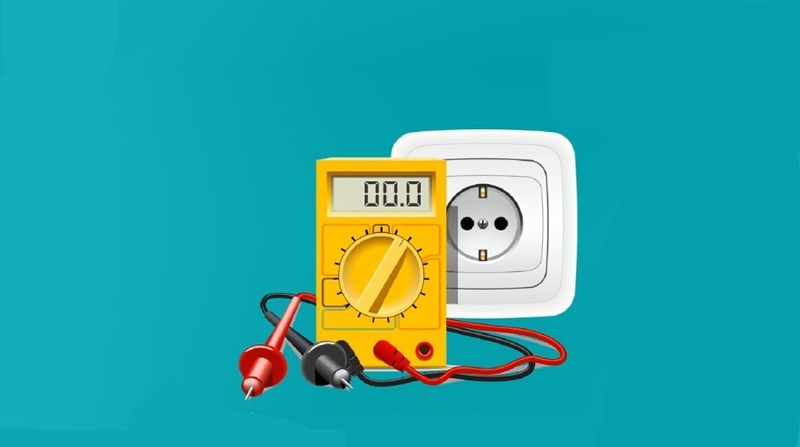
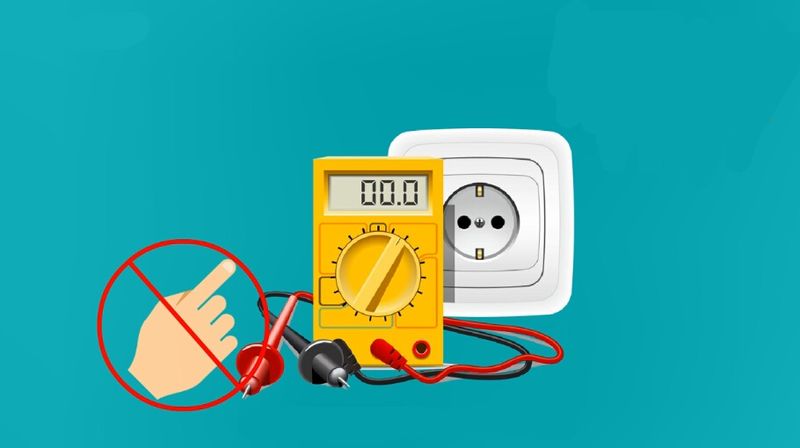
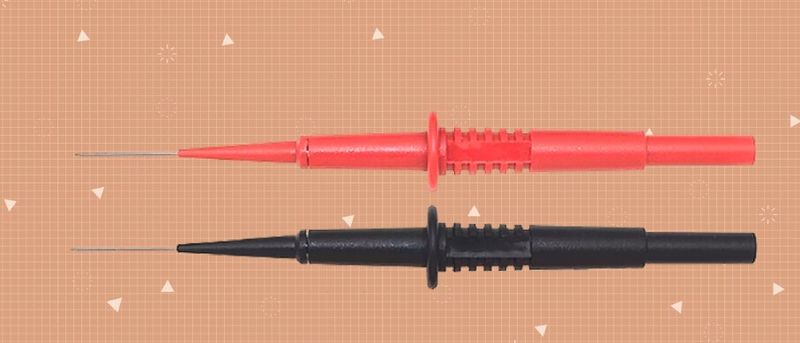
| − | |Step_Title=<translate> | + | |Step_Title=<translate>Do not touch the metal part of the test lead with your hands to ensure accurate measurement and personal safety.</translate> |
|Step_Content=<translate></translate> | |Step_Content=<translate></translate> | ||
|Step_Picture_00=How_to_use_the_Multimeter_4.jpg | |Step_Picture_00=How_to_use_the_Multimeter_4.jpg | ||
}} | }} | ||
{{Tuto Step | {{Tuto Step | ||
| − | |Step_Title=<translate> | + | |Step_Title=<translate>When measuring a certain amount of electricity, especially for high voltage or large current, you cannot shift gears while measuring, otherwise the multimeter will be damaged.</translate> |
|Step_Content=<translate></translate> | |Step_Content=<translate></translate> | ||
|Step_Picture_00=How_to_use_the_Multimeter_5.jpg | |Step_Picture_00=How_to_use_the_Multimeter_5.jpg | ||
}} | }} | ||
{{Tuto Step | {{Tuto Step | ||
| − | |Step_Title=<translate> | + | |Step_Title=<translate>If there is a need to shift gears, disconnect the test leads first and then shift gears for next measurement.</translate> |
|Step_Content=<translate></translate> | |Step_Content=<translate></translate> | ||
|Step_Picture_00=How_to_use_the_Multimeter_6.jpg | |Step_Picture_00=How_to_use_the_Multimeter_6.jpg | ||
}} | }} | ||
{{Tuto Step | {{Tuto Step | ||
| − | |Step_Title=<translate> | + | |Step_Title=<translate>After the multimeter is used, set the transfer switch to the maximum block of AC voltage.</translate> |
|Step_Content=<translate></translate> | |Step_Content=<translate></translate> | ||
|Step_Picture_00=How_to_use_the_Multimeter_7.jpg | |Step_Picture_00=How_to_use_the_Multimeter_7.jpg | ||
}} | }} | ||
{{Tuto Step | {{Tuto Step | ||
| − | |Step_Title=<translate> | + | |Step_Title=<translate>If the multimeter is not used for a long time, take out the battery inside the multimeter.</translate> |
|Step_Content=<translate></translate> | |Step_Content=<translate></translate> | ||
|Step_Picture_00=How_to_use_the_Multimeter_8.jpg | |Step_Picture_00=How_to_use_the_Multimeter_8.jpg | ||
| Ligne 64 : | Ligne 64 : | ||
}} | }} | ||
{{PageLang | {{PageLang | ||
| + | |Language=en | ||
|SourceLanguage=none | |SourceLanguage=none | ||
|IsTranslation=0 | |IsTranslation=0 | ||
| − | |||
}} | }} | ||
{{Tuto Status | {{Tuto Status | ||
|Complete=Draft | |Complete=Draft | ||
}} | }} | ||
Version du 25 décembre 2019 à 07:55
A tutorial about the usage of the multimeter.
Difficulté
Très facile
Durée
5 minute(s)
Catégories
Électronique
Coût
12 USD ($)
Sommaire
- 1 Introduction
- 2 Étape 1 - Before using the multimeter, perform "zero adjustment".
- 3 Étape 2 - When there is no measured power, make the pointer of the multimeter point to the position of zero voltage or zero current.
- 4 Étape 3 - The multimeter must be placed horizontally when used to avoid errors.
- 5 Étape 4 - Do not touch the metal part of the test lead with your hands to ensure accurate measurement and personal safety.
- 6 Étape 5 - When measuring a certain amount of electricity, especially for high voltage or large current, you cannot shift gears while measuring, otherwise the multimeter will be damaged.
- 7 Étape 6 - If there is a need to shift gears, disconnect the test leads first and then shift gears for next measurement.
- 8 Étape 7 - After the multimeter is used, set the transfer switch to the maximum block of AC voltage.
- 9 Étape 8 - If the multimeter is not used for a long time, take out the battery inside the multimeter.
- 10 Notes et références
- 11 Commentaires
Introduction
The household appliances in your home sometimes have a short circuit. Under the circumstances , you need to use a multimeter to detect it. So in the following, I’ll introduce to you about the usage of the multimeter. I hope it can help you.
Matériaux
Outils
Étape 2 - When there is no measured power, make the pointer of the multimeter point to the position of zero voltage or zero current.
Étape 4 - Do not touch the metal part of the test lead with your hands to ensure accurate measurement and personal safety.
Étape 5 - When measuring a certain amount of electricity, especially for high voltage or large current, you cannot shift gears while measuring, otherwise the multimeter will be damaged.
Étape 6 - If there is a need to shift gears, disconnect the test leads first and then shift gears for next measurement.
Étape 8 - If the multimeter is not used for a long time, take out the battery inside the multimeter.
Notes et références
Related Source:
Test Resistors with the Multimeter
Draft


 Français
 English
 Deutsch
 Español
 Italiano
 Português