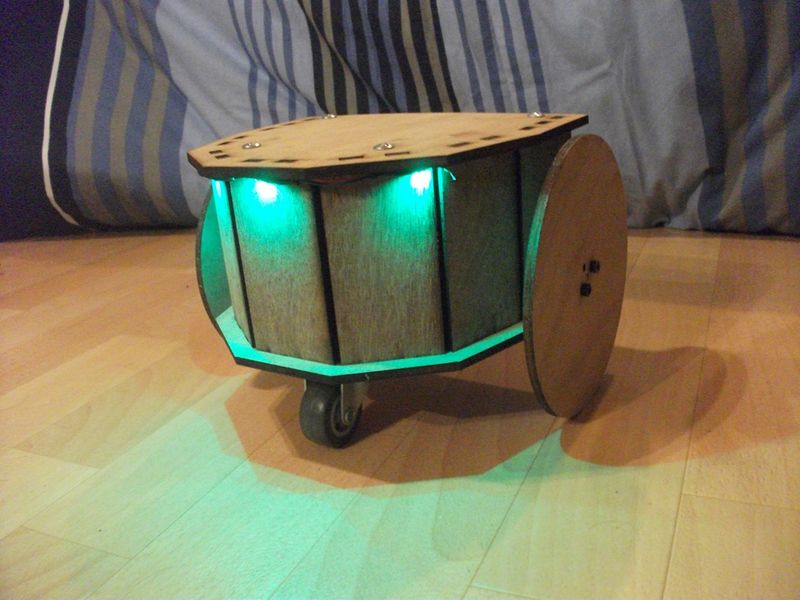
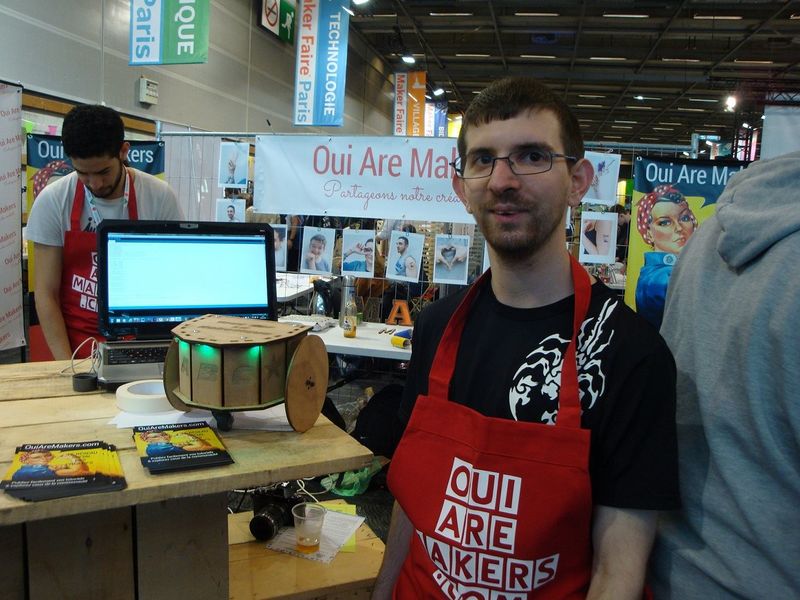
Imparerete a costruire un piccolo robot controllato da telecomando. Questo robot è realizzato in legno con scheda elettronica (arduino uno) ed estensione di controllo per entrambi i motori. Video demo: https://www.youtube.com/watch?v=D8cRWR_TL4g
Introduction
Youtube
Matériaux
1x spessore pannello in legno 5 mm 610 mm x 407 mm
1x Arduino Uno http://www.lextronic.fr/P4124-platine-arduino-uno-rev-3.html
1x Bandeau Led verte https://www.led-flexible.com/led-flexible-au-detail/1007-bande-led-unicolore-vert-non-etanche-de-25m-au-detail.html
1x alimentation pile (pour bandeau à led) https://www.led-flexible.com/alimentation-led-12-volts/408-boitier-piles-extra-plat-pour-ruban-led.html
2x Moteurs DC http://www.lextronic.fr/P29728-motor-pack-dc25.html
1x Motor Shield http://www.lextronic.fr/P26224-platine-motor-shield-rev3-pour-arduino.html
1x capteur infrarouge 1x télécommande infrarouge http://www.robotshop.com/eu/fr/kit-infrarouge-pour-arduino.html
2x supports de pile (6 pile LR6 1,5Volt) (Alimentation principale Arduino Uno)
4x Piles 4,5Volts (2 pack montés en parallèle, chaque pack comporte 2 piles 4,5V montées en série) - (ça fait une alimentation sous 9V pour l’alimentation de puissance j’ai mis en parallèle pour avoir une plus longue autonomie)
8x Écrous M4 http://www.bricovis.fr/std/ecrous-9.php#Grille
8x vis M4 – 50 http://www.bricovis.fr/std/vis-tete-bombee-26.php#Grille
4x Entretoise M4 http://fr.rs-online.com/web/p/entretoises/9141006/
1x roue pivotante http://www.leroymerlin.fr/v3/p/produits/roulette-pivotante-a-tige-filetee-diam-50-mm-e21351#&xtmc=roulette_pivotante_a_tige_filete&xtcr=1
Outils
- Tournevis Cruciforme
- Clé Alen 1,5 mm (serrage des vis M3)
- pince de serrage (maintenir les entretoises et écrous)
- Découpeuse laser ou scie sauteuse + perceuse
Étape 1 - Piani
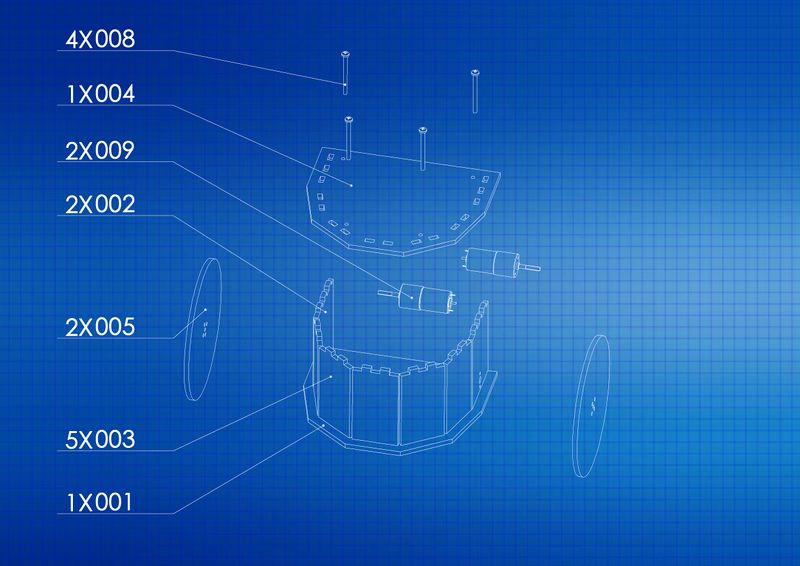
Ecco i disegni di ogni parte per realizzare il robot con le dimensioni (in mm)
Scarica i file: https://framadrive.org/index.php/s/oHlHOqSsc18I4U1
explication du dessin :
A quoi correspond le 1er chiffre avec X ?
le 1er chiffre correspond au nombre de fois ou la pièce est utilisé, par exemple 1x001 veut dire que la pièce 001 et utilisé une seule fois) - 001 correspond au nom du fichier utilisé soit le fichier 001.SLDPRT (solidworks)
Vous pouvez télécharger et ouvrir le fichier suivant : https://framadrive.org/s/7SHD4NXCia3dvFL (ce fichier nécessite l'installation du logiciel INKSCAPE téléchargeable avec ce lien : https://inkscape.org/fr/).
Dans ce fichier intitulé "Robot_ABC_V1.svg" figure les pièces à découper.
A quoi correspond le 3 chiffres?
Au nom des pièces
001.SLDPRT = la base
002.SLDPRT = les supports moteurs
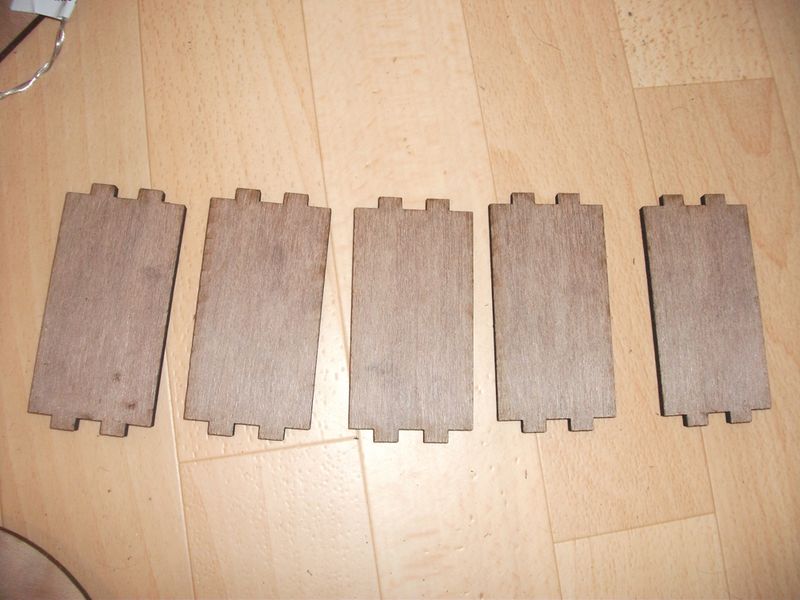
003.SLDPRT = les arcs
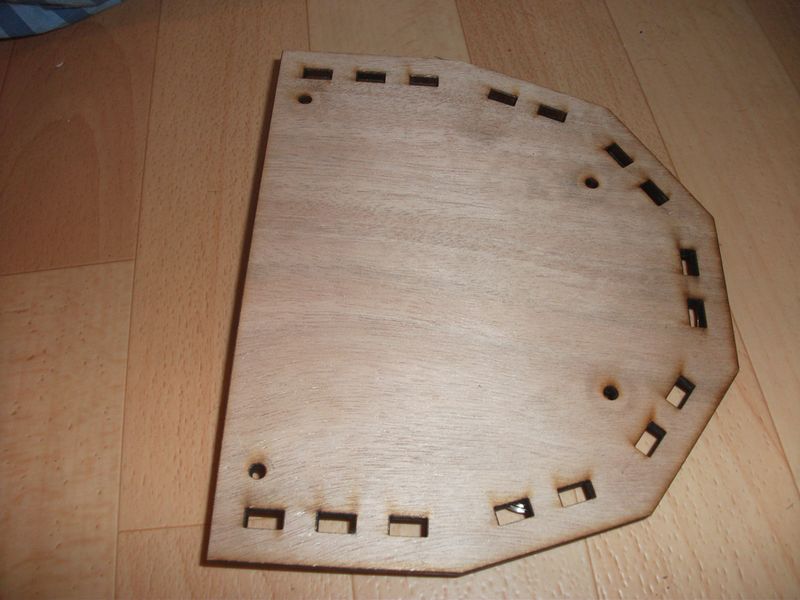
004.SLDPRT = le dessus
005.SLDPRT = les roues
008.SLDPRT = Les vis M4 50mm
Per utilizzare una macchina per taglio laser, vedere l' elenco dei FabLabs per trovare quello più vicino a voi: http://www.makery.info/map-labs/
Pour se servir d'une découpeuse laser voir la liste des FabLab pour trouver le plus proche de chez vous : http://www.makery.info/map-labs/
Étape 2 - Supporto
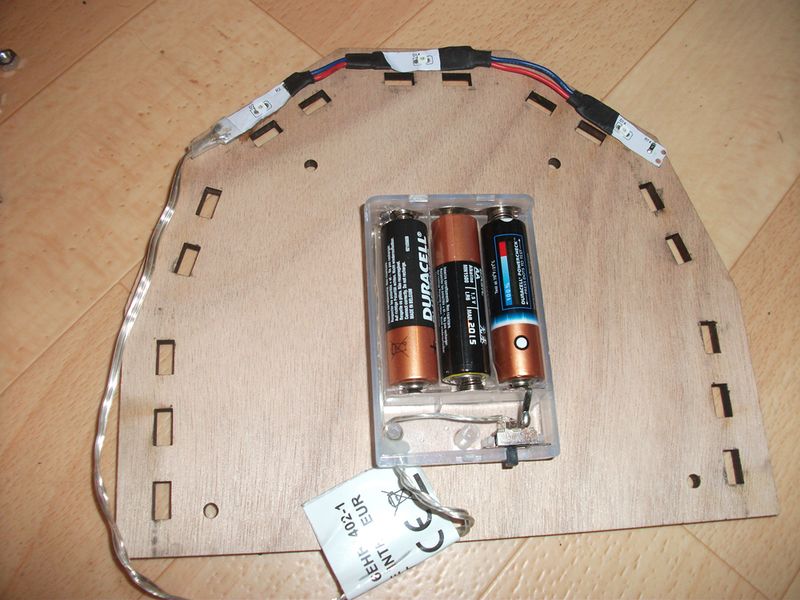
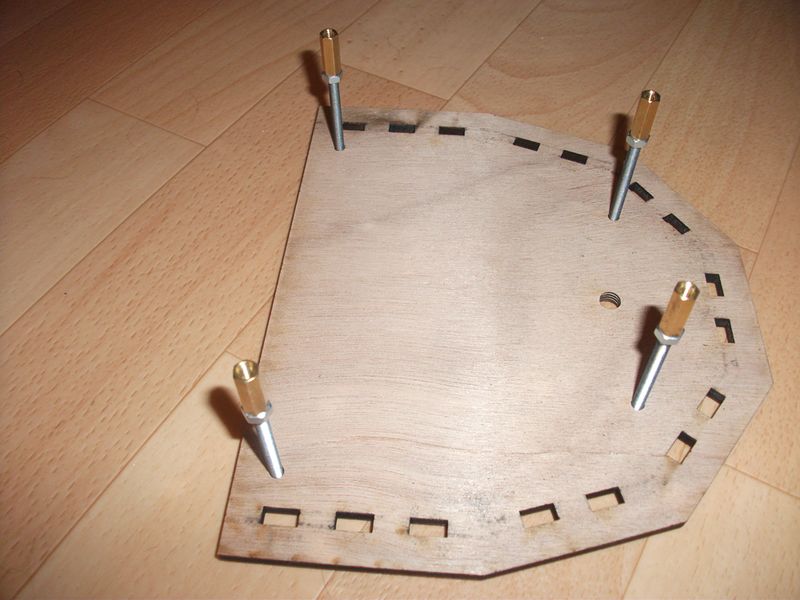
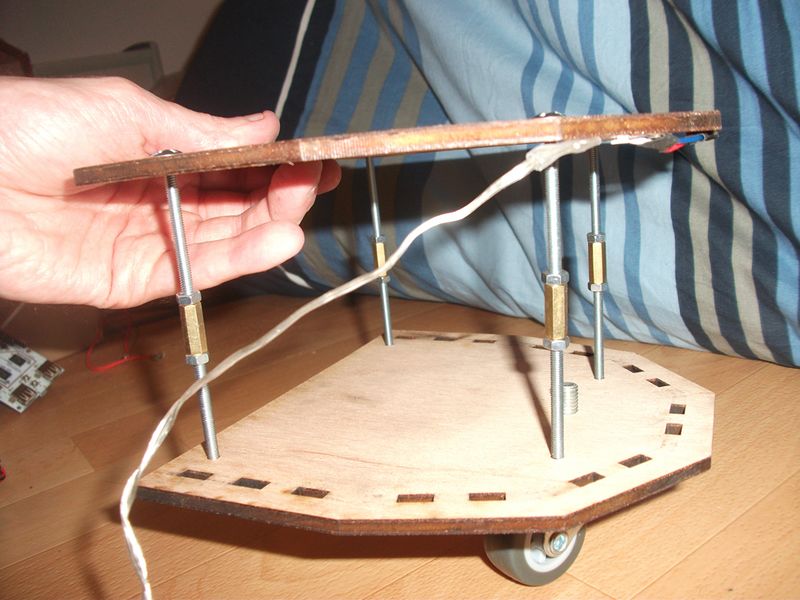
Iniziamo prendendo la base aggiungendo il supporto con la batteria collegata ai 3 LED verdi.
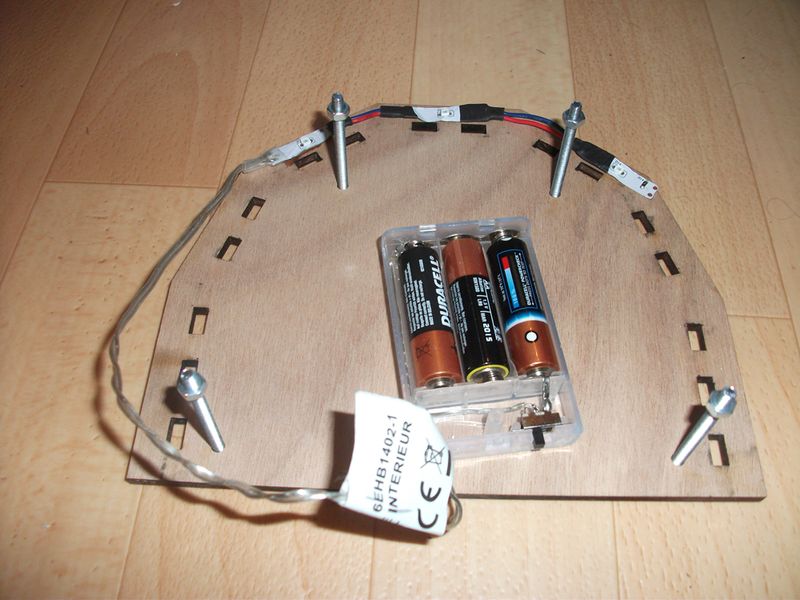
Prendere 4 viti M4 e inserirle nei 4 fori e fissare 1 dado su ciascuna vite.
Étape 3 - Sotto
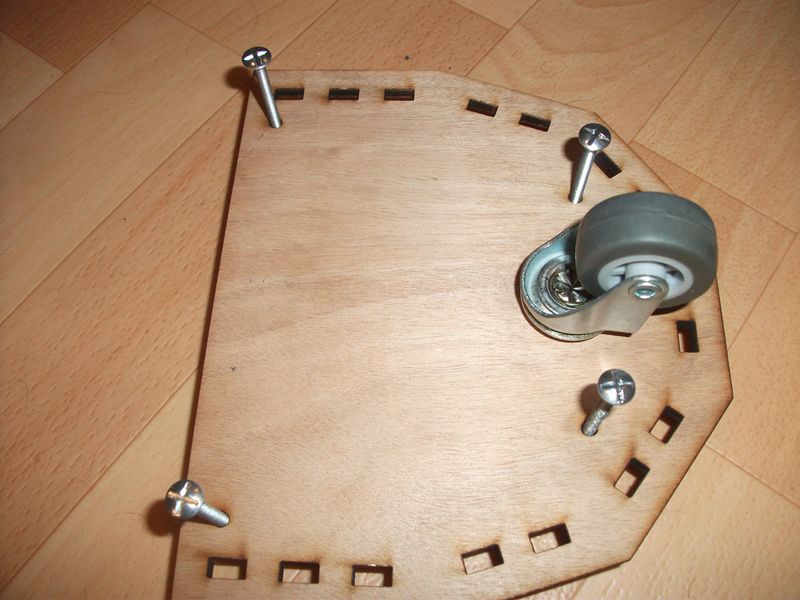
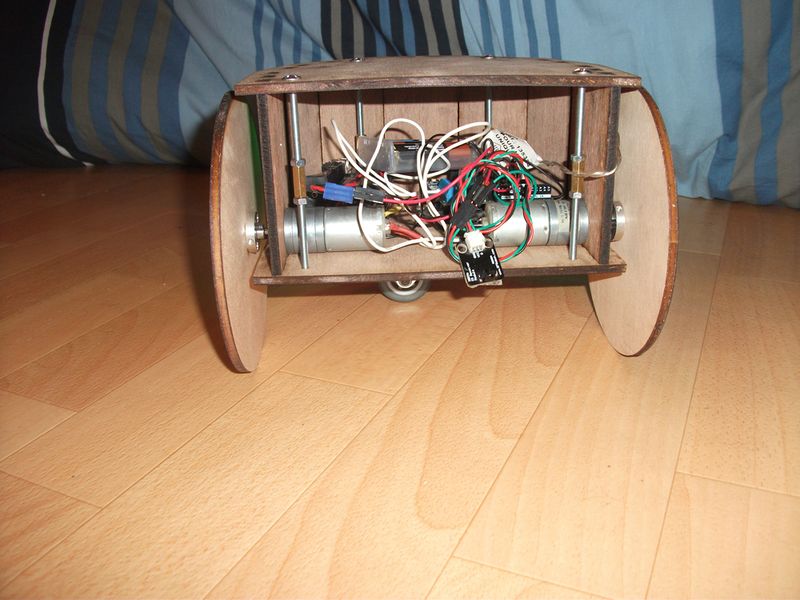
Inserire 4 viti M4 50mm con dadi e distanziali, quindi ruotare il gruppo per fissare il volante.
Étape 6 - Montaggio finale
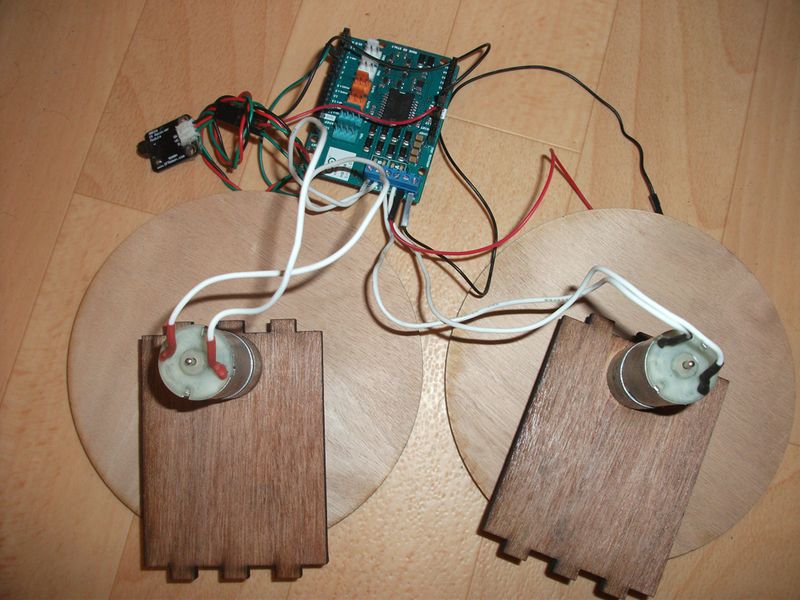
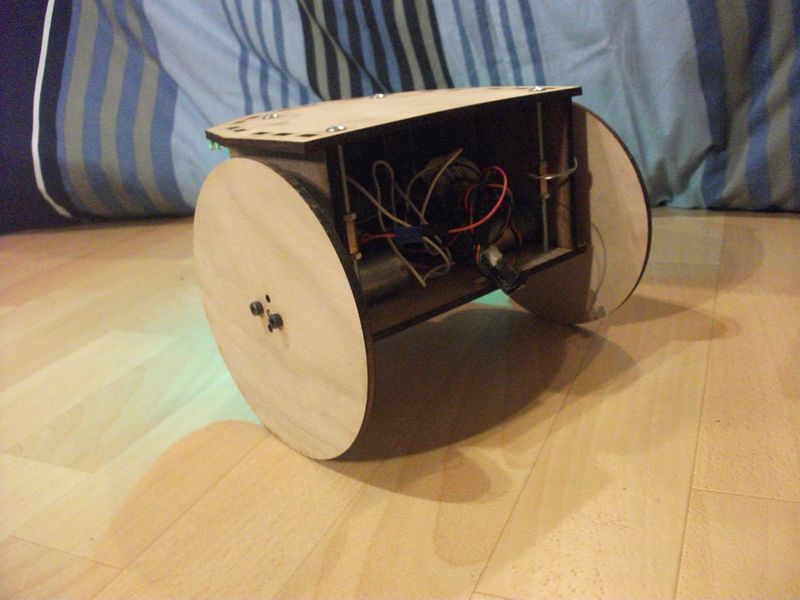
Montare i pannelli di arrotondamento e i pannelli sul lato motore nell' illustrazione al punto 4.
Étape 7 - Panoramica robotizzata
Prochaine évolution mettre un capteur ultrason pour détection et évitement d’obstacle et un suiveur de ligne.
Published

 Français
 English
 Deutsch
 Español
 Italiano
 Português