Matériaux
Outils
Étape 1 -
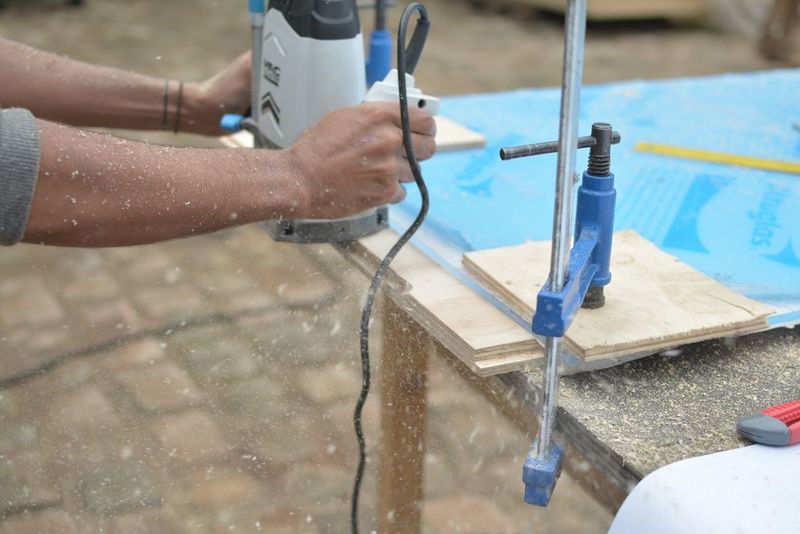
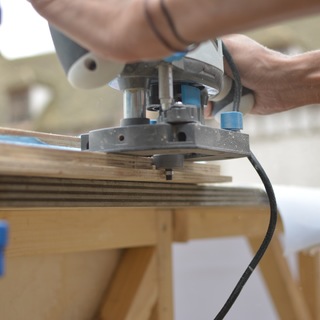
Pour le faire rentrer dans le cadre existant, je devais chanfreiner mon contreplaqué de 20 mm à la moitié son épaisseur. En fixant un morceau bien droit de matériau sur le bord, je pouvais simplement pousser contre lui avec la défonceuse tout en me déplaçant latéralement pour obtenir une coupe nette et droite.
Étape 4 -
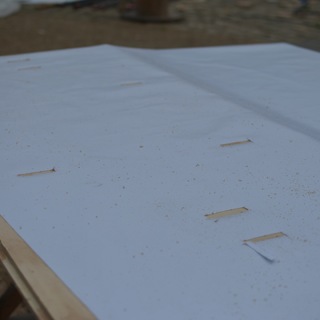
La manière dont la membrane imperméable a été fixée au mur «humide» est manquante. Idéalement, une sorte de colle serait plus logique.
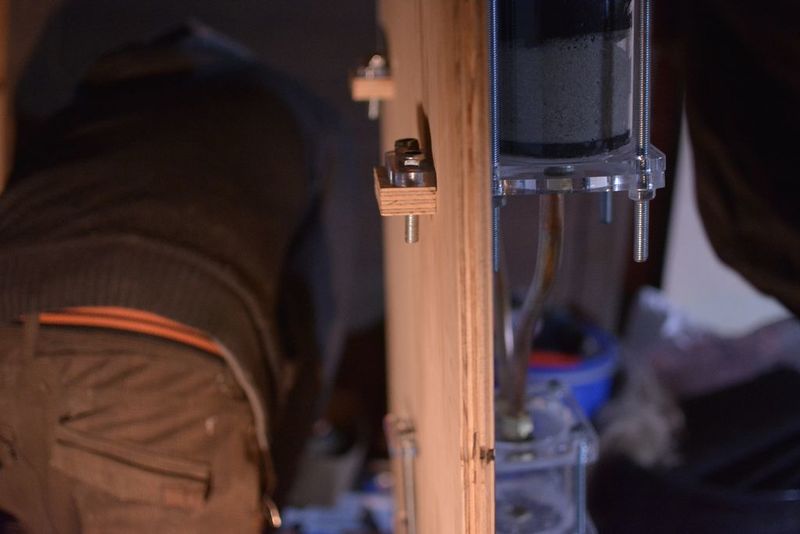
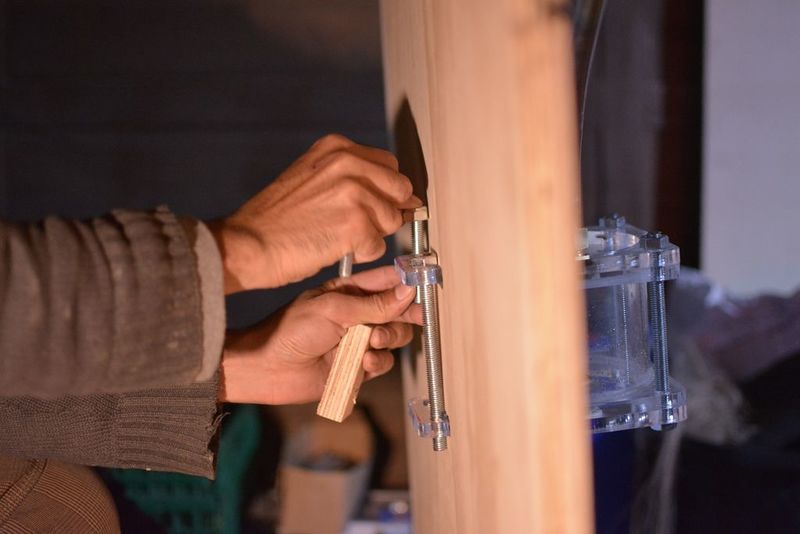
Insert the mount plates through the wall and using bolts or cut threaded rod, washers and nuts fasten the mount plate/filter or regulator to the wall. The holes where a bit too far out for the mount plates so there was too big of a gap to just use nuts to hold everything tightly together, so some 20mm plywood was cut and holes attached (in the same positions as the mount plates) to get a tight fit between the mount plate, plywood and wall.
Étape 5 -
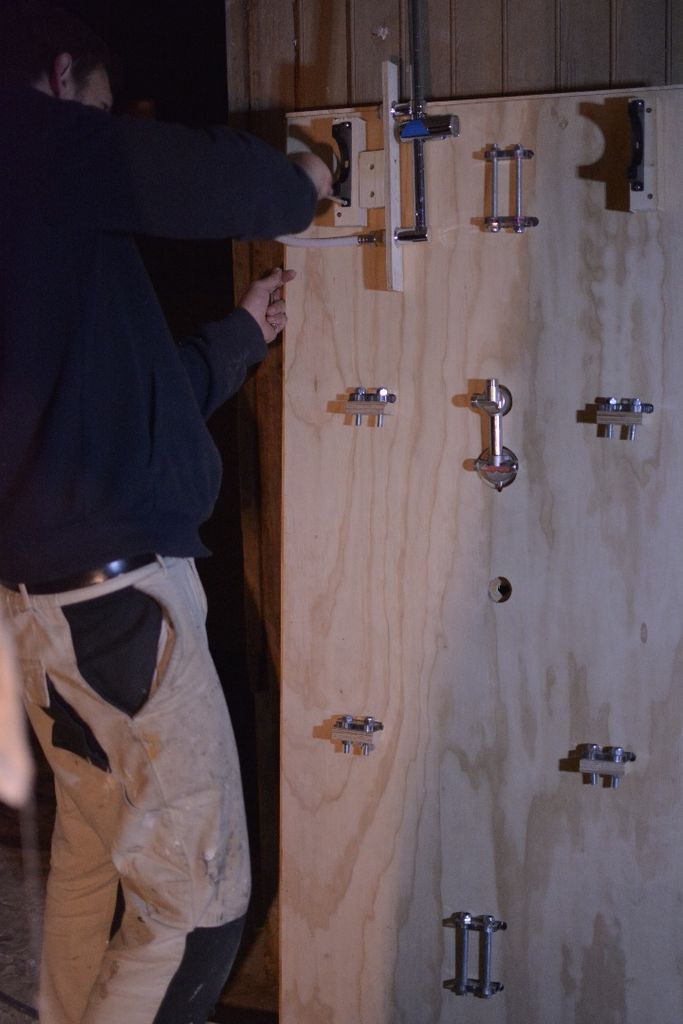
Here's a picture of Timm and the back wall in it's entirety. The black semi-circles are something that came with the UV-lamp which let's us mount it easily. Normally this would be on the inside of the shower but this version was so big it couldn't fit inside the shower horizontally. While smaller UV lamps of 20W should be sufficient for 10l/min the numbers seem to vary from supplier to supplier and I would lean on the side of caution. A cool set up could be to have a small UV pre filter and after the filter whereby the pre filter UV may be good enough to reduce or stop bacterial growth inside the filter all together which does occur even in drinking water filters, but the type of bacteria isn't harmful. In either case this is what the post-filter UV is for, to make sure that there are no negative effects.
Published
 Français
 English
 Deutsch
 Español
 Italiano
 Português