(Page créée avec « {{Tuto Details |Main_Picture=Cardboard_Cable_Car_Model_With_Recycled_Materials__Working_Model_250rpm_Electric_Motor_and_Basic_Slide_Switch_ON-OFF-ON__School_Science_Projec... ») |
|||
| Ligne 72 : | Ligne 72 : | ||
2 sets of 2 sticks will be glued on top of each other.</translate> | 2 sets of 2 sticks will be glued on top of each other.</translate> | ||
|Step_Picture_00=Cardboard_Cable_Car_Model_With_Recycled_Materials__Working_Model_250rpm_Electric_Motor_and_Basic_Slide_Switch_ON-OFF-ON__School_Science_Project__9.png | |Step_Picture_00=Cardboard_Cable_Car_Model_With_Recycled_Materials__Working_Model_250rpm_Electric_Motor_and_Basic_Slide_Switch_ON-OFF-ON__School_Science_Project__9.png | ||
| + | }} | ||
| + | {{Tuto Step | ||
| + | |Step_Title=<translate>Plastic Pulley Wheel Holder Assembly</translate> | ||
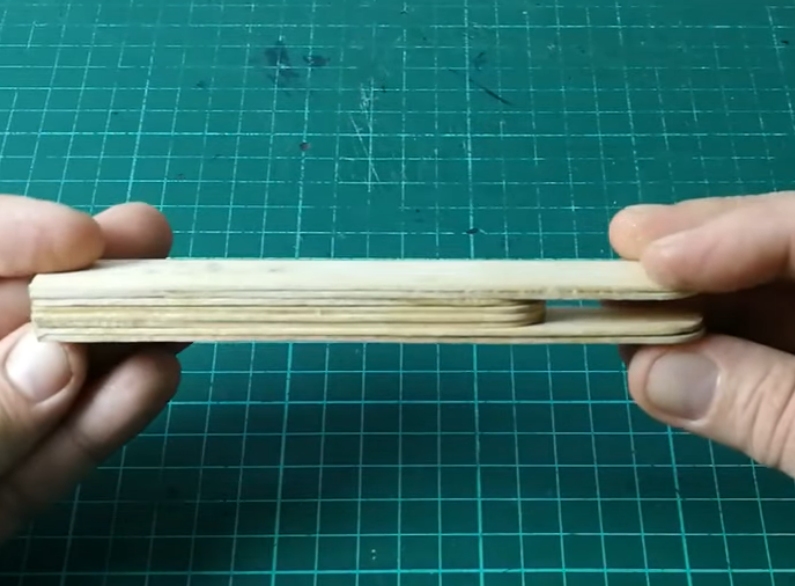
| + | |Step_Content=<translate>Glue the popsicle sticks together in the form of a slingshot, keeping the group of 4 in the middle.</translate> | ||
| + | |Step_Picture_00=Cardboard_Cable_Car_Model_With_Recycled_Materials__Working_Model_250rpm_Electric_Motor_and_Basic_Slide_Switch_ON-OFF-ON__School_Science_Project__10.png | ||
| + | }} | ||
| + | {{Tuto Step | ||
| + | |Step_Title=<translate>Drill a Hole on Slingshot</translate> | ||
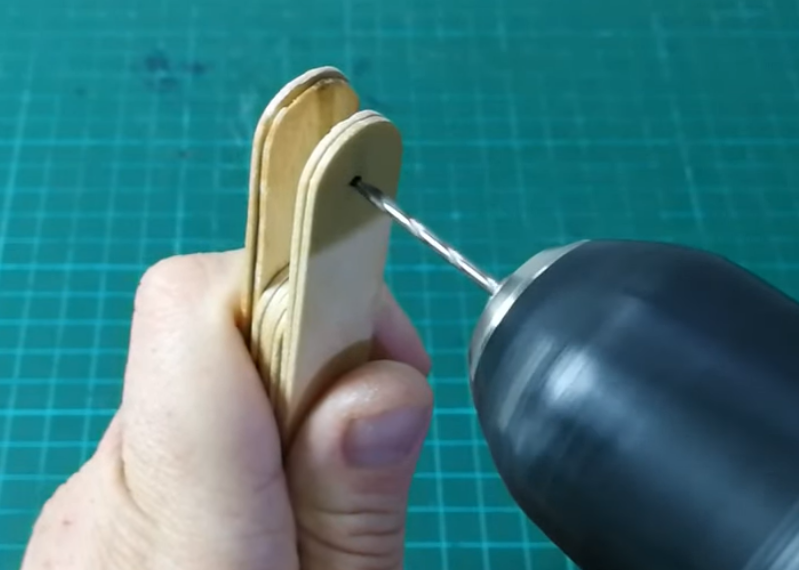
| + | |Step_Content=<translate>Drill a hole on slingshot shaped holder for plastic pulley.</translate> | ||
| + | |Step_Picture_00=Cardboard_Cable_Car_Model_With_Recycled_Materials__Working_Model_250rpm_Electric_Motor_and_Basic_Slide_Switch_ON-OFF-ON__School_Science_Project__11.png | ||
| + | }} | ||
| + | {{Tuto Step | ||
| + | |Step_Title=<translate>Mount Plastic Pulley on Slingshot</translate> | ||
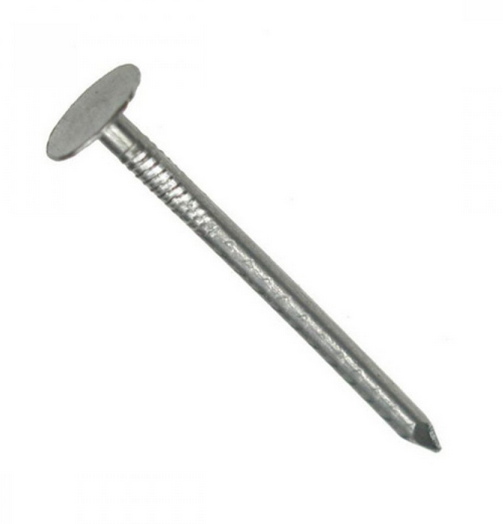
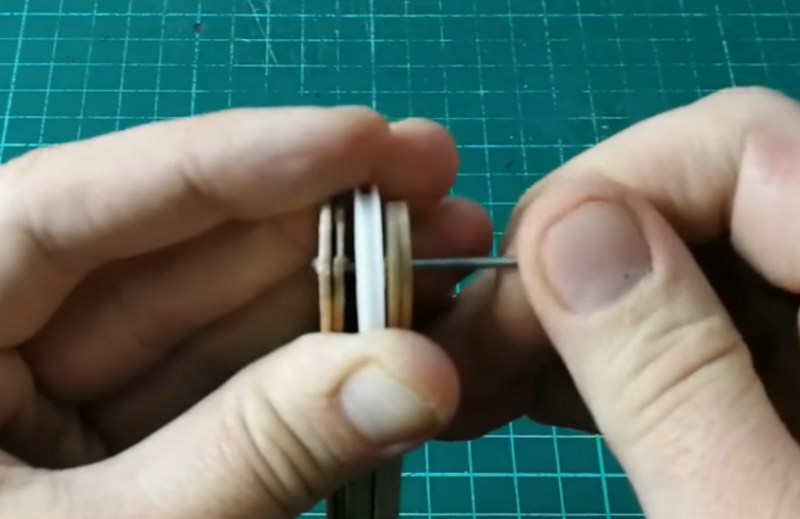
| + | |Step_Content=<translate>Mount plastic pulley wheel with a nail between slingshot arms.</translate> | ||
| + | |Step_Picture_00=Cardboard_Cable_Car_Model_With_Recycled_Materials__Working_Model_250rpm_Electric_Motor_and_Basic_Slide_Switch_ON-OFF-ON__School_Science_Project__12.png | ||
| + | }} | ||
| + | {{Tuto Step | ||
| + | |Step_Title=<translate>Motor Base</translate> | ||
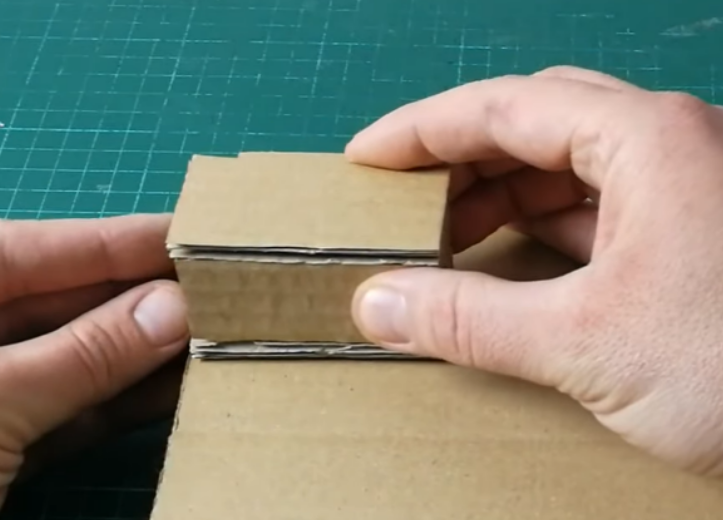
| + | |Step_Content=<translate>Glue cardboard block onto base left side.</translate> | ||
| + | |Step_Picture_00=Cardboard_Cable_Car_Model_With_Recycled_Materials__Working_Model_250rpm_Electric_Motor_and_Basic_Slide_Switch_ON-OFF-ON__School_Science_Project__13.png | ||
}} | }} | ||
{{Notes | {{Notes | ||
| Ligne 77 : | Ligne 97 : | ||
}} | }} | ||
{{PageLang | {{PageLang | ||
| + | |Language=en | ||
|SourceLanguage=none | |SourceLanguage=none | ||
|IsTranslation=0 | |IsTranslation=0 | ||
| − | |||
}} | }} | ||
{{Tuto Status | {{Tuto Status | ||
|Complete=Draft | |Complete=Draft | ||
}} | }} | ||
Version du 27 mars 2024 à 08:14
Sommaire
- 1 Introduction
- 2 Video d'introduction
- 3 Étape 1 - Mounting Pulley Wheel on Motor Shaft
- 4 Étape 2 - Glue Popsicle Stick for Pulley Holder
- 5 Étape 3 - Plastic Pulley Wheel Holder Assembly
- 6 Étape 4 - Drill a Hole on Slingshot
- 7 Étape 5 - Mount Plastic Pulley on Slingshot
- 8 Étape 6 - Motor Base
- 9 Commentaires
Introduction
Youtube
Matériaux
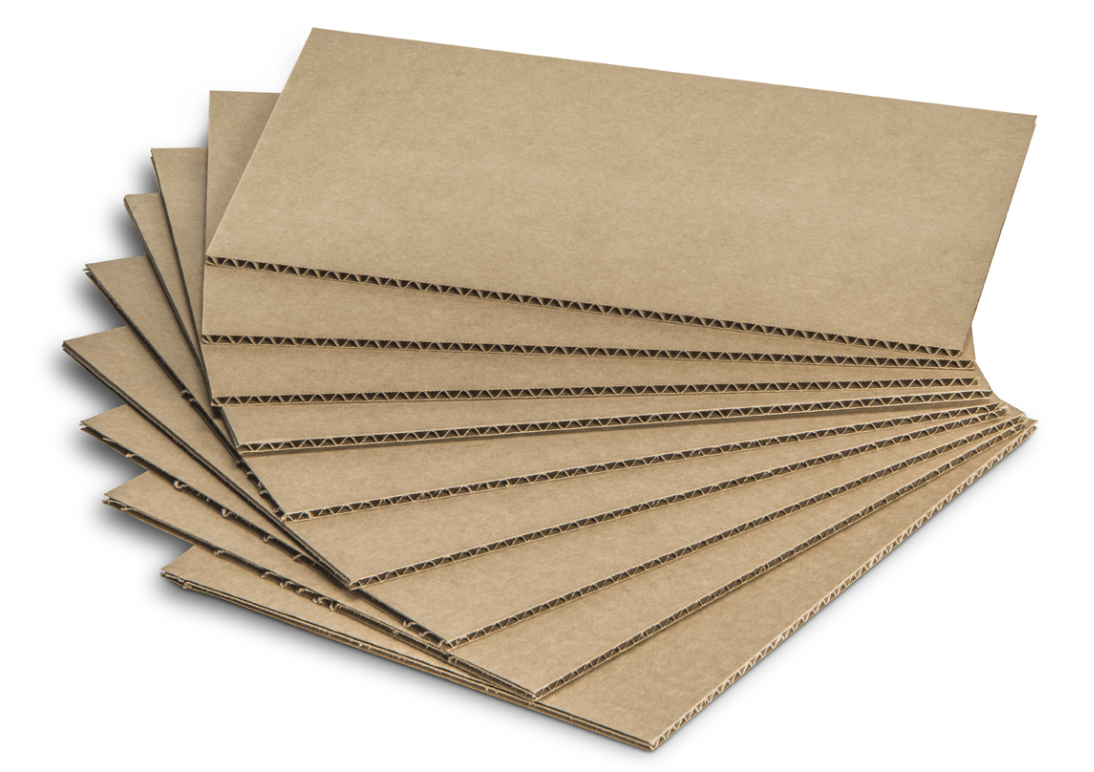
• 1pcs 25*35cm 5mm Cardboard for project Ground
• 8pcs popsicle stick (15cm)
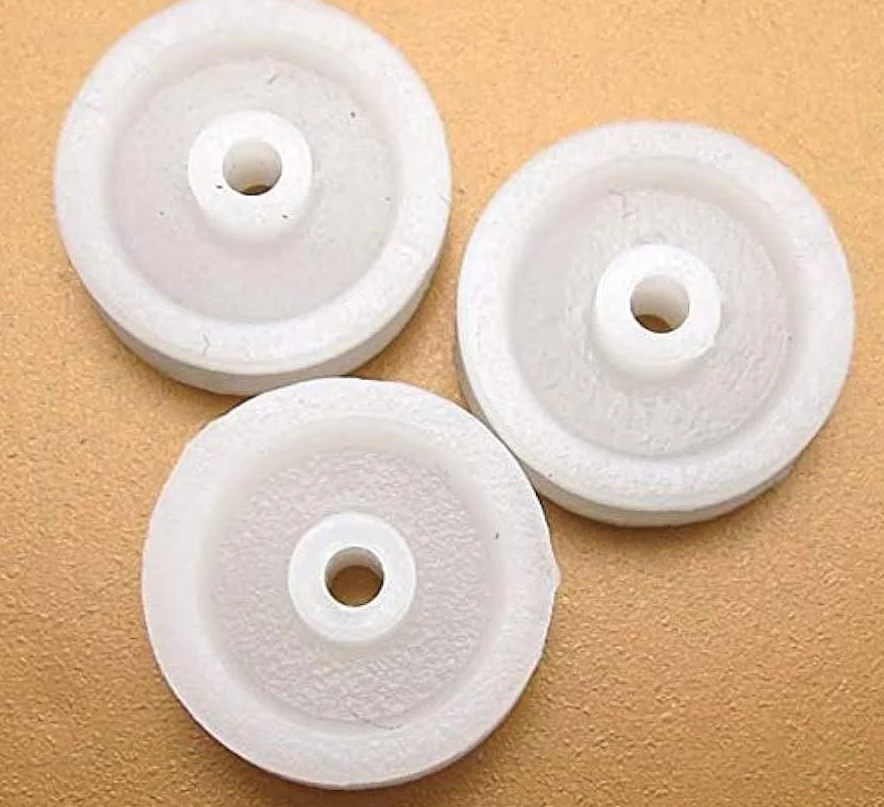
• 2pcs Plastic Pulley Wheel (Recycled from old CD/DVD burner)
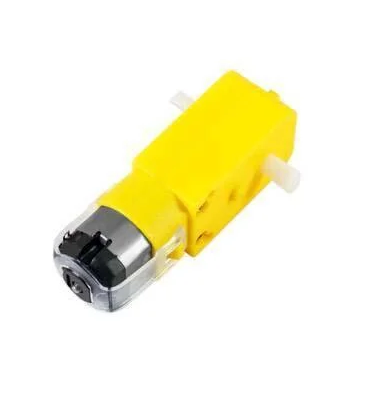
• 1pcs DC BO Motor (6V)
• 7x4x3cm cardboard Block (Stacked 6pcs 4*7cm cardboard)
• Plastic Bottle Cap
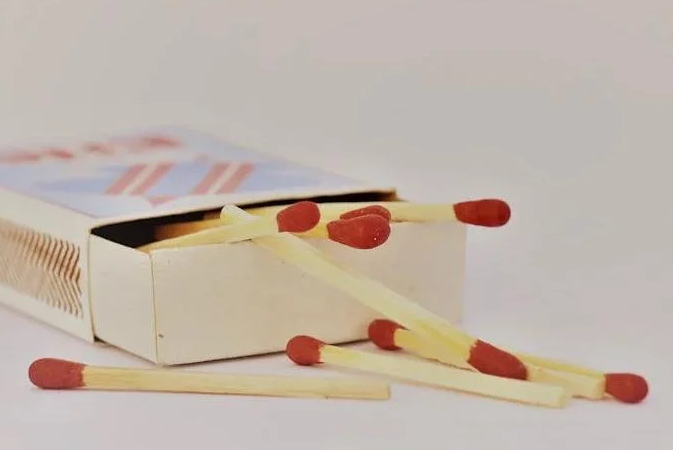
• 4pcs Match
• 1pcs Battery Holder
• 1pcs DPDT On-Off-On Slide Switch
• Passengers (Optional)
• Nylon yarn
• 1pcs thin nail
Outils
• soldering iron
• Cutter
• Glue
Étape 1 - Mounting Pulley Wheel on Motor Shaft
You can check all steps on video briefly or follow below steps.
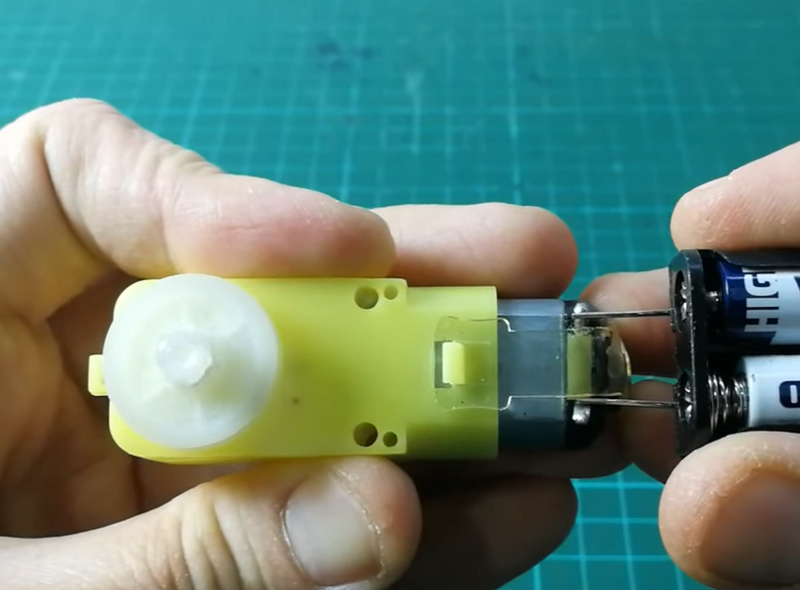
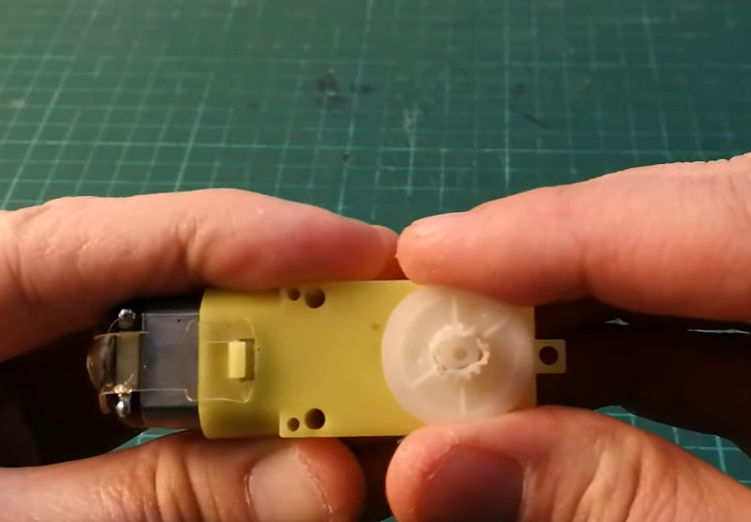
• Mount plastic pulley wheel onto DC motor shaft and glue on it.
Étape 2 - Glue Popsicle Stick for Pulley Holder
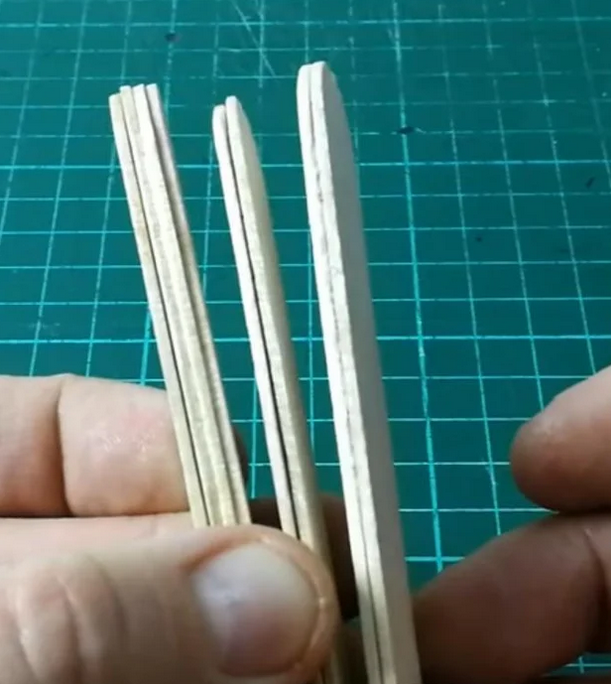
Glue the popsicle sticks on top of each other.
1 set of 4 sticks will be glued on top of each other.
2 sets of 2 sticks will be glued on top of each other.
Étape 3 - Plastic Pulley Wheel Holder Assembly
Glue the popsicle sticks together in the form of a slingshot, keeping the group of 4 in the middle.
Étape 5 - Mount Plastic Pulley on Slingshot
Mount plastic pulley wheel with a nail between slingshot arms.
Draft


 Français
 English
 Deutsch
 Español
 Italiano
 Português