(set pageLanguageSource property) |
(set pageLanguageSource property) |
||
| Ligne 89 : | Ligne 89 : | ||
}} | }} | ||
{{ {{tntn|Tuto Status}} | {{ {{tntn|Tuto Status}} | ||
| − | |Complete= | + | |Complete=Published |
}} | }} | ||
{{ {{tntn|Separator}}}} | {{ {{tntn|Separator}}}} | ||
Version du 27 juin 2018 à 10:25
Matériaux
The main thing you need for this is wood.
You can buy finished wood, recycle chair legs, or use found wood like driftwood or fallen branches (remember, do not cut or break wood from live trees). Aim for a thickness of around five to eight centimetres (two to three inches), and around two metres (six feet) in total.
The exact dimensions are not crucial, go with what fits your available materials and suits your personal taste (there isn't even a hard reason for your skittles to have a circular cross section, so, go ahead, make them square if you want).
Outils
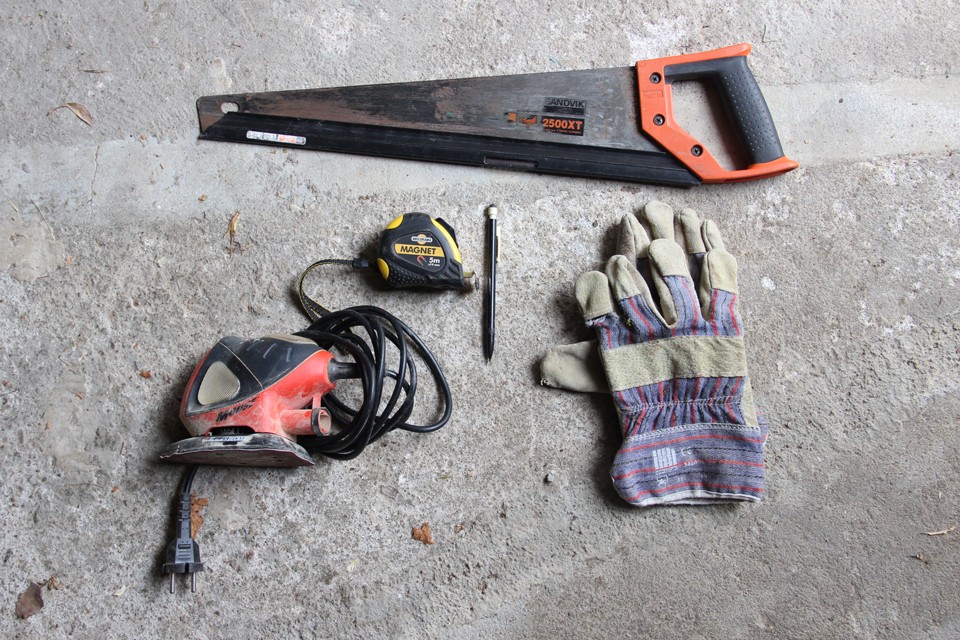
- Wood saw (hand or power saw)
- Sandpaper or a knife for smoothing edges
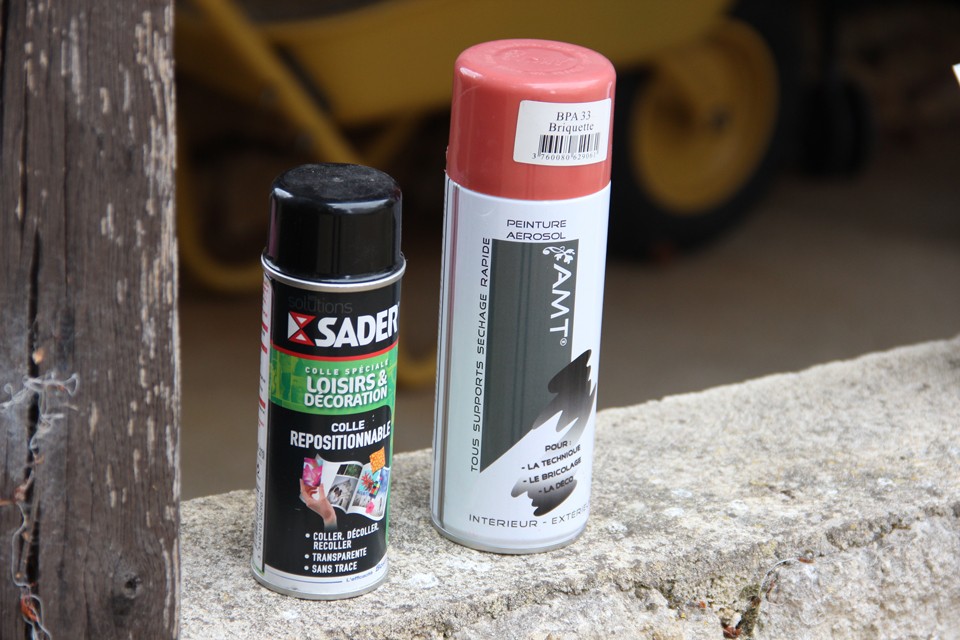
- Paint to mark numbers on the skittles
Étape 1 - Cutting
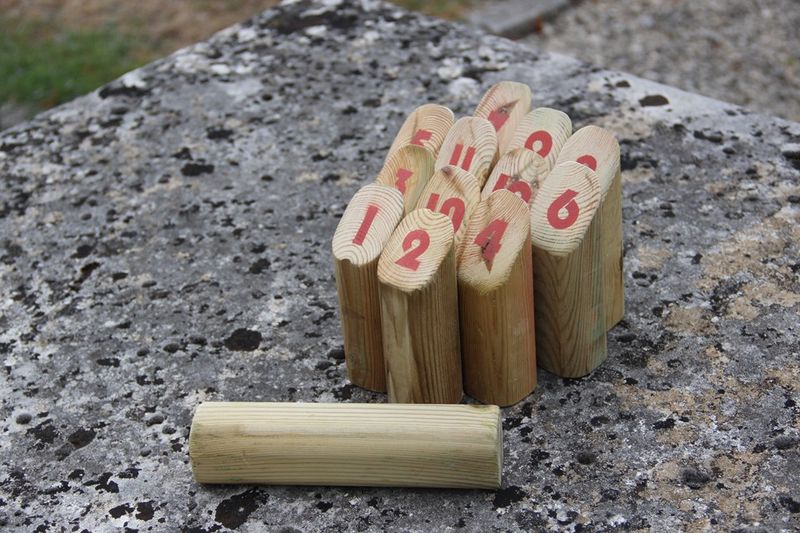
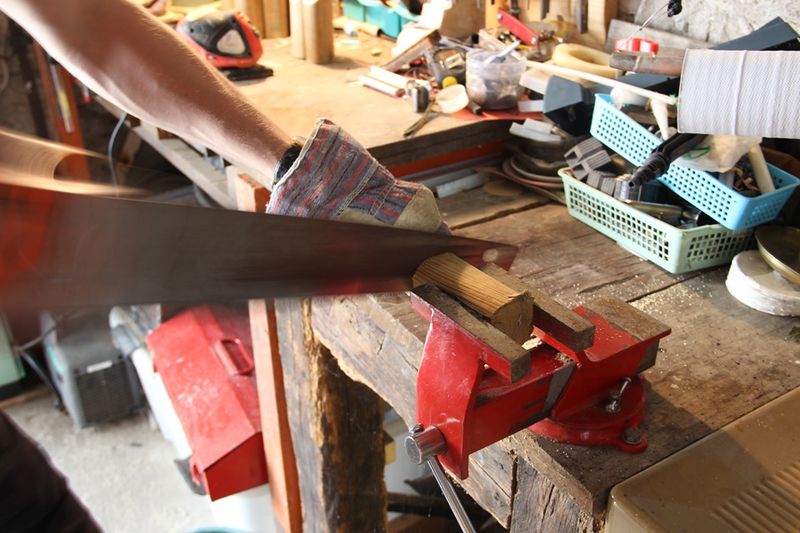
You need to cut twelve skittles and one throwing pin, or mölkky (although you may wish to cut two).
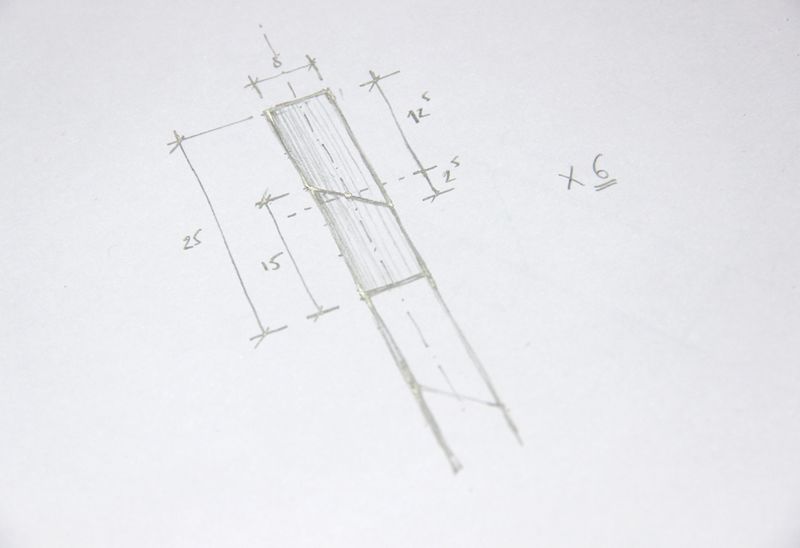
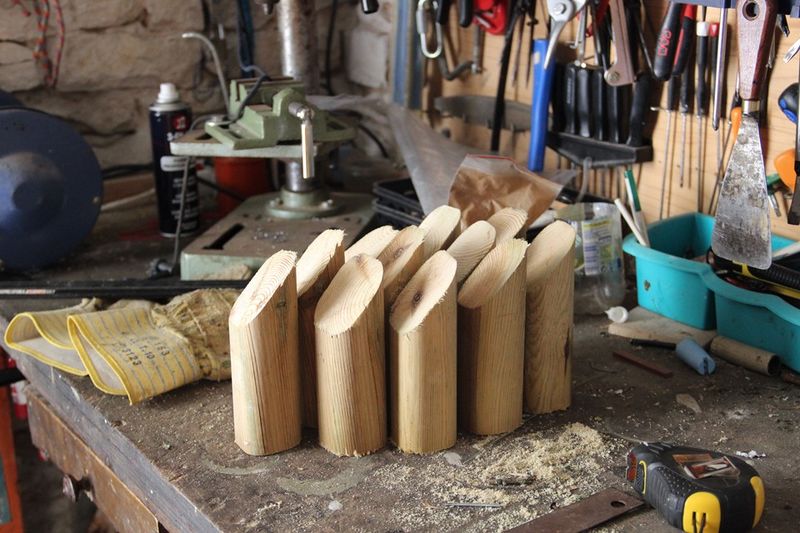
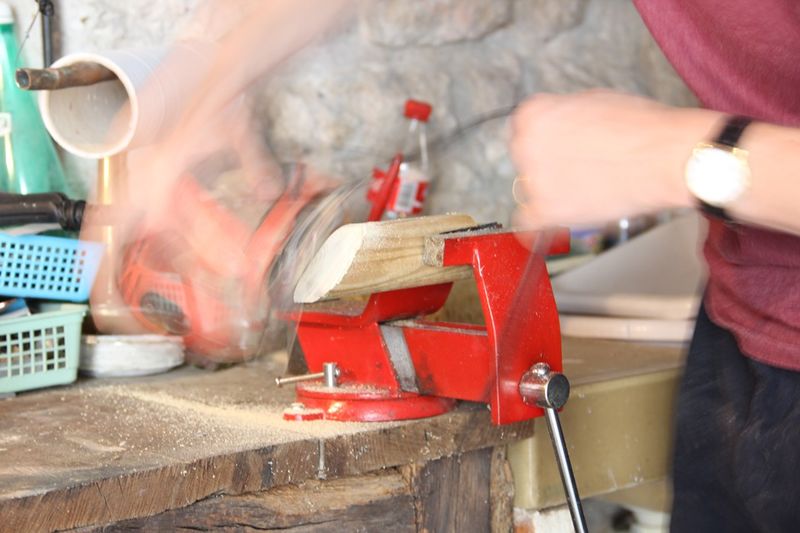
The skittles need to be cut with one end at around a 30º angle. If you are cutting all the skittles from a single piece of wood, that means that you need to alternate between 30º and 90º cuts, starting with a 30º cut.
You are aiming for lengths of about 20cm / 8" for both the skittles and the mölkky.
Étape 6 - Marking
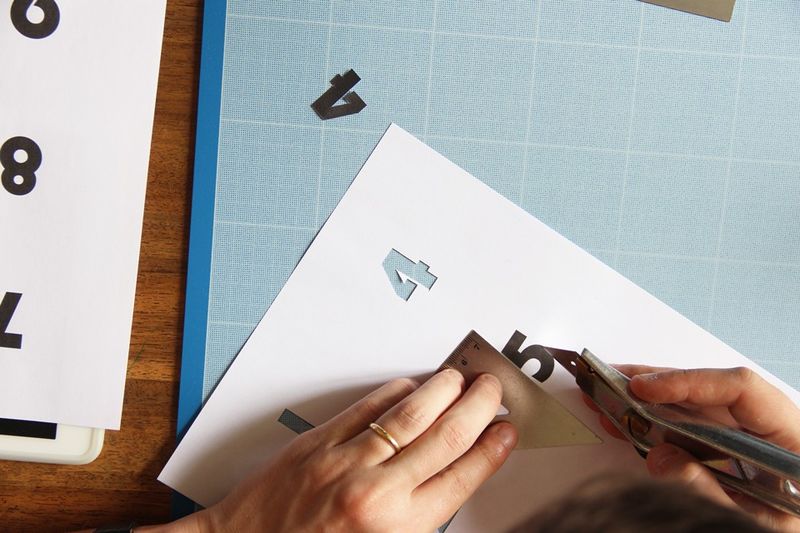
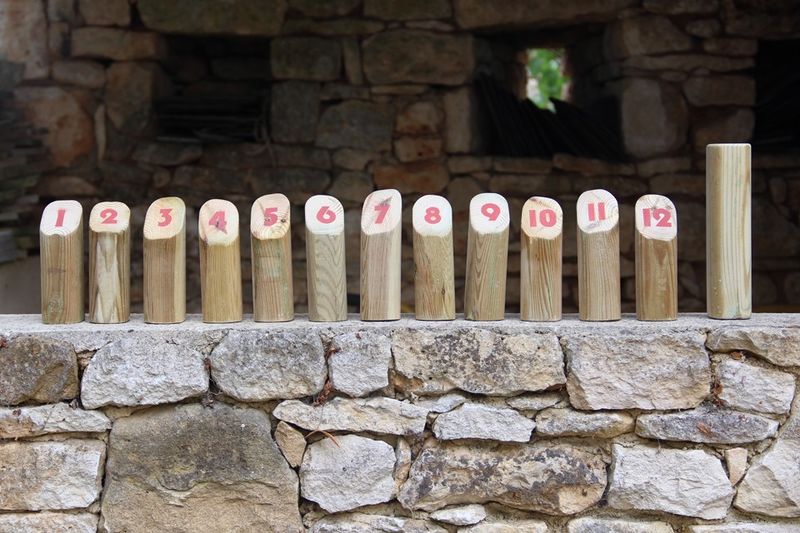
The skittles need to be marked with the numbers 1 to 12 on the sloped end.
You can carve the numbers in, paint them on, use permanent markers or any combination you like.
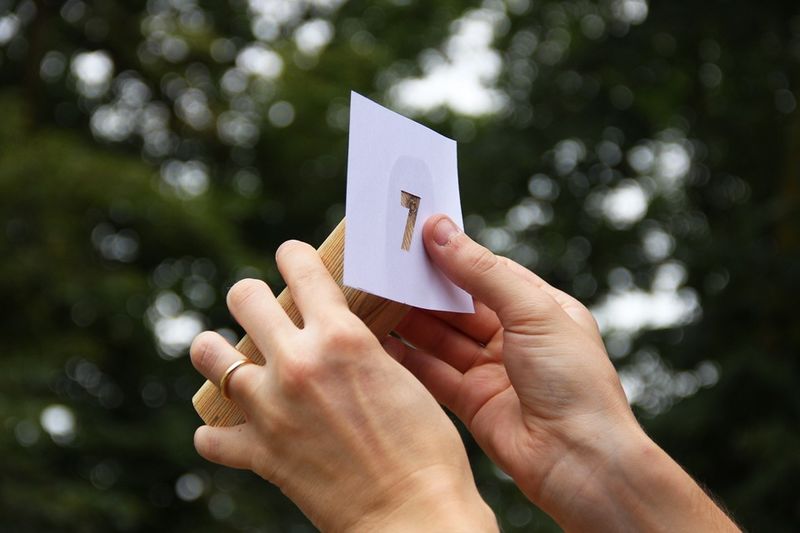
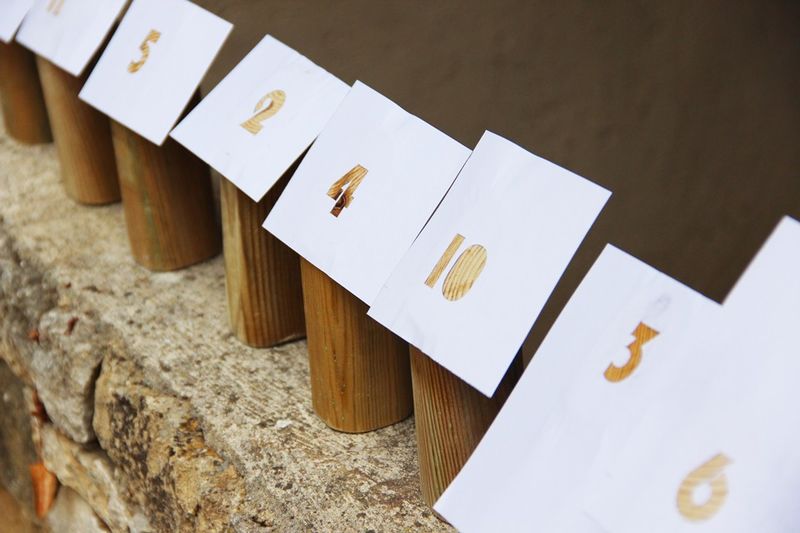
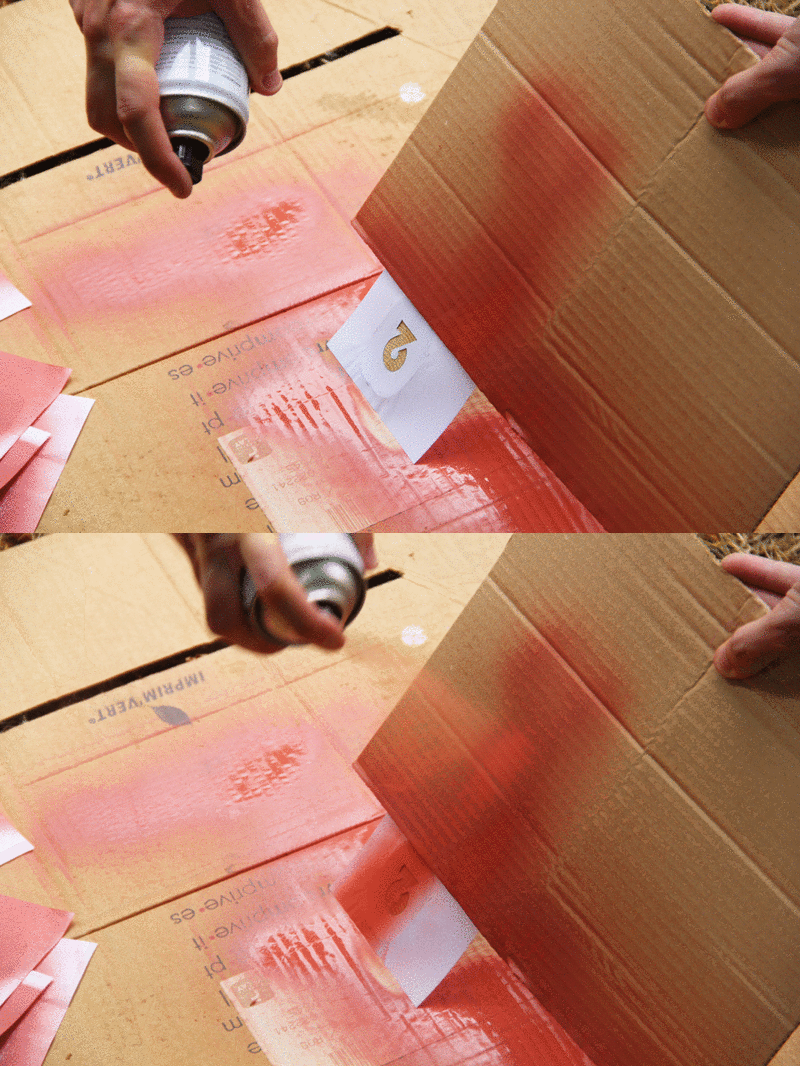
I painted the numbers with a spray paint and stencils.
Published
 Français
 English
 Deutsch
 Español
 Italiano
 Português