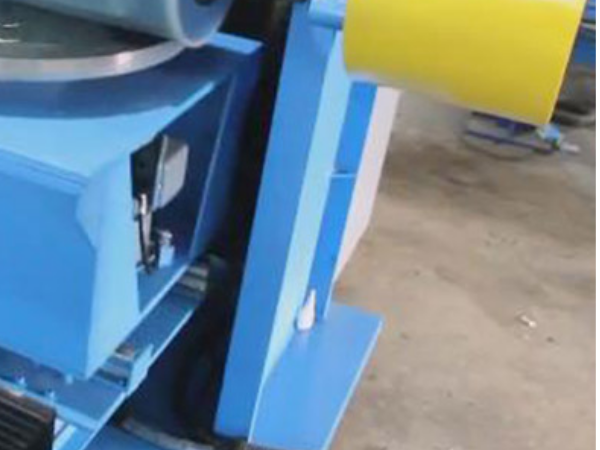
Introduction
Matériaux
Outils
Étape 1 - Safety First
Before using a polishing machine, it is essential to take safety precautions to prevent accidents. Always wear protective gear such as safety glasses, a dust mask, and gloves to protect your eyes, lungs, and skin from the dust and debris generated during polishing. Additionally, ensure that the work area is well-ventilated to prevent dust buildup and minimize the risk of fire hazards. Finally, disconnect the power supply before changing any polishing wheels or performing maintenance on the machine.
Étape 2 - Choose the Right Polishing Wheel
Selecting the appropriate polishing wheel for your project is critical to achieving the desired finish. Polishing wheels come in different materials, sizes, and grits, depending on the type of material you are polishing. For example, a buffing wheel made of soft material such as felt or cotton is suitable for polishing soft metals such as aluminum or copper, while a hard felt or sisal wheel is ideal for polishing hard metals such as steel. Additionally, consider the size of the polishing wheel, with larger wheels being more suitable for bigger projects.
Étape 3 - Prepare the Workpiece
Before polishing, it is essential to prepare the workpiece by removing any rust, dirt, or paint. Use sandpaper, wire brush, or a grinder to remove any unwanted debris and smoothen the surface. Ensure that the surface is free of any blemishes or dents before proceeding to the next step.
Étape 4 - Apply Polishing Compound
Polishing compounds are used to enhance the performance of the polishing machine by lubricating the surface and removing any scratches or dullness. Choose the right polishing compound depending on the material being polished and apply a small amount on the polishing wheel, spreading it evenly. A pea-sized amount is enough for small projects, while larger projects require more compound.
Étape 5 - Start Polishing
Turn on the polishing machine and hold the workpiece against the polishing wheel, applying light pressure. Move the workpiece around the wheel in a circular motion to ensure even polishing. Avoid applying too much pressure or overheating the surface, as this can cause burn marks or damage the material. If necessary, apply more polishing compound and repeat the process until the desired finish is achieved.
Étape 6 - Finishing
After polishing, clean the surface with a soft cloth to remove any excess polishing compound and inspect for any missed spots. If there are any imperfections, repeat the polishing process until you achieve the desired finish. Once satisfied with the result, turn off the polishing machine and disconnect the power supply.
Étape 7 - Conclusion
Using a polishing machine can be a simple and effective way to achieve a shiny, polished finish on metal, wood, or plastic surfaces. By following the above steps, you can safely and efficiently use a polishing machine to achieve professional-looking results. Remember to take all necessary safety precautions, choose the right polishing wheel and compound, and be patient and careful when using the machine. With practice, you can master the art of polishing and become an expert in metalworking, woodworking, or automotive repair.
Draft

 Français
 English
 Deutsch
 Español
 Italiano
 Português