Matériaux
Outils
- Computer with scratch offline editor
- Makey makey (or DIY makey makey with Arduino Leonardo) + USB cable
- Alligator clips
Étape 1 - Create a background in Scratch
The activity starts by making a ‘quizz buzzer’ to be used as an educational support.
We will start by creating a background in Scratch. Scratch is a powerful software which offers many possibilities such as creating animations, games, drawings, controlling small robots.
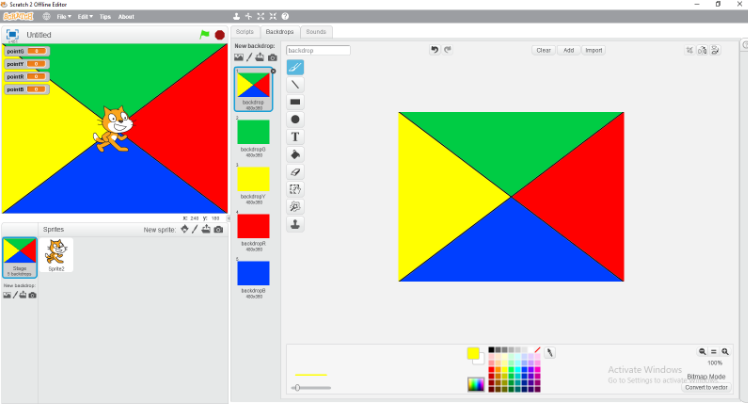
As you can see from the picture below, there is a drawing editor for backgrounds. To find it just click on the small blank image on the bottom left of the screen, called “Stage backdrop”.
Then click on the “Paint new backdrop” tab to start editing your background.
As a start, we will split the background in 4 equal parts. To do this, choose the line maker, select a color and split the screen. Then choose the ‘bucket’ tool to fill in the different parts with different colors.
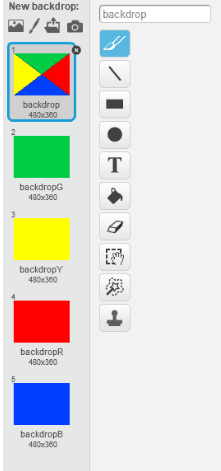
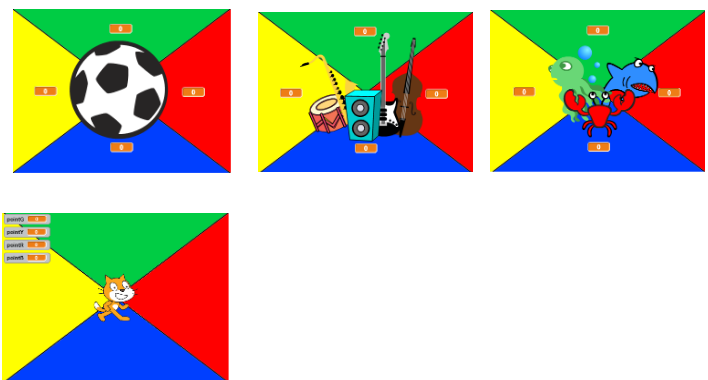
Now you have your first screen, however we need to create one screen for each team. To do that, click on the small brush under “Paint new backdrop”, and fill each screen with an different color.
Use the ‘Rectangle tool’ first to draw a square, then the ‘Fill with color’ tool to color the square.
In the example below, all the screens have been given a different name:
-backdrop
-backdropG (for green)
-backdropY (for yellow)
-backdropR (for red)
-backdropB (for blue)
Étape 2 - Coding
First of all, click on the small cat picture called “Sprite”.
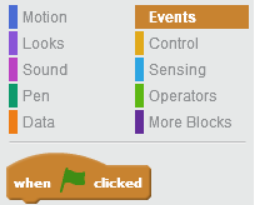
Pick a ‘starting block’ in the Event section (in brown). The green flag block is the most common.
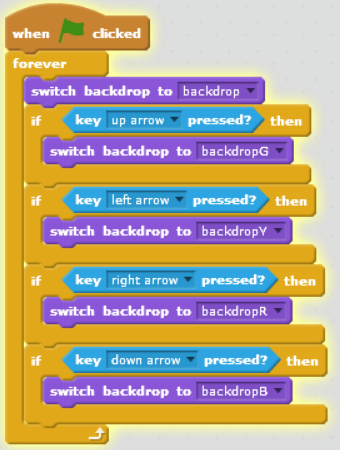
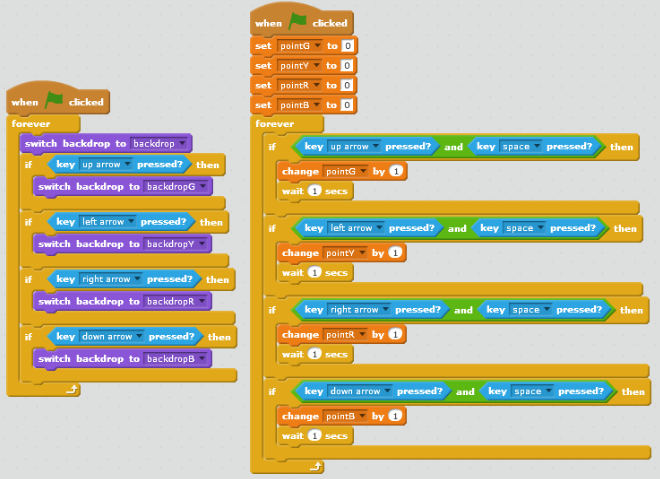
Next, pick one “if then” block for each team (you can find this in the Control -yellow- section). Choose a key for each “if then” block and connect it via the alligator clip to the Makey makey.
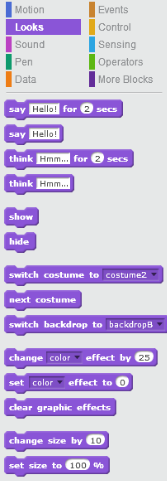
It’s now time to discover a new type of blocks under the section “Looks”.
We will start by using ‘switch backdrop to …’, we need one for the beginning of the code to set the background to the initial position (multicolor one), and one per each “IF THEN” block.
Étape 4 - Add a counter for points
Sometimes having one cluster of blocks is not enough, we need two or even more clusters working at the same time.
If you’re a good developer or a real enthusiast about coding, you may of course manage to constrain all your lines of code (blocks) within the same cluster. However, this activity has been thought to show you, among other things, how to connect different clusters of blocks in Scratch.
If you’re reading this tutorial, you’re certainly on the way to becoming an expert ;-) so you should know how to start an new code.
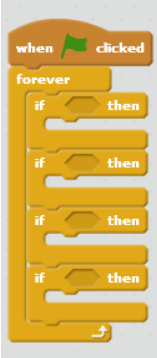
Green flag from Event (brown) section
Forever (Loop) from Control (yellow) section
and IF THEN block (one for each team) from Control section.
Everytime you need a counter or you use numbers, you need to create a variable first.
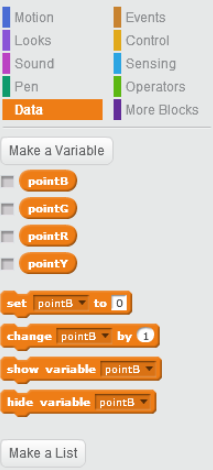
To do this, head to the Data section (orange).
Click on ‘Make a variable’ four times, and name each variable in a different way.
Example:
-PointB, for blue team
-pointG, for green team
etc …
Note
Whenever you use a variable in your code, you need to declare that variable at the beginning of your code.
In our case, we will want that each team starts with the same number of point, namely 0.
To do that, we will use the block ‘set … to 0’. Repeat this for each variable.
In each IF THEN, insert a ‘change … by 1’ (DATA).
This way, whenever a certain condition will be met, a certain variable will increase by one point. However, be careful for we don’t want the score to increase each time the buzzer is pressed.
So, we will add an operator, and say that, for example, IF the blue team presses the buzzer in response to a question, and the answer is correct, THEN the score increases.
Étape 6 - Changing the appearance of the scene
What about our scene? Not too much fun, right?
Let’s see if we can change its appearance.
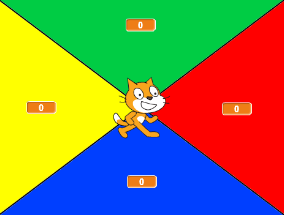
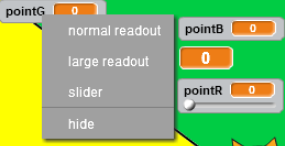
By right clicking on the name of a variable, you have the possibility to change the shape of the counter.
I will choose the ‘large read out’ and place one read out on each part of the split screen.
(be careful to attach the readout corresponding to the team color).
To move a readout around the scene, simply long click on it, and release whenever you are happy with its position.
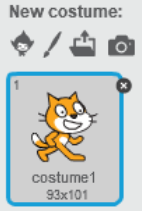
To go further you can click on the cat under the scene, and click on “costume” on the top of the screen.
The sprite editor pops up and allows you to to select different shapes or characters, draw new ones, import sprites from the internet, and so on.
You will be able to:
- Choose costume from library
- Paint a new costume
- Import a costume from file (using an image from your computer)
- New costume from camera (you can take a picture using your webcam)
Étape 7 - Optional: adding momentary push buttons
To create a real quiz buzzer, you can for example use momentary push buttons. Each team will be attributed one button. The facilitator will also have one button at her disposal, that she will push whenever the answer provided by a given team is correct, so as to raise the score of that team.
Published



 Français
 English
 Deutsch
 Español
 Italiano
 Português