on the topic of environmental science and tech. The strategic objectives of the project are:
promote youth work, combine the benefits and relevance of environmental education with the strength of digital tech, boost young people's maker mindest, provide young people and educators concrete tools to engage in citizen science
The consortium aims at prototyping an educational kit that allows young users to act upon their own environment in view of tackling environmental issues such as excessive energy consumption, air and water pollution.
Introduction
The automated gardening kit is a system that allows controlling and automatic watering of a small plant. This system is developed for an educational purpose, the plant shall stay at different pupil's house to be controlled.
The user will take notes every weeks from the control panel to create a database to folllow the growth of the connected plant
What does it control ?
-The moisture of the soil, this value will be directly used to decide whether to water or not
-The CO2 concentration
-The intensity of the light
-The temperature and the humidity of ambient air
What action can be performed ?
-A water pump will get water from a small reservoir to put it on the plant
-A screen will display the information needed and 2 buttons to control what info to be displayed
Youtube
Matériaux
Outils
Étape 1 - List of Parts
You will need
electronic control and command part (listed below)
water tank
a plant in a pot
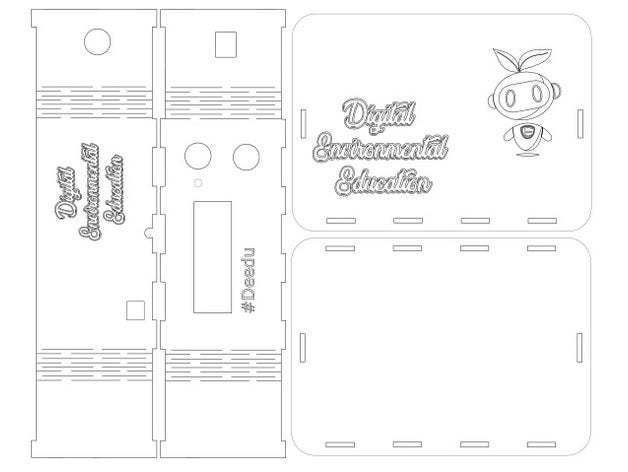
a box for electronic (https://www.thingiverse.com/thing:4106140)
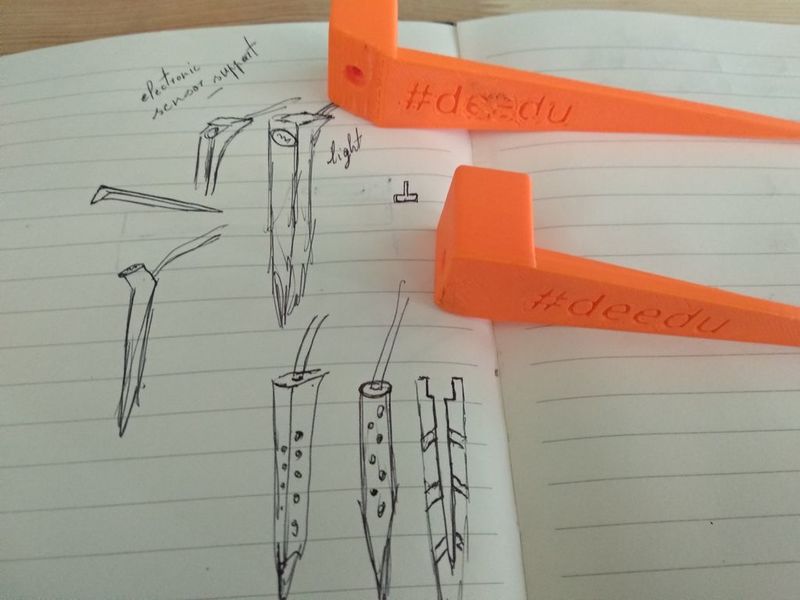
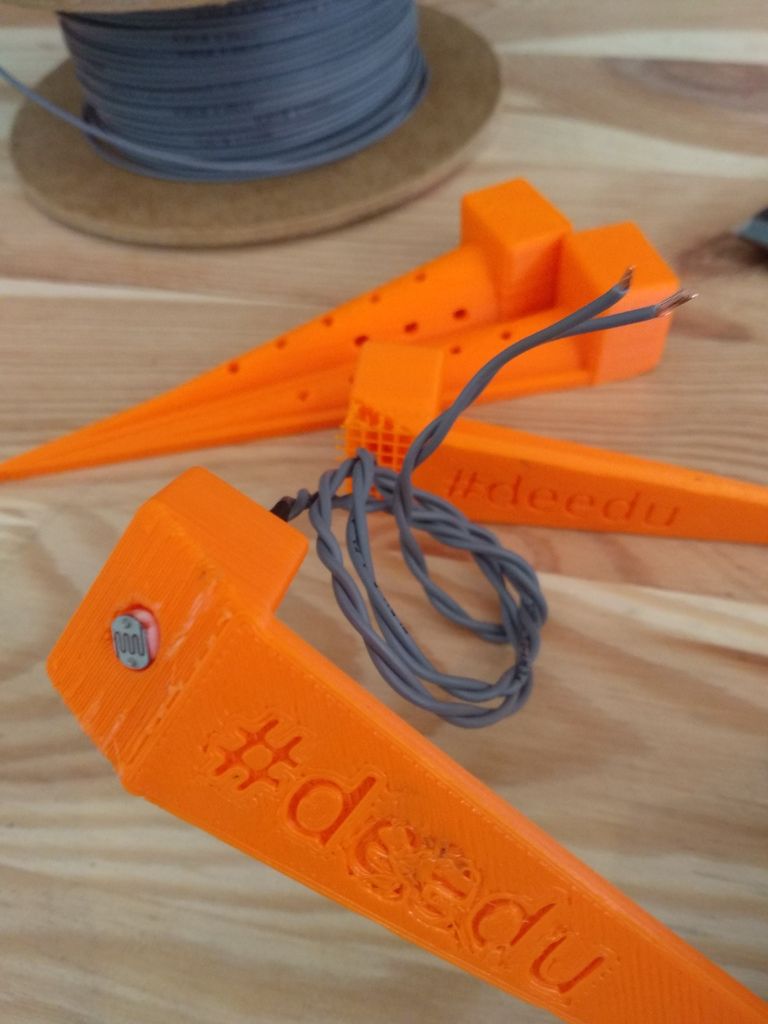
3d printed light sensor support (https://www.thingiverse.com/thing:3986667)
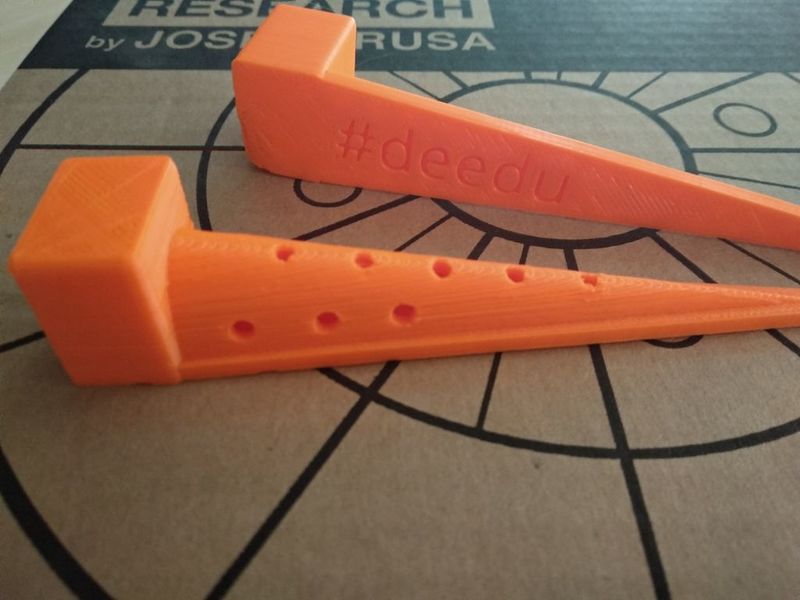
3d printed sprinkler (https://www.thingiverse.com/thing:3986672)
For the Command & Control part the material used are the following:
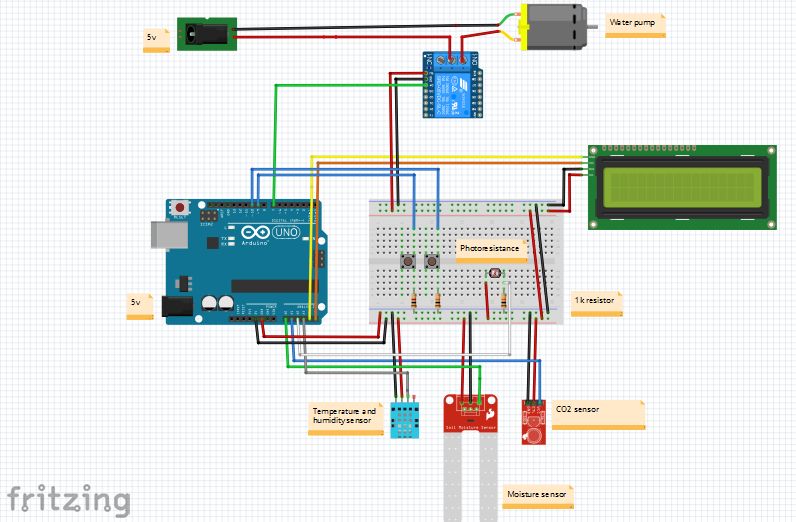
- 1 Arduino UNO link
- 1 moisture sensor link
- 1 CO2 Gas sensor Mq7 link
- 1 Lcd screen 2x16 (+i2c)) link
- 1 LDR light sensor (photoresistor) link
- 2 push buttons link
- 1 Temp + humidity sensor DHT11 link
- 1 5V water pump link
- 1 5v relay link
- 3 1k resistor link
- 1 Breadbord or prototyping PCB link
-2 5v power supply link
Étape 2 - Connecting the electronics
Digital pin
Pin: 7, relay
Pin: 9, button 1
Pin: 10, button 2
Pin: 13, LED
Analog pin
Pin: A0, Moisture sensor
Pin: A1, Co2 sensor
Pin: A2, Photoresistor
Pin: A3, Temperature sensor
Pin: A4, Screen Rx
Pin: A5, Screen Tx
The connection of Arduino on Water pump power supply The Arduino is to be connected directly on the water pump power supply so the whole system need only one electric plug to works.
The Water pump is a 5V power supply, the arduino can support that voltage but this leads to a warming of the internal component of the arduino and will possibly damage on the arduino with time. The easiest and fastest choice for now is two 5v power supply (one for arduino and one for the pump)
For using only one power supply like a 12v one, some solution are linked below
A page presenting the different solutions
https://www.youtube.com/watch?v=uH01edMarxw
Étape 3 - Programming
https://www.youtube.com/watch?v=abQ7bf_y3WM
In this section is presented how shall be used the Deedu system and what will be the response at different cases
UC01 : Control data from sensors & Number of spraying By using one button and looking on the screen, the user shall be able to check instantly the value measured by all sensors.
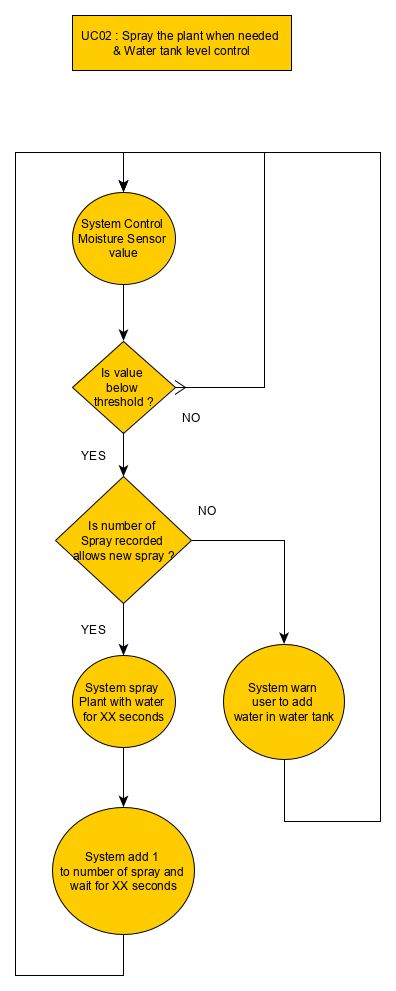
UC02 : Spray the plant when needed & Water tank level control
The system should be able to water the plant when it's needed (The moisture sensor value indicates when watering is needed). The water pump is tricky to start (if no water is present in the tube, it won't be powerful enough to start), so the best is to prevent absolute emptiness of the water tank. Therefore in order to control the water level and prevent water from pumping if water level is too low. The user will get a warning to fill the water tank.
The Arduino code
You can download the arduino code used in the following, every function is commented.
Download the code below on your arduino board
Étape 5 - Printing and Cutting the Parts
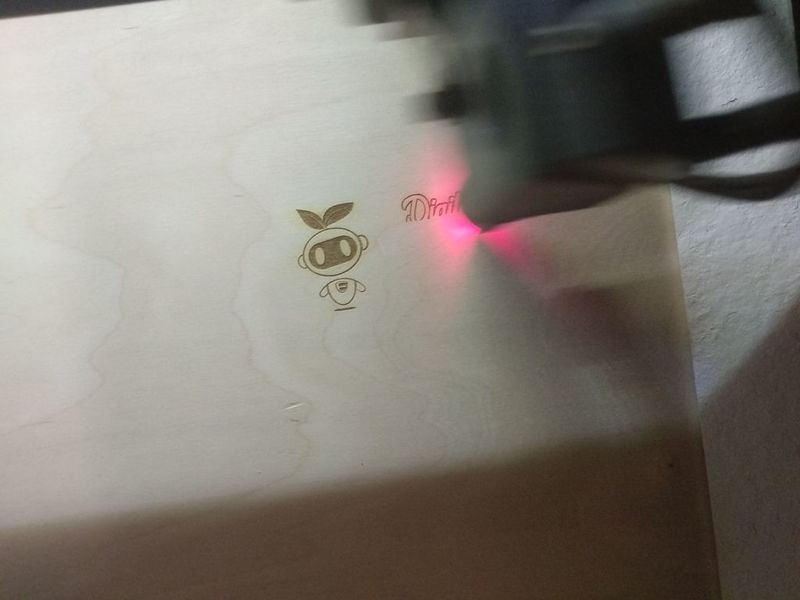
All the files designed for this project are available on thingiverse.
Étape 6 - Credits
This kit was made by Pralnia Makerspace, Poland under the supervision of Digijeunes.
This tutorial has been produced as part of the DEEDU project, co-financed by the Erasmus + Programme of the European commission. Project n°: 2018-1-FR02-KA205-014144.
The content of this publication does not reflect the official opinion of the European Union. Responsibility for the information and views expressed therein lies entirely with the authors. For more information, email us at info@digijeunes.com
Draft

 Français
 English
 Deutsch
 Español
 Italiano
 Português