m (FuzzyBot a déplacé la page Construire le robot "ABC"/en vers Robot "ABC" en bois/en sans laisser de redirection : Extrait de la page à traduire « Construire le robot "ABC" ».) |
(Extrait de la page à traduire « Construire le robot "ABC" ».) |
||
| Ligne 3 : | Ligne 3 : | ||
|Area=Robotics | |Area=Robotics | ||
|Tags=Arduino, Robot, Bois | |Tags=Arduino, Robot, Bois | ||
| − | |Description= | + | |Description=You will learn how to build a small robot controlled by remote control. This robot is made of wood with an electronic board (arduino uno) and an extension of control for both motors. Video demo: https://www.youtube.com/watch?v=D8cRWR_TL4g |
| − | You will learn how to build a small robot controlled by remote control. This robot is made of wood with an electronic board (arduino uno) and an extension of control for both motors. Video demo: https://www.youtube.com/watch?v=D8cRWR_TL4g | ||
| − | |||
|Difficulty=Medium | |Difficulty=Medium | ||
|Cost=100 | |Cost=100 | ||
Version du 27 octobre 2017 à 13:15
Introduction
Matériaux
1x wooden board thickness 5mm (13/64 inch) - 610mm (2 ft 1/64 inch) - 407mm (1 ft 4 1/32 inch)
1x Arduino Uno
http://www.robotshop.com/en/arduino-uno-r3-usb-microcontroller.html
Product Code : RB-Ard-34
1x Green LED Strip Flexible https://www.banggood.com/50CM-Waterproof-USB-SMD3528-TV-Background-Computer-LED-Strip-Tape-Flexible-Light-DC5V-p-1102998.html?rmmds=search
1x power supply battery (for LED strip) http://www.robotshop.com/en/waterproof-3xaa-battery-case-switch.html
2x Motors DC http://www.robotshop.com/en/makeblock-25mm-dc-motor-kit-blue.html
1x Motor Shield http://www.robotshop.com/en/arduino-motor-shield-rev3.html
1x infrared sensor 1x Infrared Remote Control http://www.robotshop.com/en/dfrobot-ir-remote-kit-arduino.html
2x battery holders (6 x 1,5 Volt LR6 batteries) (Arduino Uno main power supply)
4x Batteries 4,5Volts (2 pack mounted in parallel, each pack includes 2 4.5V batteries mounted in series) - (it makes a power supply under 9V for the power supply I paralleled to have a longer battery life )
8x M4 Nuts http://www.screwfix.com/p/easyfix-hex-nuts-a2-stainless-steel-m4-100-pack/8398t
8x Screw M4 - 50 http://uk.farnell.com/tr-fastenings/m450-psstmcz100/screw-slt-pan-steel-bzp-m4x50/dp/1419307
4x M4 Spacer http://uk.farnell.com/c/fasteners-mechanical/fasteners-fixings/spacers-feet/standoffs?thread-size-metric=m4
1x swivel caster wheel http://www.robotshop.com/en/2-swivel-caster-wheel.html
Outils
- Tournevis Cruciforme
- Clé Alen 1,5 mm (serrage des vis M3)
- pince de serrage (maintenir les entretoises et écrous)
Étape 1 - blueprint
Here are the plans of each piece to make the robot with dimension (in mm)
Downloading files: https://framadrive.org/index.php/s/oHlHOqSsc18I4U1
To use a laser cutter see the list of FabLab to find the nearest to you: http://www.makery.info/map-labs/
Étape 2 - Base
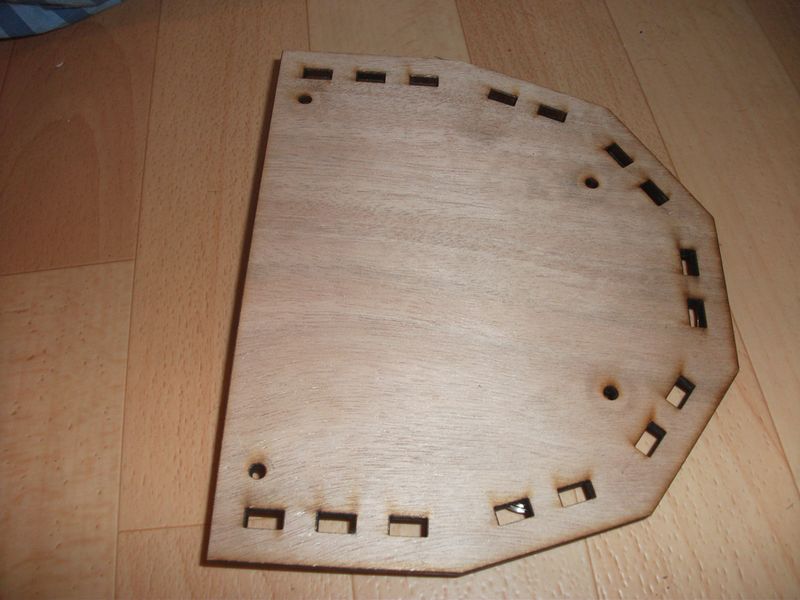
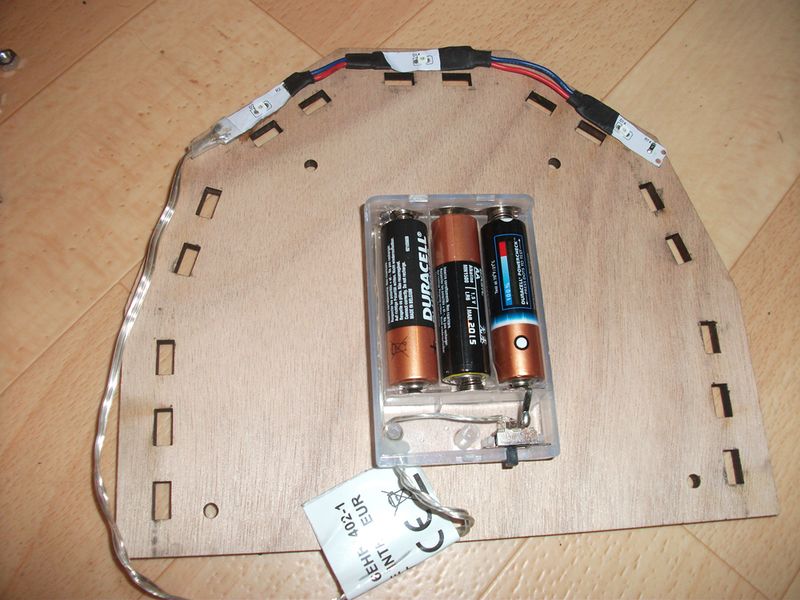
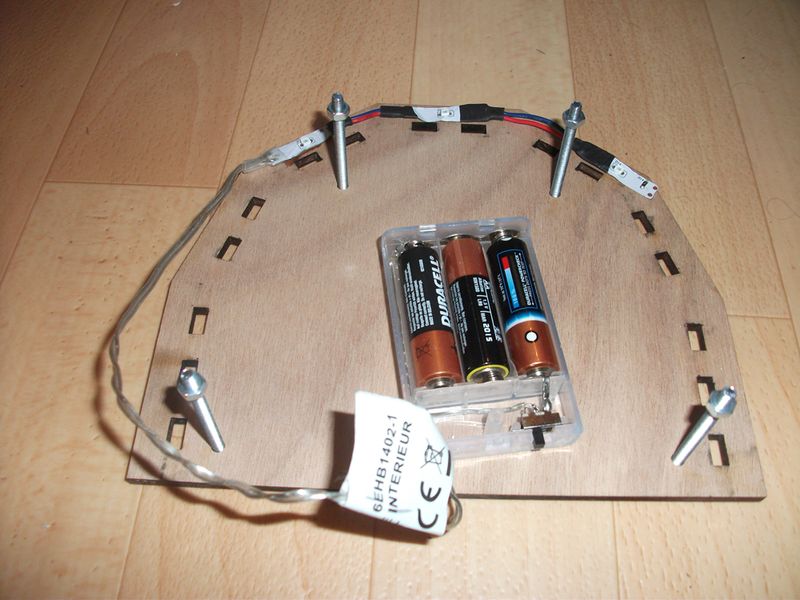
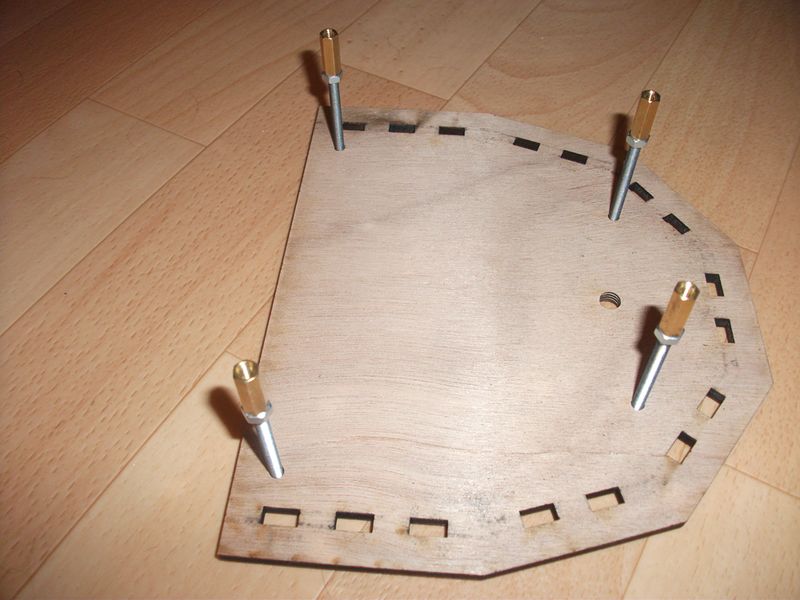
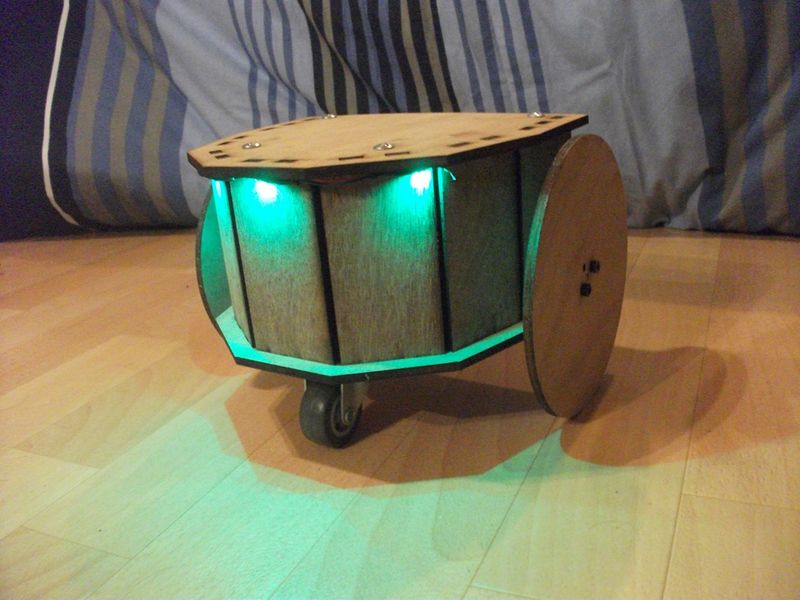
Let's start with the base by adding support with it's stack connected to the 3 green LEDs.
Take 4 screws M4 insert them in the 4 holes then fix 1 nut on each screws.
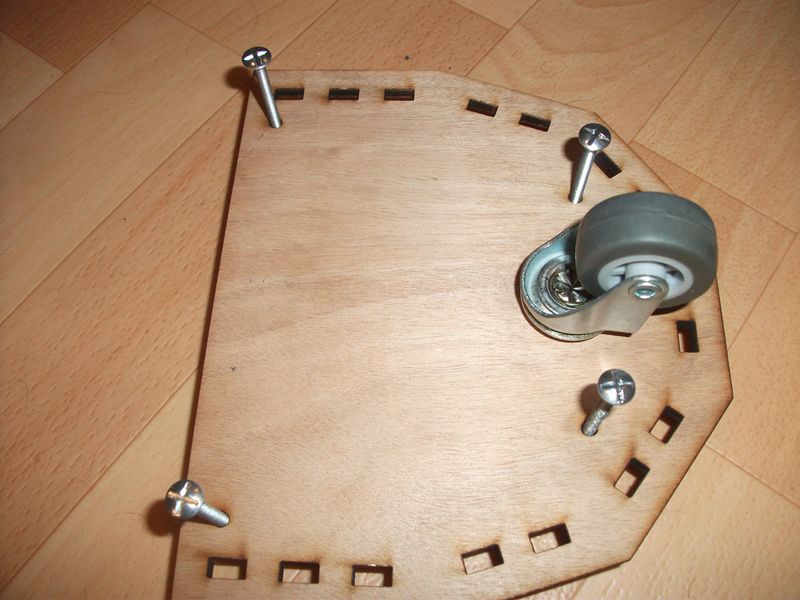
Étape 3 - Bottom
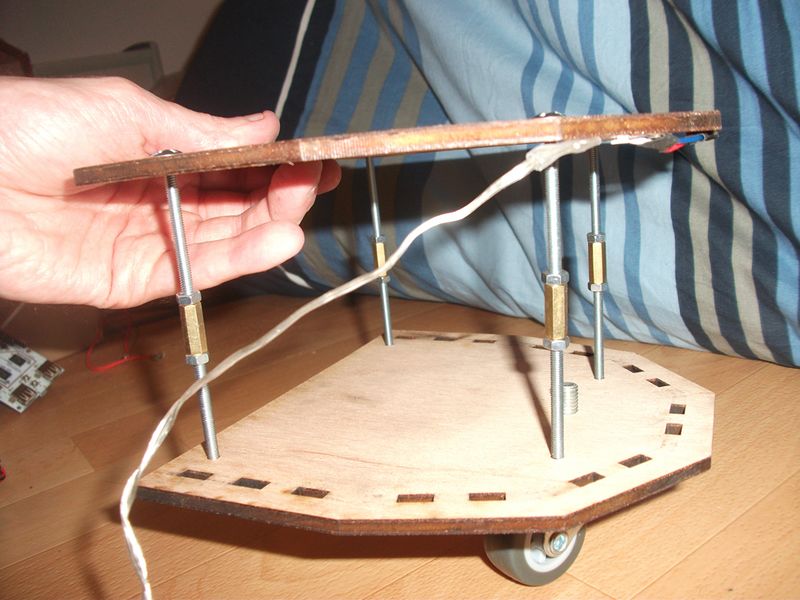
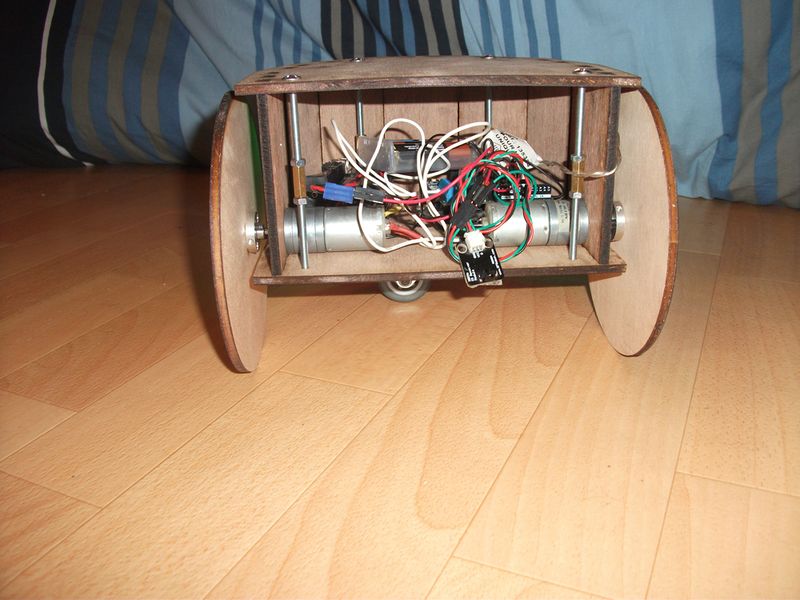
Insert 4 M4 screws 50 mm with their nuts and spacers, then turn the assembly to secure the swivel caster wheel.
Étape 6 - Final assembly
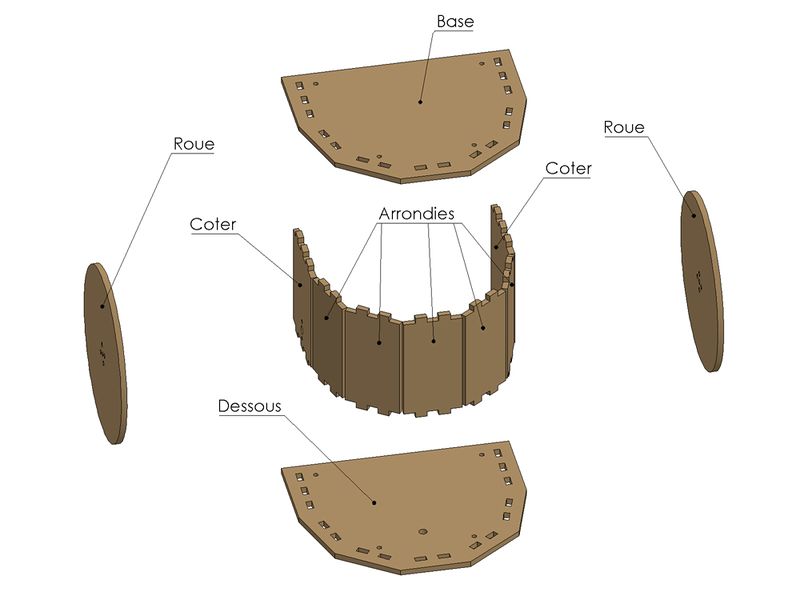
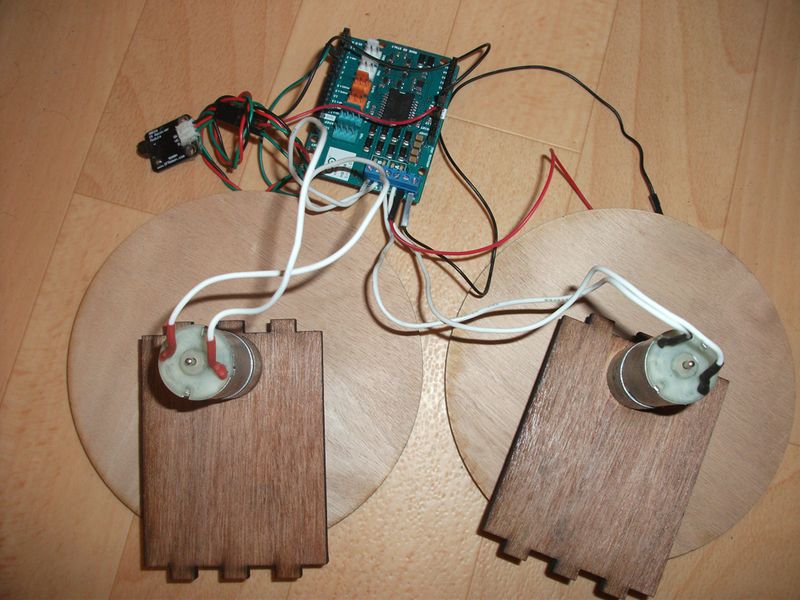
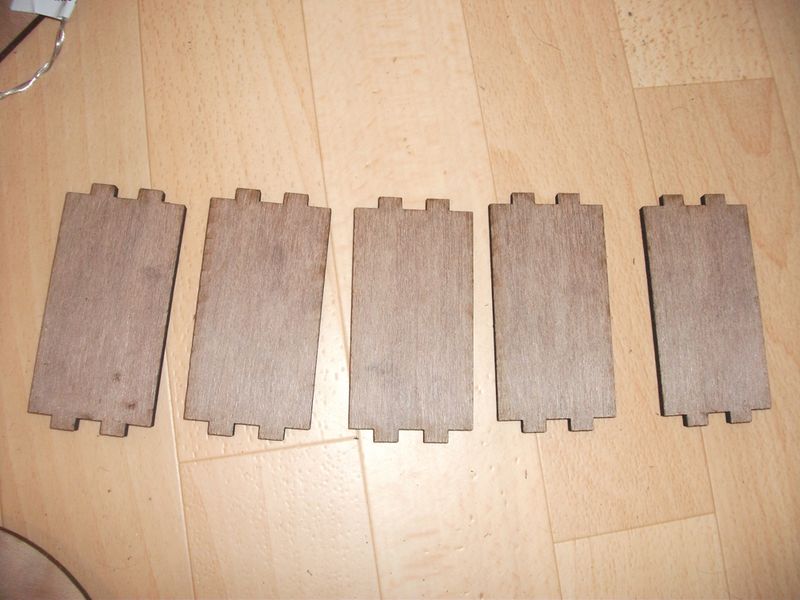
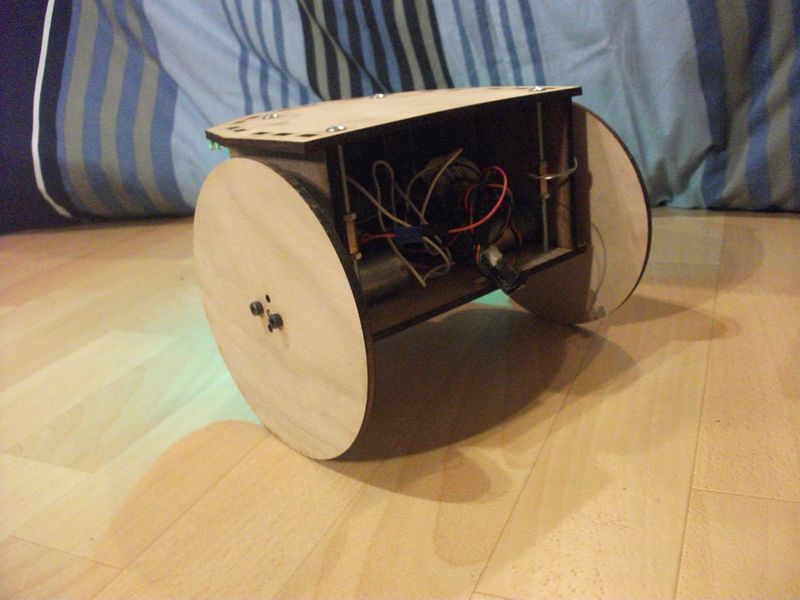
Assemble the roundings and the sides with motor in the illustration seen in step 4.
Étape 9 - Changes envisaged
Next evolution put an ultrasonic sensor for obstacle detection and avoidance and a line follower.
Yes

 Français
 English
 Deutsch
 Español
 Italiano
 Português