Introduction
There are many other Word Clock projects on the Internet so it is rather difficult to choose a project as a source of inspiration because each of them offered me useful ideas. But if I must choose one, it's going to be the one that started all, the beautiful project created by Doug Jackson, presented on Wikifab.
It's hard to bring something new with any future design, but hopefully my project will grab your attention with the fresh and cool ideas inside.
What are the pros of my project?
- very affordable, cheap electronics and other parts;
- opensource web server for easy management;
- accurate time from ntp server;
- it is possible to have multiple languages;
- minute by minute time indication (not by 5 minutes like standard word clocks), dynamic time display and amazing flexibility for future ideas...
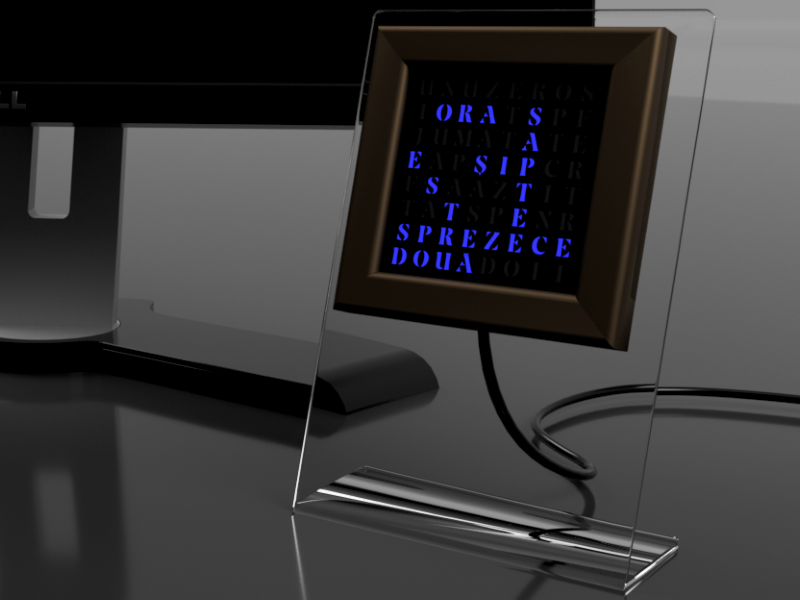
The idea behind this Word Clock is to have all the words necessary for telling the time and to place these words in an 8x8 letters layout as in a word search puzzle. In this way, with a small number of leds we can tell the time minute by minute. Because the words are placed randomly you can tell the time by reading the flashing words each after another (the words are already displayed on the clock face). I started with using only one color, red, also green 8x8 matrix led arrays.
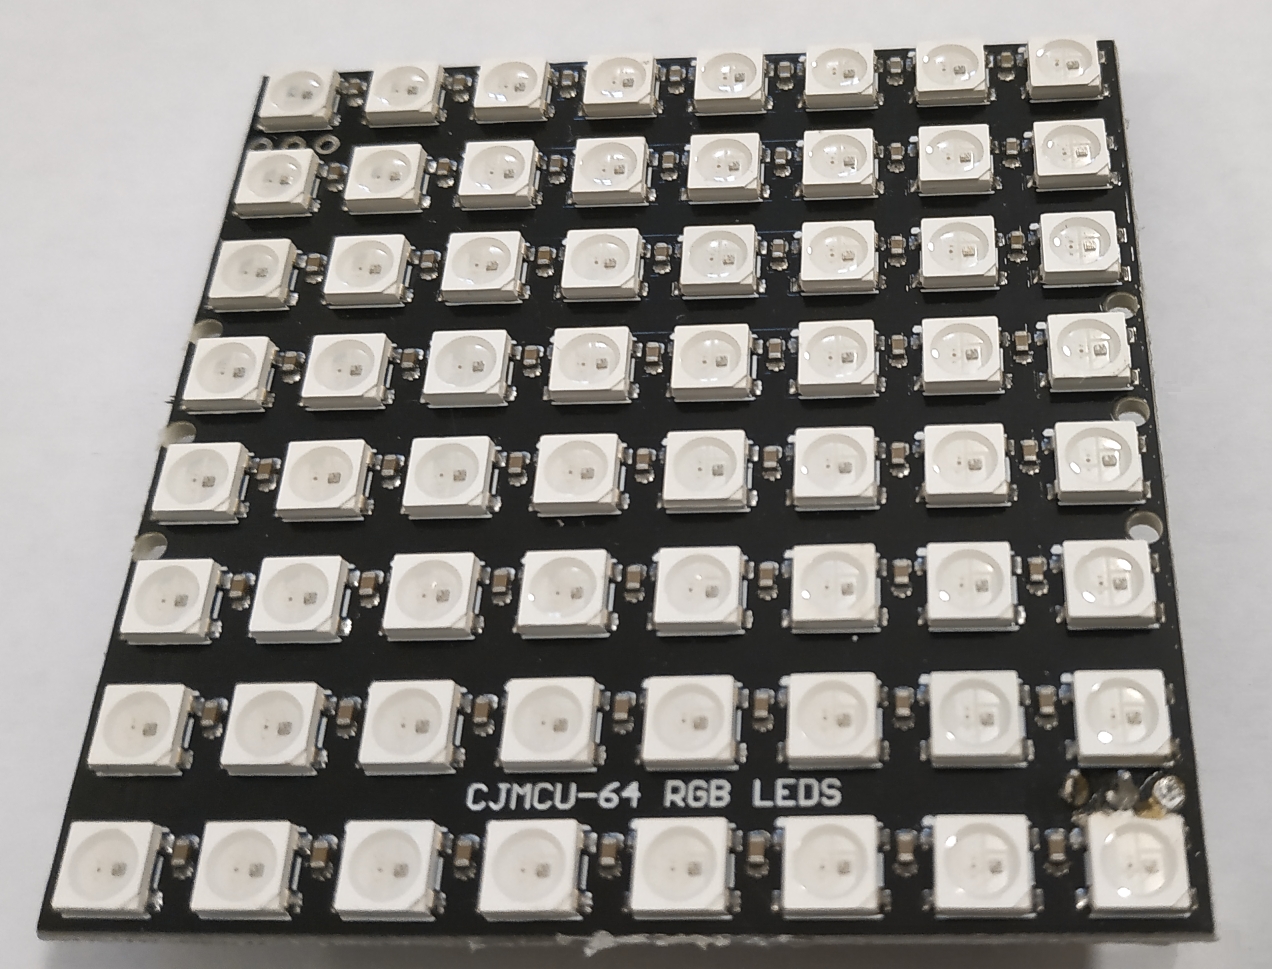
Sadly, the electronics were a little bit complicated when using the MAX7219 led driver and the ESP12 module of ESP8266 microcontroller, the wiring was tedious and prone to errors. But with the WS2812 RGB Led Matrix things became much easier (and cheaper ...). The schematics are simple, there is no need for the esp12 board, an ESP-01 module can be used. Also the flashing words are gone, I used color change to accentuate the words for telling the time (using many colors was a big deal).Youtube
Matériaux
Enclosure:
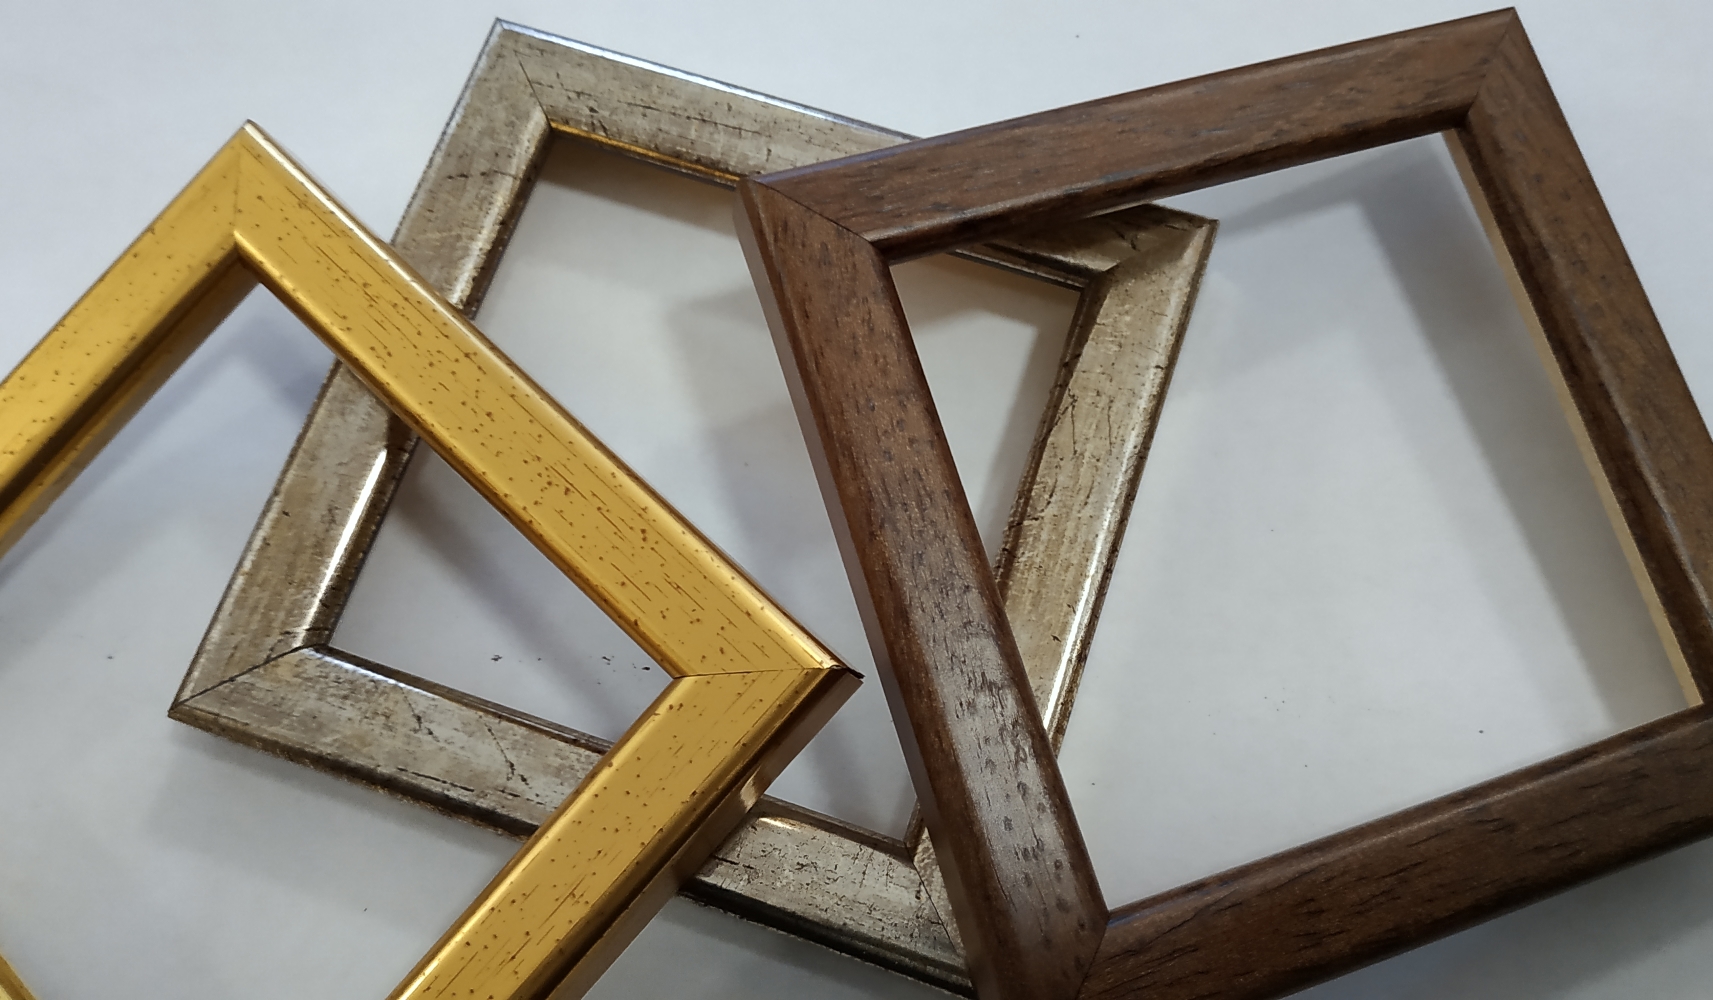
- wooden photo frame (80x80mm interior) thin frame (1cm);
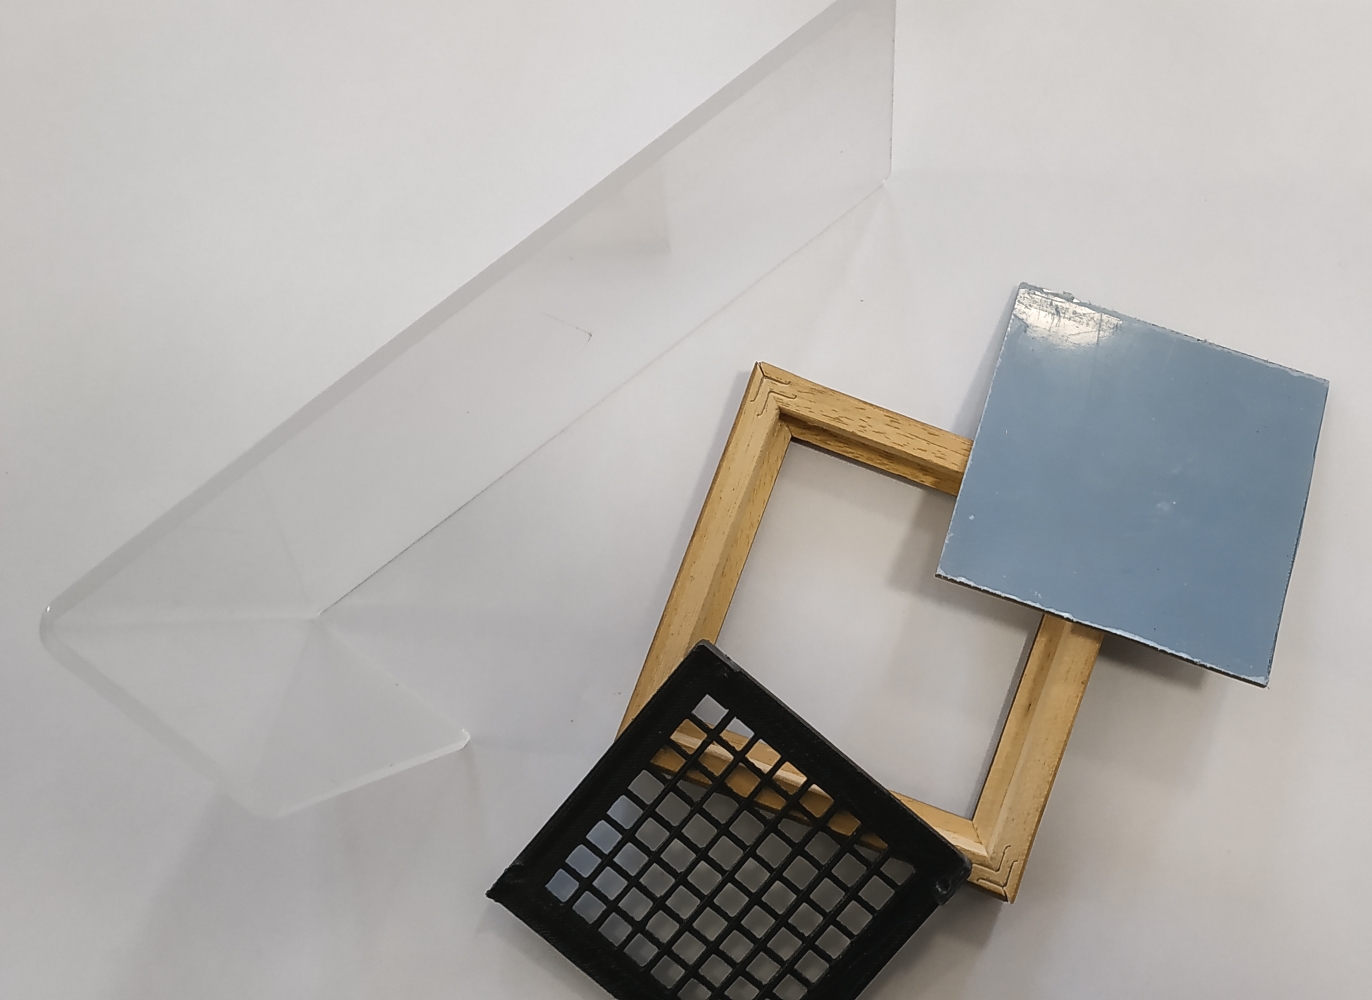
- 3mm plexiglass support;
- 80x80mm 3mm grey smoked transparent display plexiglass sheet;
- 3D printed 80x80mm 8x8 plastic grid;
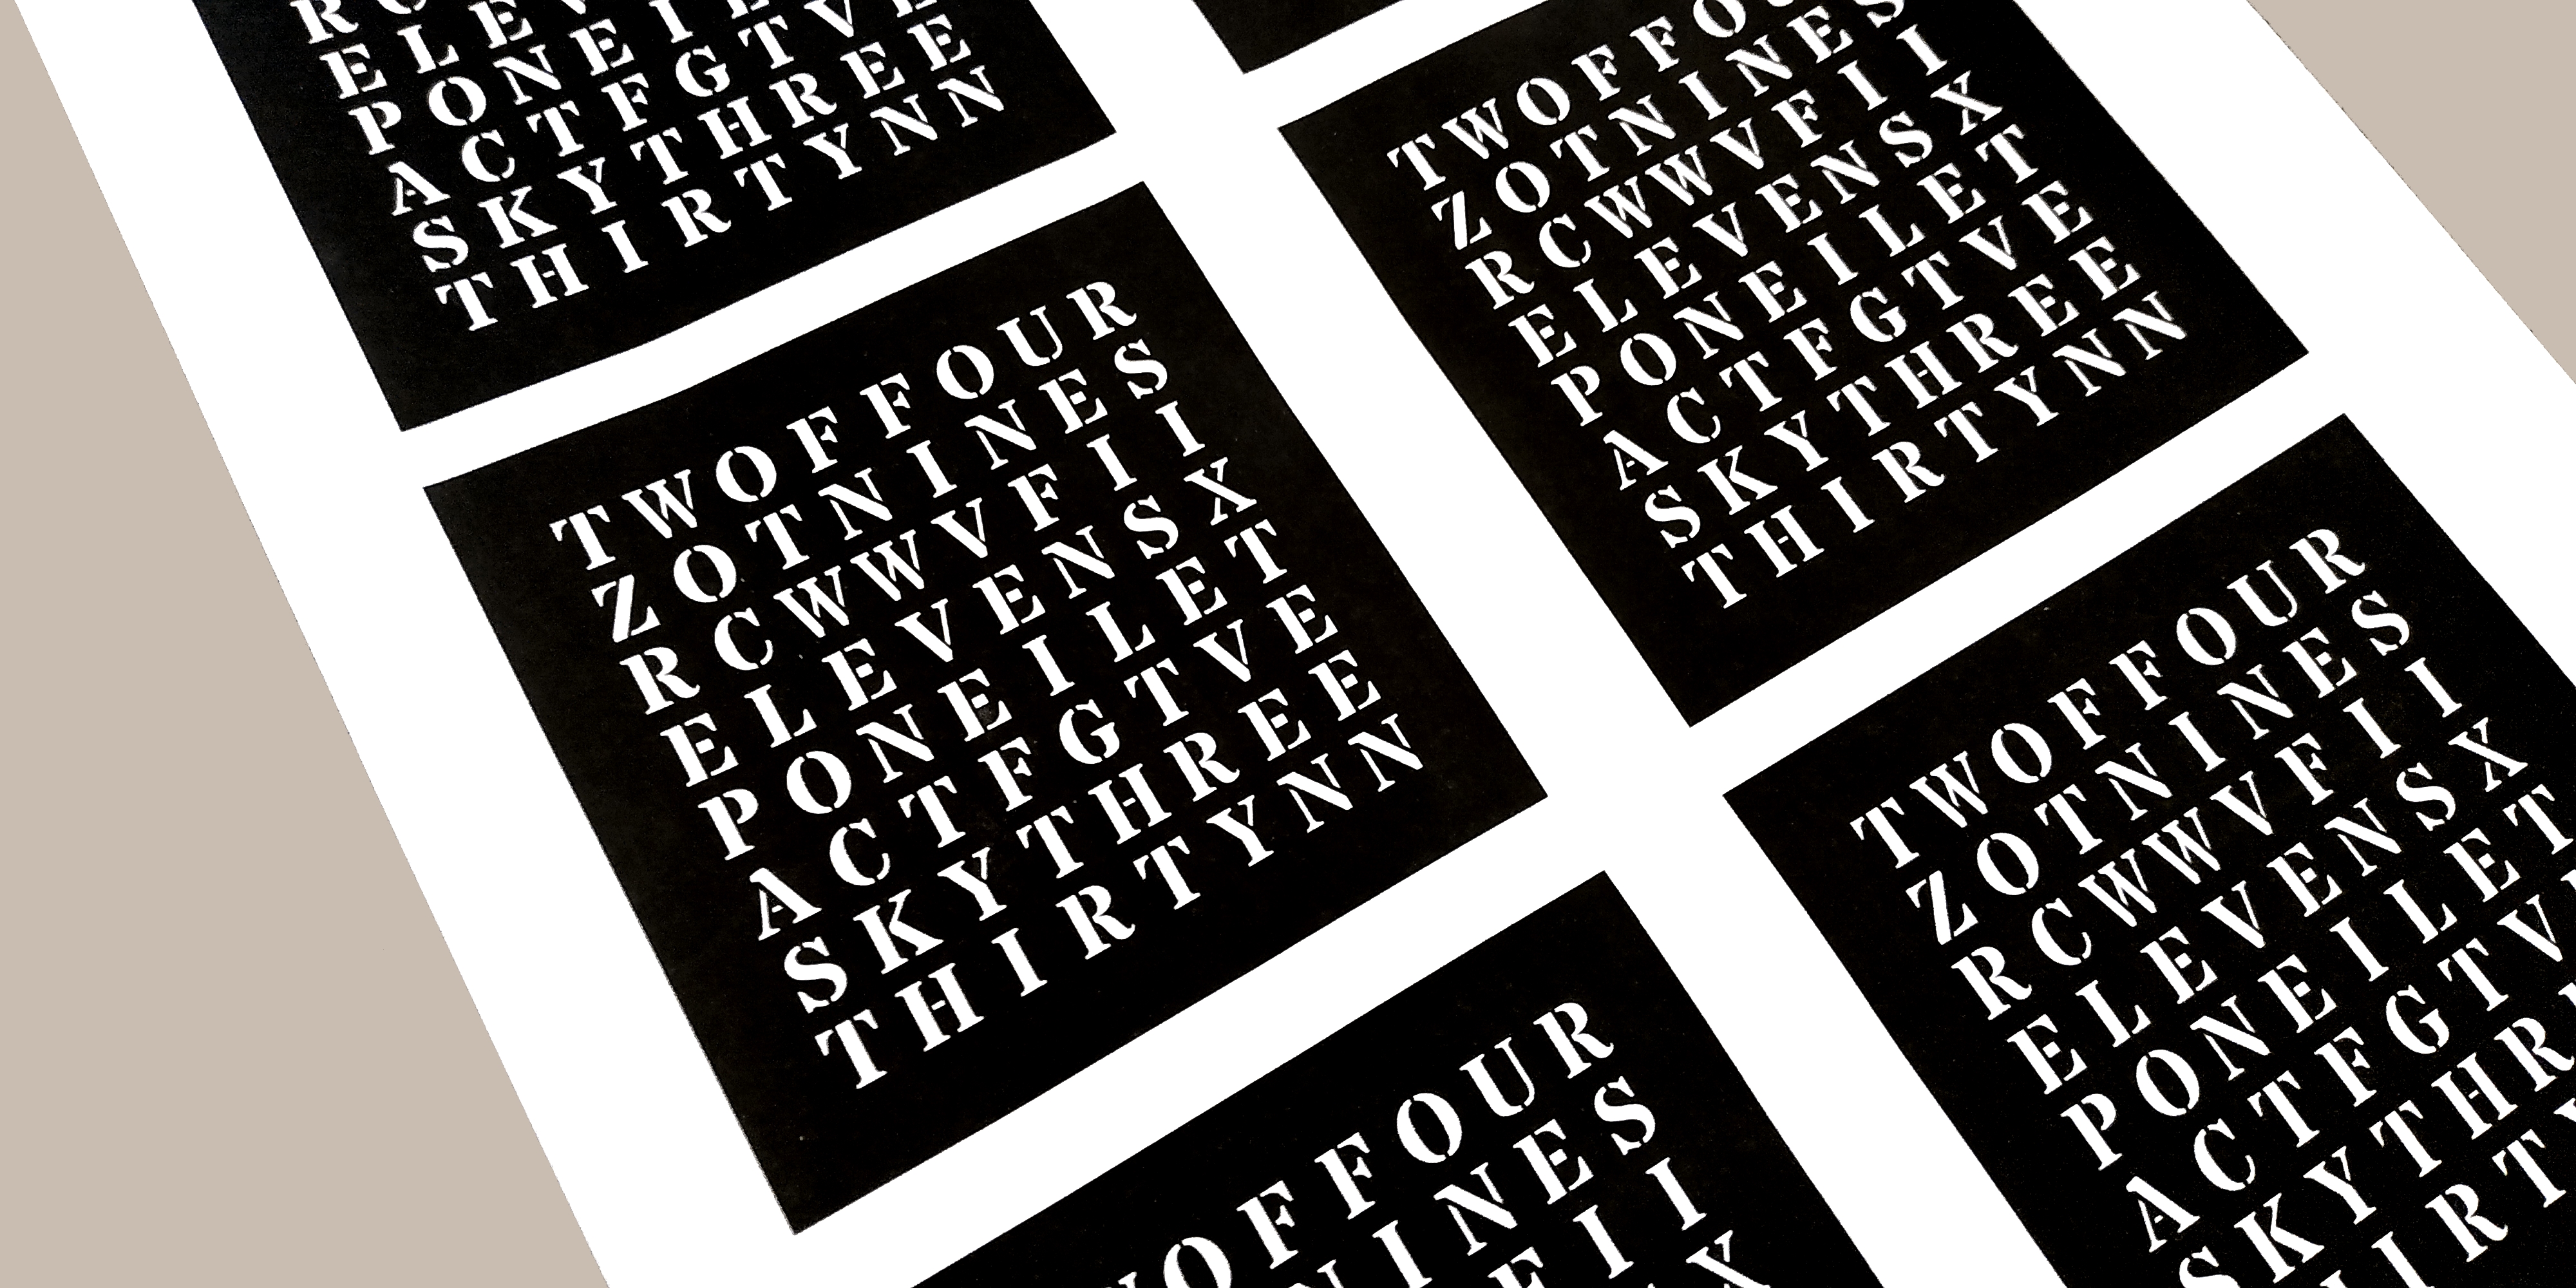
- letter layout 80x80mm Printed Paper Sheet;
- 3d printed plastic box for electronics;
- 2mm diameter 10mm length screws.
Electronics
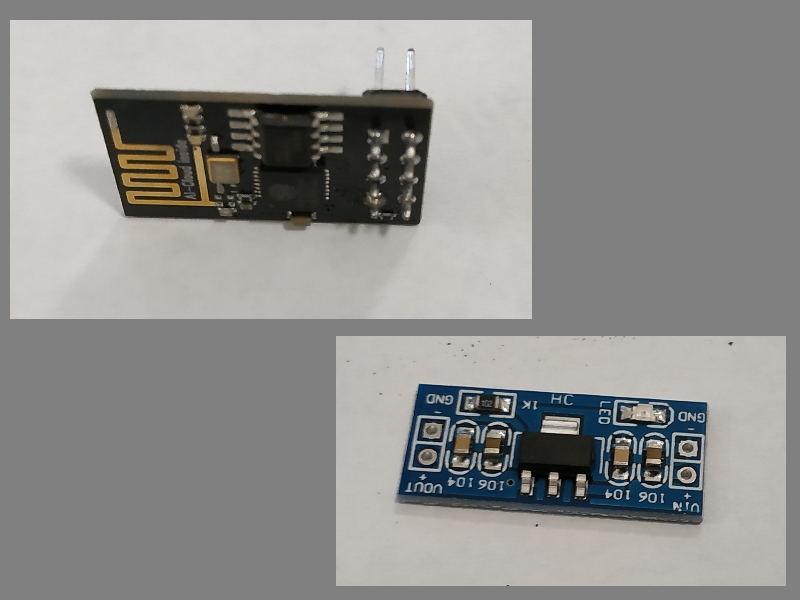
- ESP-01 Board;
- 5v to 3.3v stabilizer module;
- 80x80mm RGB 8x8 LedMatrix;
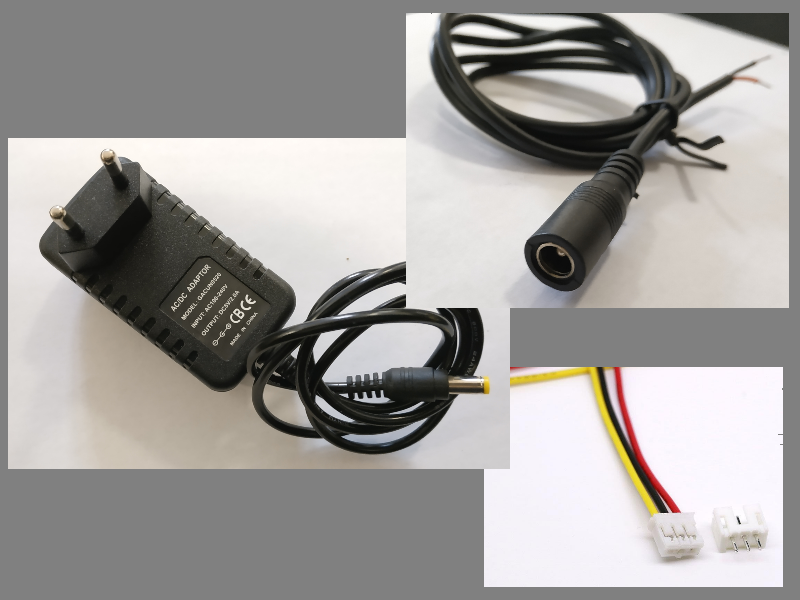
- 3pin 2.54mm Pitch XH Pin Header+Connector;
- Female DC Conector cable 5.5mmx2.1mm(2.5mm);
- 5v/1.5A Power supply with 5.5mmx2.1mm(2.5mm) Male connector.
Outils
- drilling machine
- drill bits
- screwdriver
- plastic clamps
- electric soldering iron (station)
Étape 1 - Making the enclosure
Wooden photo frame
You can make your own frame, there are a dozen of articles about this on the internet. But a simpler solution would be finding a framing company where you can order a personalized frame with your required dimensions and you can choose from many frame types. This is exactly what I did. I ordered my frames with a specific dimension: the framed photo, in my case object (display) is 80x80mm. I also asked for an accurate dimension, I didn't want the frame to be too big for the 3D printed plastic grid.
Plexiglass support
The plexiglass support can be also be made DIY but for an amateur it is not very easy to cut and blend plexiglass. So I ordered several supports from an advertising company that makes all kinds of plexiglass objects. The dimensions I used are: width - 120mm, first part length - 180mm, second part length - 50mm, 15° bending angle.
Display plexiglass sheet
The 3mm grey smoked plexiglass sheet can be cut from a bigger sheet, obtaining the required 80x80mm dimension.
Plastic grid
The STL file for 3D printing can be downloaded from Tinkercad
Display Printed Paper Sheet
The SVG file for the Printed Paper Sheet is attached, and it can be edited with Inkscape. You can make your own display layout based on this SVG file, I used Word Search Construction Kit software to generate a words layout for the time display. You can print the file repeatedly on the same sheet of paper to achieve a good, opaque, black background. I got very good results with a cheap inkjet printer and standard white copier paper. I cut off the layout with a pair of scissors.
Plastic box for electronics
The files that you can 3d print are also on Tinkercad. I used some already purchased jewelry boxes, I only designed a new box base because the boxes were too tall. The files on Tinkercad are based on this type of boxes.
Detailed instructions (follow the images above)
- choose (and mark) a side of the frame to be the top of the clock, clean the smoked plexiglass sheet, put it in the frame;
- place the printed paper sheet and the 3D printed grid;
- drill with 2 mm diameter bit through the plastic grid to make room for the screws in the frame;
- screw the plastic grid;
- mark on the frame the place for holes and lock the frame to the plexiglass support;
- drill the holes with a 2mm diameter bit (enlarge the holes in the support with a 3mm diameter bit, make the coining with a 10mm diameter bit) and screw it all together.
Draft
 Français
 English
 Deutsch
 Español
 Italiano
 Português