(Imported page from en.wikifab.org) |
(convert properties for internationnalized Wikifab) |
||
| Ligne 1 : | Ligne 1 : | ||
| − | {{Tuto Details | + | {{ {{tntn|Tuto Details}} |
|SourceLanguage=en | |SourceLanguage=en | ||
|Language=en | |Language=en | ||
| Ligne 5 : | Ligne 5 : | ||
|Type=Creation | |Type=Creation | ||
|Area=Energy | |Area=Energy | ||
| − | |Description=This is the fifth tutorial for building the solar concentrator of Open Source Ecologie (French branch of Open Source Ecology). Here we are going to build the absorber tube. | + | |Description=<translate>This is the fifth tutorial for building the solar concentrator of Open Source Ecologie (French branch of Open Source Ecology). Here we are going to build the absorber tube.</translate> |
|Difficulty=Medium | |Difficulty=Medium | ||
|Cost=11 | |Cost=11 | ||
| Ligne 14 : | Ligne 14 : | ||
|Main_Picture=SolarOSE_G6_2_5.jpg | |Main_Picture=SolarOSE_G6_2_5.jpg | ||
}} | }} | ||
| − | {{Introduction}} | + | {{ {{tntn|Introduction}}|}} |
{{Separator}} | {{Separator}} | ||
| − | {{Materials | + | {{ {{tntn|Materials}} |
|Step_Picture_00=No-image-yet.jpg | |Step_Picture_00=No-image-yet.jpg | ||
|Step_Picture_01=No-image-yet.jpg | |Step_Picture_01=No-image-yet.jpg | ||
| Ligne 25 : | Ligne 25 : | ||
}} | }} | ||
{{Separator}} | {{Separator}} | ||
| − | {{Tuto Step | + | {{ {{tntn|Tuto Step}} |
| − | |Step_Title=Absorber Tube | + | |Step_Title=<translate>Absorber Tube</translate> |
| − | |Step_Content=Cut a brass tube with an exterior diameter of 55 mm and a length of 1900 mm. The pipe is originally shiny. | + | |Step_Content=<translate>Cut a brass tube with an exterior diameter of 55 mm and a length of 1900 mm. The pipe is originally shiny. |
Weld the fittings on the edges, according to the photo. Make sure one fitting is at the bottom, and the other one at the top: this enables to feed liquid water from the lower part and extract water vapor from the top. | Weld the fittings on the edges, according to the photo. Make sure one fitting is at the bottom, and the other one at the top: this enables to feed liquid water from the lower part and extract water vapor from the top. | ||
| − | Once the pipe is welded, you need to darken its external surface, so it becomes as absorptive (black) as possible. This is very important as we want as much solar light to be absorbed on the pipe to heat the water inside. Apply an oxidizing solution suitable for brass (easily available on the market). Let the oxidizing solution dry for a couple of days if possible. Remove the traces of the oxidizing solution with a wet paper. Or just follow the instructions on your oxidizing solution. | + | Once the pipe is welded, you need to darken its external surface, so it becomes as absorptive (black) as possible. This is very important as we want as much solar light to be absorbed on the pipe to heat the water inside. Apply an oxidizing solution suitable for brass (easily available on the market). Let the oxidizing solution dry for a couple of days if possible. Remove the traces of the oxidizing solution with a wet paper. Or just follow the instructions on your oxidizing solution.</translate> |
|Step_Picture_00=SolarOSE_G6_1_1.jpg | |Step_Picture_00=SolarOSE_G6_1_1.jpg | ||
|Step_Picture_01=SolarOSE_G6_1_2.jpg | |Step_Picture_01=SolarOSE_G6_1_2.jpg | ||
| Ligne 39 : | Ligne 39 : | ||
|Step_Picture_05=No-image-yet.jpg | |Step_Picture_05=No-image-yet.jpg | ||
}} | }} | ||
| − | {{Tuto Step | + | {{ {{tntn|Tuto Step}} |
| − | |Step_Title=Elements of hydraulic circuit | + | |Step_Title=<translate>Elements of hydraulic circuit</translate> |
| − | |Step_Content=Cut the copper pipes: | + | |Step_Content=<translate>Cut the copper pipes: |
+ 3 m length for the water alimentation | + 3 m length for the water alimentation | ||
+ 15 cm for the south connection (water) | + 15 cm for the south connection (water) | ||
| Ligne 48 : | Ligne 48 : | ||
Arrange the connection to the edges of the tubes, as seen on the schema/photos of the hydraulic circuit. | Arrange the connection to the edges of the tubes, as seen on the schema/photos of the hydraulic circuit. | ||
| − | The plumbing complementary elements depend on the application connected to the solar boiler. | + | The plumbing complementary elements depend on the application connected to the solar boiler.</translate> |
|Step_Picture_00=SolarOSE_G6_2_1.jpg | |Step_Picture_00=SolarOSE_G6_2_1.jpg | ||
|Step_Picture_01=SolarOSE_G6_2_2.jpg | |Step_Picture_01=SolarOSE_G6_2_2.jpg | ||
| Ligne 56 : | Ligne 56 : | ||
|Step_Picture_05=SolarOSE_G6_2_4.jpg | |Step_Picture_05=SolarOSE_G6_2_4.jpg | ||
}} | }} | ||
| − | {{Notes}} | + | {{ {{tntn|Notes}}|}} |
Version du 11 août 2017 à 11:13
Étape 1 - Absorber Tube
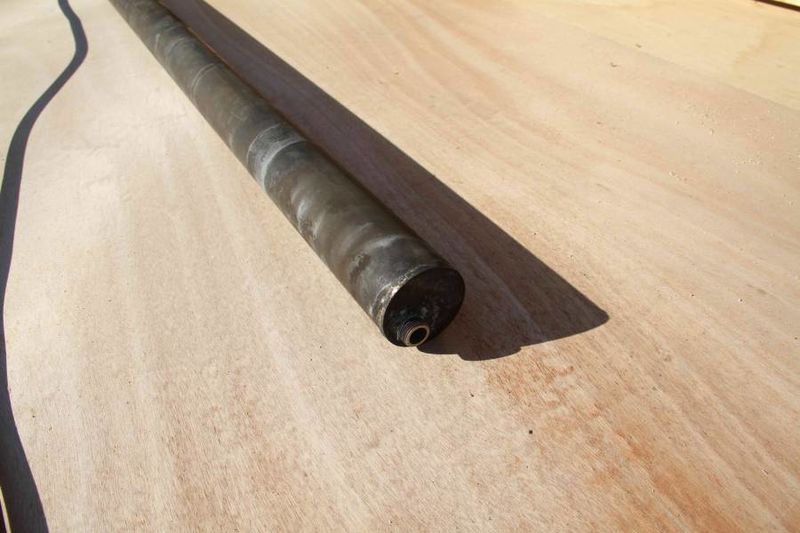
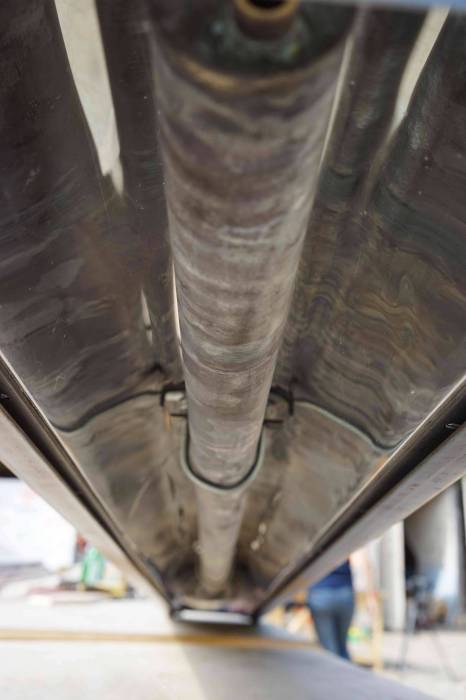
Cut a brass tube with an exterior diameter of 55 mm and a length of 1900 mm. The pipe is originally shiny.
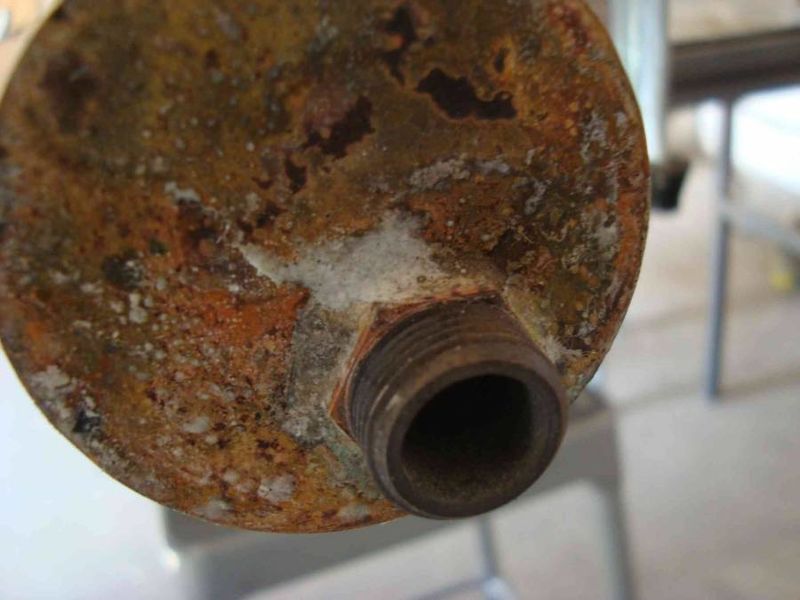
Weld the fittings on the edges, according to the photo. Make sure one fitting is at the bottom, and the other one at the top: this enables to feed liquid water from the lower part and extract water vapor from the top.
Once the pipe is welded, you need to darken its external surface, so it becomes as absorptive (black) as possible. This is very important as we want as much solar light to be absorbed on the pipe to heat the water inside. Apply an oxidizing solution suitable for brass (easily available on the market). Let the oxidizing solution dry for a couple of days if possible. Remove the traces of the oxidizing solution with a wet paper. Or just follow the instructions on your oxidizing solution.
Étape 2 - Elements of hydraulic circuit
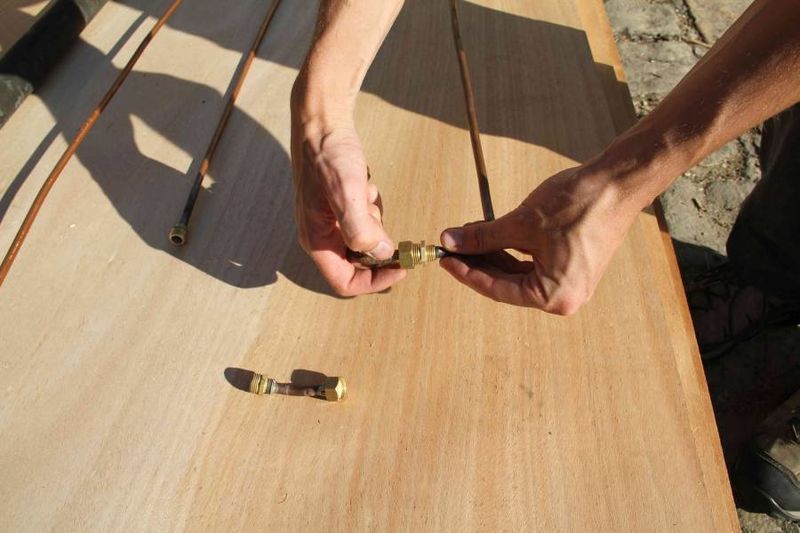
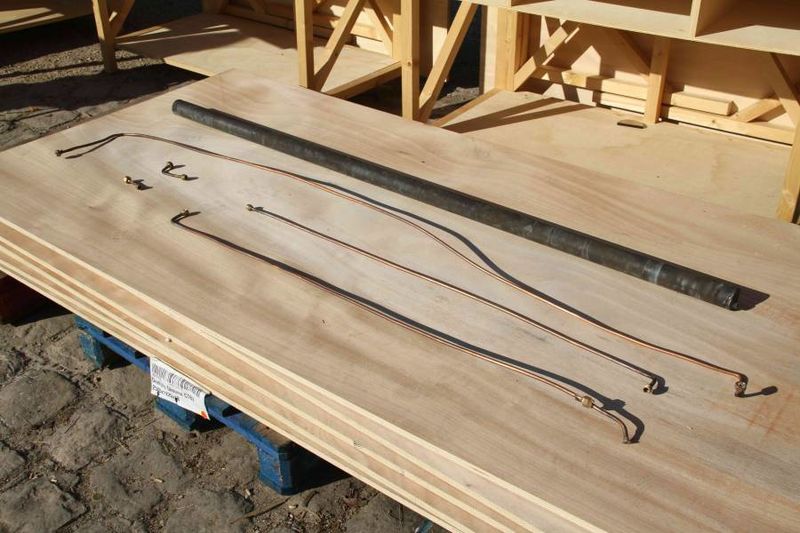
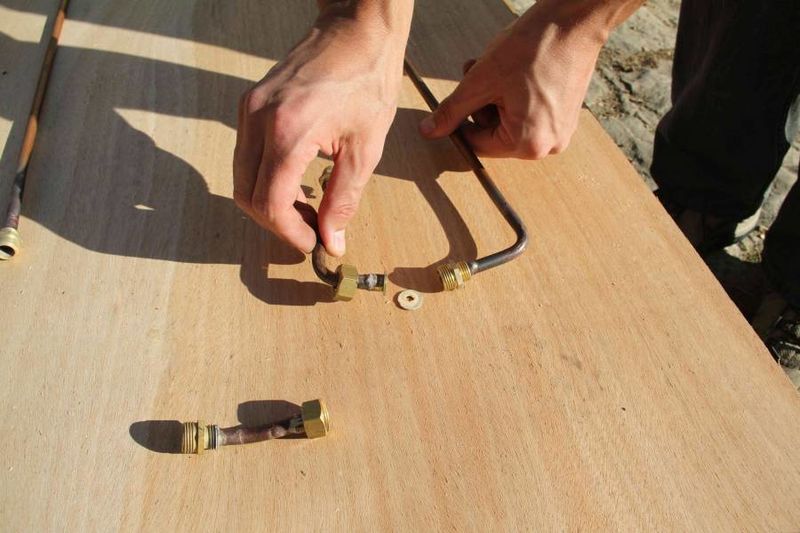
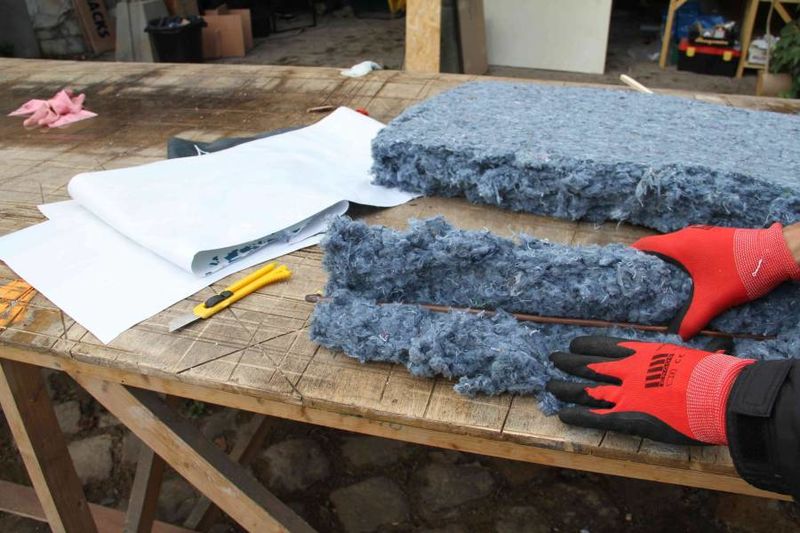
Cut the copper pipes: + 3 m length for the water alimentation + 15 cm for the south connection (water) + 15 cm for the north connection (steam)
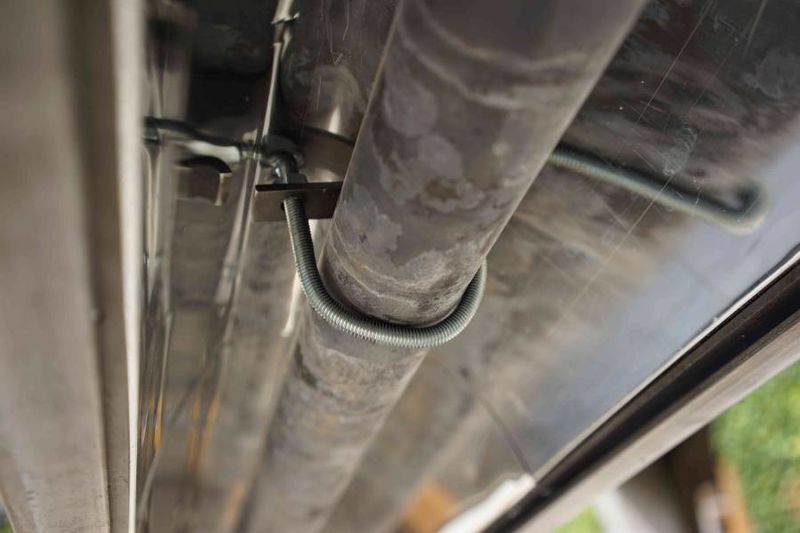
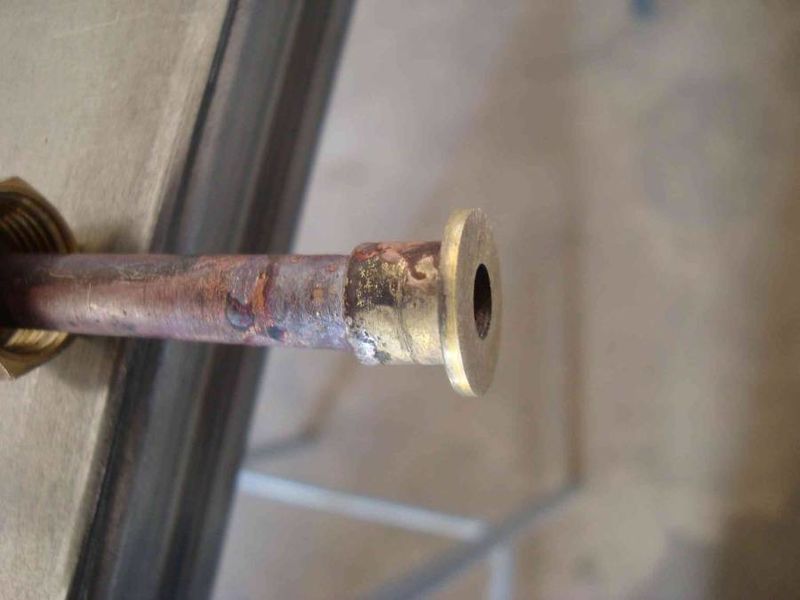
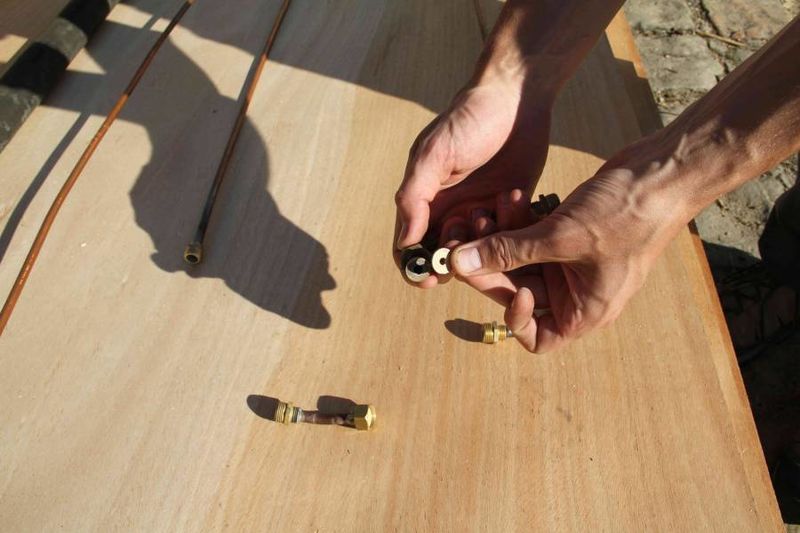
Arrange the connection to the edges of the tubes, as seen on the schema/photos of the hydraulic circuit.
The plumbing complementary elements depend on the application connected to the solar boiler.

 Français
 English
 Deutsch
 Español
 Italiano
 Português