m (Saved using "Save and continue" button in form) |
|||
| Ligne 86 : | Ligne 86 : | ||
{{ {{tntn|Tuto Step}} | {{ {{tntn|Tuto Step}} | ||
|Step_Picture_00=Salad_tongs__tape_5.png | |Step_Picture_00=Salad_tongs__tape_5.png | ||
| + | |Step_Picture_01=Salad_tongs_poncer_logo.png | ||
| + | |Step_Picture_02=Salad_tongs_huile_logo.png | ||
| + | |Step_Picture_03=Salad_tongs_beau_logo.png | ||
|Step_Title=Finish with Oil | |Step_Title=Finish with Oil | ||
| − | |Step_Content=Because this piece will be touching food, I used a | + | |Step_Content=Because this piece will be touching food, I used a butcher block conditioner meant for cutting boards. This product is food safe and won’t leak any harmful chemicals into our healthy salads. I really like this oil because it’s quick and easy, leaves the wood a vibrant color, and I don’t have to worry about it coming in contact with the things we eat. |
}} | }} | ||
{{ {{tntn|Tuto Step}} | {{ {{tntn|Tuto Step}} | ||
| − | |Step_Title= | + | |Step_Picture_00=Salad_tongs_der_des_ders.png |
| − | |Step_Content= | + | |Step_Title=Now, To Find Some Salad! |
| + | |Step_Content= | ||
| + | }} | ||
| + | {{ {{tntn|Tuto Step}} | ||
| + | |Step_Picture_00=Salad_tongs_der_des_ders.png | ||
| + | |Step_Title=Now, To Find Some Salad! | ||
| + | |Step_Content= | ||
}} | }} | ||
{{ {{tntn|Notes}} | {{ {{tntn|Notes}} | ||
Version du 13 juin 2018 à 18:22
Sommaire
- 1 Introduction
- 2 Video d'introduction
- 3 Étape 1 - Cut Down the Rough Wood
- 4 Étape 2 - Add the Slot for The Aluminum
- 5 Étape 3 - Shape the Wooden Handles
- 6 Étape 4 - Drilled out the holes
- 7 Étape 5 - Add the Aluminum
- 8 Étape 6 - Drive in the dowels
- 9 Étape 7 - Finish with Oil
- 10 Étape 8 - Now, To Find Some Salad!
- 11 Étape 9 - Now, To Find Some Salad!
- 12 Notes et références
- 13 Commentaires
Introduction
Matériaux
Block of basswood
Aluminium bar
Outils
Band saw
Table saw
Belt sander
Drill press
Torch and aluminium rode
Étape 1 - Cut Down the Rough Wood
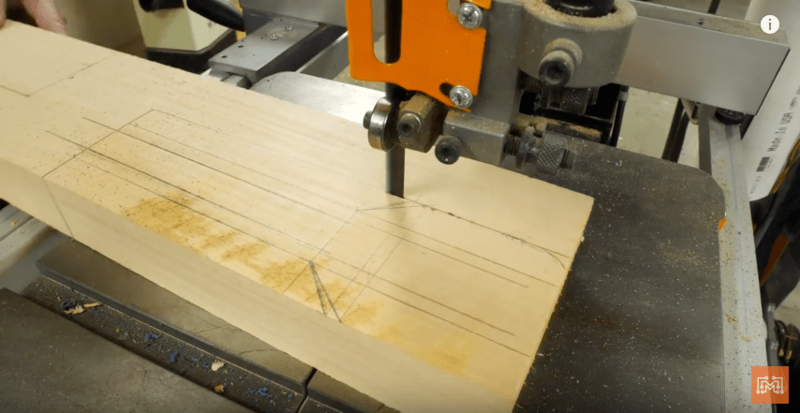
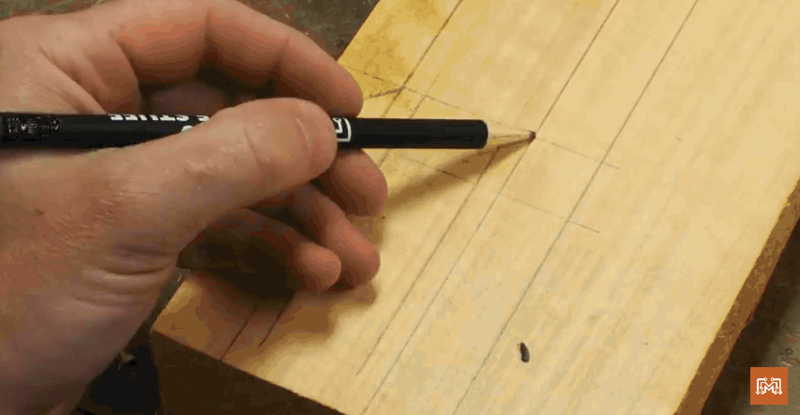
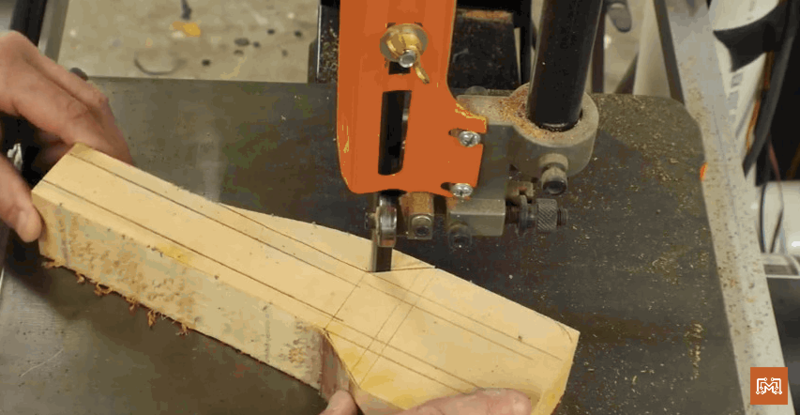
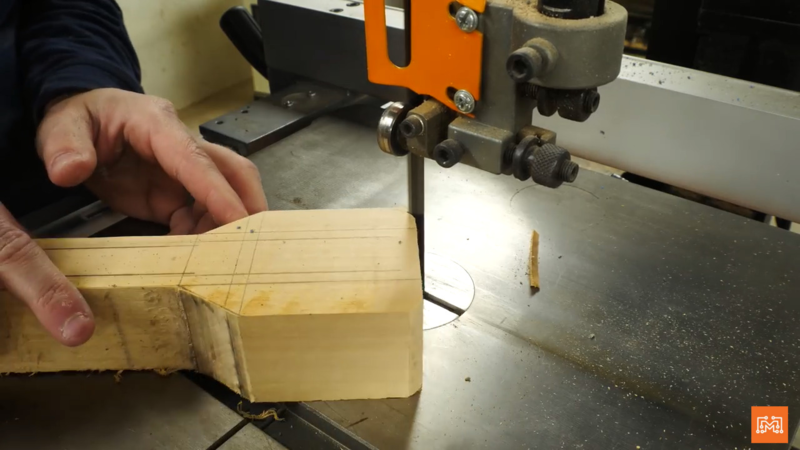
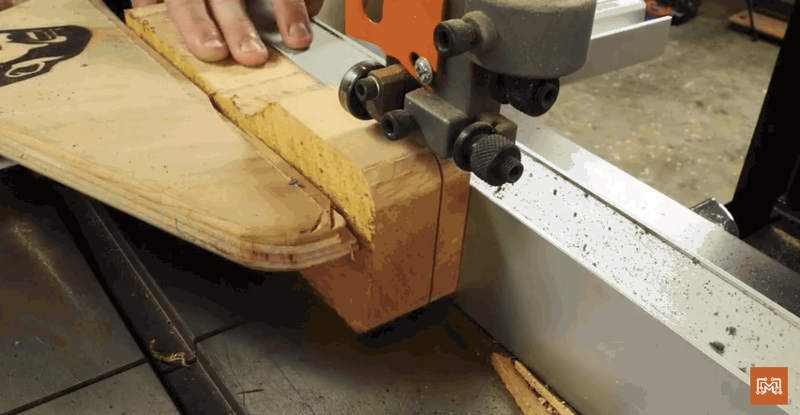
For the functional tongs, I use a large chunk of basswood. I drew out the spatula-like shape on the face and cut the thick piece of wood on the band saw. I then turned the piece on its side and resawed the basswood into my two handles. These two halves were still pretty thick and the shape was not yet finalized, all of that would be done with the sanders.
Étape 2 - Add the Slot for The Aluminum
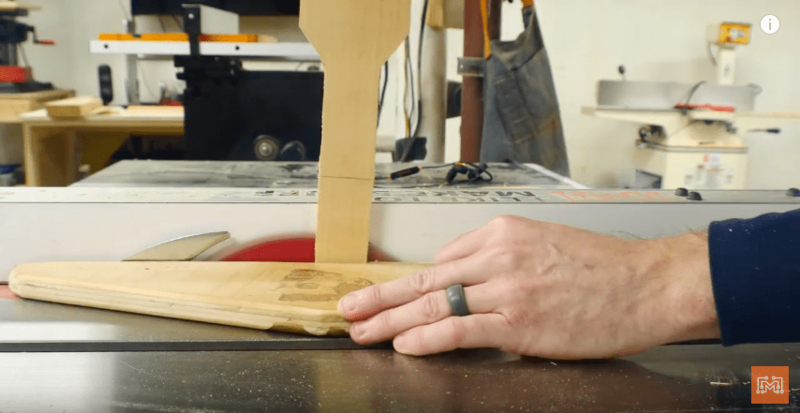
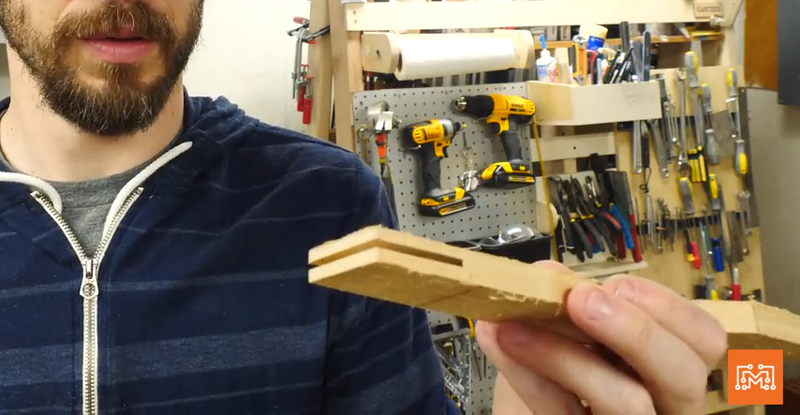
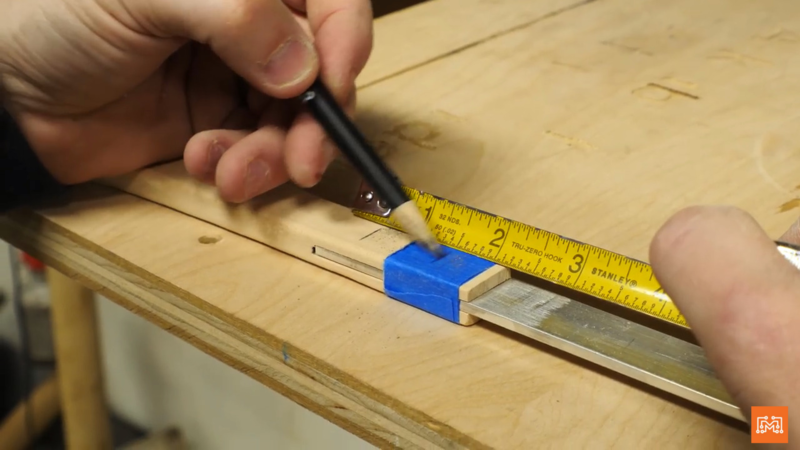
Now here’s your word of warning, the cut I made into the stem of the handles made me a little nervous. In hindsight, I could have made a quick jig to securely hold the pieces while I passed them over the table saw vertically, but I didn’t think of that at the time. Instead, I mitigated all of the risks and carefully passed the skinny end of the handles over the blade to cut in the pocket that would hold the aluminum. This ended up working just fine, but be careful.
Étape 3 - Shape the Wooden Handles
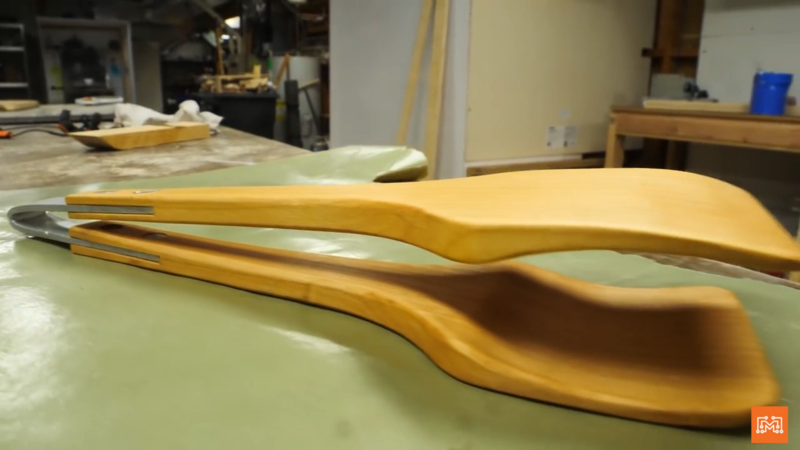
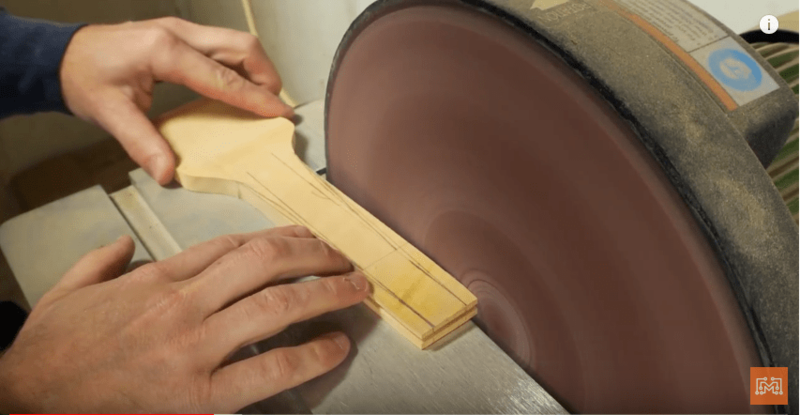
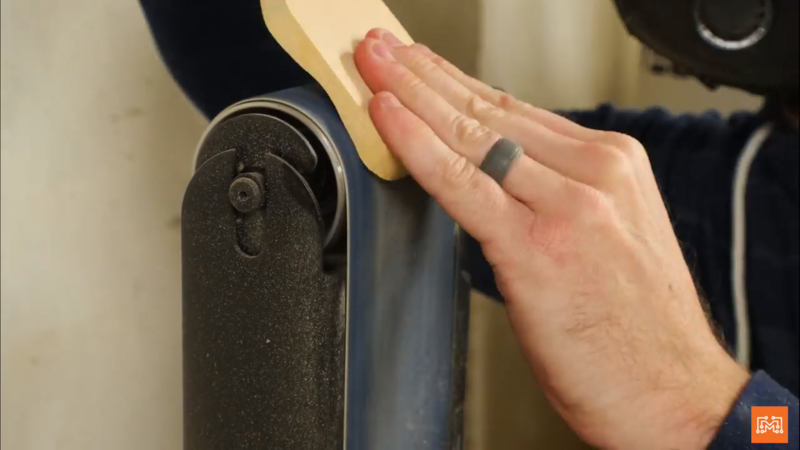
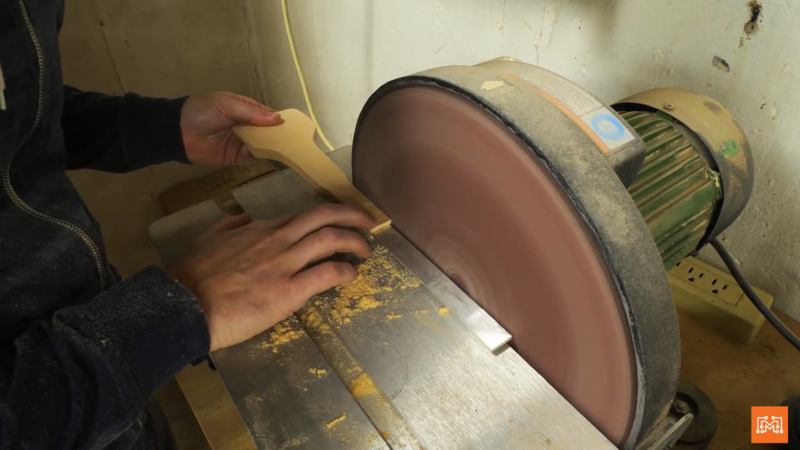
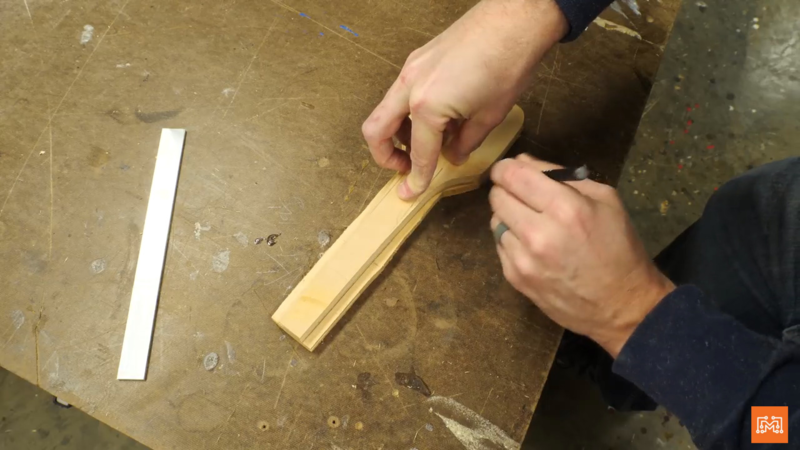
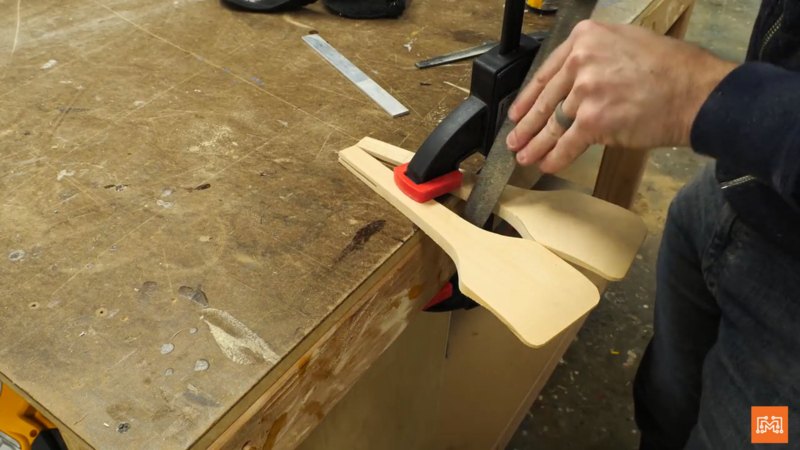
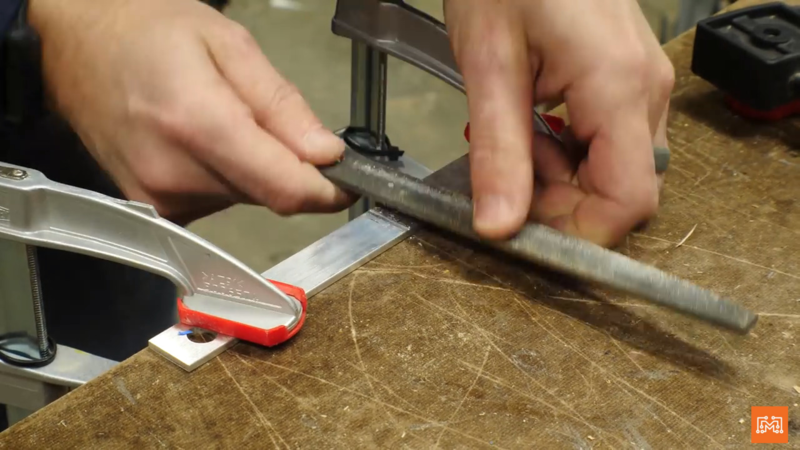
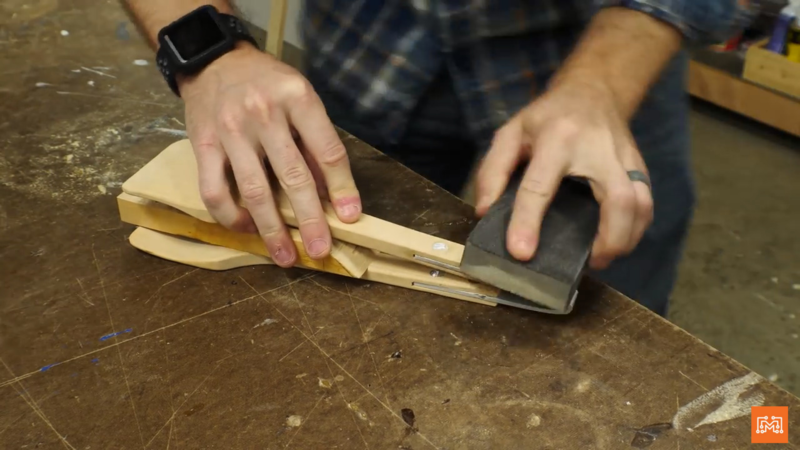
This process involved a lot of patience and a lot of sanding. I flushed up the stem edges with the edges of the aluminum and then used the belt sander to finalize the handles’ overall shape. The two handles were pressed together and sanded simultaneously so that their profiles matched. The scoop was carved into the paddles by running them over the rounded end of the belt sander. To round over the crisp edges, I clamped the handles to my work bench and used some files to make some comfortable contours.
Étape 4 - Drilled out the holes
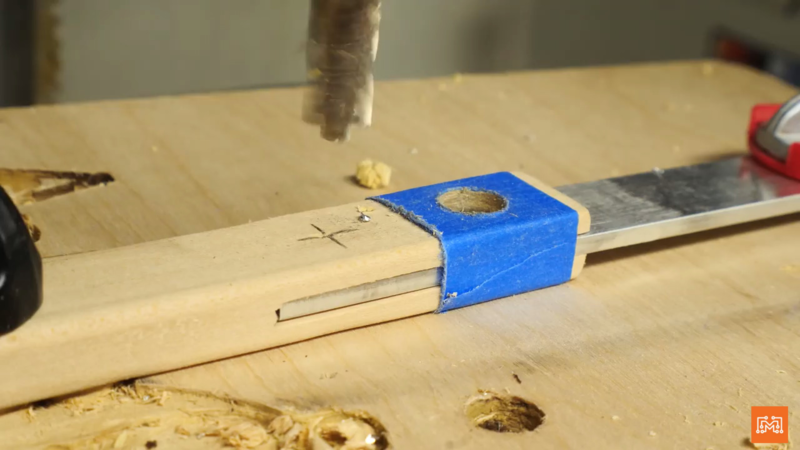
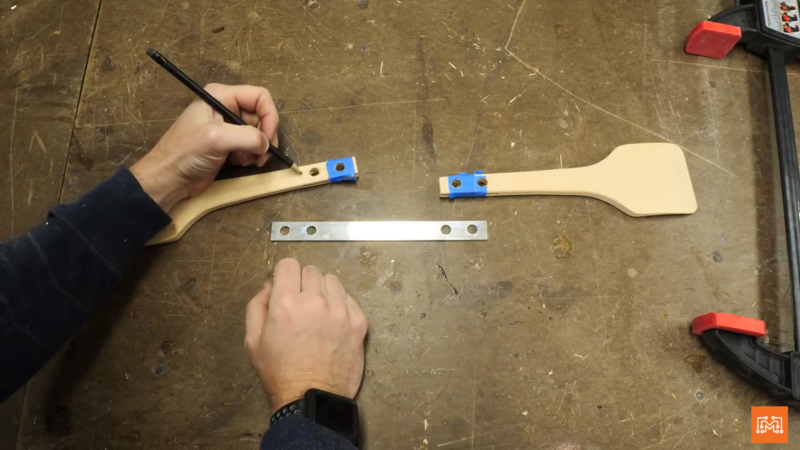
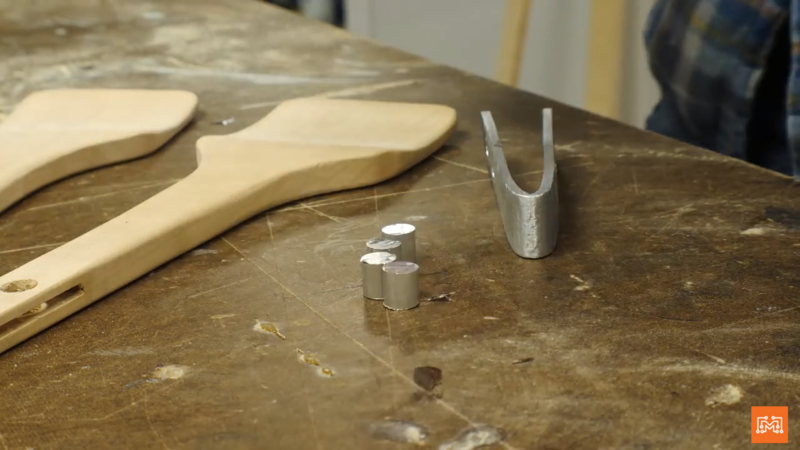
For the handles, I used some flat aluminum bar stock that I could bend over to act as a spring. Before I bent the metal, I set the flat bar into the slots on the wooden handles and drilled out the holes for the dowels that would connect the pieces with the drill press. I had some 3/8″ aluminum round bar and cut little dowel pieces on the miter saw. Two holes were drilled through both materials so later, I could permanently peg them together.
Étape 5 - Add the Aluminum
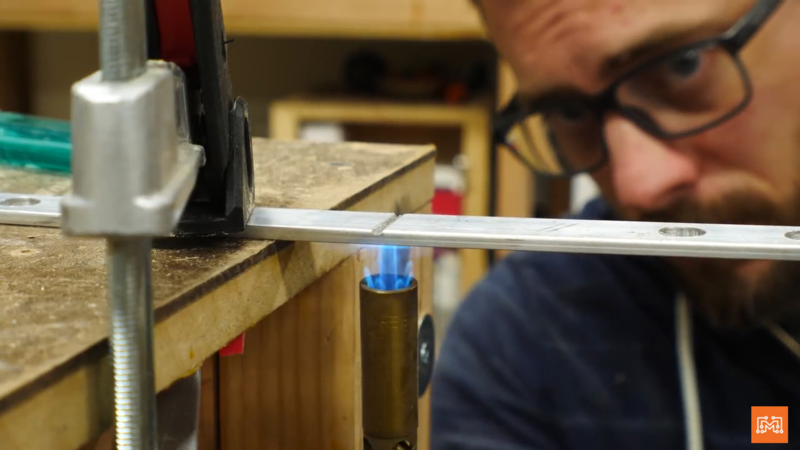
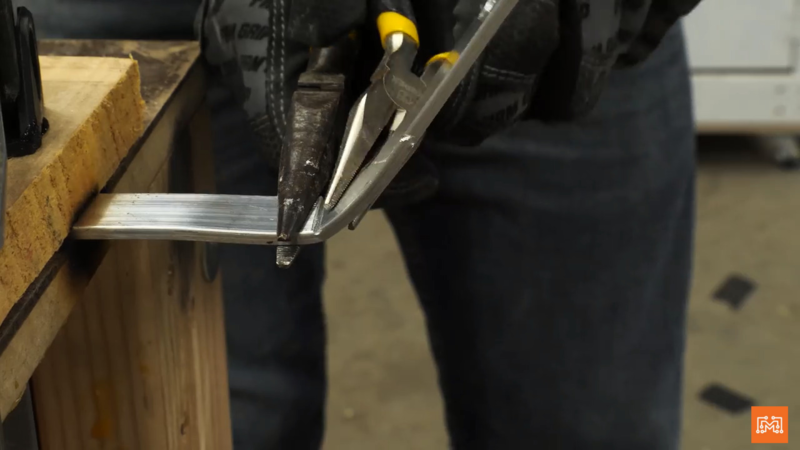
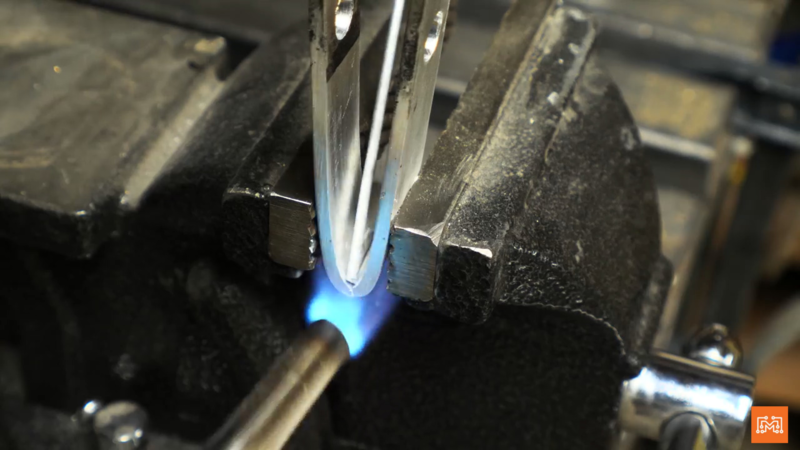
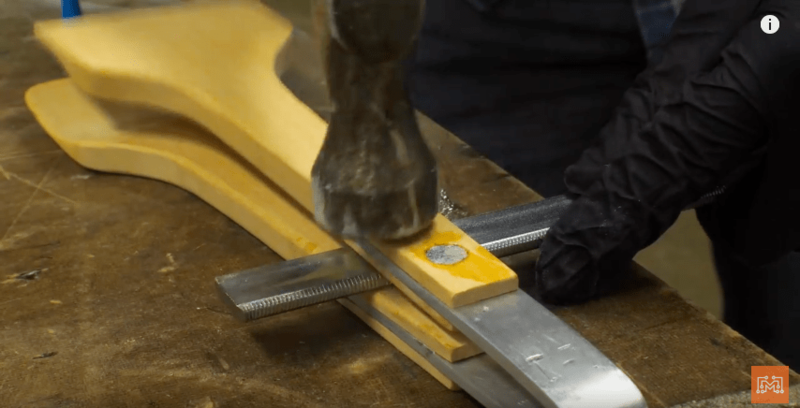
To bend the flat bar into a spring, I first scored a groove down the center of the piece to act as a fold line. I carefully heated up the aluminum along this line and hammered the piece over into an acute angle. There was an obvious cut line left in the crease that I wanted to cover up. So, I used a torch and some aluminum rod to braise the crease for some extra strength and to give the handles a cleaner look.
Étape 6 - Drive in the dowels
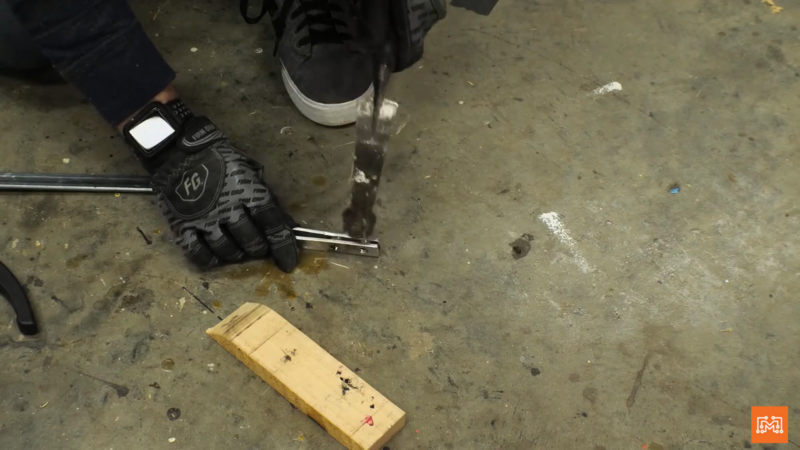
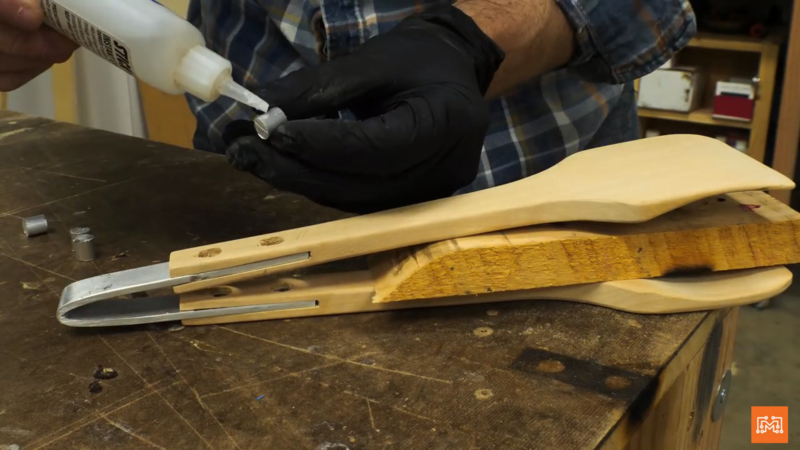
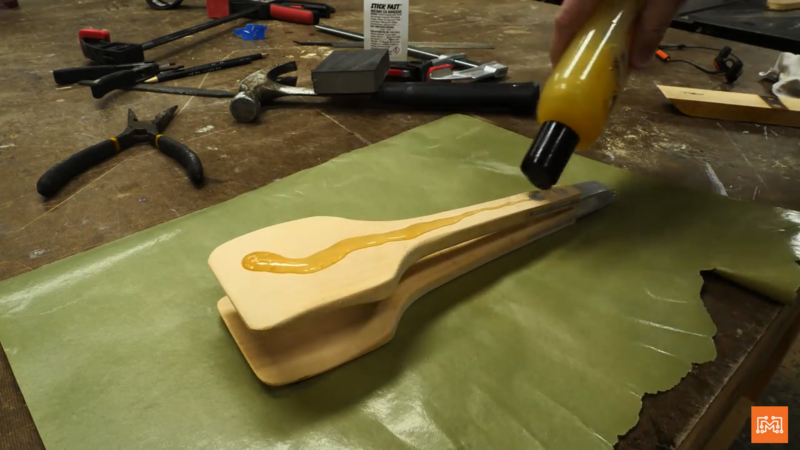
All that was left was to drive in the dowels (0,5cm high) through the attachment holes and secure them in place with some CA glue.
Étape 7 - Finish with Oil
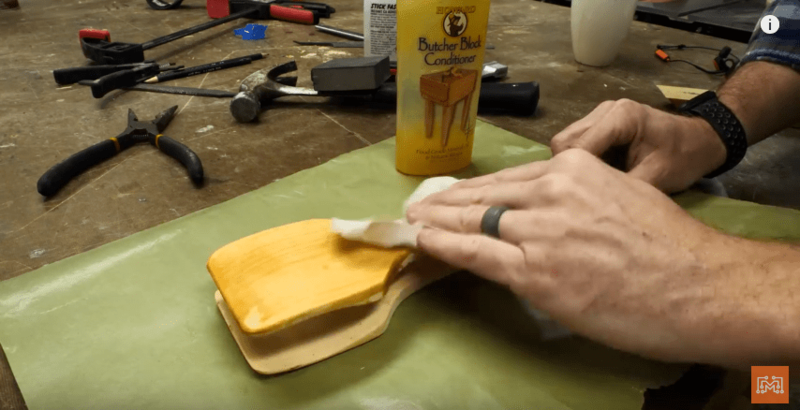
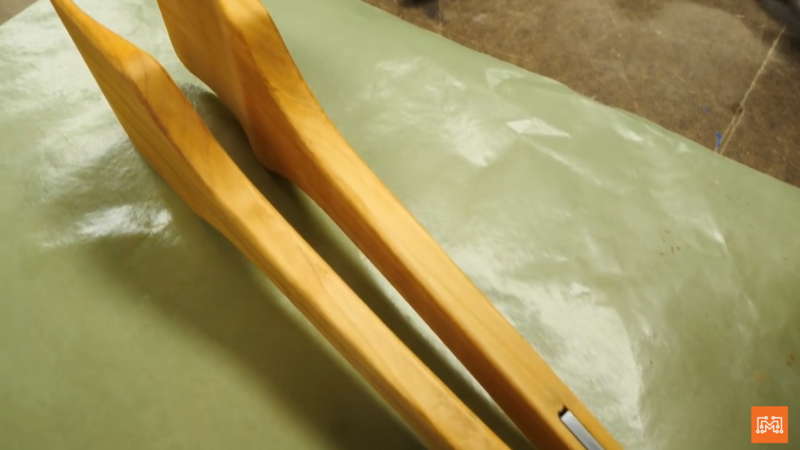
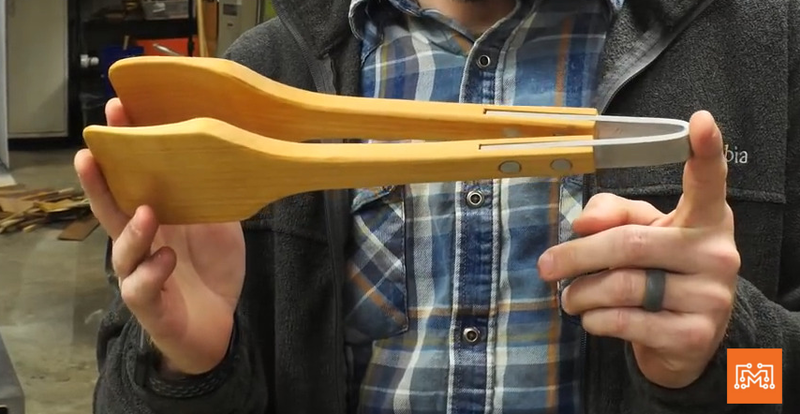
Because this piece will be touching food, I used a butcher block conditioner meant for cutting boards. This product is food safe and won’t leak any harmful chemicals into our healthy salads. I really like this oil because it’s quick and easy, leaves the wood a vibrant color, and I don’t have to worry about it coming in contact with the things we eat.
Notes et références
I made a simple pair of salad tongs for my wife, but we also wanted a geeky, over-the-top pair that looked like the Infinity Gauntlet!
Check out iliketomakestuff.com for all things ILTMS!
Subscribe to my channel: http://bit.ly/1k8msFr
Second Channel: http://bit.ly/iltms-2
MORE PROJECTS, POSTS AND EVENTS
http://www.iliketomakestuff.com
TOOLS & SUPPLIES (affiliate links):
https://kit.com/iliketomakestuff/infi...
https://kit.com/iliketomakestuff/shop...
Twitch Stream Every Wednesday @ 11am EST: www.twitch.tv/iliketomakestuff
I WROTE A BOOK!!
http://www.iliketomakestuff.com/makin...
Want to support ILTMS? Get exclusive content and more...
http://www.iliketomakestuff.com/patreon
BUY A SHIRT, STICKER, DIGITAL PLANS and MORE!!
http://www.iliketomakestuff.com/store
FOLLOW:
http://twitter.com/iliketomakestuf
http://www.twitch.tv/iliketomakestuff
http://instagram.com/iliketomakestuff
 Français
 English
 Deutsch
 Español
 Italiano
 Português