Introduction
Qubitro is an IoT (Internet of Things) platform that provides tools and services for connecting, managing, and analyzing IoT devices and data. It provides a cloud-based platform where users can securely connect their IoT devices and collect data from sensors and actuators.
Matériaux
Outils
Étape 1 - Getting Started
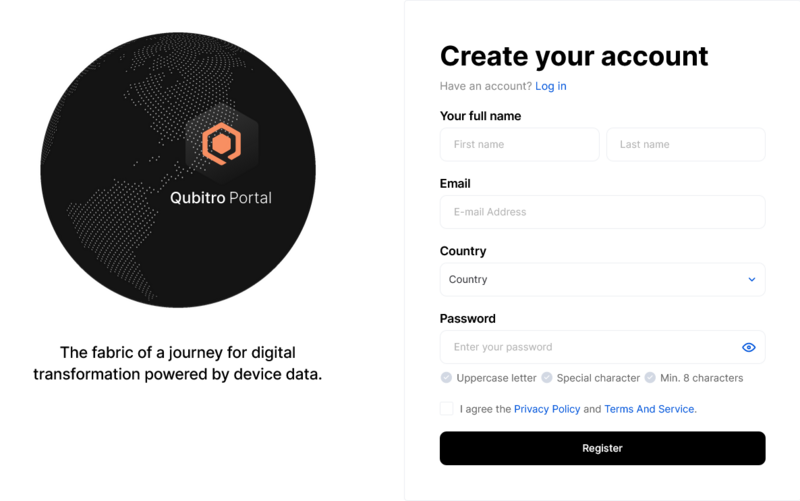
To get started with Qubitro, we will first need to create an account. Go to the Qubitro website (https://www.qubitro.com/) and click on the "Sign Up" button. You will be prompted to enter Full Name, Email Address,Country, and password to create your account.
Once, we have created the account, we can log in from https://portal.qubitro.com/login. However, we shall automatically be logged in to our account.
Étape 2 - Create a New Project
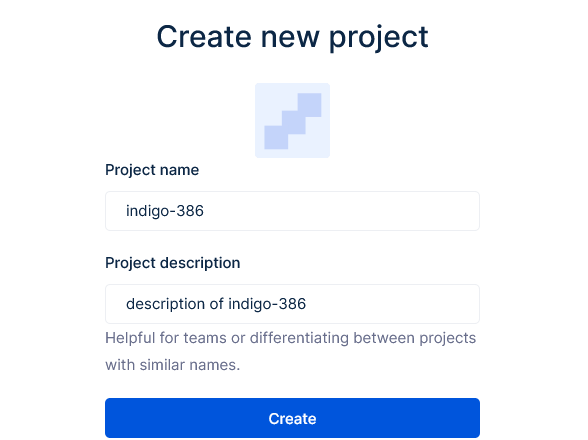
Once you have logged in, you will be prompted to create a project. Enter a name for your project and mention a description for your project.
Étape 3 - Add Devices
Next, you will need to add devices to your application. Go to the Project (if not already open), there we can see a button [+ New Source]. From this section, we will have 3 major sections -
1. Communication Protocol
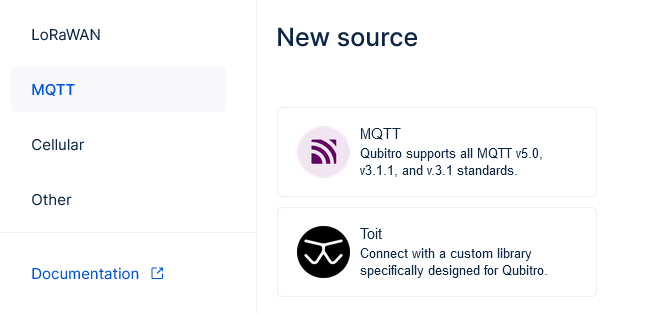
With a prompt to choose between LoRaWAN, MQTT, & Cellular. We can choose the protocol that best suits our use-case.
I choose MQTT to get started with the platform basics. And since I shall be using Arduino IDE for programming the board, I went ahead with the MQTT Broker (Qubitro has its own broker - we shall see it in the upcoming section). In case you wish to know how the Toit platform works, you can check my Tutorial on Toit.io
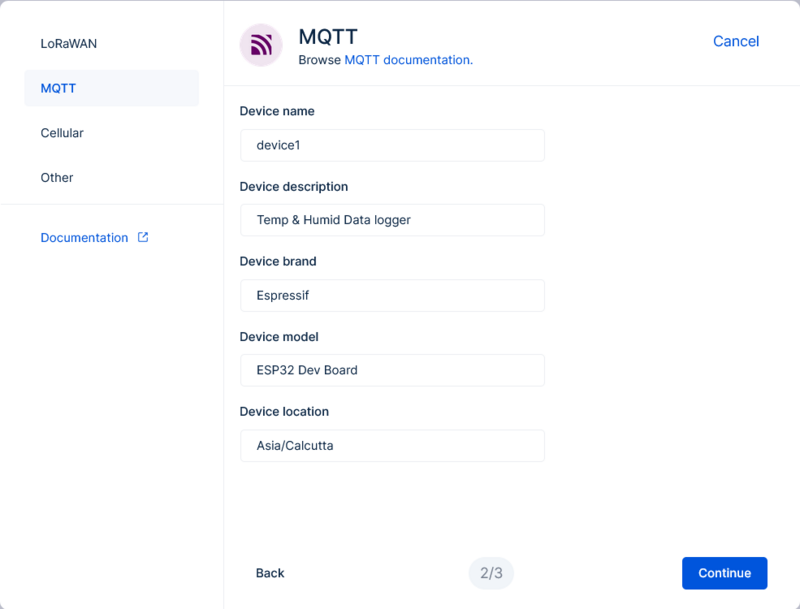
2. Device Details
I shall be using an ESP32 Dev Board, and therefore entered the details as per the image below -
3. Credentials
In the next step, we receive credentials, to connect to the MQTT Broker. We can use this detail to connect to the broker as a client - to Publish or Subscribe.
Now that we have the server, port, username and password we are all ready to send data to the Qubitro Cloud. Copy these details in a safe place (We can view them later in the device settings as well though)
Draft
 Français
 English
 Deutsch
 Español
 Italiano
 Português