Matériaux
Outils
Étape 1 - Required Tools
1/2" Socket wrench
11/16" Socket"
6mm Allen/Hex Wrench
Locking Pliers
Adjustable pliers
Metal File
Screwdriver
Étape 2 - Attach the Bearings to the side plates
Parts Needed:
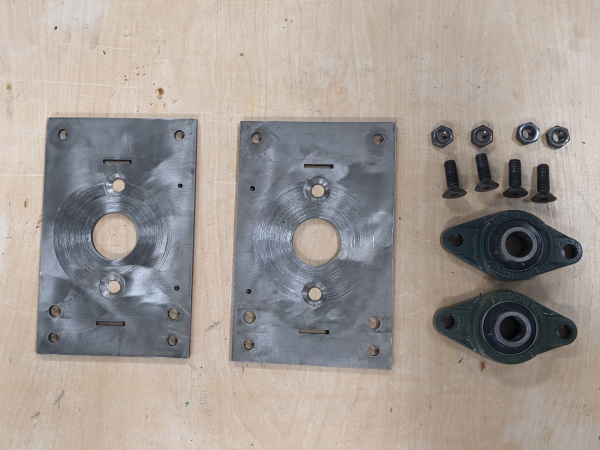
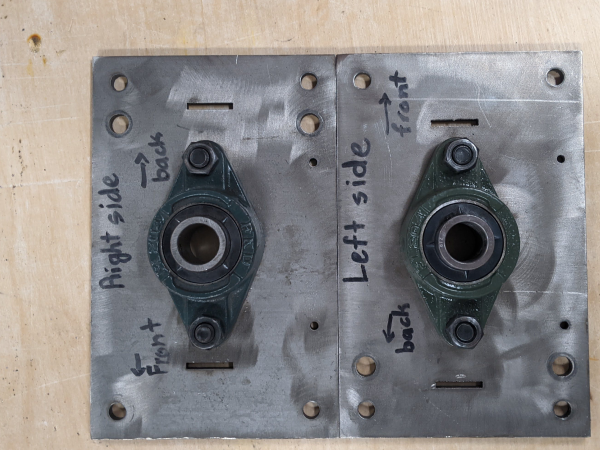
2x 6mm 01.04.01 Side plate
2X bearings
4X Countersunk Hexagon Bolts (M10 x 30)
4X Nuts (M10)
Tools Needed
6mm allen
11/16" wrench
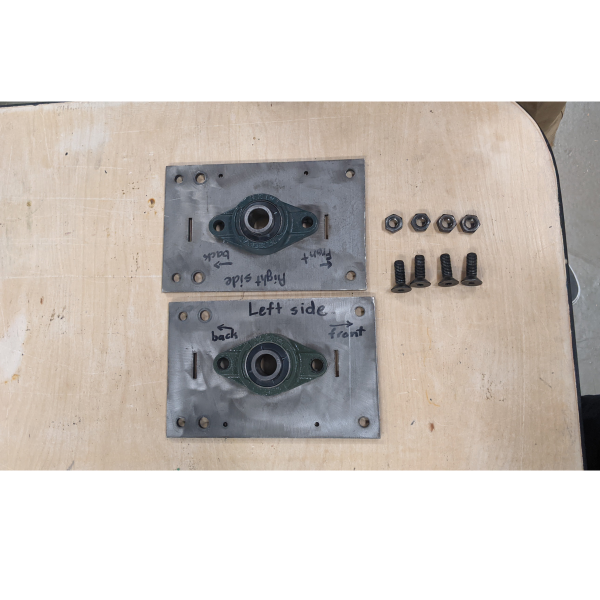
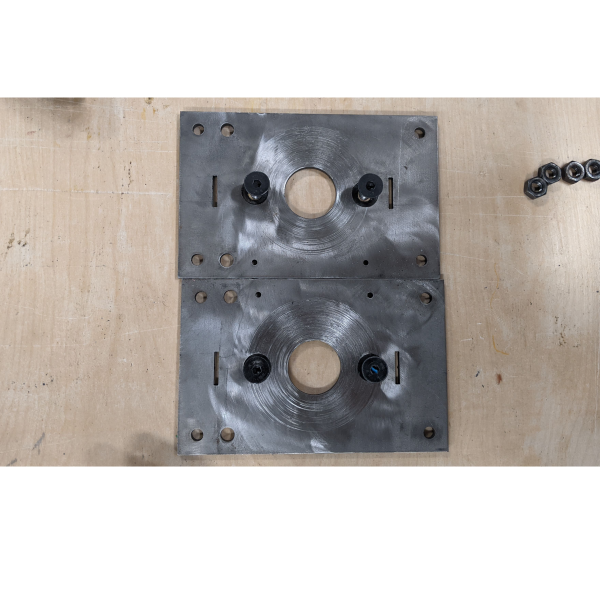
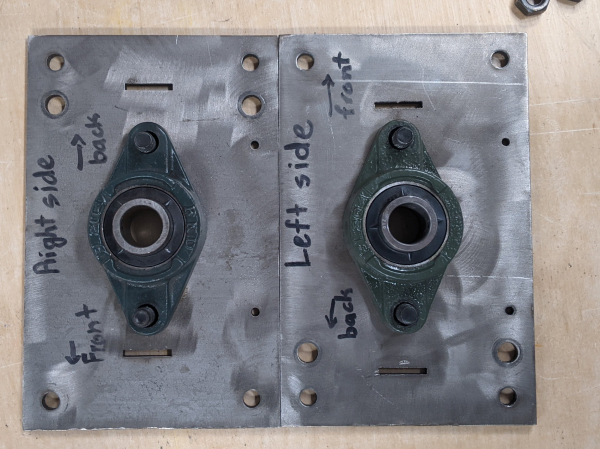
Put the bolts through indented side of the side plate and into the bearing holes.
Secure with nuts
Étape 3 - Build the blade shaft
Parts Needed:
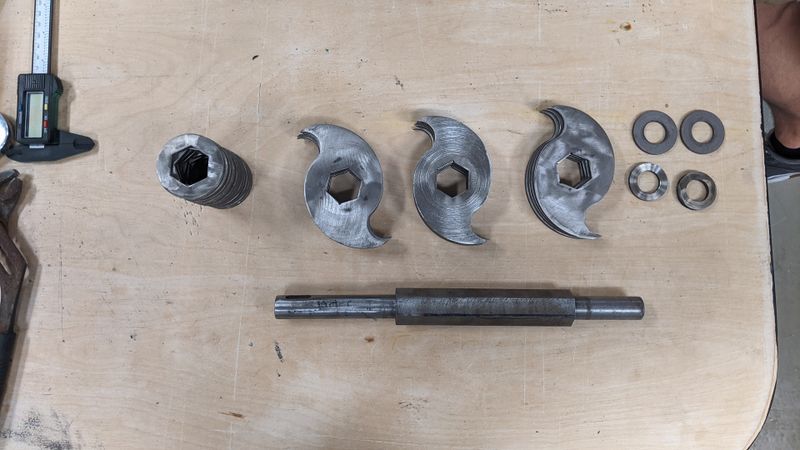
5x 01.04.03 Knife 1
5x 01.04.04 Knife 2
4x 01.04.05 Knife 3
1x Shaft
2x 01.04.02 6mm Bearing Spacer
2x 01.04.09 3mm Bearing Spacer
13x Knife Spacer
Tools Needed:
(optional) vice grip/locking pliers
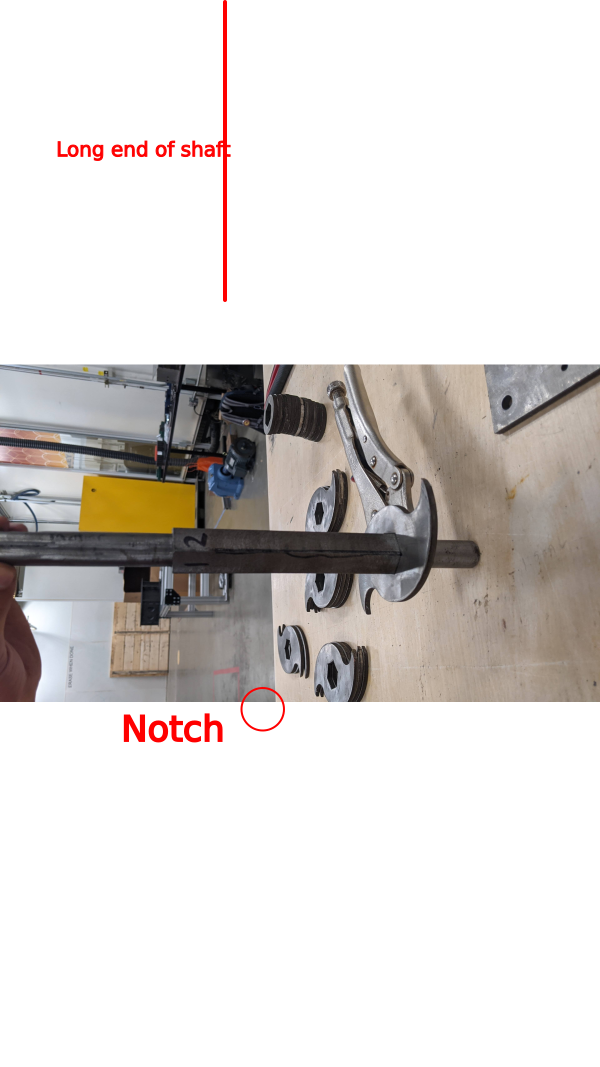
Orient the shaft so the longer blank section is facing up.
Number the faces 1-6(it doesnt matter where you start, as long as it reads left to right).
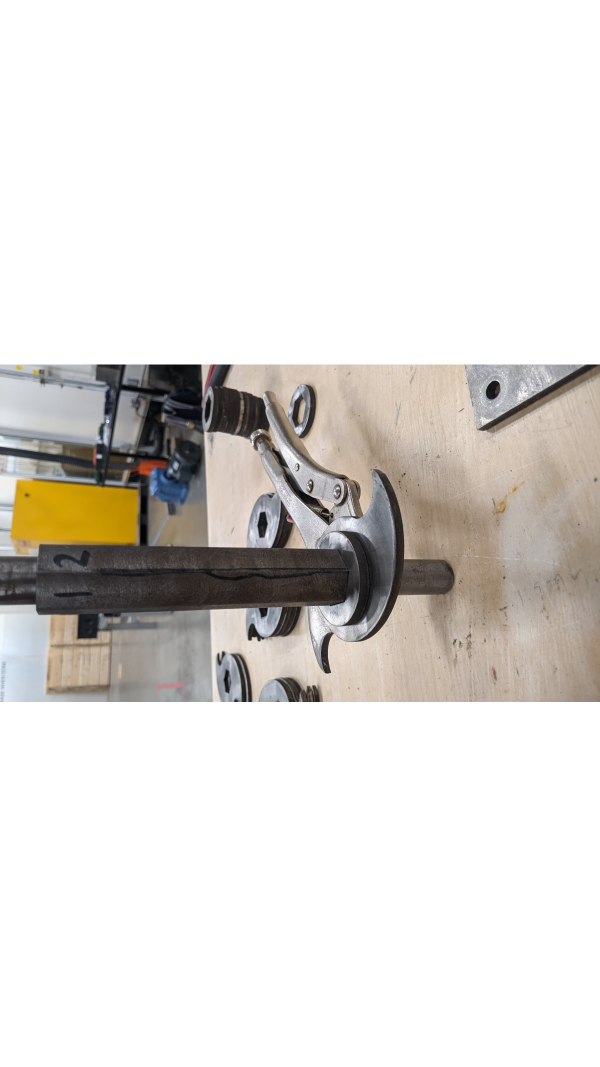
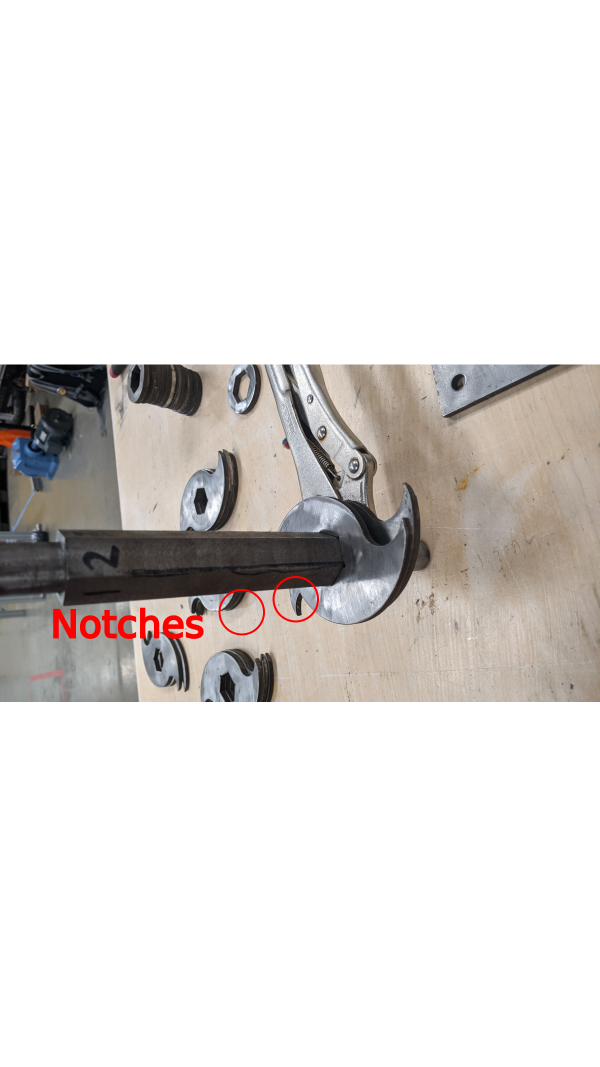
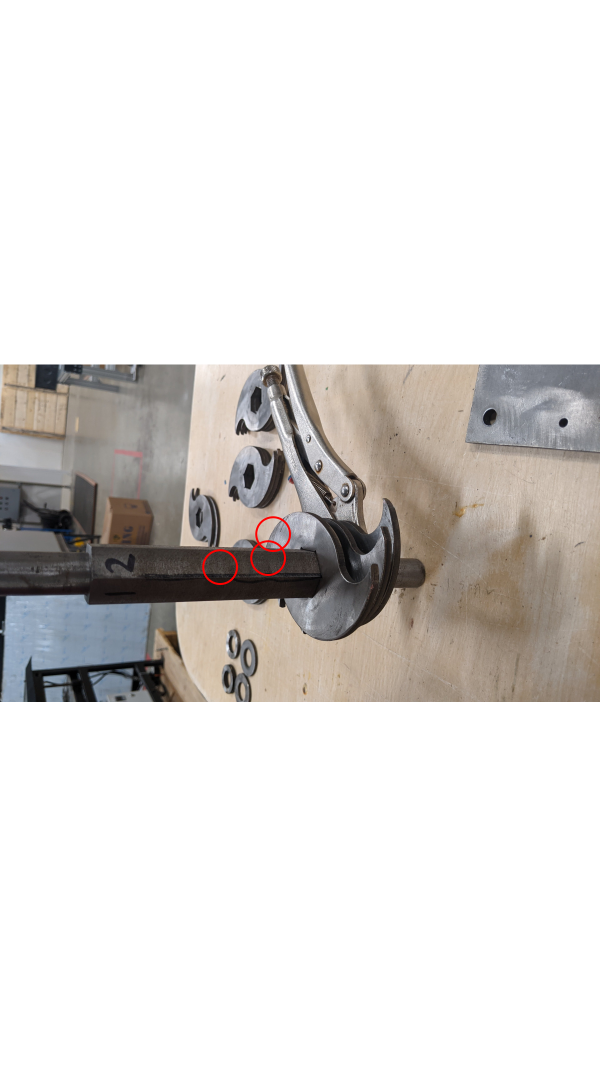
Slide Knife 1( knife with only 1 notch) onto the shaft so the notch is on the edge between faces 1 and 2. Ensure that the blade point, points towards face 2.
Add a Spacer
Slide Knife 2(knife with 2 notches) onto the shaft so that the first notch is between faces 1 and 2 , and the 2nd notch is between faces 2 and 3.
Add a Spacer
Slide Knife 3(knife with 3 notches) onto the shaft so that the first notch is between faces 1 and 2, and the 2nd notch is between faces 2 and 3. and the 3rd notch is between faces 3 and 4.
Add a spacer
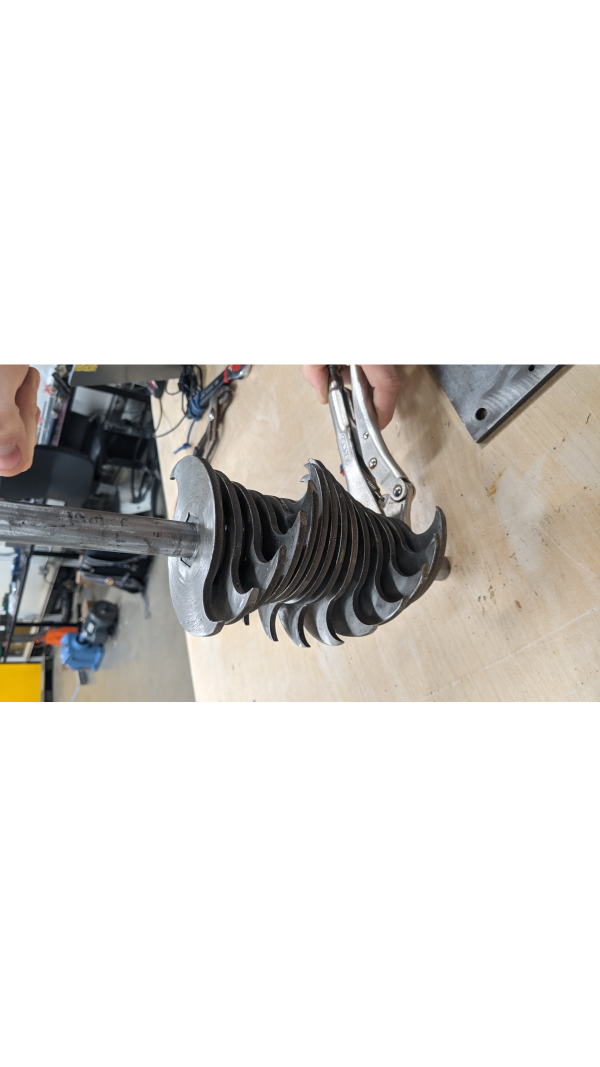
*This completes 1 SET of knives.
Repeat for the next set, but begin by placing the notch of Knife 1 between faces 6 and 1.
*This completes 2 SET of knives.
Repeat for the next set, but begin by placing the notch of Knife 1 between faces 5 and 6.
*This completes 3 SETs of knives.
Repeat for the next set, but begin by placing the notch of Knife 1 between faces 4 and 5.
*This completes 4 SET of knives.
Repeat for the next set, but begin by placing the notch of Knife 1 between faces 3 and 4. This Set will only use 2 blades.
Add 3mm spacer to shaft. Add 6mm Spacer to shaft.
Repeat on other end.
Étape 4 - Shredder Box Construction
Parts:
Preconstructed box (narrower)
Preconstructed box (thicker)
Preconstructed rotating blade.
13 Fixed blades
14 Spacers
2 Threaded Rods
4 Nuts
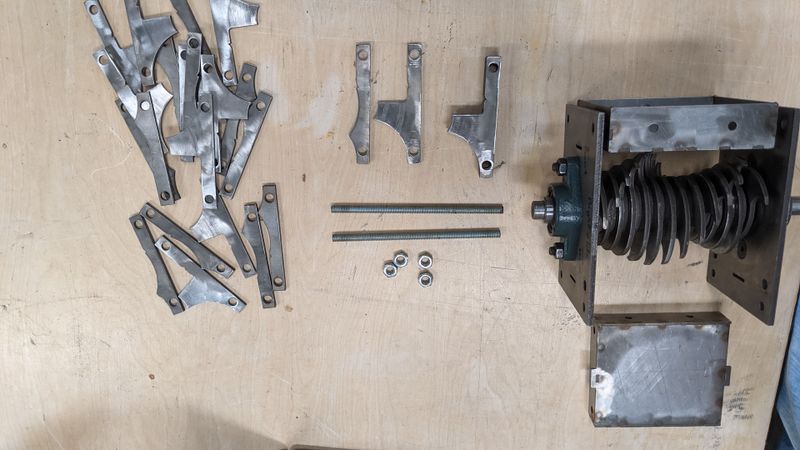
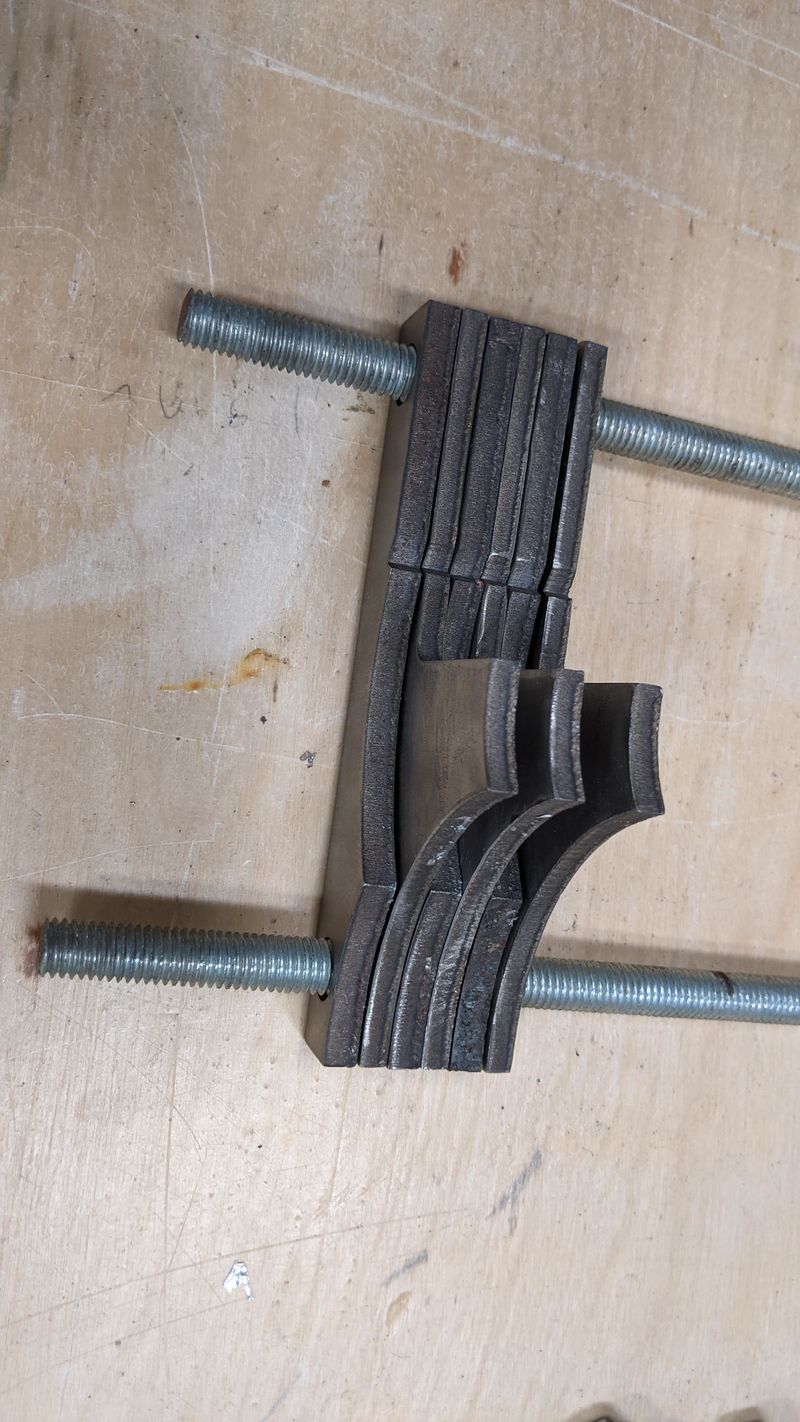
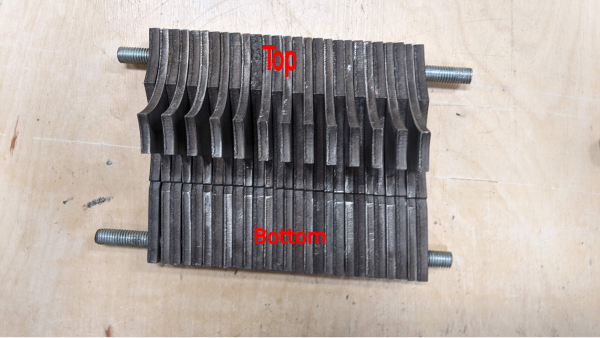
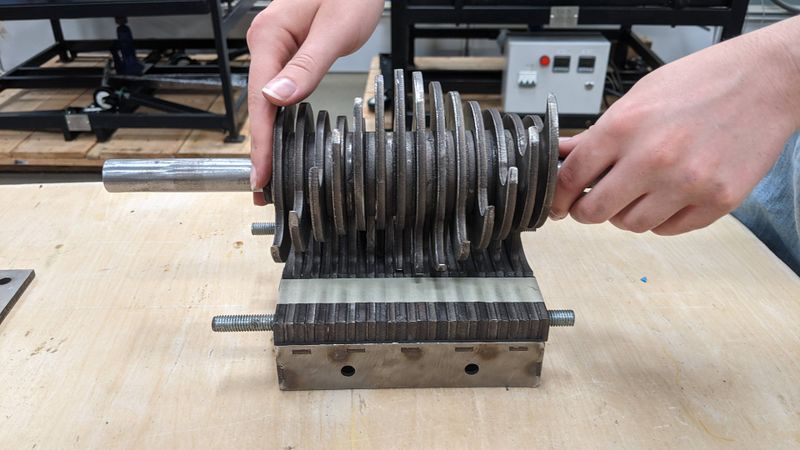
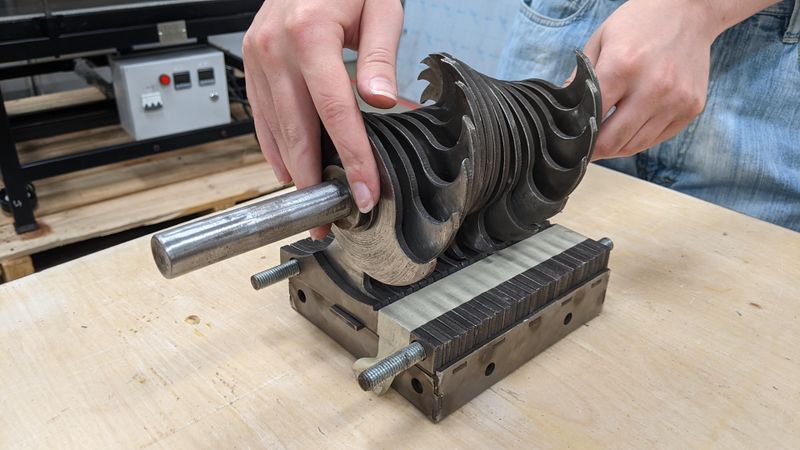
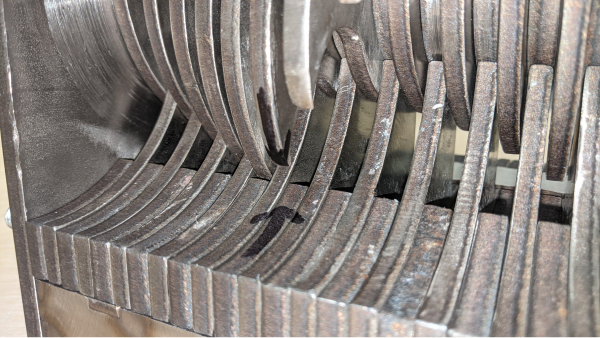
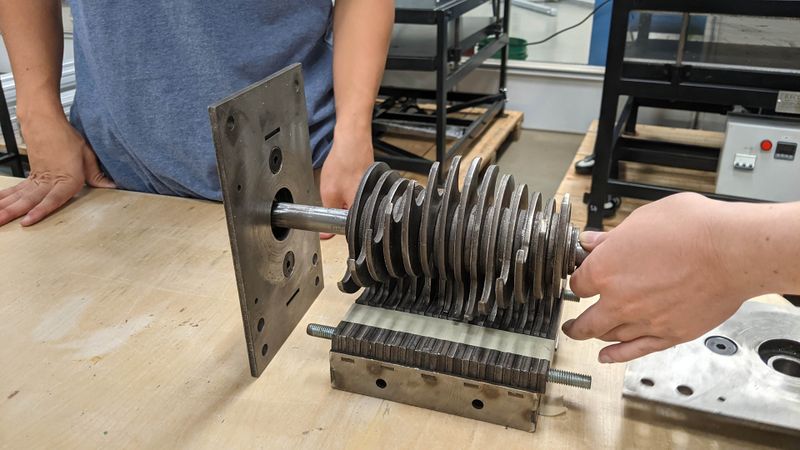
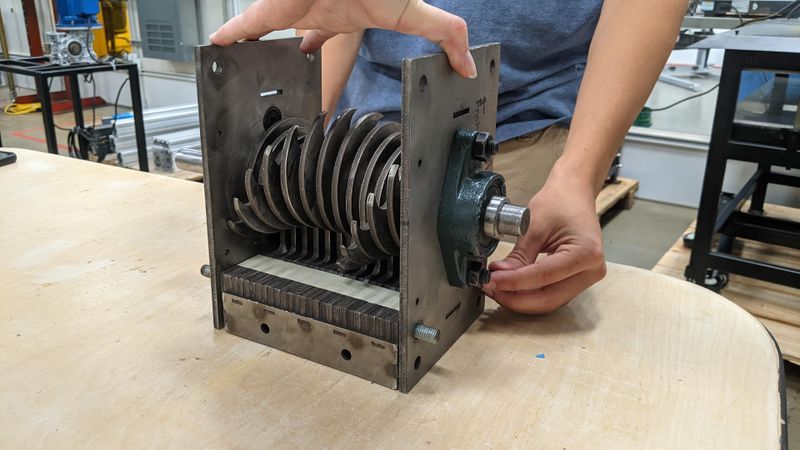
Instructions: Starting with the a spacer, thread the spacer and fixed blades onto the rods in alternating order. Place the assembled blades onto the narrow box with the bottom lip aligned with the bottom of the fixed blade assembly . Line up the rotating blades so they rotate into the curved side of the fixed blades.
Étape 5 -
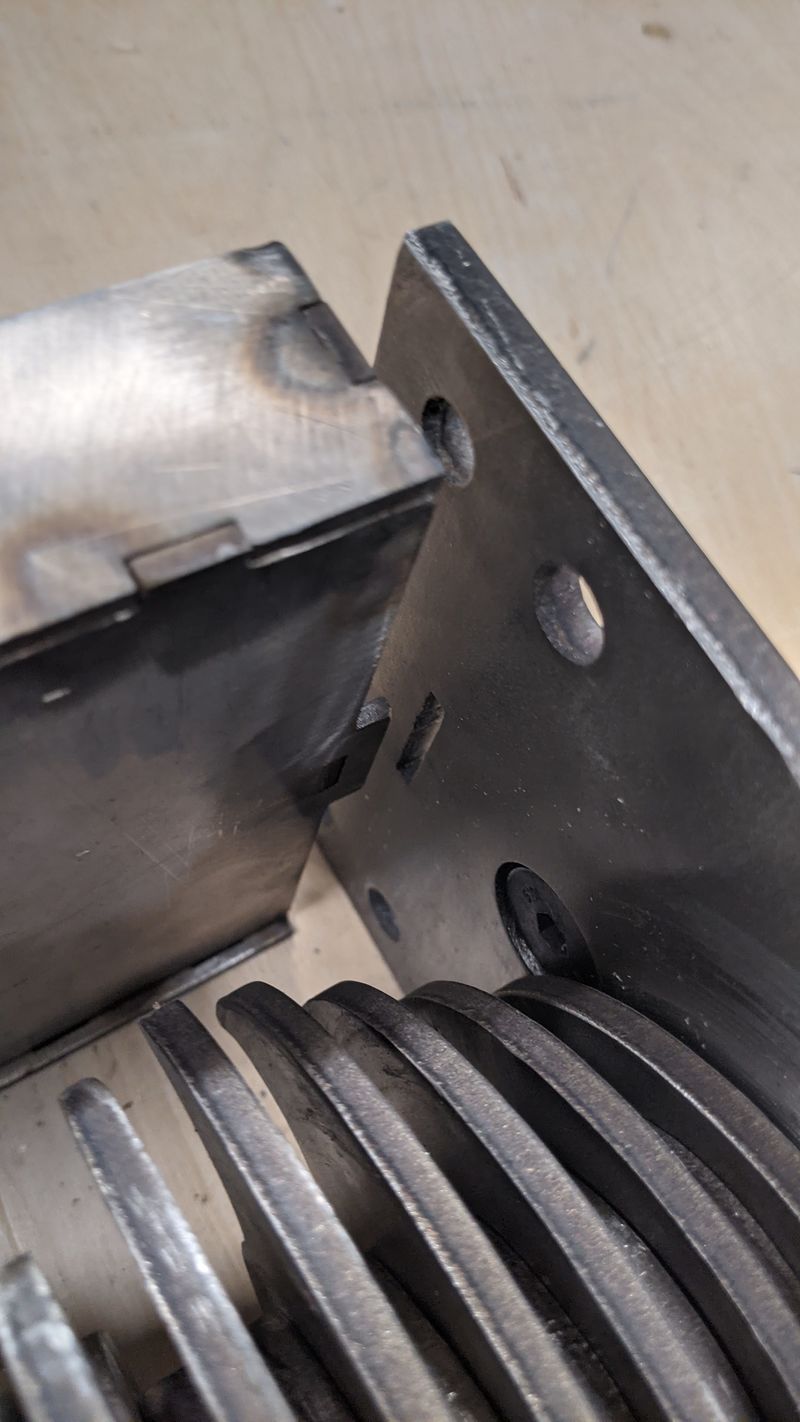
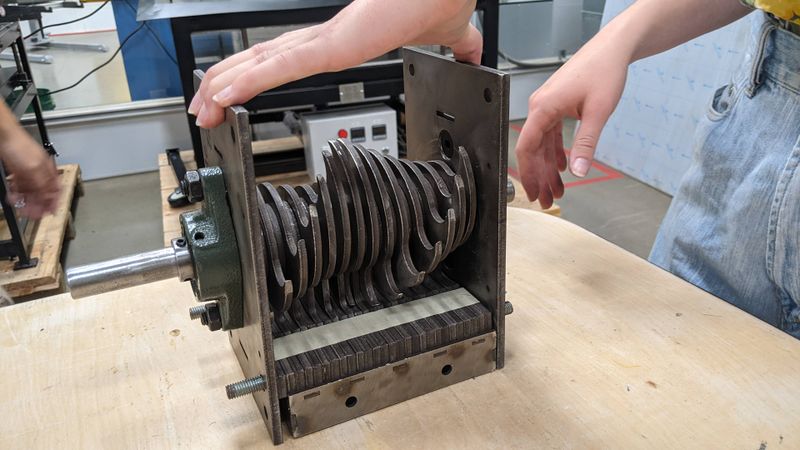
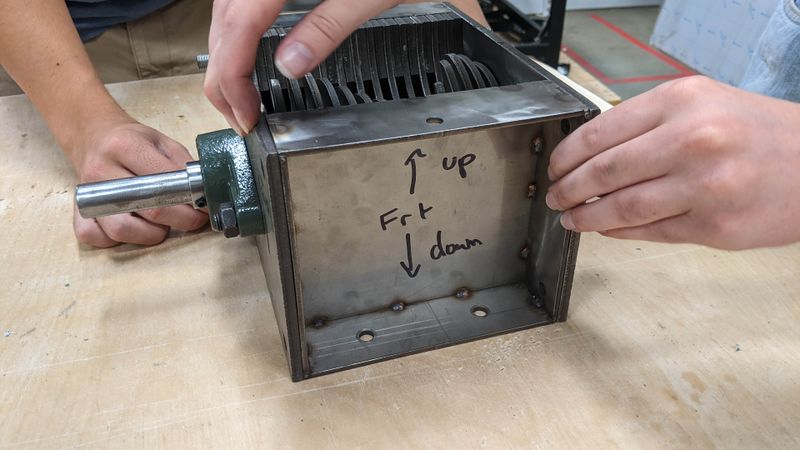
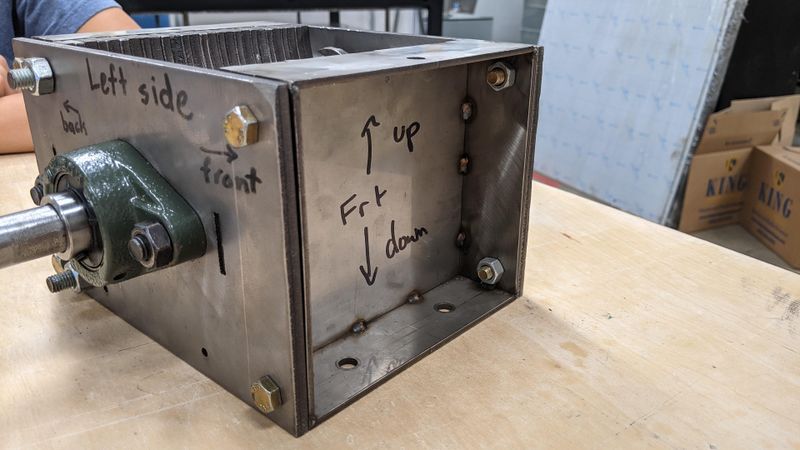
Now slide the side plates on one at a time with the rods aligned to the inner of the two holes on the back side, make sure the box is aligned with the tabs cut into the side plate. Add the nuts to the rods, but don't tighten as the boxes won't it if it's tight. Flip the assembly on it's side. Slide the thick box into place on the front. Use 8 bolts to attach the boxes to the side plates.
Published
 Français
 English
 Deutsch
 Español
 Italiano
 Português