
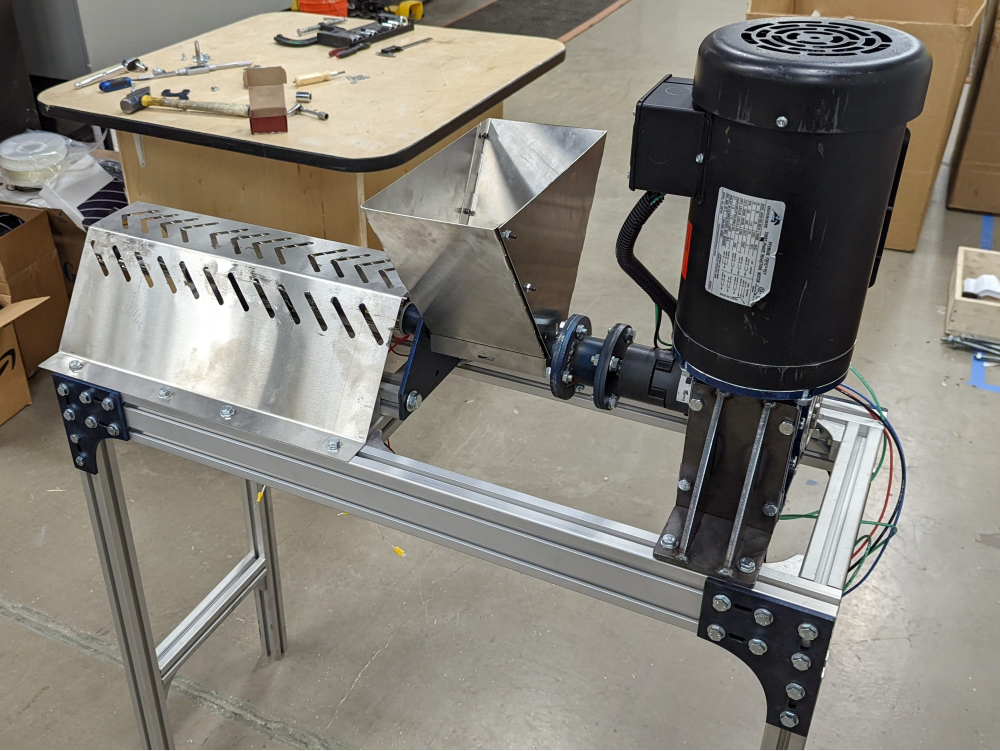
This tutorial documents the build process for the Precious Plastic Extruder Pro as supplied by Citizen Scientific Workshop out of Idaho, United States.
Difficulté
Moyen
Durée
2 jour(s)
Catégories
Machines & Outils, Recyclage & Upcycling
Coût
3000 USD ($)
Matériaux
Outils
Étape 1 - Table Build-Top deck 1
Tools
1/2" Socket
Parts
2x 1000mm 4080 extrusion
4x 300mm 4040 extrusion
40x t-nuts
22x M8x20 bolts
22x M8 Washers
12x Corner Brackets
Steps
- Slide 6 t nuts into the top side of the 1000mm extrusion. (repeat for other beam)
- For the 300mm beams, 2 pairs of 2 will be identical, one "I" shaped, and one "C" shaped.
- For the C-shaped beam, Slide two t-nuts into one rail. Attach the corner brackets at the ends, ensuring the bracket is flush with the beams end. *Always use the side of the bracket with a flat face (non-lipped) first. This ensures you can get a tool onto the 2nd bolt without being blocked.
- For the I-Beams, repeat the same steps for the C-beam, but on both sides.
- Repeat so you have 2 I-beams and 2-C beams.
- *Optional* Add bolts to all remaining bracket holes and loosely attach t-nuts. (as seen in the right two beams in image 3)


Étape 2 - Table Build- Top deck 2
Tools
1/2" Socket Wrench
Parts
Assemblies from previous step
Steps
- If you have already attached the bolts/and t-nuts from the optional step - Slide beams into the upper channel (as seen in image 1) Otherwise, thread the nuts into the channel and attach LOOSELY with bolts.
- Repeat for the bottom rail.
- Secure the C beams in place with the socket wrench, but leave the I-beams LOOSE as they will need to be shifted later.


Étape 3 -
Draft
 Français
 English
 Deutsch
 Español
 Italiano
 Português