m (Révocation des modifications de Abekonge (discussion) vers la dernière version de Mga) (Balise : Révocation) |
|||
| (2 révisions intermédiaires par 2 utilisateurs non affichées) | |||
| Ligne 47 : | Ligne 47 : | ||
*<span style="color:#ff00ff;">For the most common screws, nuts and PTFE tubes. You can also use the enclosed letter, which contains Prusa Cheatsheet on the other side.</span> | *<span style="color:#ff00ff;">For the most common screws, nuts and PTFE tubes. You can also use the enclosed letter, which contains Prusa Cheatsheet on the other side.</span> | ||
| − | + | ||
| + | You can [https://www.prusa3d.com/downloads/others/PrusaCheatsheet_EN.pdf help.prusa3d.com/cheatsheet] from our site. Print it at 100 %, don't rescale it, otherwise, it won't work.</translate> | ||
|Step_Picture_00=Original_Prusa_i3_MK3S_kit_assembly_Step2-1.jpg | |Step_Picture_00=Original_Prusa_i3_MK3S_kit_assembly_Step2-1.jpg | ||
|Step_Picture_01=Original_Prusa_i3_MK3S_kit_assembly_Step2-2.jpg | |Step_Picture_01=Original_Prusa_i3_MK3S_kit_assembly_Step2-2.jpg | ||
Version actuelle datée du 11 mars 2021 à 22:50
MK3S
Difficulté
Très facile
Durée
10 minute(s)
Catégories
Électronique
Coût
0 USD ($)
Étape 1 - All the required tools are included
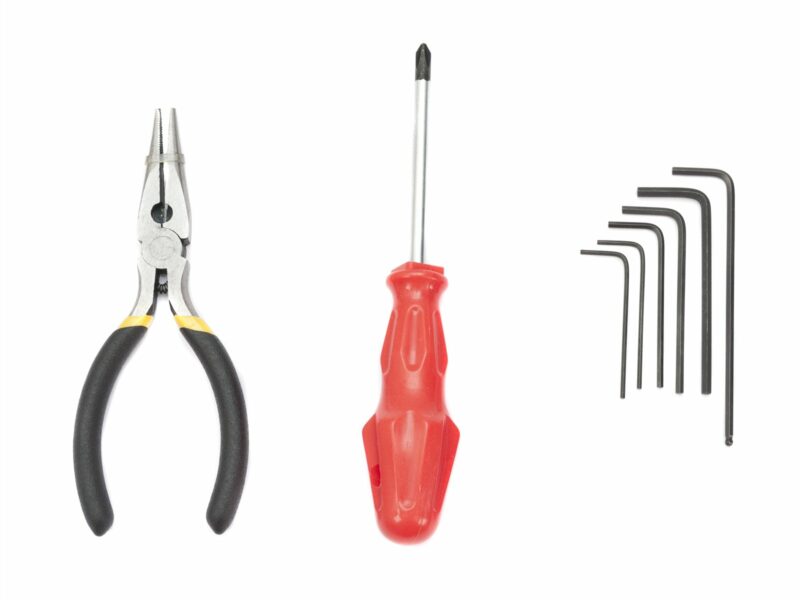
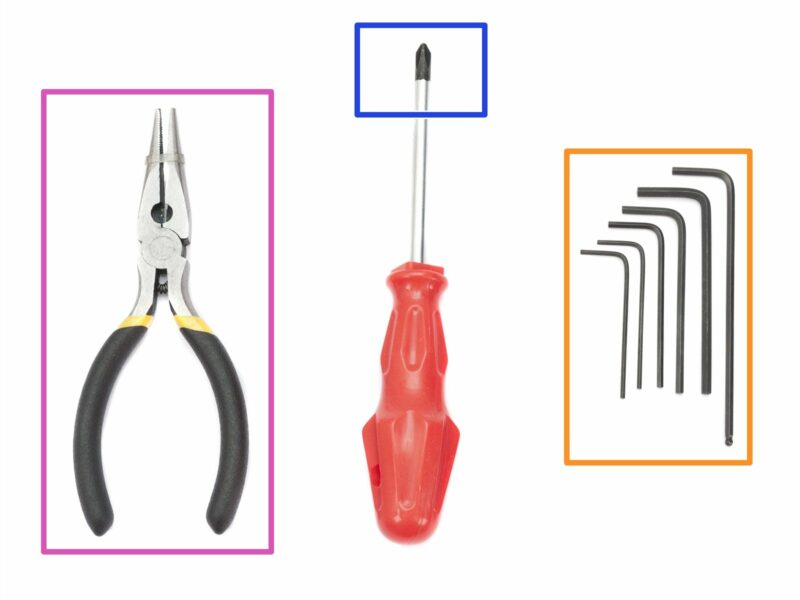
- The kit includes
- Needle-nose pliers (1x)
- Philips screwdriver (1x)
- Allen key (6x)
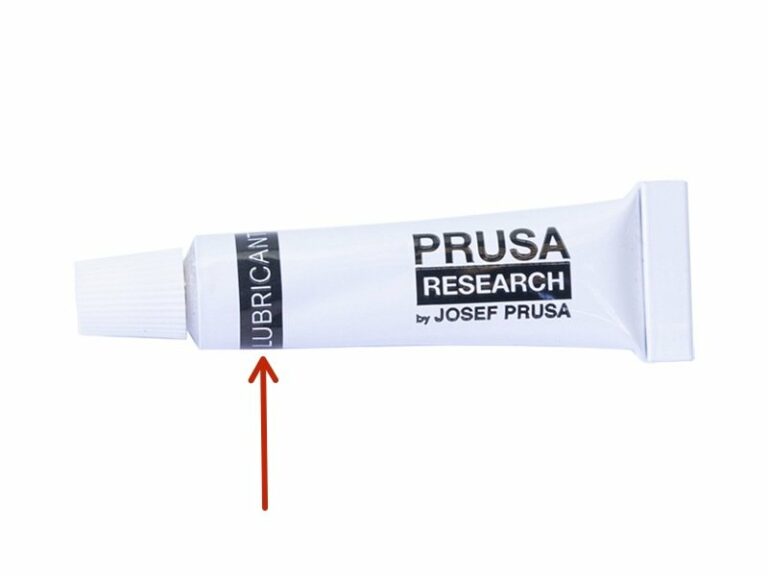
- The printer's package contains a lubricant, which is intended for maintenance. No need to use it now the bearings are lubricated. There is a dedicated online manual on how to clean the printer and apply the lubricant. See help.prusa3d.com/maintenance-tips
No soldering is required.
No wire crimping is required.
Étape 2 - Labels guide
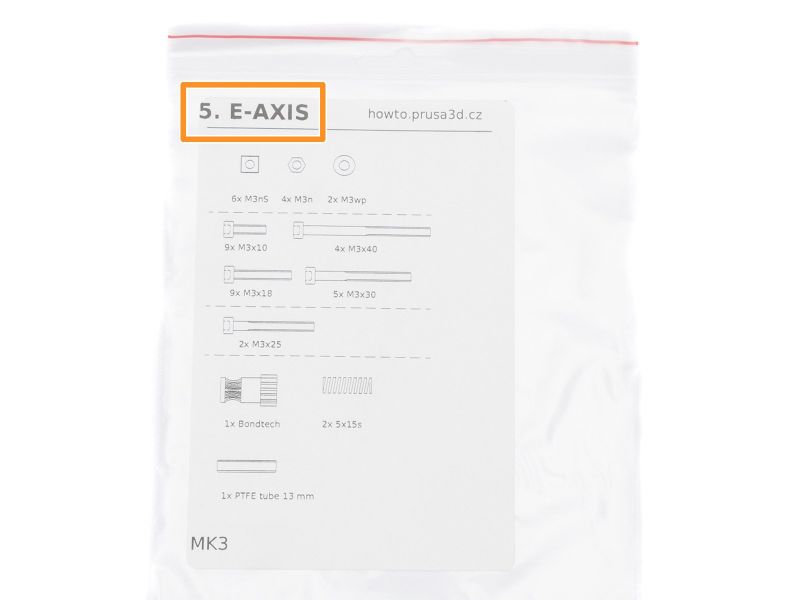
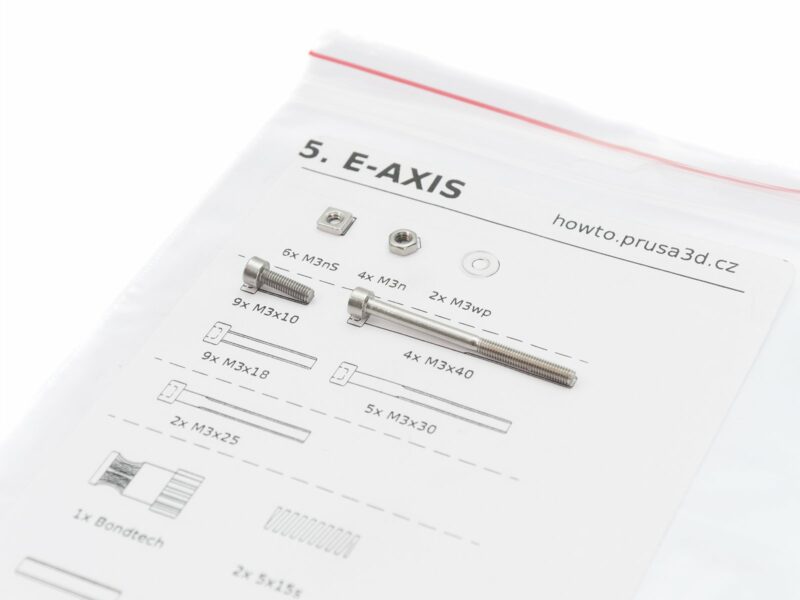
- All the boxes and bags including parts for the build are labelled.
- Number (or numbers) in the header tells you for which chapter you'll need that bag (or box).
Étape 3 - Use labels for reference
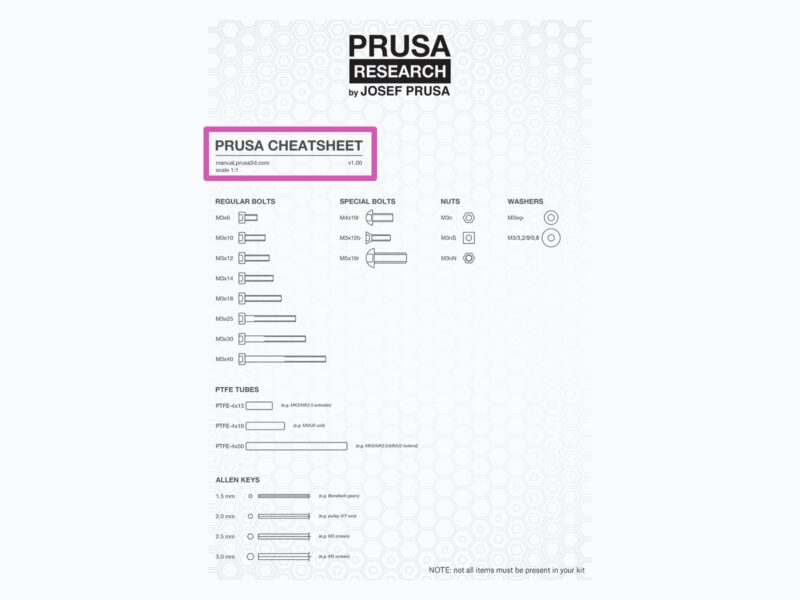
- For the most common screws, nuts and PTFE tubes. You can also use the enclosed letter, which contains Prusa Cheatsheet on the other side.
You can help.prusa3d.com/cheatsheet from our site. Print it at 100 %, don't rescale it, otherwise, it won't work.
Draft
 Français
 English
 Deutsch
 Español
 Italiano
 Português