(Page créée avec « Eine organisiere Werkstatt ist Schlüsselfaktor für das aktive Arbeiten an Projekten. ») |
|||
| (4 révisions intermédiaires par 3 utilisateurs non affichées) | |||
| Ligne 1 : | Ligne 1 : | ||
| − | {{ | + | {{Tuto Details |
|Main_Picture=Open_Workshop_Setup_OpenWorkshopSetup-new-15.jpg | |Main_Picture=Open_Workshop_Setup_OpenWorkshopSetup-new-15.jpg | ||
|Licences=Attribution-ShareAlike (CC BY-SA) | |Licences=Attribution-ShareAlike (CC BY-SA) | ||
| − | |Description=Das Einrichten eines einfachen Werkstattbereichs um Werkzeuge und Materialien | + | |Description=Das Einrichten eines einfachen Werkstattbereichs um Werkzeuge und Materialien effizient zu organisieren und zu managen. |
|Area=Electronics, Machines and Tools, Recycling and Upcycling | |Area=Electronics, Machines and Tools, Recycling and Upcycling | ||
|Type=Creation | |Type=Creation | ||
| Ligne 15 : | Ligne 15 : | ||
|IsTranslation=1 | |IsTranslation=1 | ||
}} | }} | ||
| − | {{ | + | {{Introduction |
|Introduction=Eine organisiere Werkstatt ist Schlüsselfaktor für das aktive Arbeiten an Projekten. | |Introduction=Eine organisiere Werkstatt ist Schlüsselfaktor für das aktive Arbeiten an Projekten. | ||
| − | + | Also haben wir vom ASKnet ein einfaches Setup entwickelt, dass sich beliebig skalieren lässt. Je mehr Material man upcyceln kann, desto mehr kann man die Kosten reduzieren. | |
}} | }} | ||
| − | {{ | + | {{Materials |
|Step_Picture_00=Open_Workshop_Setup_OpenWorkshopSetup-new-7.jpg | |Step_Picture_00=Open_Workshop_Setup_OpenWorkshopSetup-new-7.jpg | ||
|Step_Picture_01=Open_Workshop_Setup_OpenWorkshopSetup-new-4.jpg | |Step_Picture_01=Open_Workshop_Setup_OpenWorkshopSetup-new-4.jpg | ||
| Ligne 40 : | Ligne 40 : | ||
* documentation camera/smartphone cam | * documentation camera/smartphone cam | ||
}} | }} | ||
| − | {{ | + | {{Separator}} |
| − | {{ | + | {{Tuto Step |
|Step_Title=Space selection & preparation | |Step_Title=Space selection & preparation | ||
|Step_Content=* You need a space where you can work, so at least 8x bigger than your original workshop spot | |Step_Content=* You need a space where you can work, so at least 8x bigger than your original workshop spot | ||
| Ligne 54 : | Ligne 54 : | ||
|Step_Picture_01=Open_Workshop_Setup_OpenWorkshopSetup-new-22.jpg | |Step_Picture_01=Open_Workshop_Setup_OpenWorkshopSetup-new-22.jpg | ||
}} | }} | ||
| − | {{ | + | {{Tuto Step |
|Step_Title=prepare tools & materials | |Step_Title=prepare tools & materials | ||
|Step_Content=* sort materials and tools by type and usage | |Step_Content=* sort materials and tools by type and usage | ||
| Ligne 67 : | Ligne 67 : | ||
|Step_Picture_03=Open_Workshop_Setup_OpenWorkshopSetup-new-8.jpg | |Step_Picture_03=Open_Workshop_Setup_OpenWorkshopSetup-new-8.jpg | ||
}} | }} | ||
| − | {{ | + | {{Tuto Step |
|Step_Title=Fix the boards to the wall | |Step_Title=Fix the boards to the wall | ||
|Step_Content=* nail the board to the wall. (you can also use screws) | |Step_Content=* nail the board to the wall. (you can also use screws) | ||
| Ligne 80 : | Ligne 80 : | ||
|Step_Picture_03=Open_Workshop_Setup_OpenWorkshopSetup-new-12.jpg | |Step_Picture_03=Open_Workshop_Setup_OpenWorkshopSetup-new-12.jpg | ||
}} | }} | ||
| − | {{ | + | {{Tuto Step |
|Step_Title=Fix tools and materials to the boards and finish up | |Step_Title=Fix tools and materials to the boards and finish up | ||
|Step_Content=* Tools and materials should be fixed based on there shapes. | |Step_Content=* Tools and materials should be fixed based on there shapes. | ||
| Ligne 91 : | Ligne 91 : | ||
|Step_Picture_04=Open_Workshop_Setup_OpenWorkshopSetup-new-26.jpg | |Step_Picture_04=Open_Workshop_Setup_OpenWorkshopSetup-new-26.jpg | ||
}} | }} | ||
| − | {{ | + | {{Tuto Step |
|Step_Title=Tips & WATCH YOUR TOOLS | |Step_Title=Tips & WATCH YOUR TOOLS | ||
|Step_Content=* Always ensure the open training space is neat and clean. | |Step_Content=* Always ensure the open training space is neat and clean. | ||
| Ligne 107 : | Ligne 107 : | ||
|Step_Picture_03=Open_Workshop_Setup_OpenWorkshopSetup-new-27.jpg | |Step_Picture_03=Open_Workshop_Setup_OpenWorkshopSetup-new-27.jpg | ||
}} | }} | ||
| − | {{ | + | {{Notes |
|Notes= | |Notes= | ||
}} | }} | ||
| − | {{ | + | {{Tuto Status |
|Complete=Published | |Complete=Published | ||
}} | }} | ||
Version actuelle datée du 27 février 2021 à 17:00
Das Einrichten eines einfachen Werkstattbereichs um Werkzeuge und Materialien effizient zu organisieren und zu managen.
Difficulté
Facile
Durée
8 heure(s)
Catégories
Électronique, Machines & Outils, Recyclage & Upcycling
Coût
100 USD ($)
Introduction
Eine organisiere Werkstatt ist Schlüsselfaktor für das aktive Arbeiten an Projekten.
Also haben wir vom ASKnet ein einfaches Setup entwickelt, dass sich beliebig skalieren lässt. Je mehr Material man upcyceln kann, desto mehr kann man die Kosten reduzieren.
Matériaux
- 2x plywood (90x60cm, 90x120cm)
- nails (100, 60, 40, 25 mm)
- timber (for the box) + leftover plywood sheets
- long timber (120x7cm)
- boxes
- water bottles (1.0 & 0.5 l)
- solid wooden table (120x70x90cm)
Outils
- hammer
- saw
- sissors
- tape measure
- water level
- square
- sandpaper
- documentation camera/smartphone cam
Étape 1 - Space selection & preparation
- You need a space where you can work, so at least 8x bigger than your original workshop spot
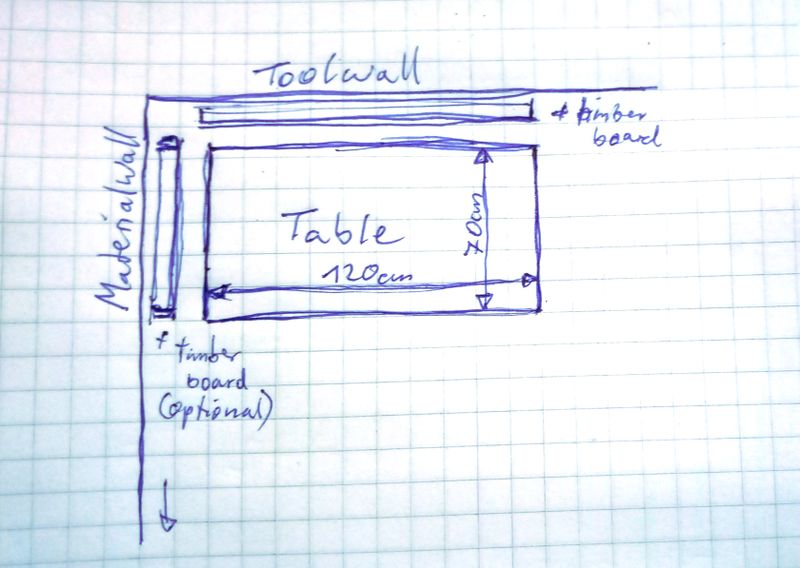
- use a corner of the room (about 2.0x1.0m Space minimum)
- keep lights and accessebillity in mind
- kreate an overview of tools and materials you have
- start looking for a good sized plywood for your tools (big) and your small materials (small)
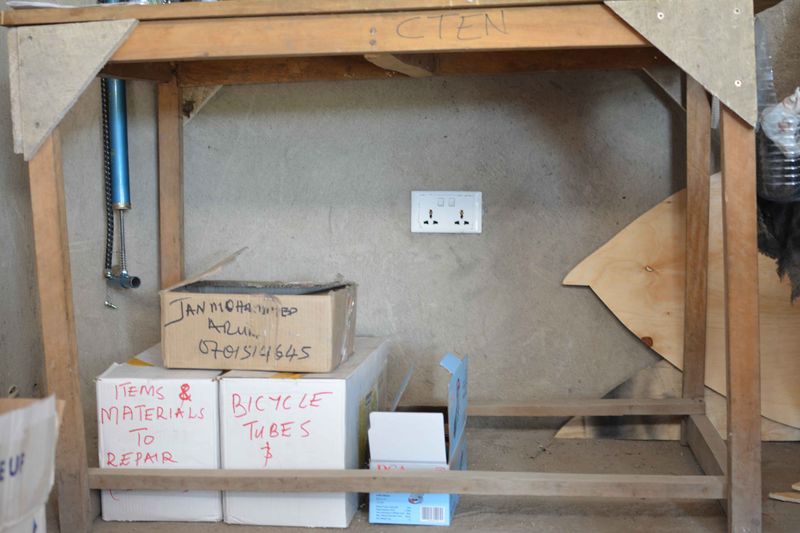
- use a solid table as base for the construction (at least 90cm high and 70cm deep)
- have a powerplug close to it
- cut the wood sheets
Étape 2 - prepare tools & materials
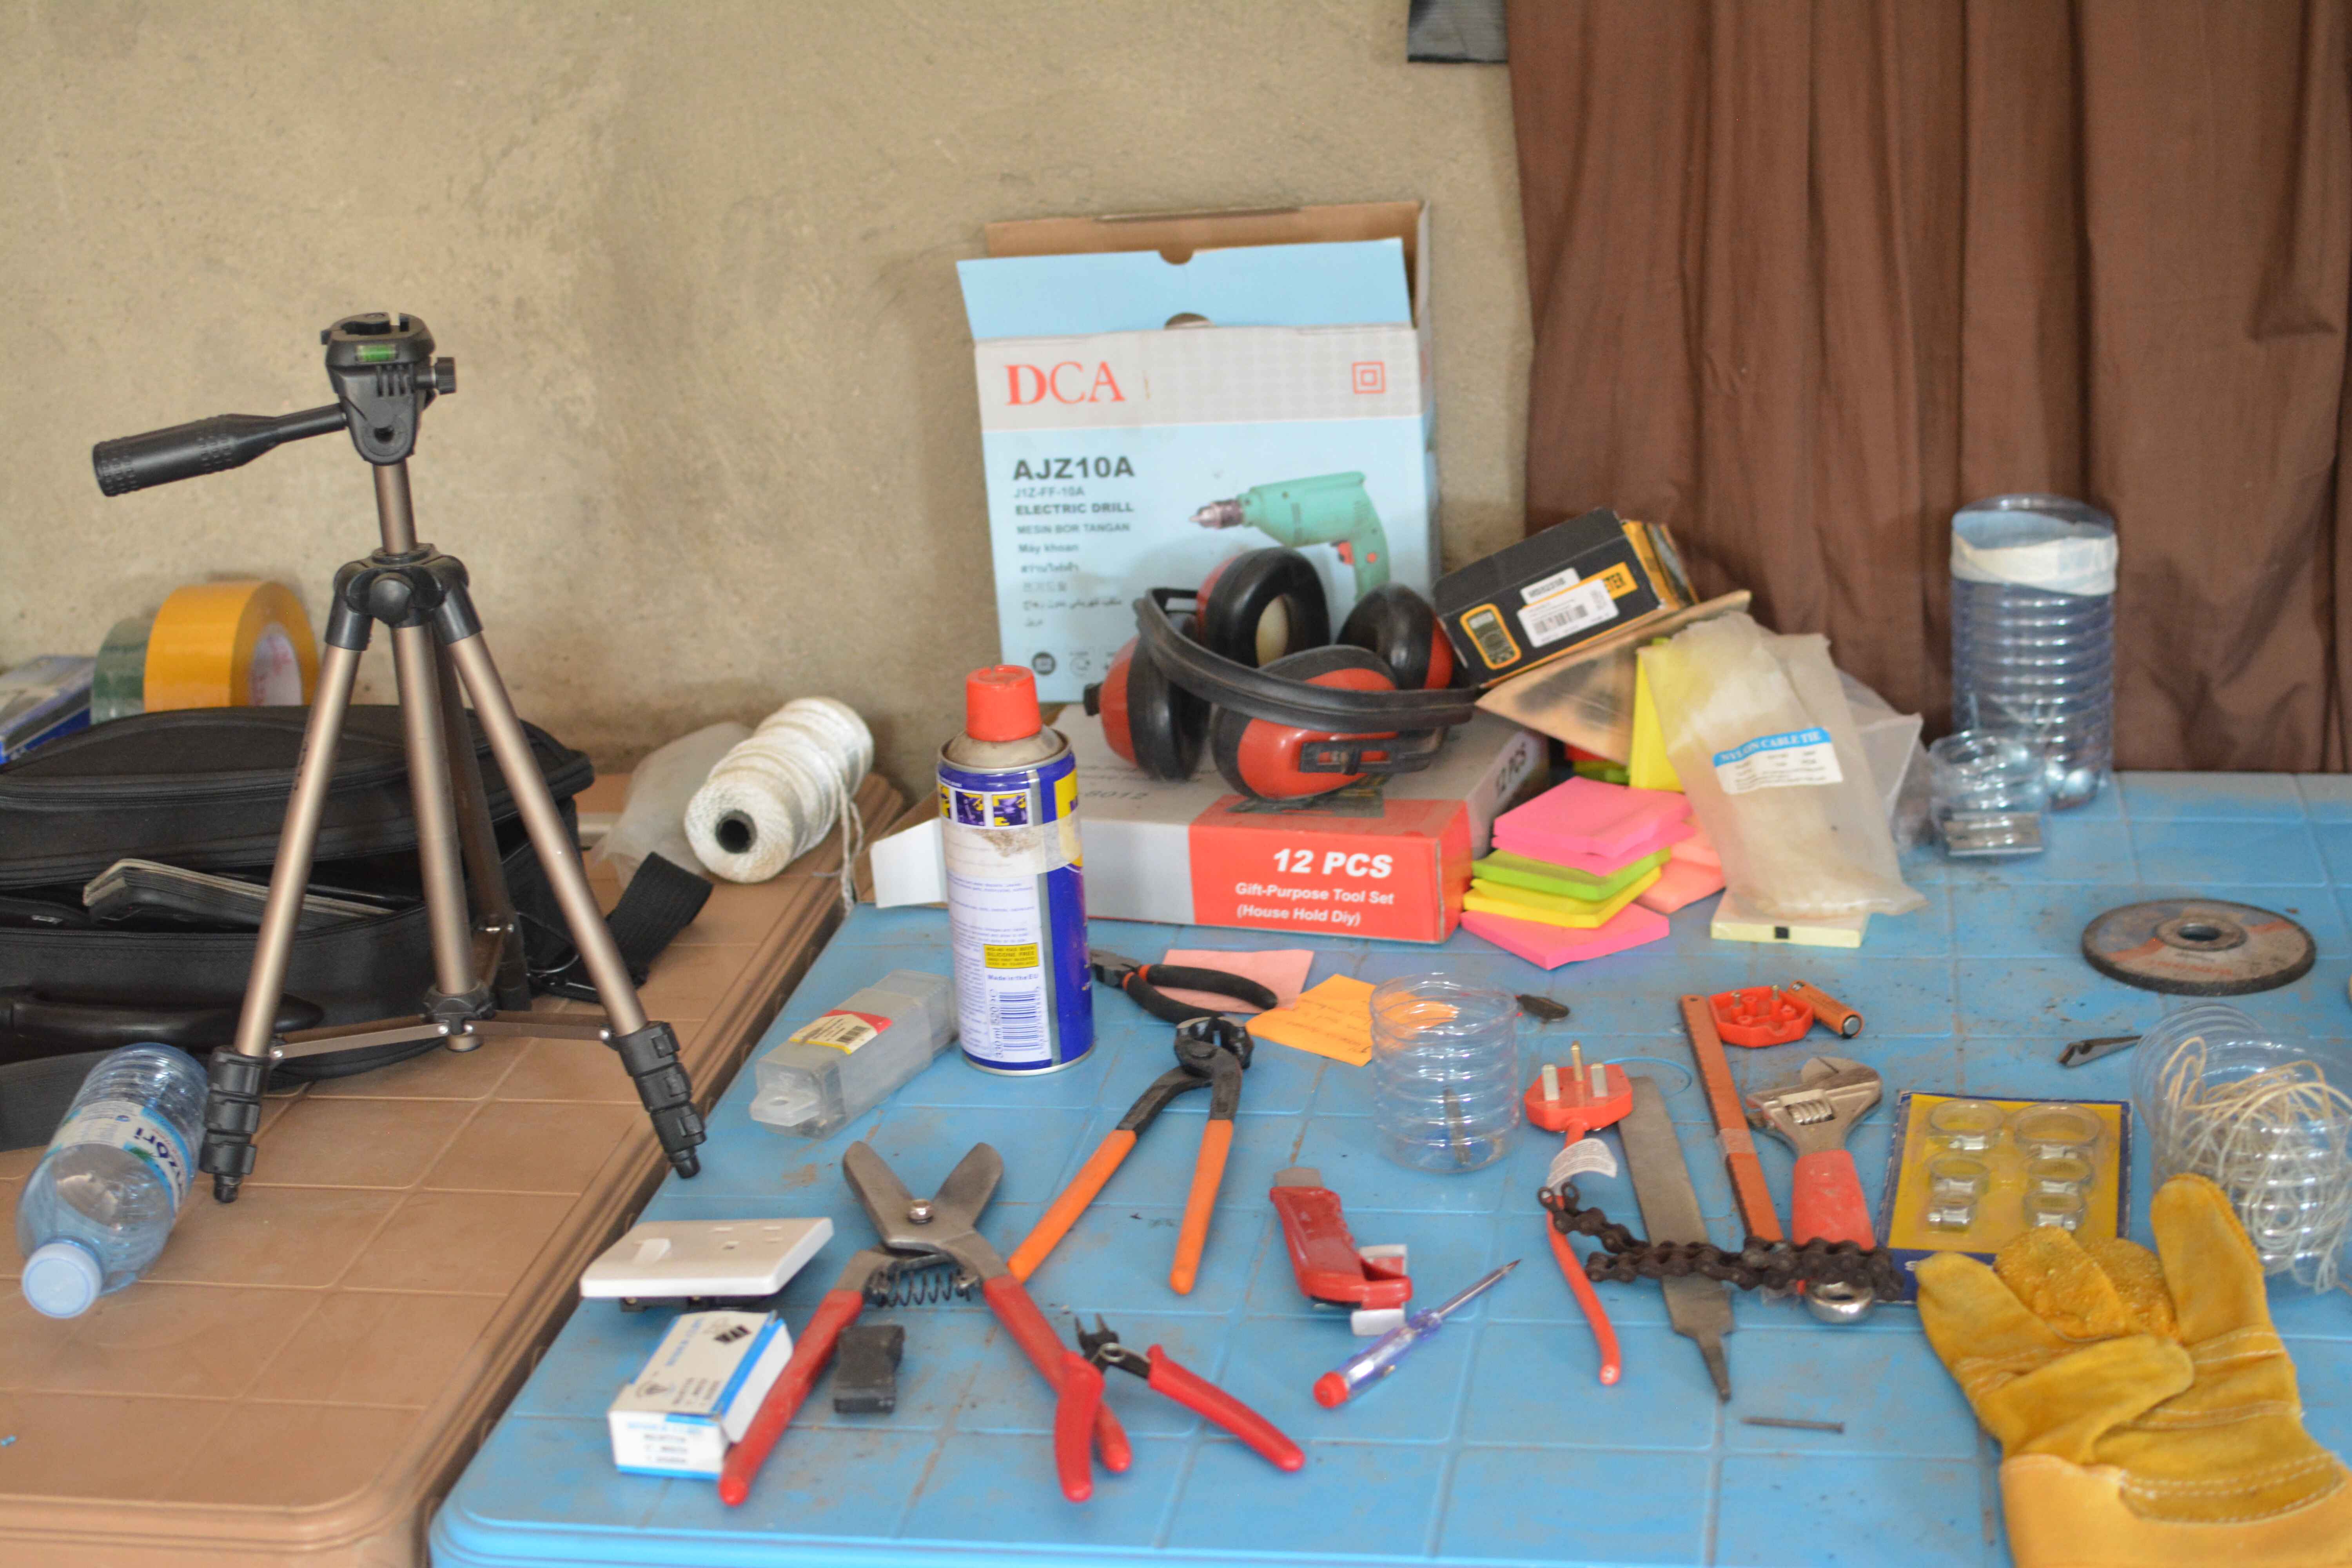
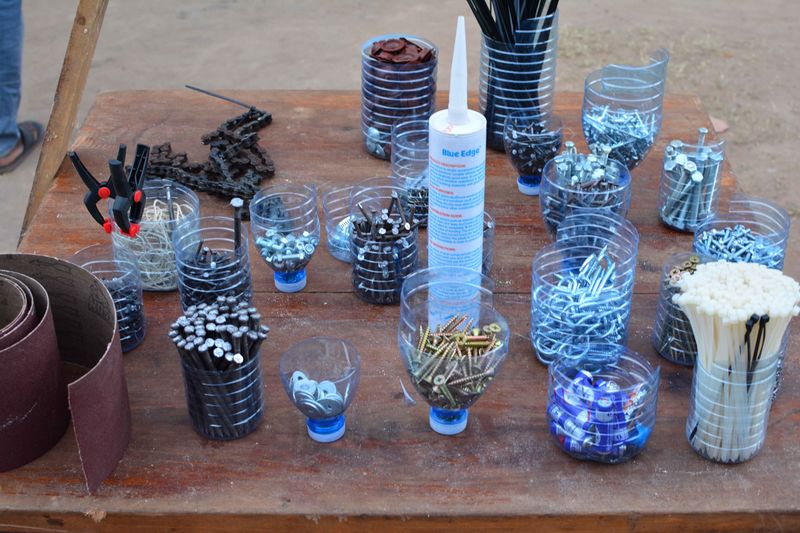
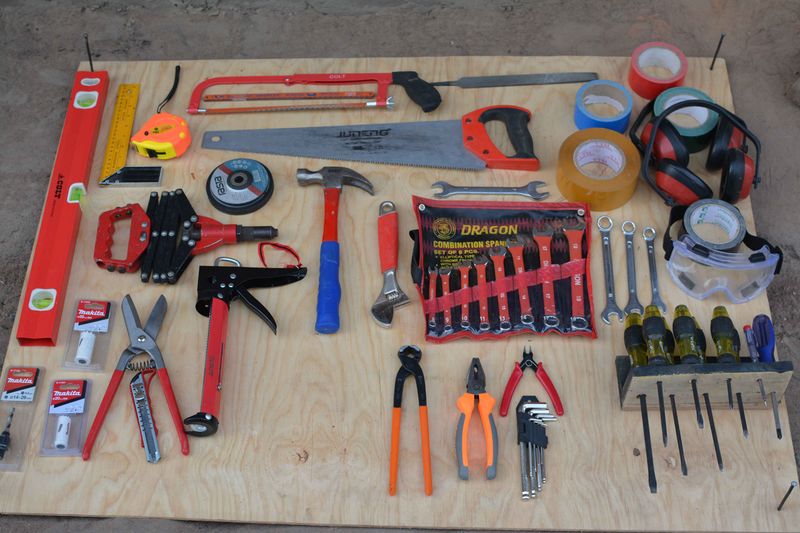
- sort materials and tools by type and usage
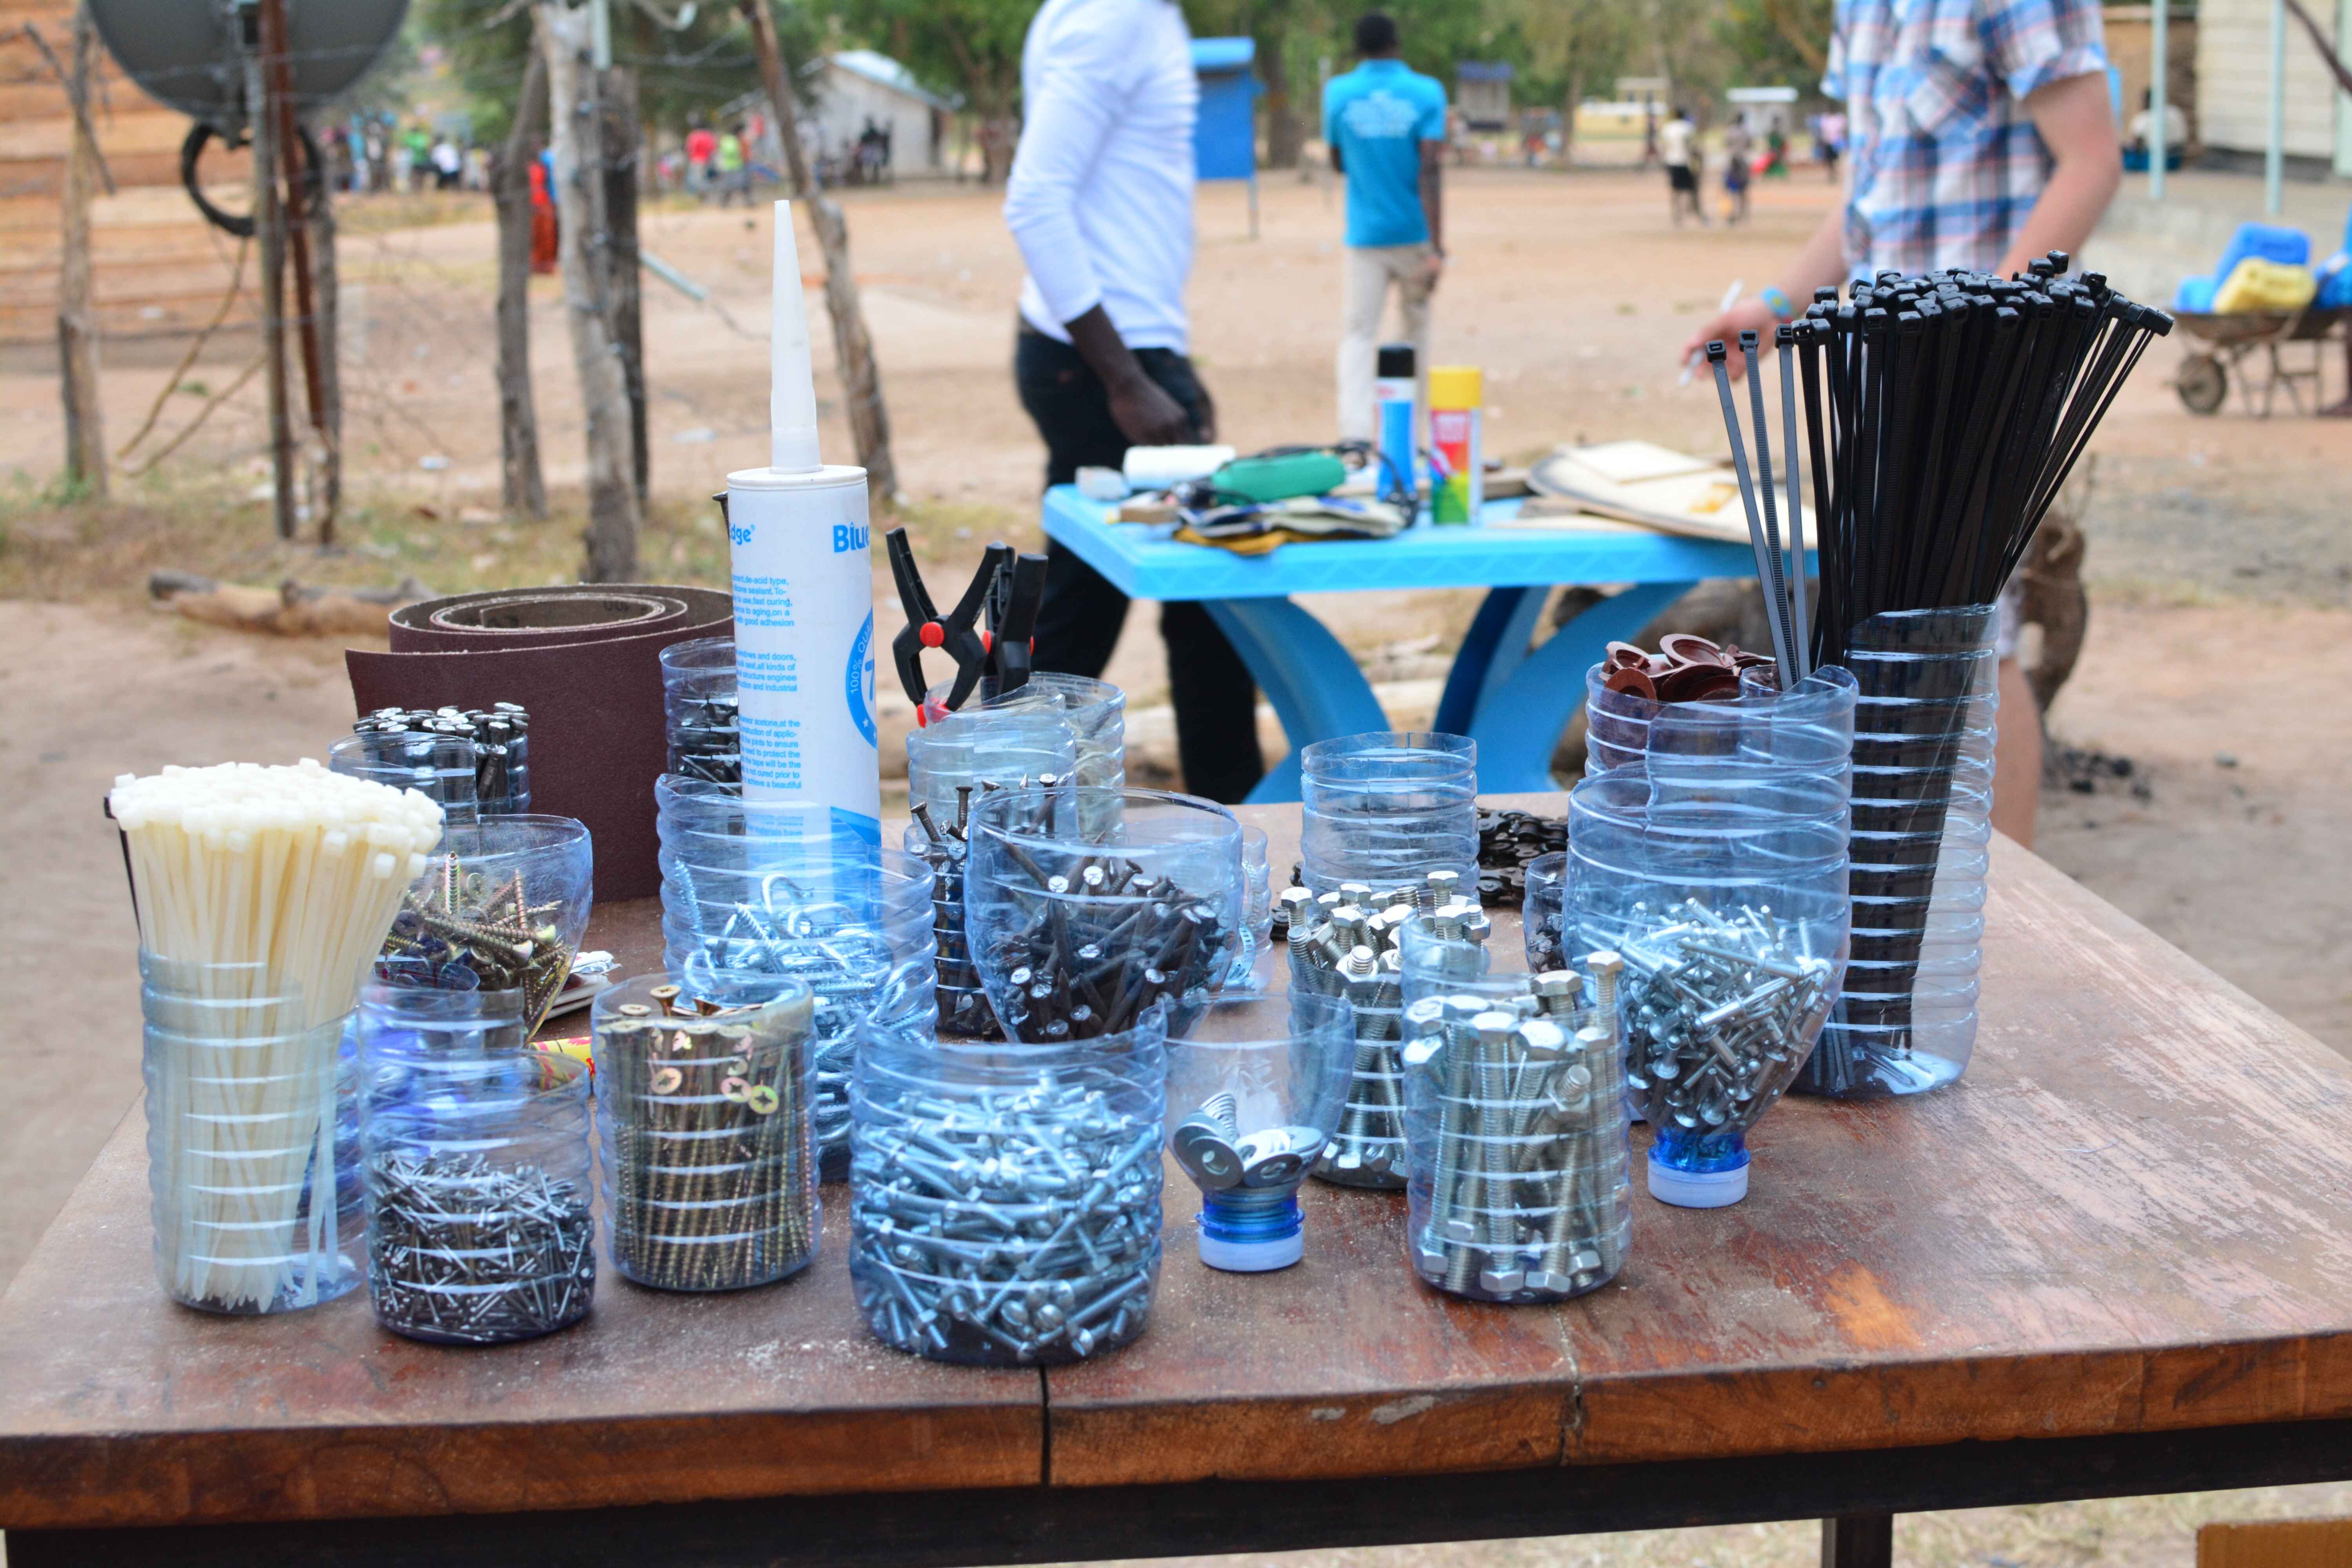
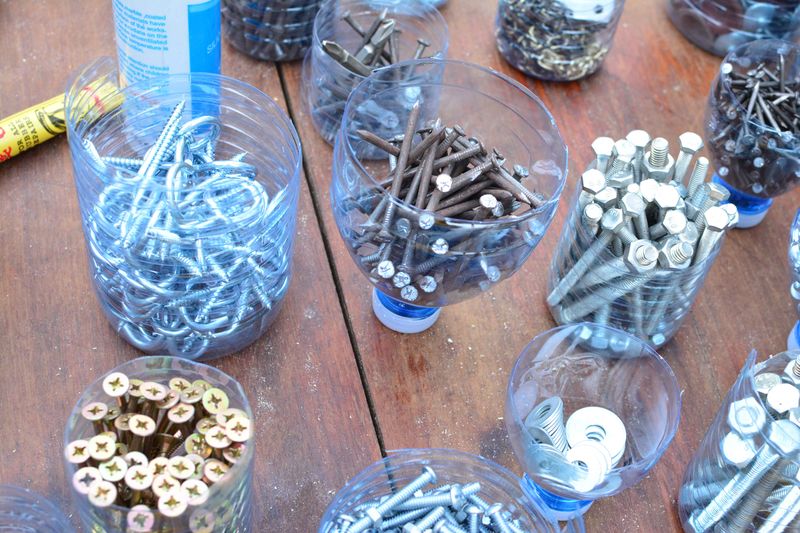
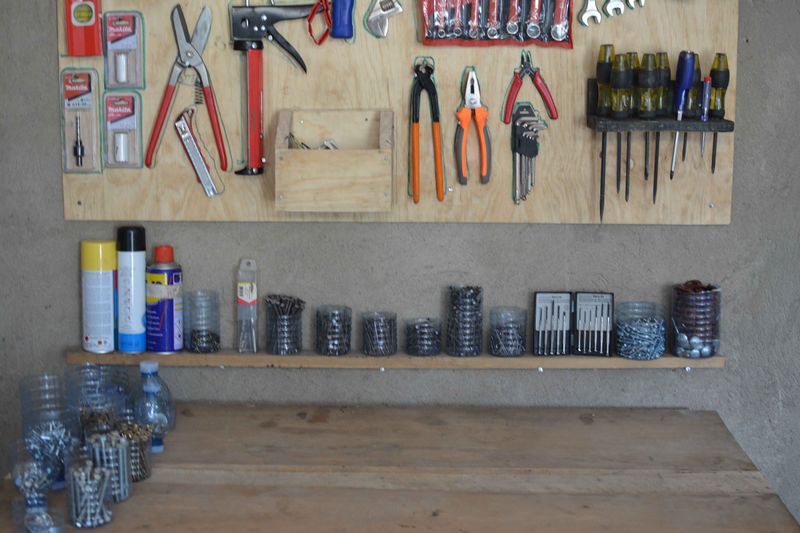
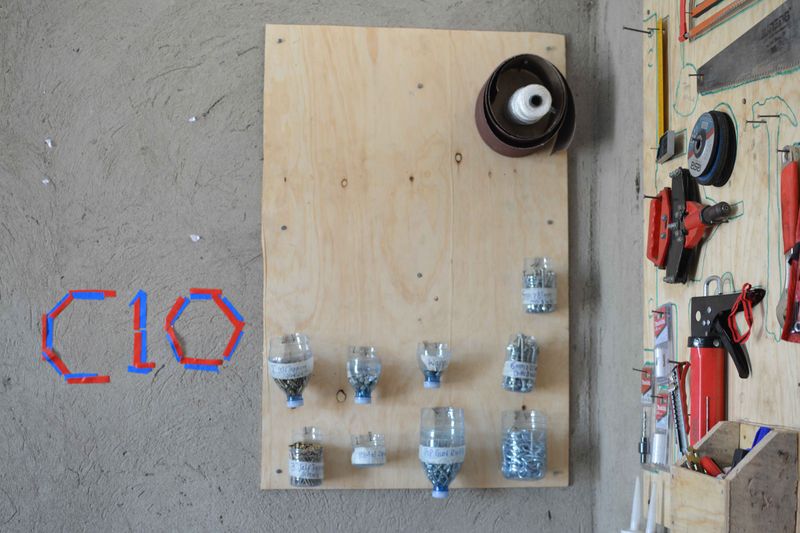
- cut the bottles to fill with materials (screws, bolts, nuts, washers, hooks, rivets etc.)
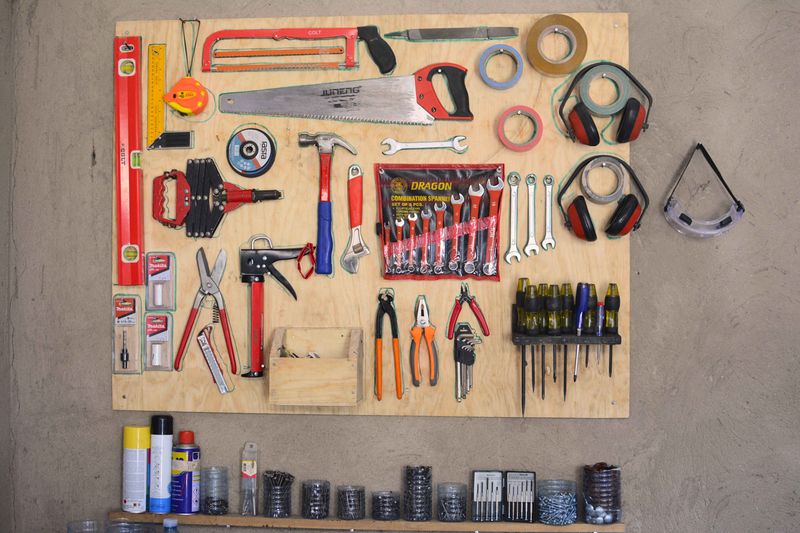
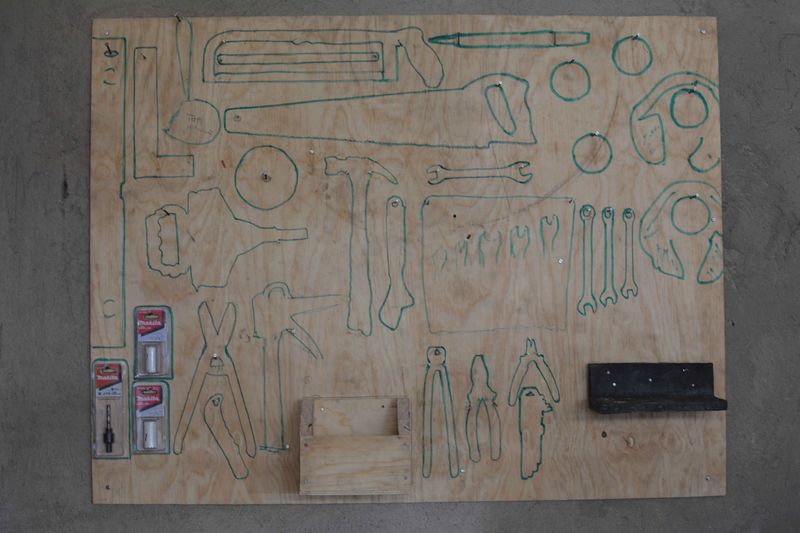
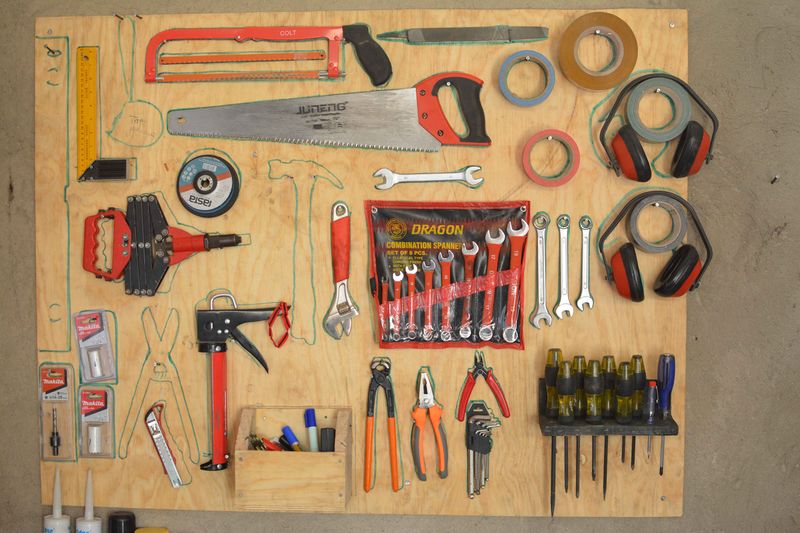
- place the tools in order on the ground to the sheet (try different setups)
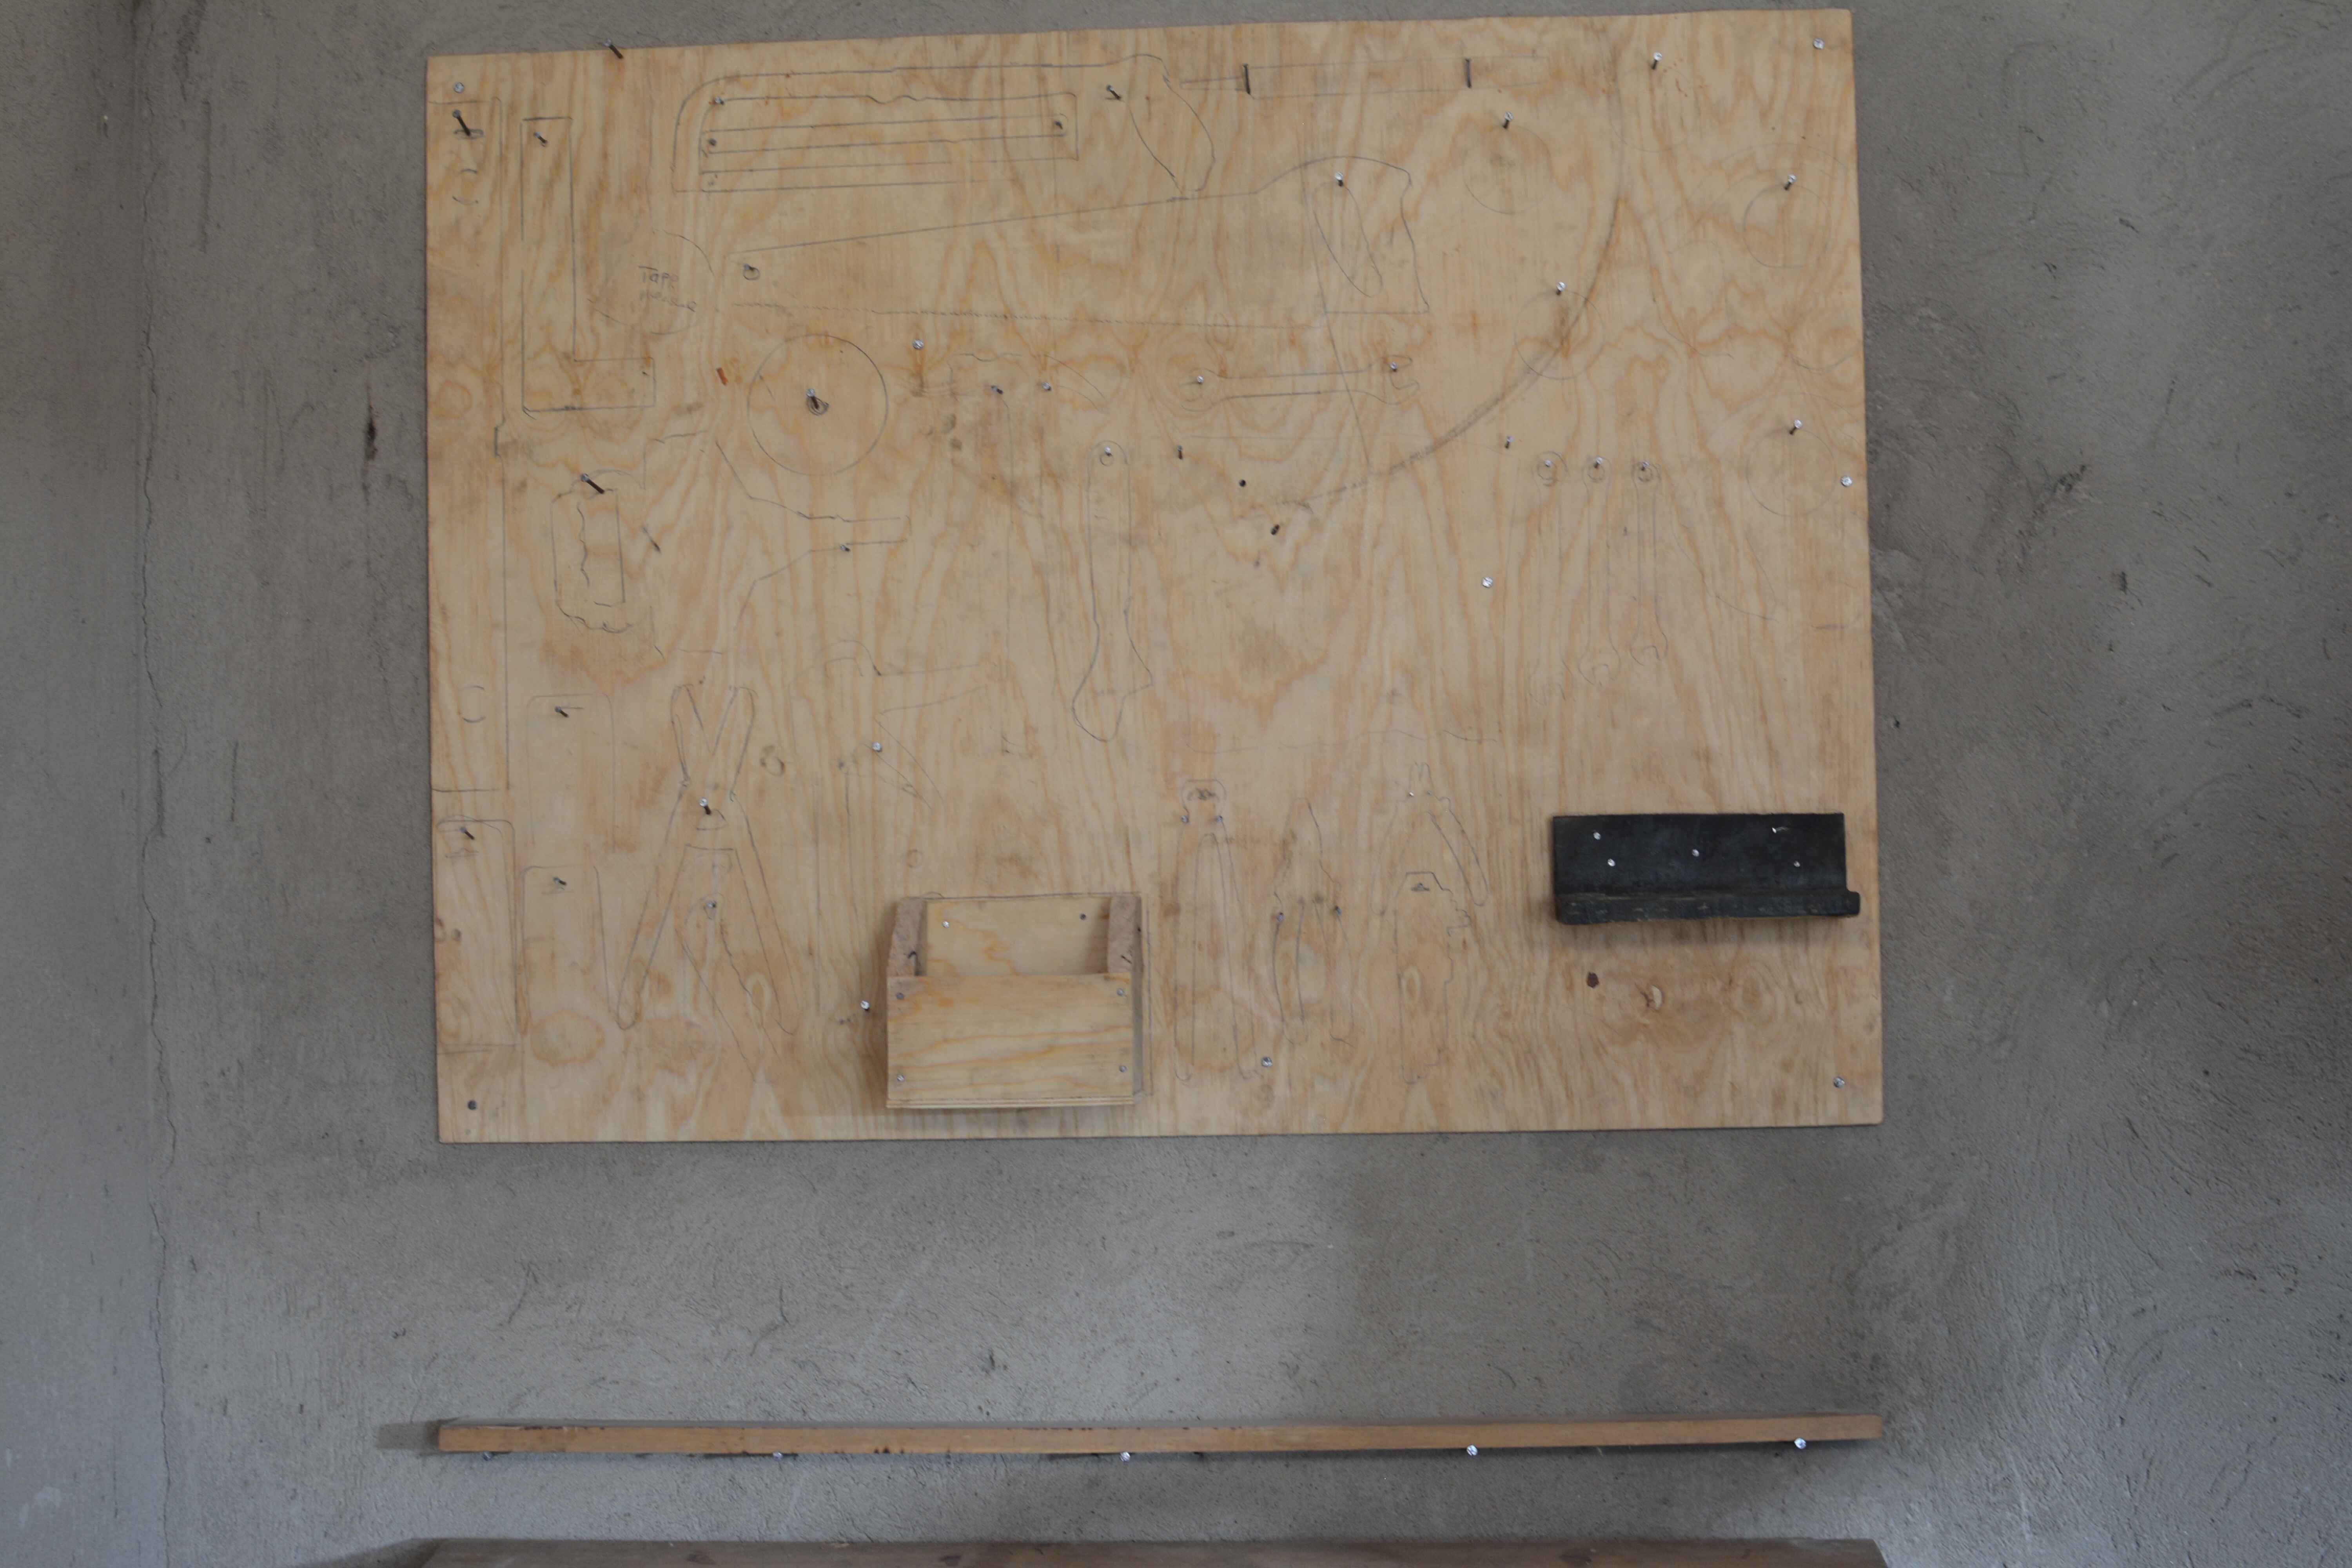
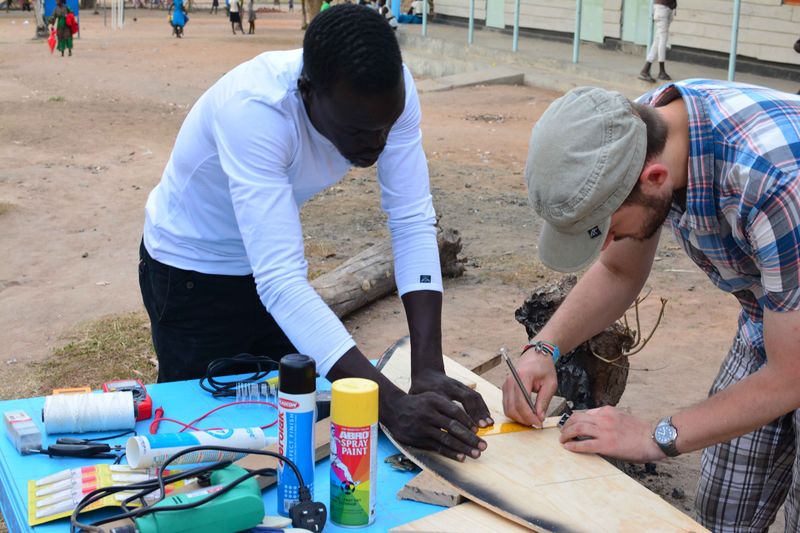
- draw a fine line with a pencil around the tools
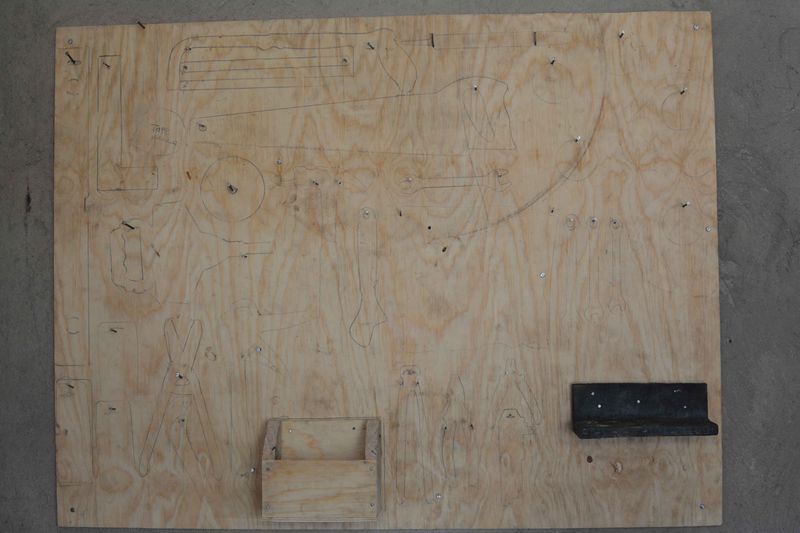
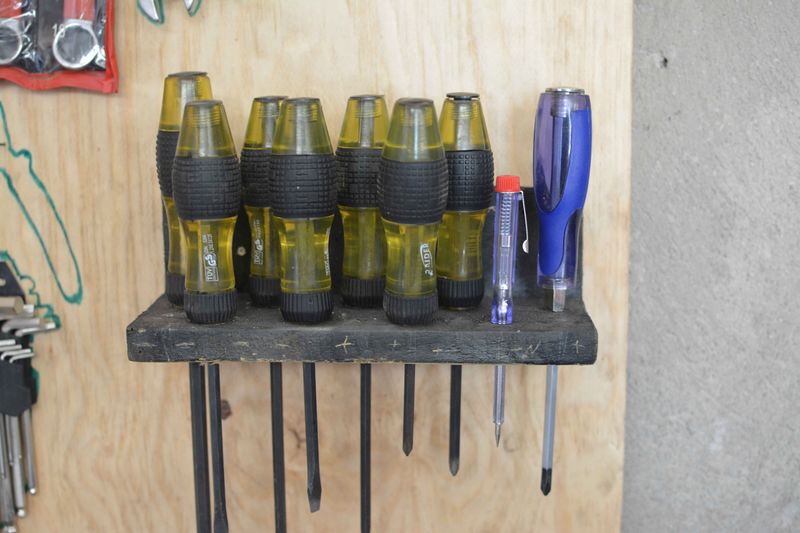
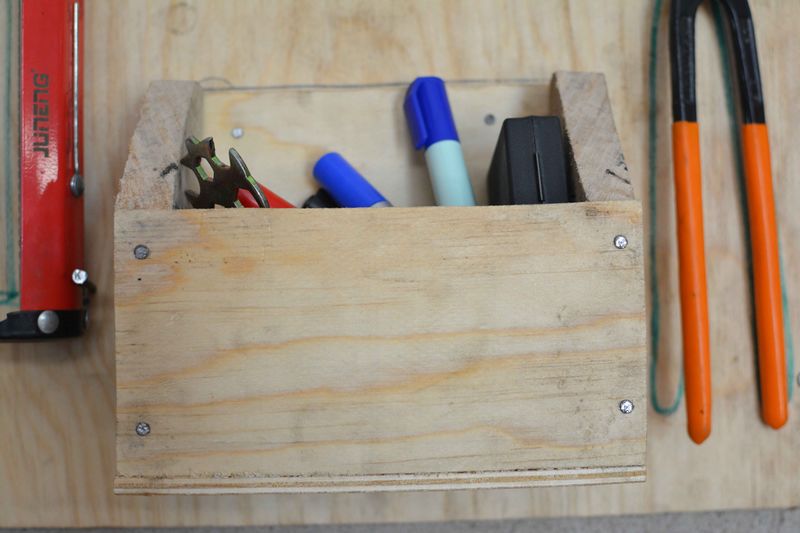
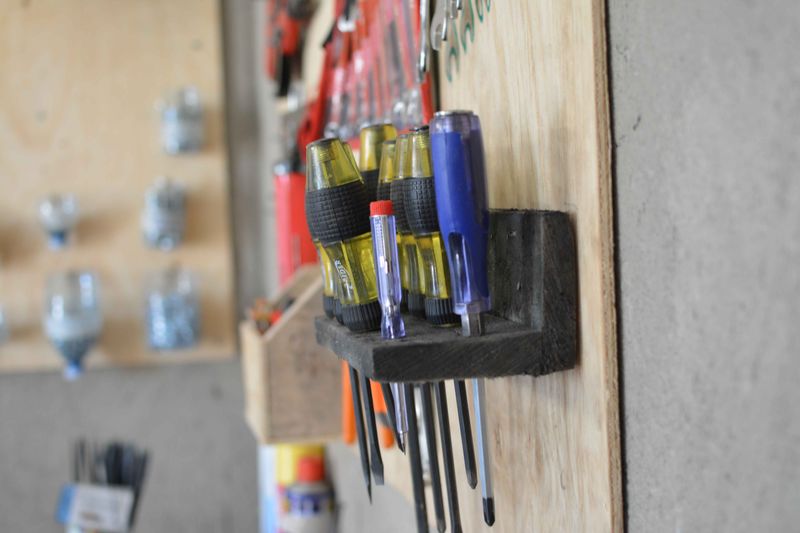
- cut the parts for the box and the skrewdriver board and add it to the wall setup
- nail everything to the board and remove the tools
Étape 3 - Fix the boards to the wall
- nail the board to the wall. (you can also use screws)
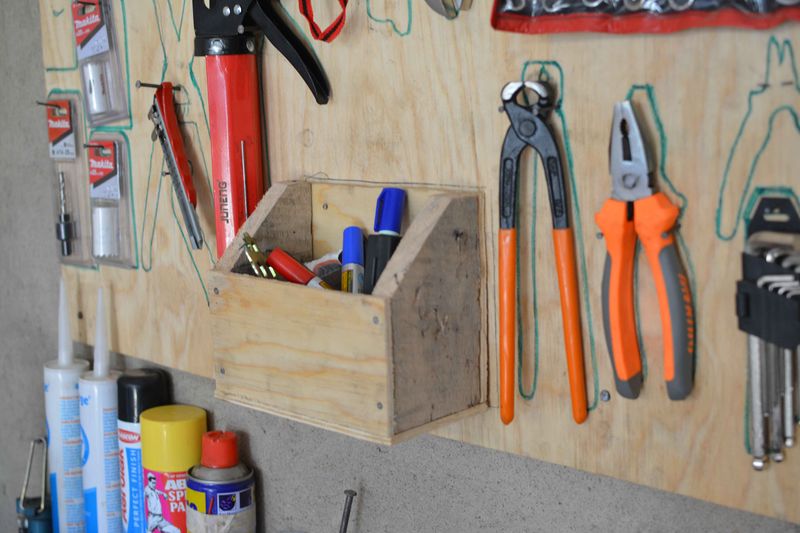
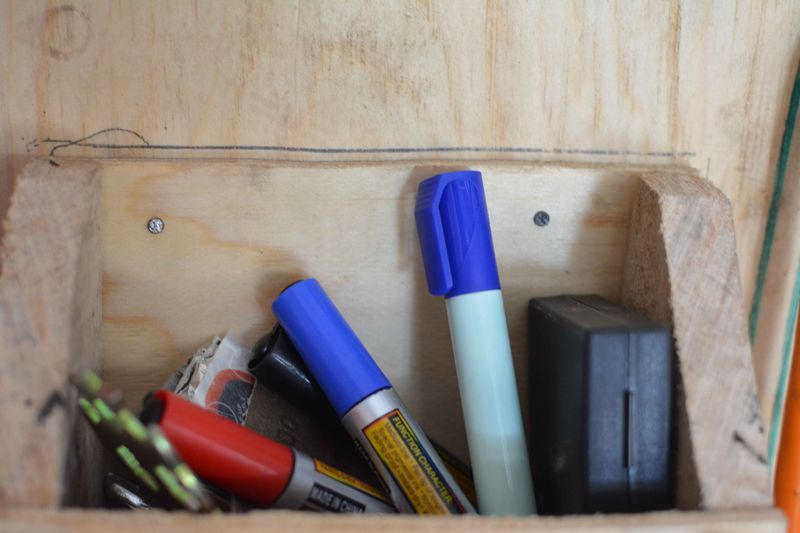
- Build up some boxes for materials like markers.
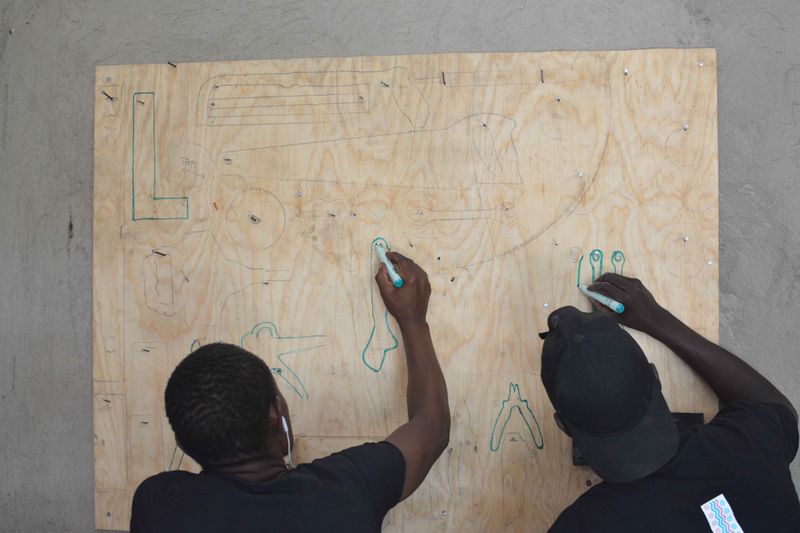
- Draw the shapes of the materials and tools for easy identification after use.
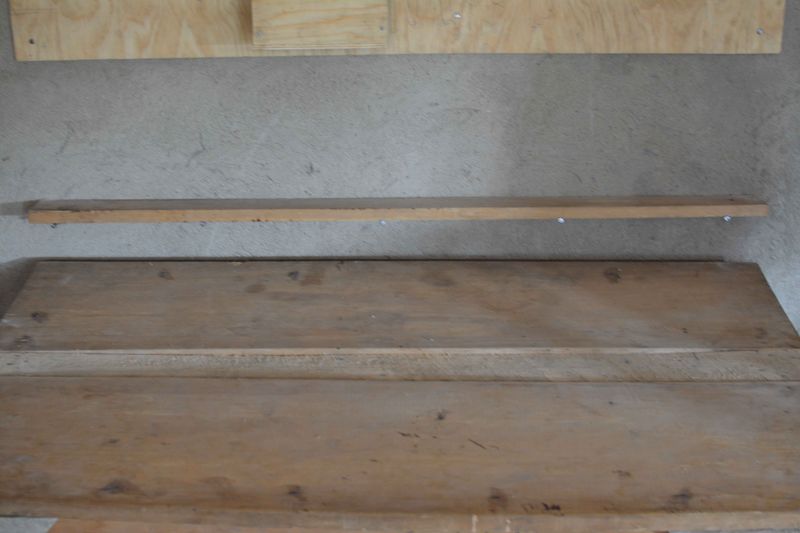
- fix the timber board under the board, right above the table.
Étape 4 - Fix tools and materials to the boards and finish up
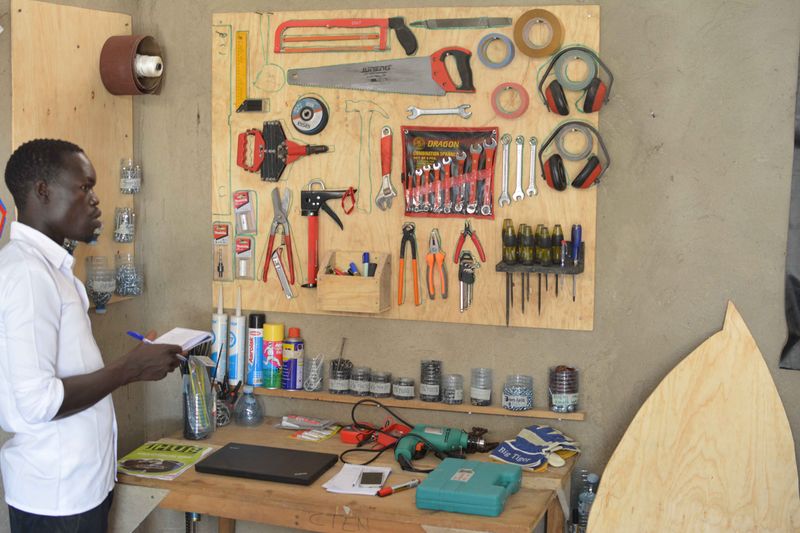
- Tools and materials should be fixed based on there shapes.
- Balance both sides to reduce more weight on one side
Étape 5 - Tips & WATCH YOUR TOOLS
- Always ensure the open training space is neat and clean.
- Keep off children near the work space.
- The work space should be dust free at all times
- Ensure to bring back tools and materials taken from the work space.
- Should be free from water since some of the tools rusts.
Published
 Français
 English
 Deutsch
 Español
 Italiano
 Português