(Page créée avec « {{Tuto Details |Description=<translate>Vous réaliserez un lance-rocket bien évidemment dans un cadre pédagogique et non dans le but de blessé qui que ce soit.</transla... ») |
|||
| Ligne 34 : | Ligne 34 : | ||
}} | }} | ||
{{Tuto Step | {{Tuto Step | ||
| − | |Step_Title=<translate></translate> | + | |Step_Title=<translate>création programme</translate> |
| − | |Step_Content=<translate></translate> | + | |Step_Content=<translate>on a fait un premier test sur le site Wokwi puis nous avant effectué le montage |
| + | |||
| + | code source : | ||
| + | |||
| + | from machine import Pin, I2C | ||
| + | |||
| + | import ssd1306 | ||
| + | |||
| + | <nowiki>#</nowiki> ESP32 Pin assignment | ||
| + | |||
| + | i2c = I2C(0, scl=Pin(22), sda=Pin(21)) | ||
| + | |||
| + | oled_width = 128 | ||
| + | |||
| + | oled_height = 64 | ||
| + | |||
| + | oled = ssd1306.SSD1306_I2C(oled_width, oled_height, i2c) | ||
| + | |||
| + | |||
| + | |||
| + | boutonR=Pin(15,Pin.IN) | ||
| + | |||
| + | bouton1=Pin(4,Pin.IN) | ||
| + | |||
| + | bouton2=Pin(5,Pin.IN) | ||
| + | |||
| + | bouton3=Pin(14,Pin.IN) | ||
| + | |||
| + | compteur =0 | ||
| + | |||
| + | message= <nowiki>''</nowiki> | ||
| + | |||
| + | appuyerbouton1 = 0 | ||
| + | |||
| + | appuyerbouton2 = 0 | ||
| + | |||
| + | appuyerbouton3 = 0 | ||
| + | |||
| + | appuyerboutonR = 0 | ||
| + | |||
| + | while True: | ||
| + | |||
| + | if boutonR.value() == 0 and appuyerboutonR == 0: | ||
| + | |||
| + | appuyerboutonR = 1 | ||
| + | |||
| + | |||
| + | |||
| + | elif boutonR.value() == 1 and appuyerboutonR == 1 : | ||
| + | |||
| + | appuyerboutonR = 0 | ||
| + | |||
| + | compteur = 0 | ||
| + | |||
| + | |||
| + | |||
| + | |||
| + | |||
| + | if bouton1.value() == 0 and appuyerbouton1 == 0: | ||
| + | |||
| + | appuyerbouton1 = 1 | ||
| + | |||
| + | |||
| + | |||
| + | elif bouton1.value() == 1 and appuyerbouton1 == 1 : | ||
| + | |||
| + | appuyerbouton1 = 0 | ||
| + | |||
| + | compteur = compteur +1 | ||
| + | |||
| + | |||
| + | |||
| + | |||
| + | |||
| + | if bouton2.value() == 0 and appuyerbouton2 == 0: | ||
| + | |||
| + | appuyerbouton2 = 1 | ||
| + | |||
| + | |||
| + | |||
| + | elif bouton2.value() == 1 and appuyerbouton2 == 1 : | ||
| + | |||
| + | appuyerbouton2 = 0 | ||
| + | |||
| + | compteur = compteur +1 | ||
| + | |||
| + | |||
| + | |||
| + | |||
| + | |||
| + | |||
| + | |||
| + | if bouton3.value() == 0 and appuyerbouton3 == 0: | ||
| + | |||
| + | appuyerbouton3 = 1 | ||
| + | |||
| + | |||
| + | |||
| + | elif bouton3.value() == 1 and appuyerbouton3 == 1 : | ||
| + | |||
| + | appuyerbouton3 = 0 | ||
| + | |||
| + | compteur = compteur +1 | ||
| + | |||
| + | message= 'score '+ str(compteur) | ||
| + | |||
| + | oled.fill(0) | ||
| + | |||
| + | oled.text(message, 10, 30) | ||
| + | |||
| + | oled.show()</translate> | ||
| + | |Step_Picture_00=Lance-Rocket_Capture_d_cran_2023-04-13_165010.png | ||
| + | }} | ||
| + | {{Tuto Step | ||
| + | |Step_Title=<translate>Création du support canon</translate> | ||
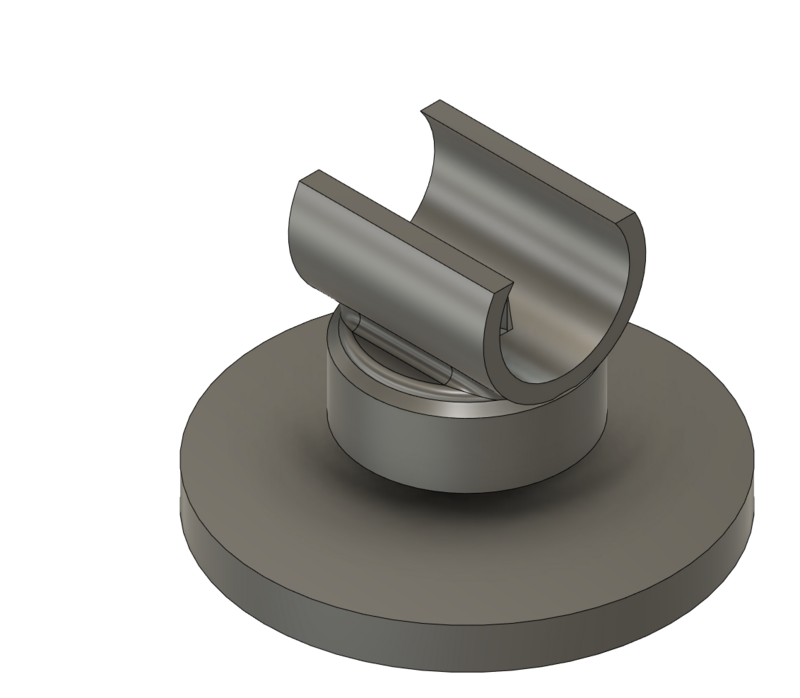
| + | |Step_Content=<translate>nous avons crée un support pour le canon avec un roulement a bille pour amélioré la fluidité</translate> | ||
| + | |Step_Picture_00=Lance-Rocket_Capture_d_cran_2023-04-13_165413.png | ||
}} | }} | ||
{{Notes | {{Notes | ||
| Ligne 41 : | Ligne 157 : | ||
}} | }} | ||
{{PageLang | {{PageLang | ||
| + | |Language=fr | ||
|SourceLanguage=none | |SourceLanguage=none | ||
|IsTranslation=0 | |IsTranslation=0 | ||
| − | |||
}} | }} | ||
{{Tuto Status | {{Tuto Status | ||
|Complete=Draft | |Complete=Draft | ||
}} | }} | ||
Version du 13 avril 2023 à 17:05
Introduction
Matériaux
Outils
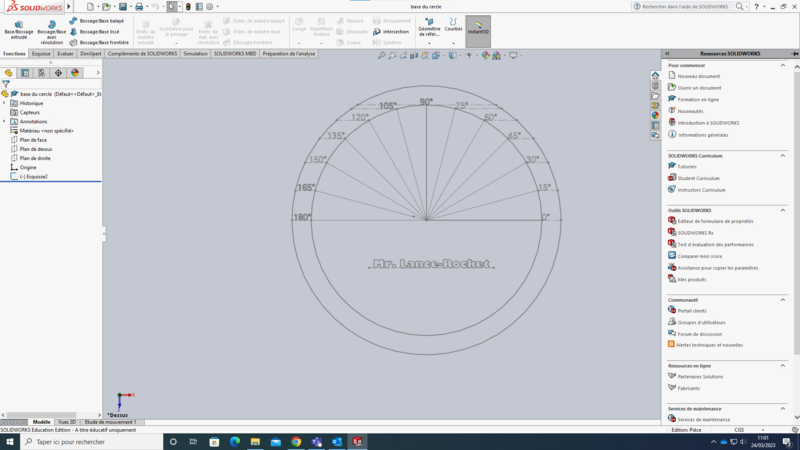
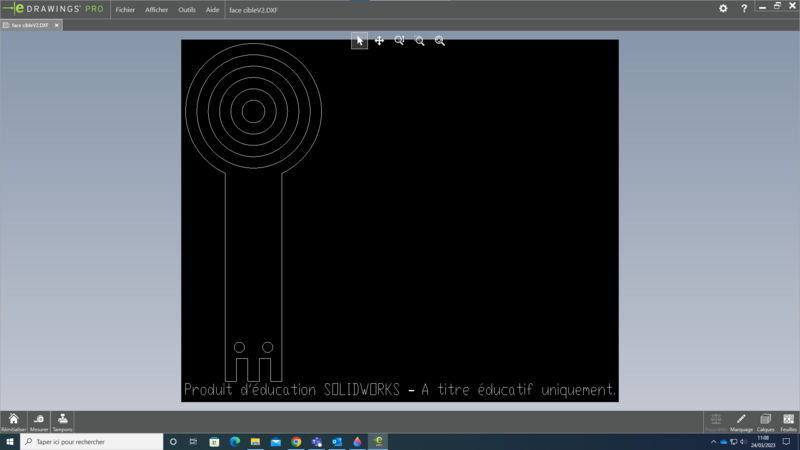
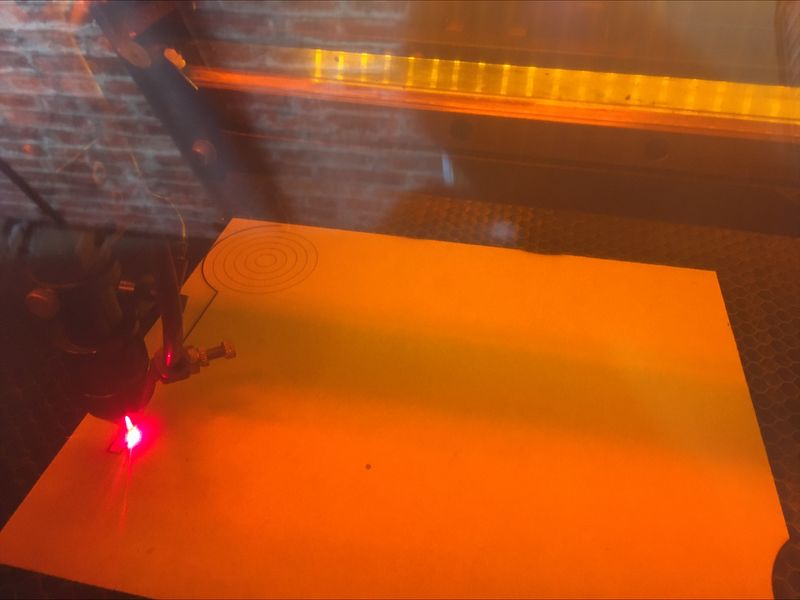
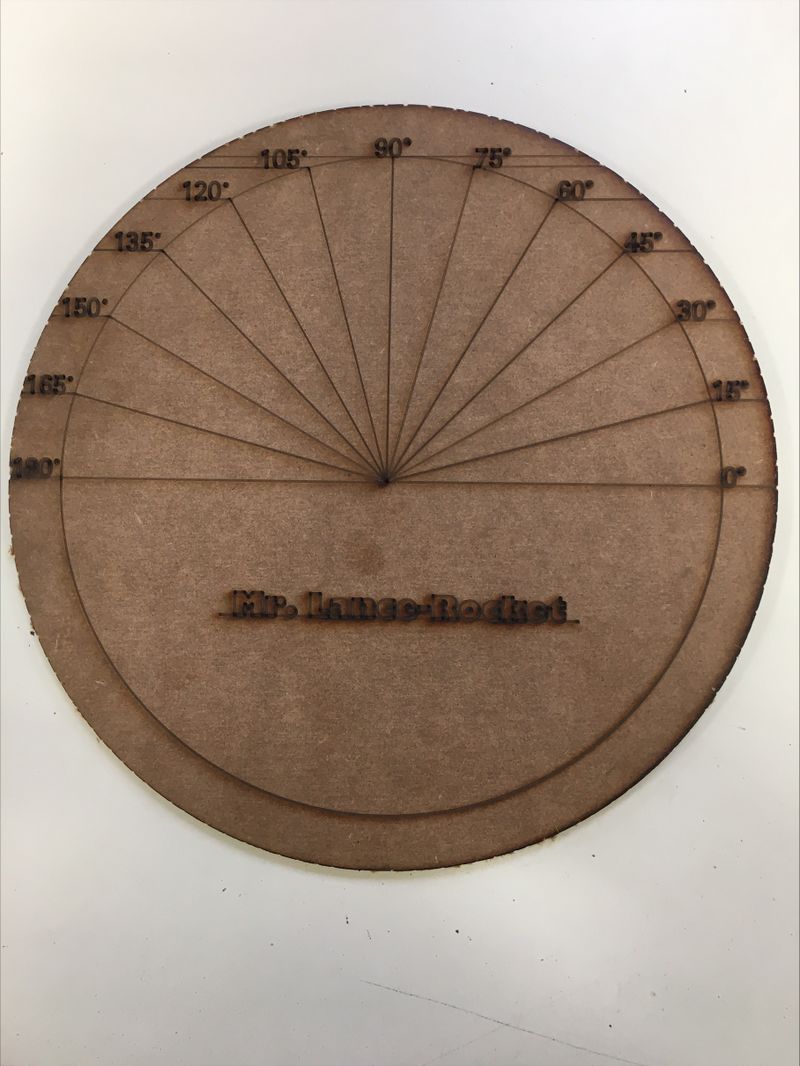
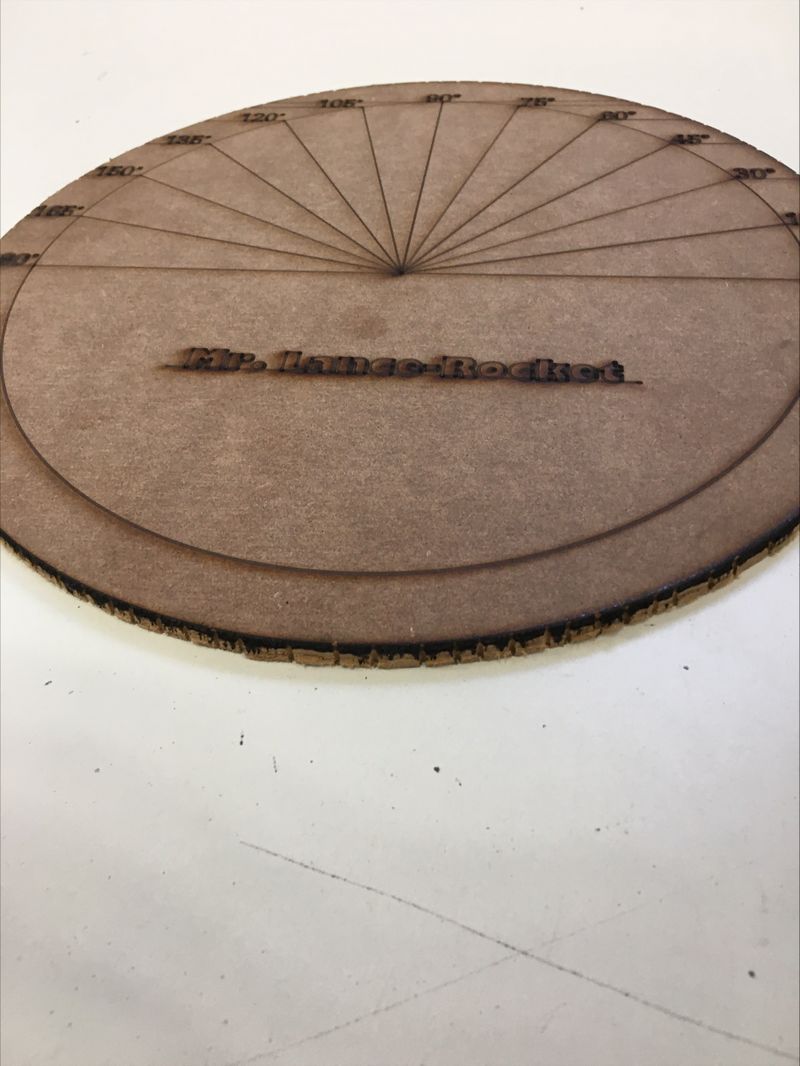
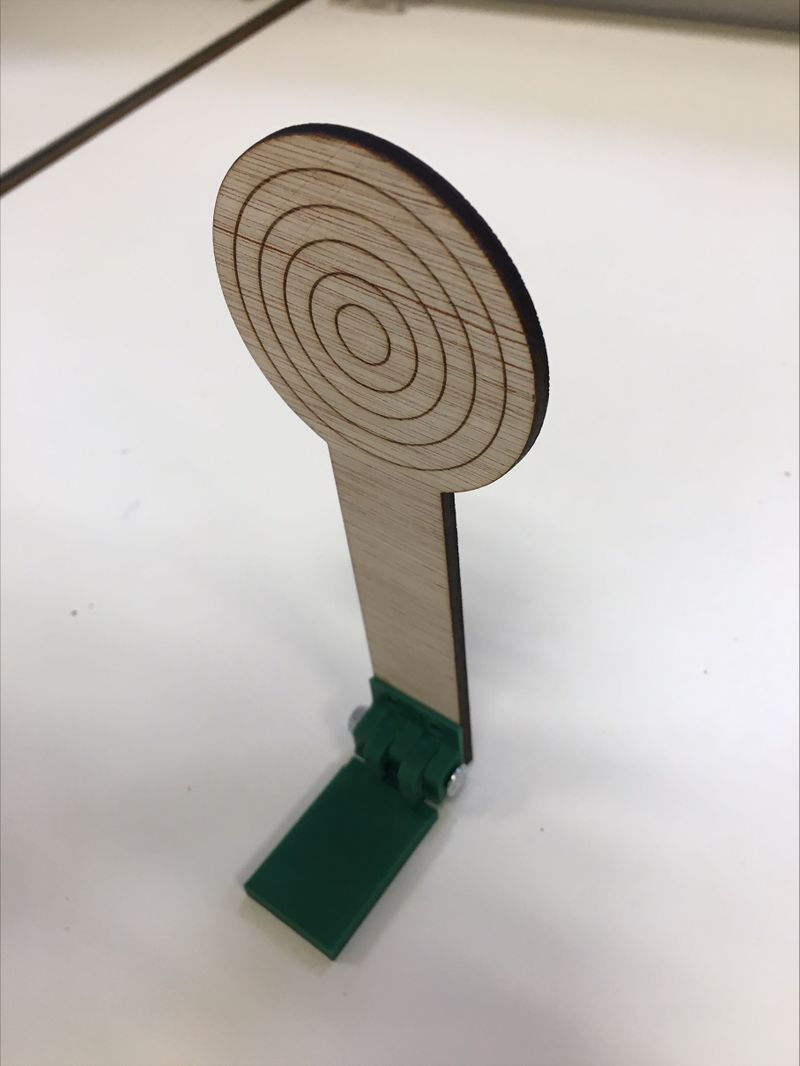
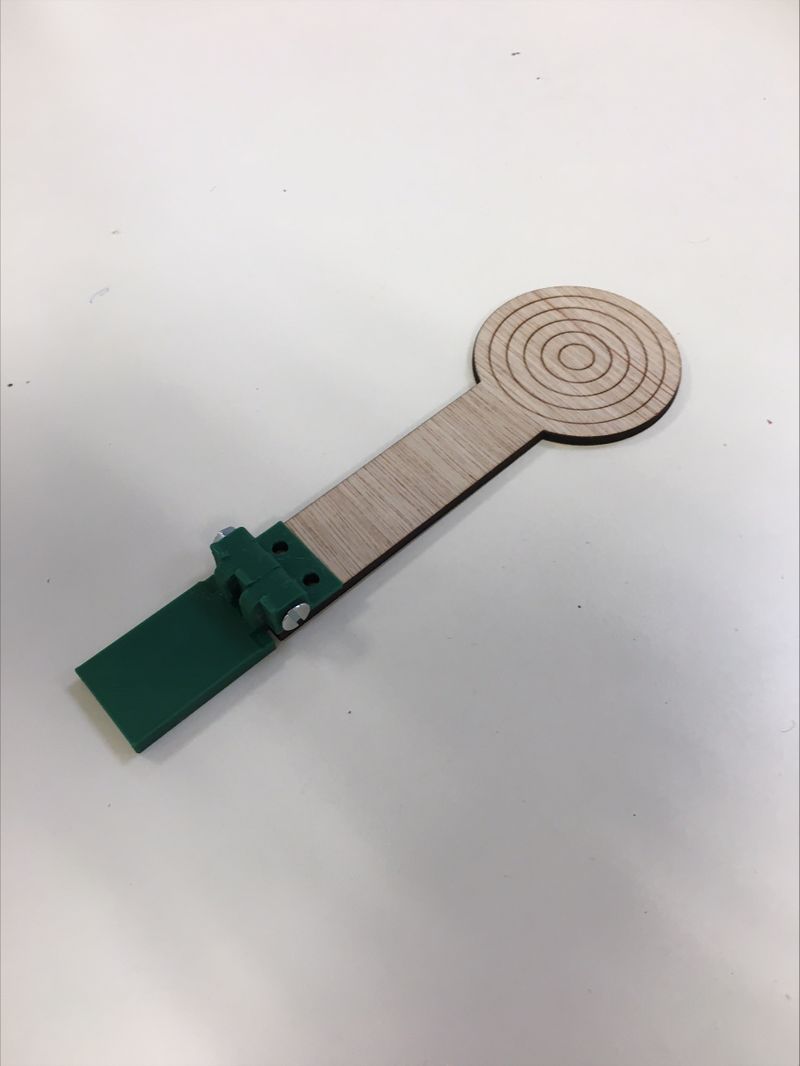
Étape 3 - Graver nos modélisations
Grâce à une graveuse laser nous découpons nos modélisations sur du bois.
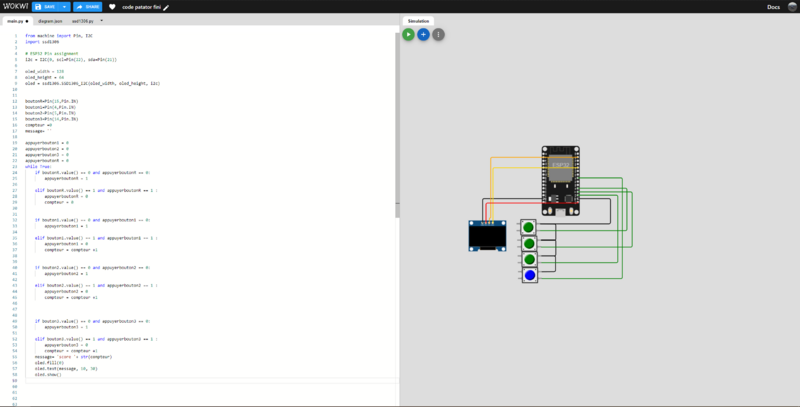
Étape 4 - création programme
on a fait un premier test sur le site Wokwi puis nous avant effectué le montage
code source :
from machine import Pin, I2C
import ssd1306
# ESP32 Pin assignment
i2c = I2C(0, scl=Pin(22), sda=Pin(21))
oled_width = 128
oled_height = 64
oled = ssd1306.SSD1306_I2C(oled_width, oled_height, i2c)
boutonR=Pin(15,Pin.IN)
bouton1=Pin(4,Pin.IN)
bouton2=Pin(5,Pin.IN)
bouton3=Pin(14,Pin.IN)
compteur =0
message= ''
appuyerbouton1 = 0
appuyerbouton2 = 0
appuyerbouton3 = 0
appuyerboutonR = 0
while True:
if boutonR.value() == 0 and appuyerboutonR == 0:
appuyerboutonR = 1
elif boutonR.value() == 1 and appuyerboutonR == 1 :
appuyerboutonR = 0
compteur = 0
if bouton1.value() == 0 and appuyerbouton1 == 0:
appuyerbouton1 = 1
elif bouton1.value() == 1 and appuyerbouton1 == 1 :
appuyerbouton1 = 0
compteur = compteur +1
if bouton2.value() == 0 and appuyerbouton2 == 0:
appuyerbouton2 = 1
elif bouton2.value() == 1 and appuyerbouton2 == 1 :
appuyerbouton2 = 0
compteur = compteur +1
if bouton3.value() == 0 and appuyerbouton3 == 0:
appuyerbouton3 = 1
elif bouton3.value() == 1 and appuyerbouton3 == 1 :
appuyerbouton3 = 0
compteur = compteur +1
message= 'score '+ str(compteur)
oled.fill(0)
oled.text(message, 10, 30)
oled.show()
Étape 5 - Création du support canon
nous avons crée un support pour le canon avec un roulement a bille pour amélioré la fluidité
Draft
 Français
 English
 Deutsch
 Español
 Italiano
 Português