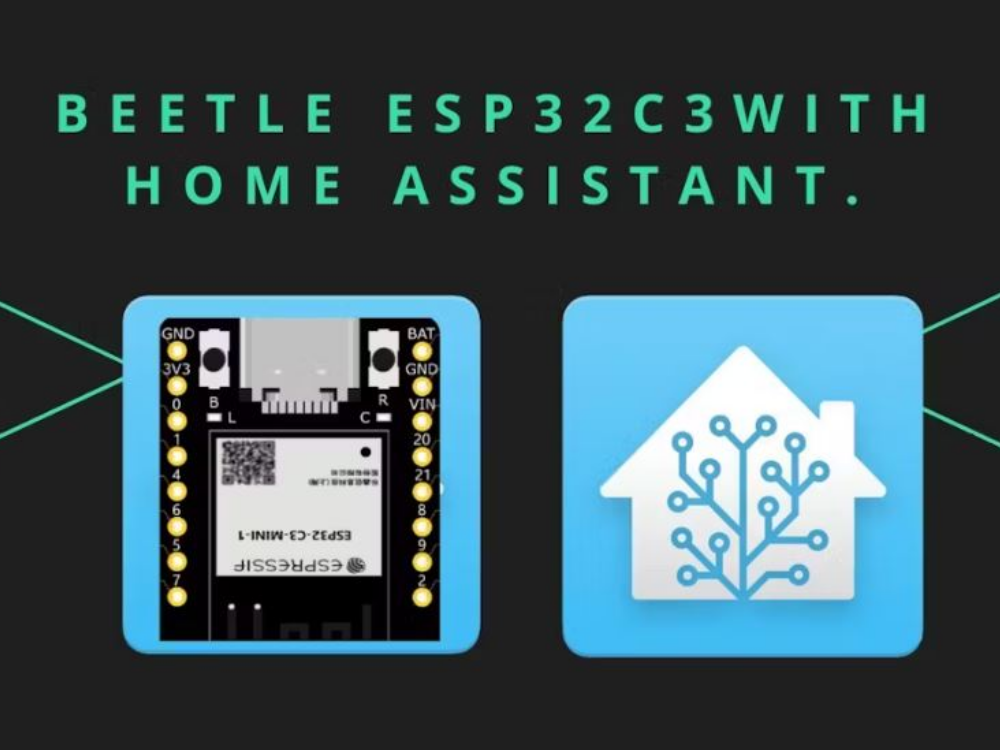
Will guide you to integrate the Beetle ESP32 C3 with Home Assistance.

Difficulté
Facile
Durée
2 heure(s)
Catégories
Électronique
Coût
10 USD ($)
Sommaire
- 1 Étape 1 - Beetle ESP32 C3
- 2 Étape 2 - Key Features:
- 3 Étape 3 - Get PCBs for Your Projects Manufactured
- 4 Étape 4 - Installing ESP Addon in Home Assistance
- 5 Étape 5 - ESPHome on the Beetle ESP32 C3
- 6 Étape 6 - Connecting Beetle ESP32 C3 to Home Assistant
- 7 Étape 7 - Controlling Devices and Automation
- 8 Étape 8 - Troubleshooting and Tips
- 9 Étape 9 - Conclusion
- 10 Commentaires
Matériaux
Outils
Étape 1 - Beetle ESP32 C3
The Beetle ESP32-C3 is based on the ESP32-C3, a RISC-V 32-bit single-core processor. Despite its tiny size (only 25×20.5 mm), it packs a punch with up to 13 IO ports broken out, making it ideal for various projects without worrying about running out of IO options.

Étape 2 - Key Features:
Ultra-Small Size: The Beetle ESP32-C3 measures just 25×20.5 mm (0.98×0.81 inch), making it perfect for space-constrained projects.
Built-in Lithium Battery Charging Management:
- Safely charge and discharge lithium-ion batteries directly on the board.
- No need for additional modules, to ensure application size and safety.
Easy Screen Connectivity:
- The matching bottom plate simplifies project assembly and screen usage.
Dual-Mode Communication:
- Supports Wi-Fi and Bluetooth 5 (LE).
- Reduces networking complexity.
- Compatible with both Bluetooth Mesh and Espressif WiFi Mesh for stable communication and extended coverage.
Étape 3 - Get PCBs for Your Projects Manufactured
You must check out PCBWAY for ordering PCBs online for cheap!
You get 10 good-quality PCBs manufactured and shipped to your doorstep for cheap. You will also get a discount on shipping on your first order. Upload your Gerber files onto PCBWAY to get them manufactured with good quality and quick turnaround time. PCBWay now could provide a complete product solution, from design to enclosure production. Check out their online Gerber viewer function. With reward points, you can get free stuff from their gift shop. Also, check out this useful blog on PCBWay Plugin for KiCad from here. Using this plugin, you can directly order PCBs in just one click after completing your design in KiCad.

Étape 4 - Installing ESP Addon in Home Assistance
First, we need to add the ESP addon to our Home Assistance system. Open the home assistance.
Next, navigate to the settings and open the add-ons.
Here selects ESP home and install it.
Then open the web ui.


Étape 5 - ESPHome on the Beetle ESP32 C3
ESPHome is an open-source firmware that allows you to configure and manage your ESP devices easily.
Open the ESP home web UI and add a new device.
Then open the ESPHOME web and follow the instructions to flash ESP Home firmware.
Next, connect Beetle to the PC and select then burn.
Wait until it finishes.
Next, enter the WiFi credentials to configure with WiFi.
Then click visit device, you can see this kind of web page.


Étape 6 - Connecting Beetle ESP32 C3 to Home Assistant
Once your FireBeetle ESP32 C3 is online with the ESPHome firmware, Home Assistant will automatically discover it.
You can see the device under the settings menu.
Next, open the ESP home and add a new device
Then enter all the details, and next select the wireless option.
You can see the device status as Online.
Here you can edit the beetle behavior.


Étape 7 - Controlling Devices and Automation
With the Beetle ESP32 C3 integrated into Home Assistant, you can:
- Control smart switches, lights, or other devices connected to your Beetle.
- Set up automation based on sensor data (e.g., turn on lights when motion is detected).
- Monitor temperature, humidity, and other environmental factors using Beetle sensors.
- With the Beetle ESP32 C3 integrated into Home Assistant, you can: Control smart switches, lights, or other devices connected to your Beetle. Set up automation based on sensor data (e.g., turn on lights when motion is detected).
switch:
- platform: gpio
name: "test_lights Onboard light"
pin: 10
inverted: True
restore_mode: RESTORE_DEFAULT_OFF
Here is the complete sketch.
Then install it.
Next, open the devices again and select the esp home.
Here you will see your device details and it will show the switch status.
From here you can control the onboard LED.


Étape 8 - Troubleshooting and Tips
If you encounter issues:
- Check your ESPHome configuration for errors.
- Verify that your Beetle ESP32 C3 is connected to the correct Wi-Fi network.
- Use Home Assistant’s logs and developer tools to debug any problems.
Étape 9 - Conclusion
Published
 Français
 English
 Deutsch
 Español
 Italiano
 Português