Introduction
The basic multi-modular frames for cargo bikes is the first building block in our open source platform Vélo M², an ecosystem where we provide the electricity by solar & pedal power and the plans to build modules to your imagination that make use of this renewable energy. We want to make use of cargo bike by adding mobile fablabs, open air cinema, foodbikes, … . If you want a nice-looking stackable watertight laser cut box just to transport all kind of things or to give a place for your module idea or to immediately start building our self sustainable energy module, you first have to go through this building part.
In this documentation you will find everything to make a 450 by 650 mm base with different heights (150, 300 or 450 mm). The realisation of the content of the module itself will follow. If you want to find more about how the inside frame works and how you can arrange all kind of modules, you will find our two examples in the near future: A raspberry-pi based open air cinéma & a mobile open-source fablab
Matériaux
Not all plywood can be laser cut. Make sure your plywood is interior grade with an MR glue line. Check here for details on the materials.
Sheet of Plywood for the frame
- Water-resistant
- 10mm
- Dimensions: 1700 x 1220
Sheet of Plywood for the arrangement walls
- Water-resistant
- 10mm
- Dimensions: depending your application of the module
Varnish
Outils
If you have a FabLab nearby, you have all the tools you need.
Laser cutter with min 100W power and dimensions of min 650x450mm Chamfer machine with chamfer head of 10mm diameter
Download the lasercutting templates
The lasercutting templates provide the cutting lines for 10mm plywood. If the plywood is less or more than 10mm, the plans should be adapted.
Download aditional lasercutting templates
For other sizes than 300mm height, download the additional templates and follow the same logic.
Étape 1 - Lasercutter preparation
Prepare and set the parameters of the Laser Cutter to cut through 10mm plywood. Check you parameters and make a few test to find the good settings. This is dependent on the type of machine.
Étape 2 - Laser cut !
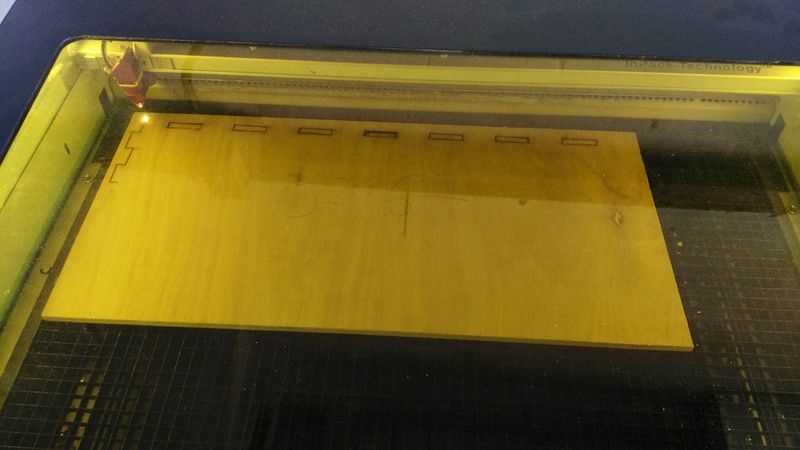
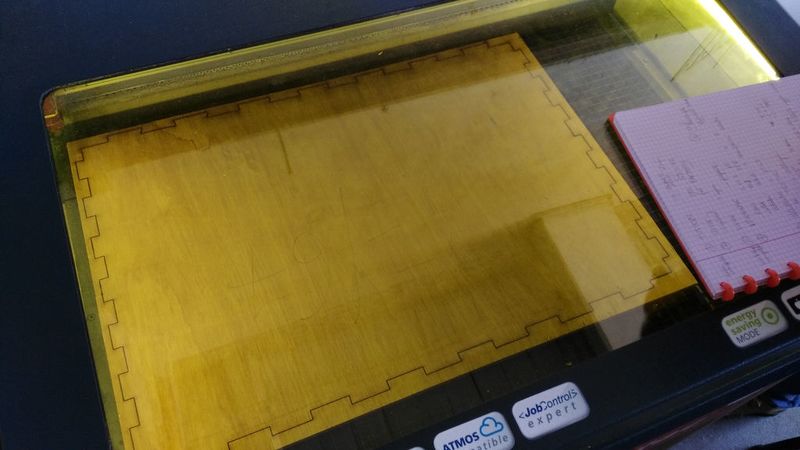
Laser cut the nine elements following the Laser Cutter DXF files.
For a box of 300mm high use the templates:
In 10mm plywood:
- bottom one time
- side1_30 two times
- side2_30 two times
- balk_pl1 two times
- balk_pl2 two times
- handle1 two times
- handle2 two times
In 9mm plywood:
- mid_plate_1_30 two times (or more)
- mid_plate_2_30 two times (or more)
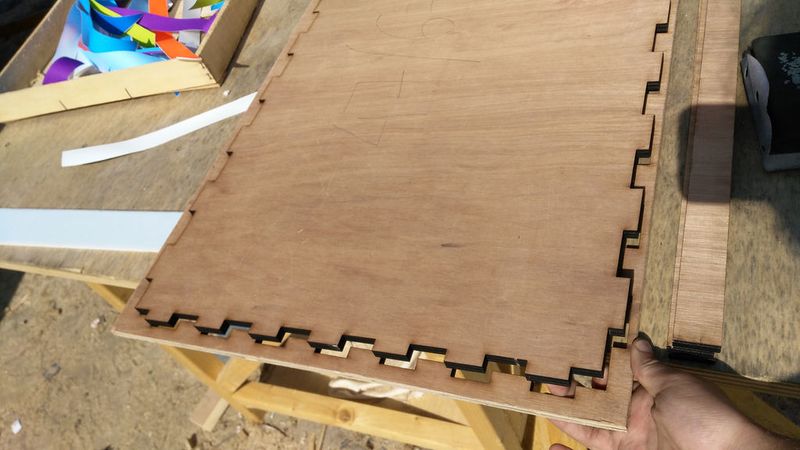
The wood will be burned on the sides, that's why it needs to be sanded later on.
Étape 3 - Chamfer
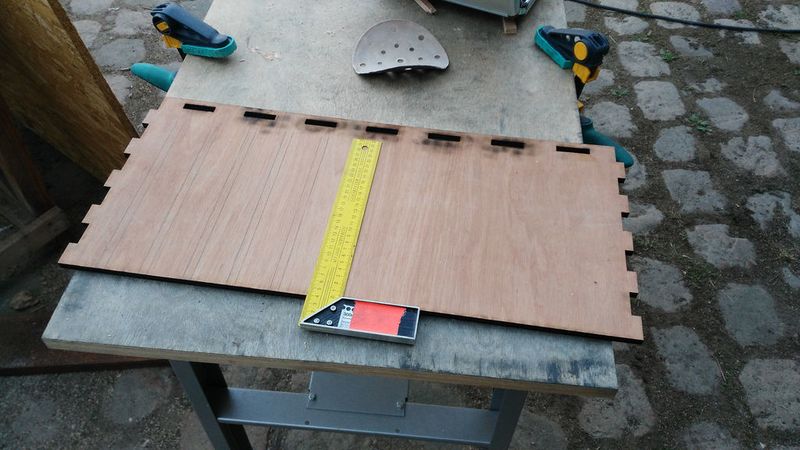
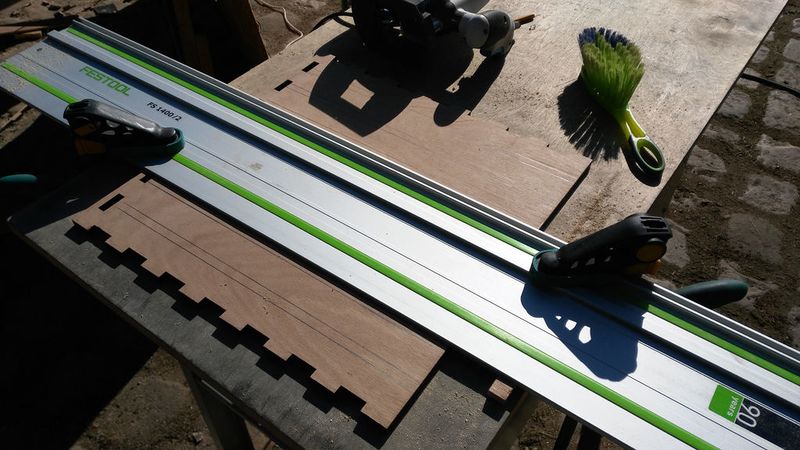
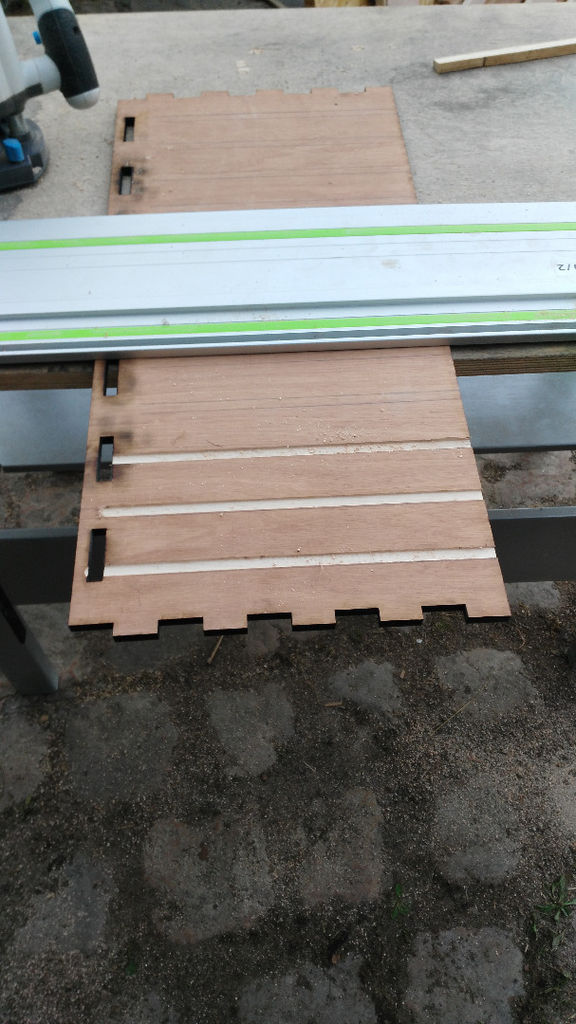
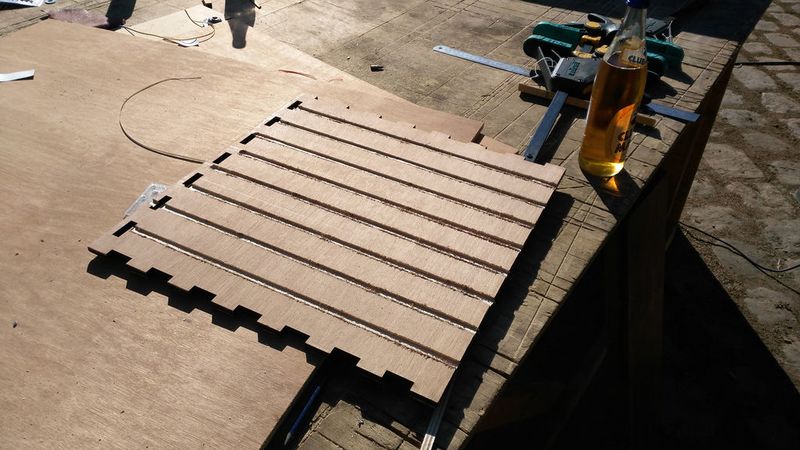
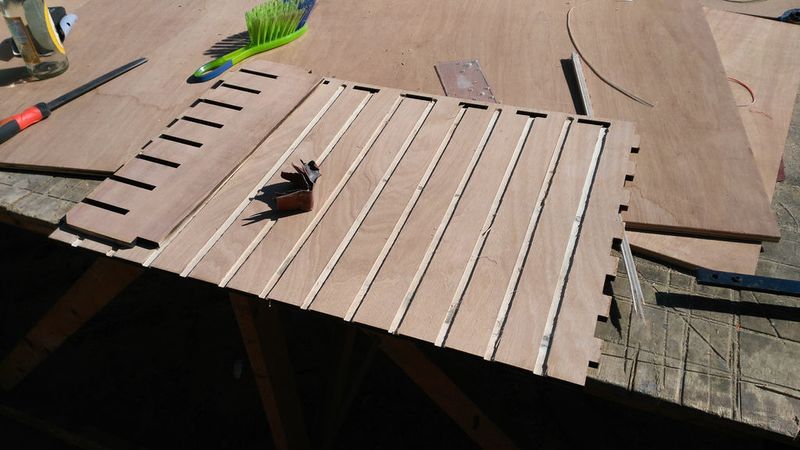
Chamfer the side plates following the grooves engravings. The grooves are there to fit the mid plates that allow to make compartiments in the boxes. They are placed every 5cm over the whole length of the side plates. Use a 10mm chamfer head to make the grooves.
Étape 4 - Finishing
Sanding
The sanding makes the boxes nice looking. The wood burn should be sanded to prevent to black color to be spread. The grooves should be sanded to allow the mid plates to slide in easily.
Varnishing
The varnish makes te boxes watertight. Apply two layers of wood varnish to each element. Check the instructions that are dependent of the type of varnish.
Étape 5 - Assemble
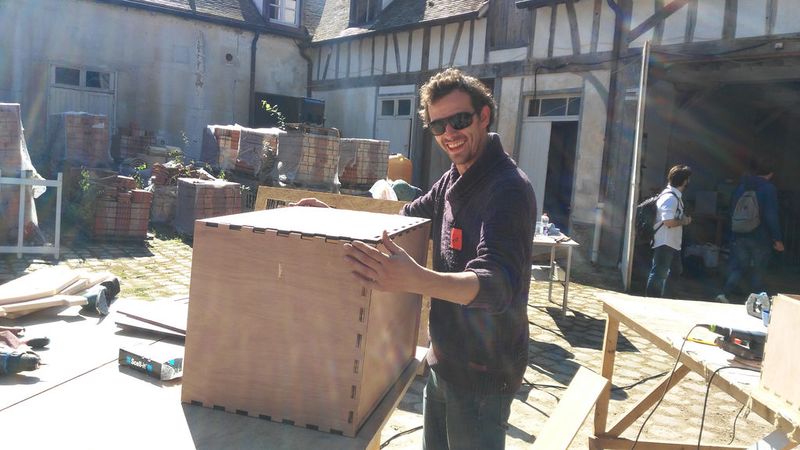
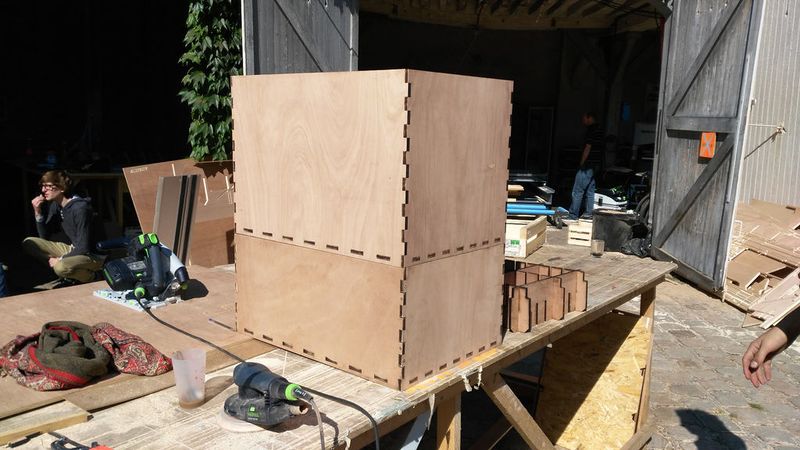
Assemble the box following the laser cut indications.
- Fix the side plates and the bottom plate with screws in the laser cut holes.
- Have fun assembling the module to your own ‘goesting’ (cf. Most beautiful Dutch word of 2004)
- Fix the top borders to the sides to hold the second frame on top.
Now you have the frame ready to fill it in to your own imagination. What would you take outside with a cargo bike, knowing you have an energy source?
Check this box when the tutorial is complete

 Français
 English
 Deutsch
 Español
 Italiano
 Português