Étape 1 - Measuring and Sketching
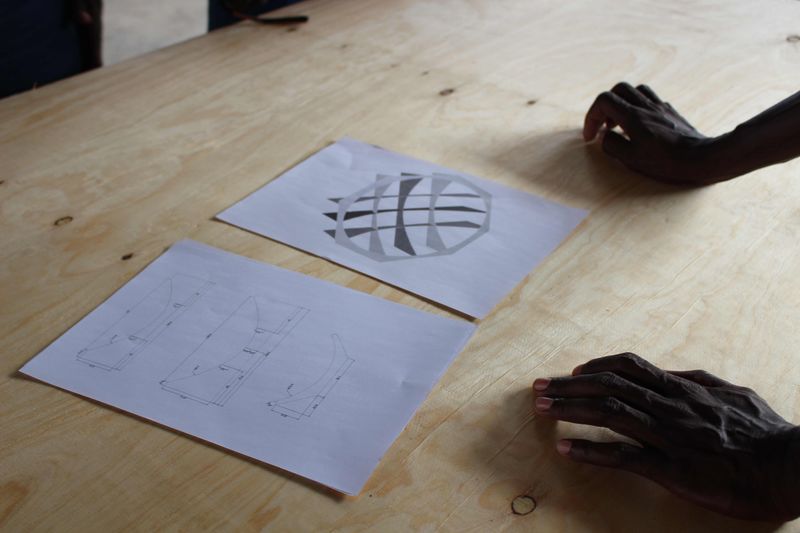
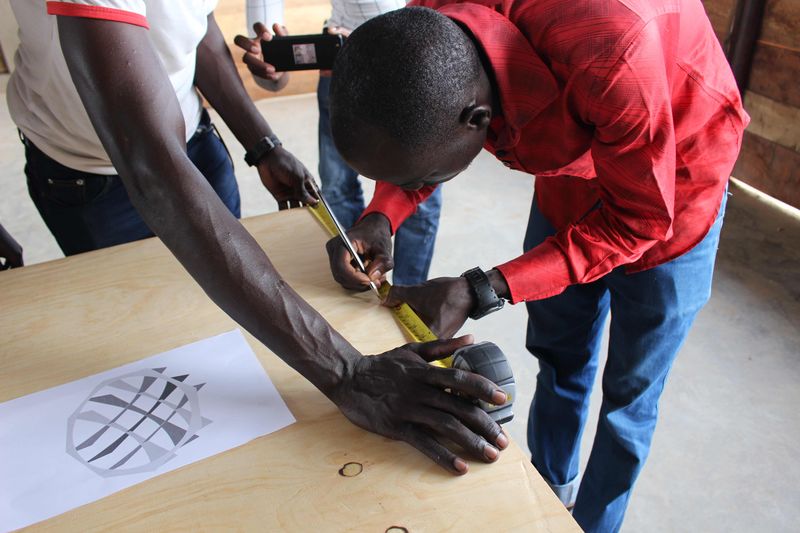
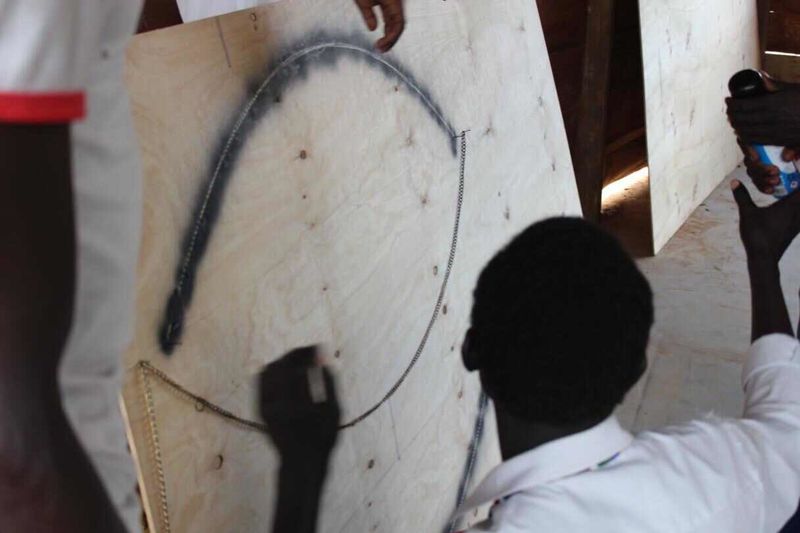
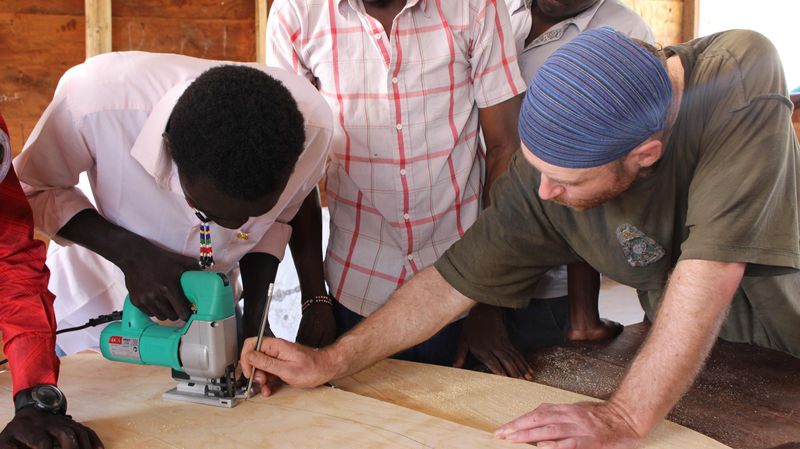
Measure and sketch the correct measurements required to make the dish on the plywood.(The measurement should be precisely done as this affects how the dish will turn out)
Étape 2 - Cutting and subdividing sections
After you are done with the measurements on the plywood, check to ensure that this is correctly done
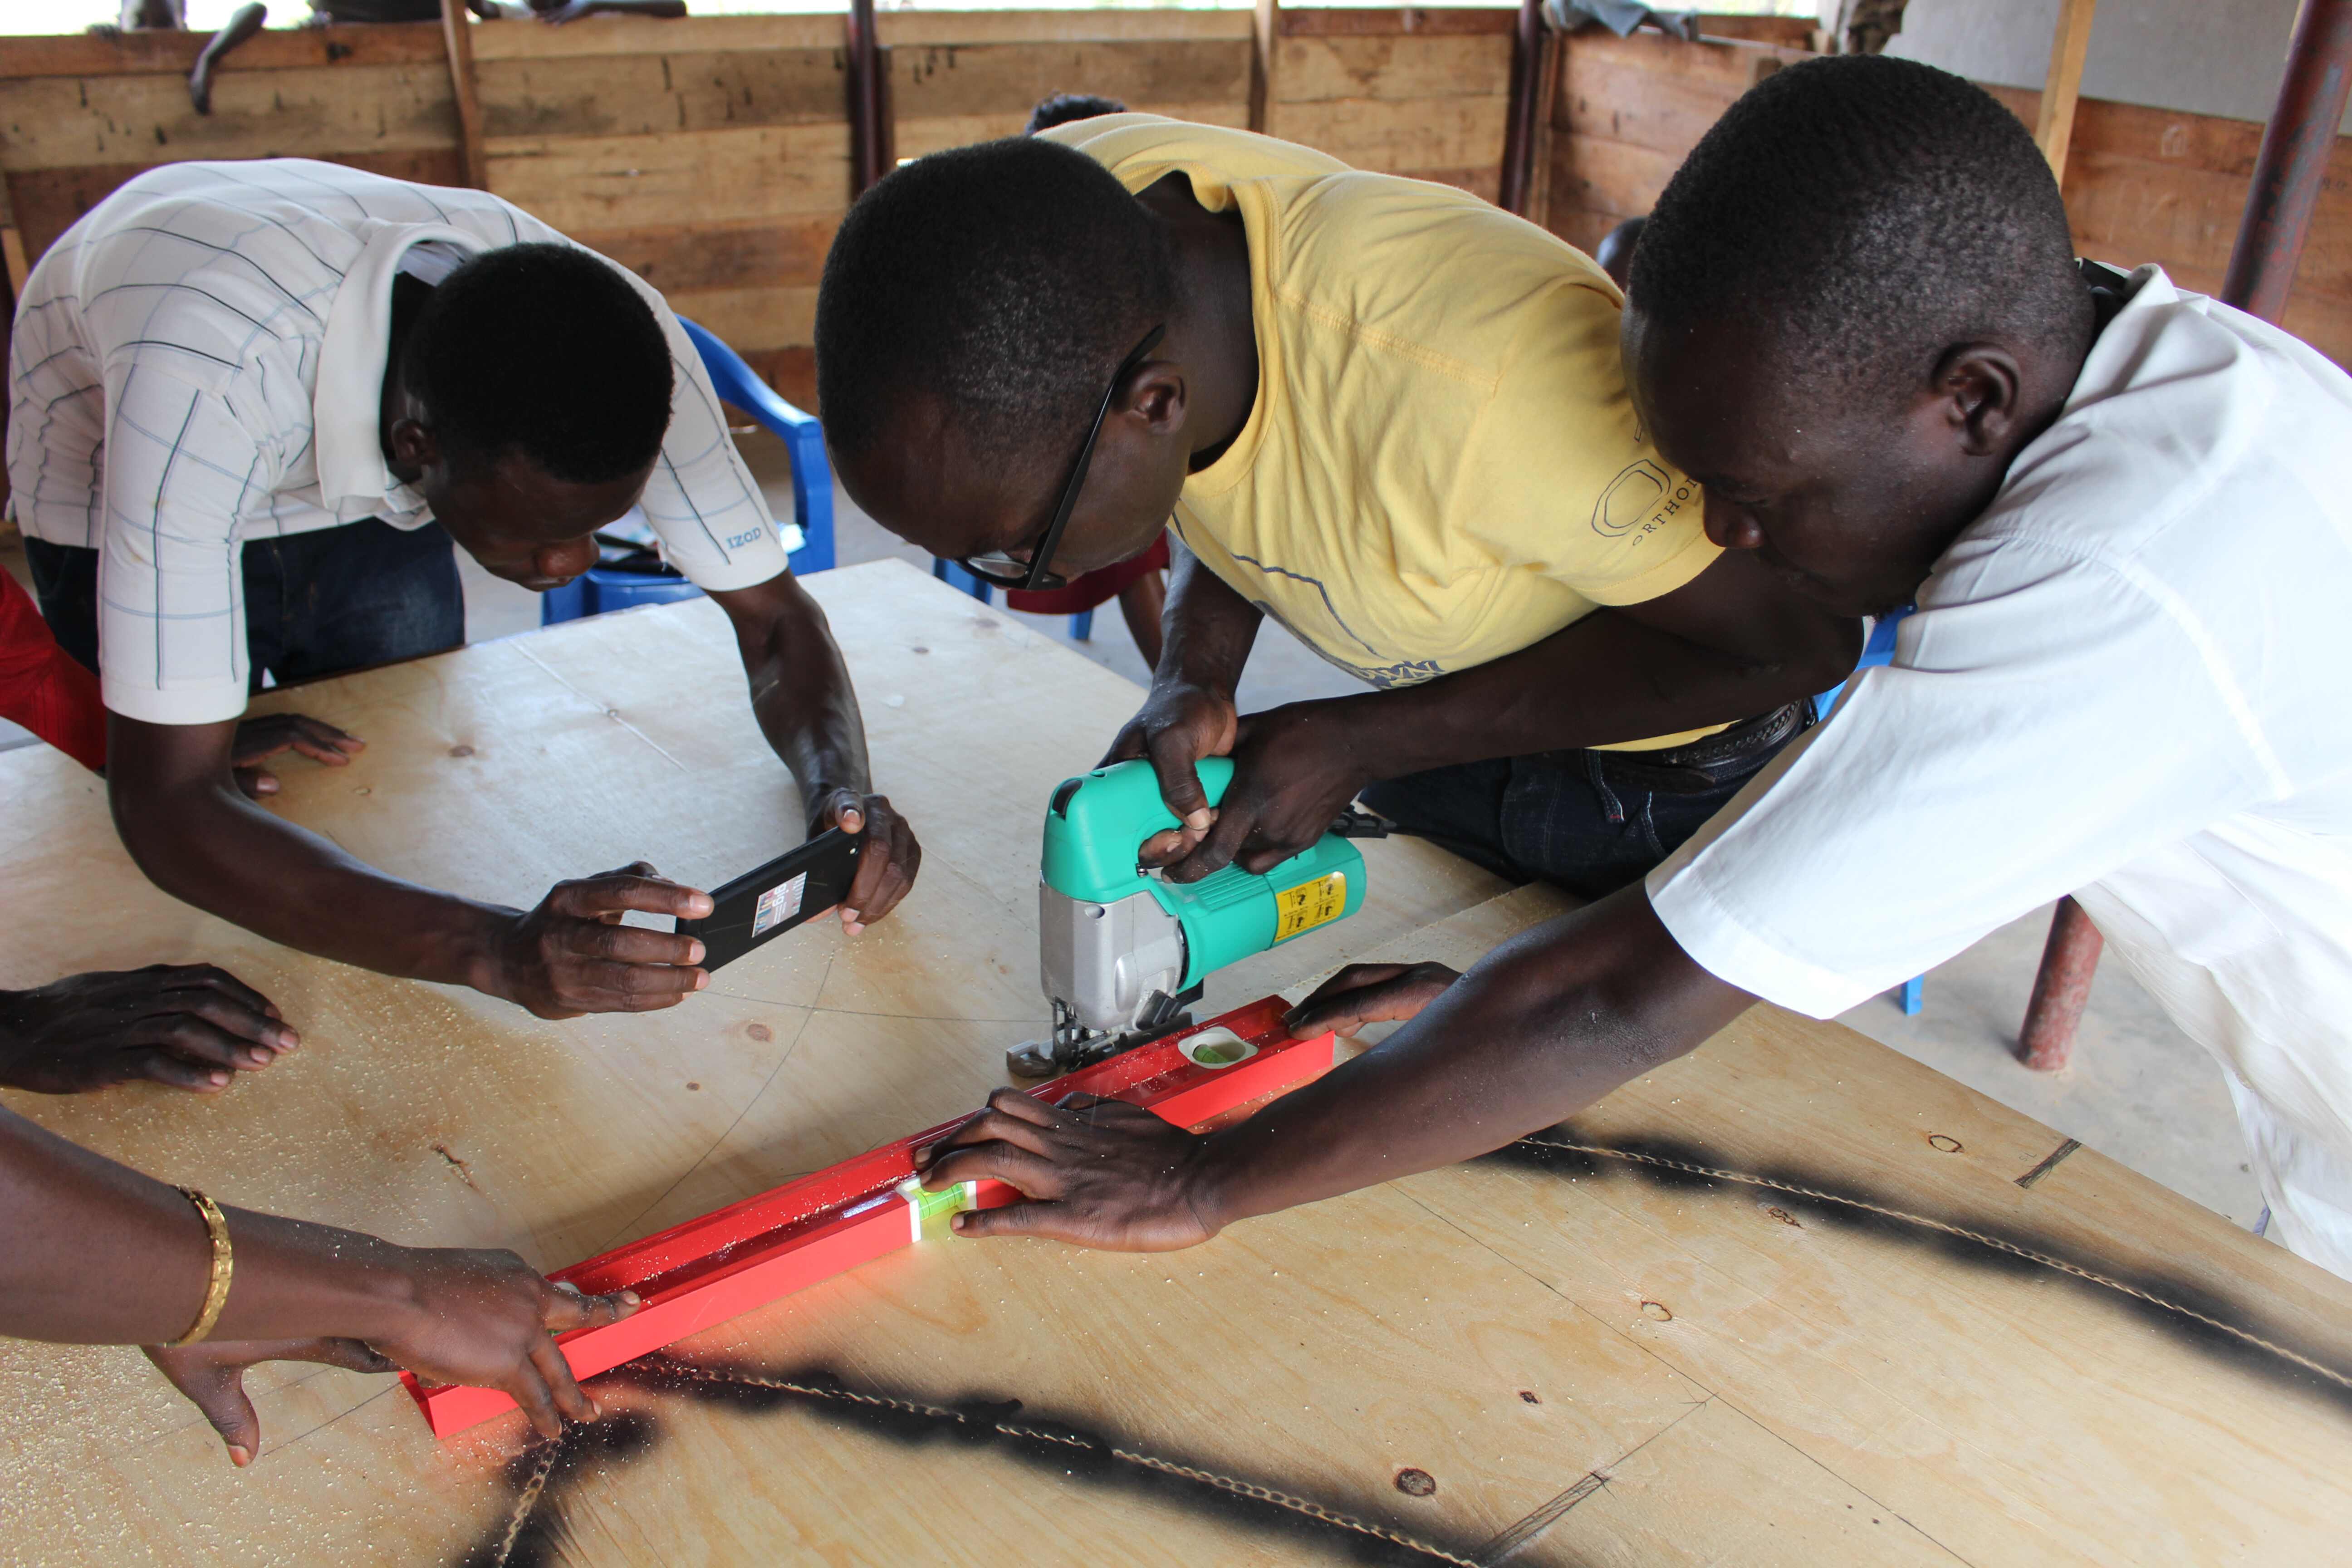
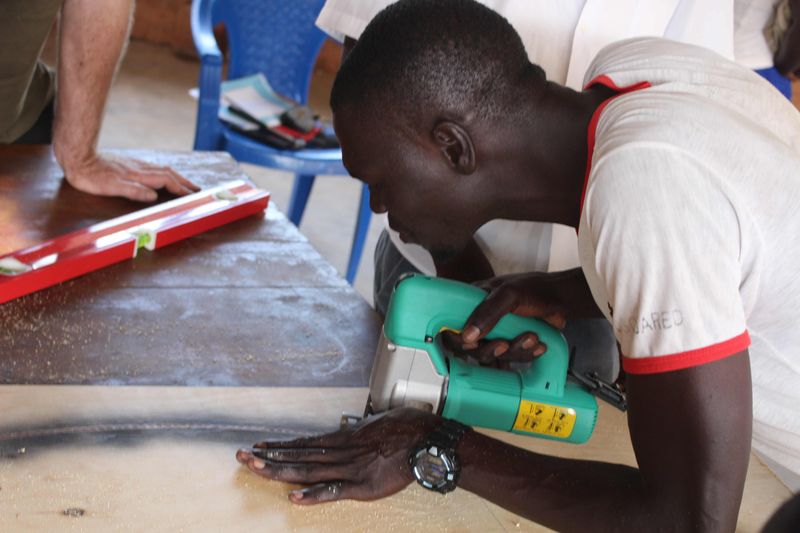
Begin by cutting the different parts of the plywood using a jigsaw.(Note, ensure that this is precisely done.
Étape 3 - Drilling holes on the plywood
Drill holes into specific points on the plywood which will later be used for fixing the mesh wire
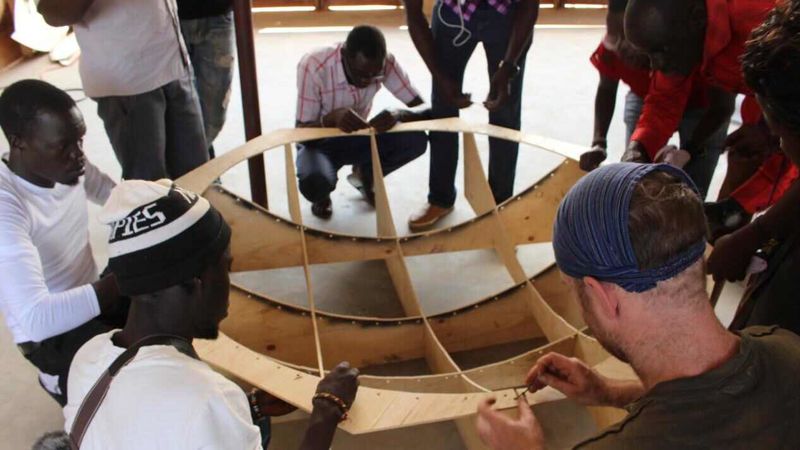
Using cable ties, join the plywood pieces together to form the base of the dish
Étape 4 -
Using the cable ties, join your mesh wire to the plywood background
Étape 5 - Cutting and subdividing sections
After you are done with the measurements on the plywood, check to ensure that this is correctly done
Begin by cutting the different parts of the plywood using a jigsaw.(Note, ensure that this is precisely done.
Étape 6 - Drilling holes on the plywood
Drill holes into specific points on the plywood which will later be used for fixing the mesh wire
Using cable ties, join the plywood pieces together to form the base of the dish
Draft
 Français
 English
 Deutsch
 Español
 Italiano
 Português