Introduction
Matériaux
Outils
Étape 1 - Pliez les tuyaux en cuivre ou connectez simplement le flexible
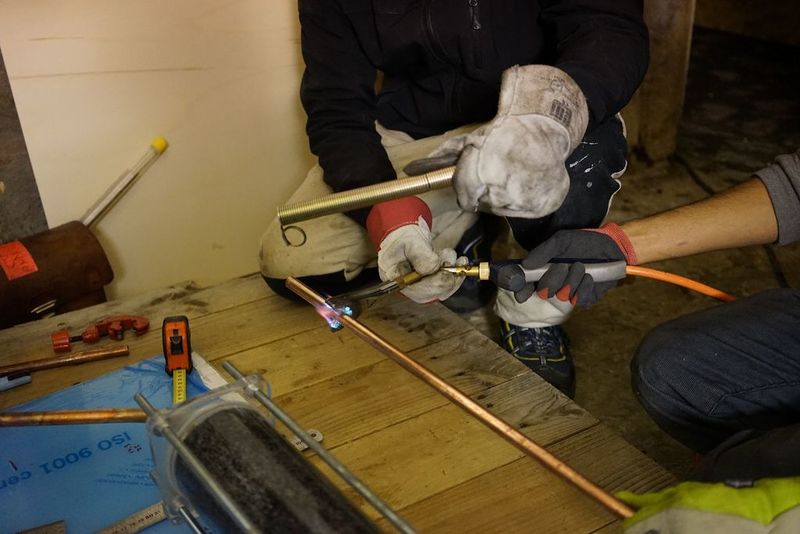
La base - chauffez votre tuyau de cuivre avec un chalumeau. Concentrez la flamme sur les zones situées au-dessus et au-dessous où vous ferez le pliage de manière à ce que la pièce ne devienne pas plus chaude et donc plus faible que le reste de l’acier.
Une fois que le cuivre devient comme noir et commence à faire un effet arc-en-ciel psychédélique plutôt cool, vous savez que le cuivre est suffisamment chaud pour commencer à plier. Éteignez la flamme et attendez un moment.
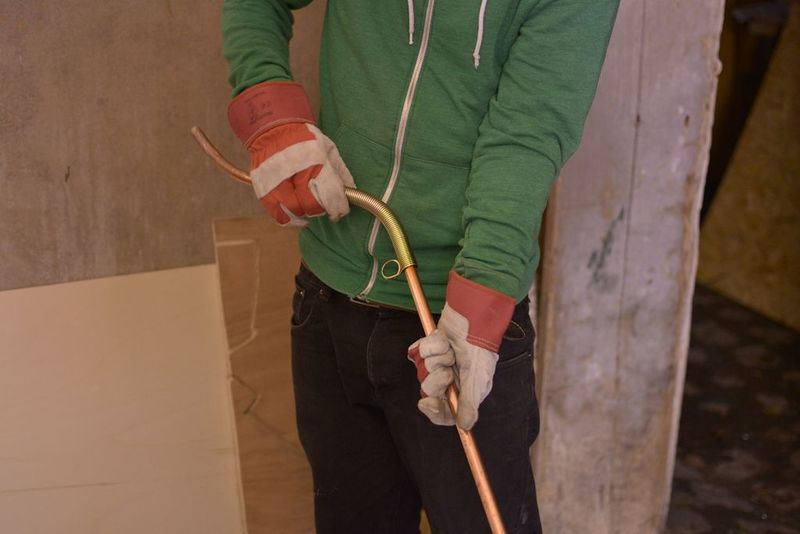
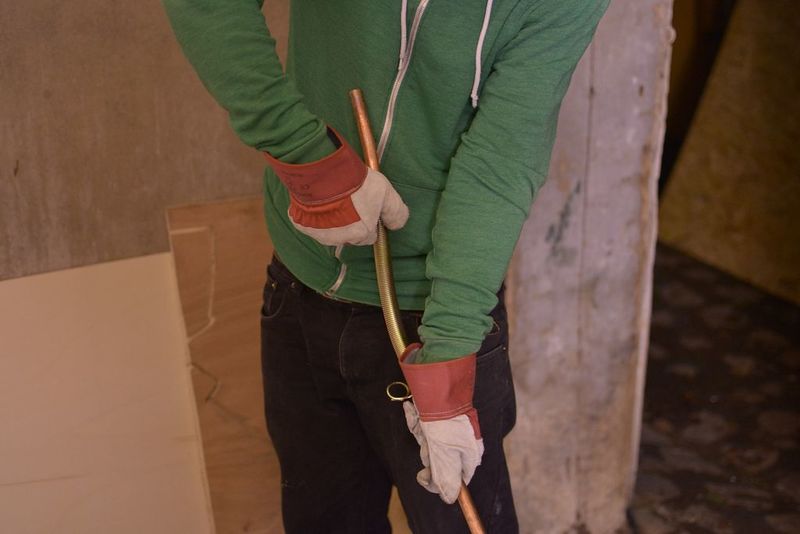
Une fois que le tuyau a un peu refroidi, utilisez l’outil de cintrage afin d’obtenir une courbure convenable. C’est plus de l'habilité que des compétences techniques, vous devez simplement observer et voir comment le métal se plie.
Étape 2 - Raccord de flexible
Utiliser un flexible en caoutchouc (ou PEX) est beaucoup plus facile que le cuivre, mais ça n’aura peut-être pas l’air aussi cool.
Le tube transparent n’est pas si mauvais que ça, mais le matériau le plus courant est le PVC (qui est plutôt sale).
La meilleure et peut-être la solution la plus simple consiste à utiliser du tuyau d'eau potable (16 mm?).
La connexion du flexible est simple, utilisez un embout de flexible à la place du connecteur fileté et fixez le flexible avec un collier. Assurez-vous que ce soit vraiment bien fait.
Il y a un schéma expliquant comment faire ça avec un flexible plus haut.
Étape 3 -
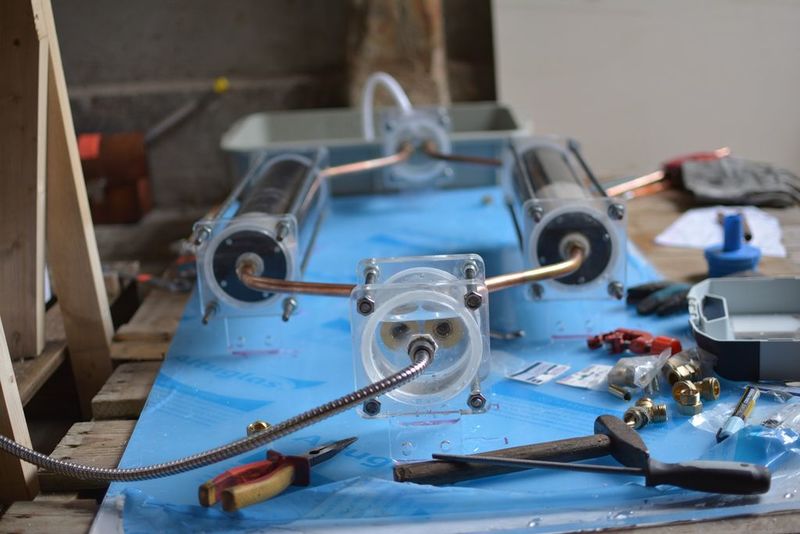
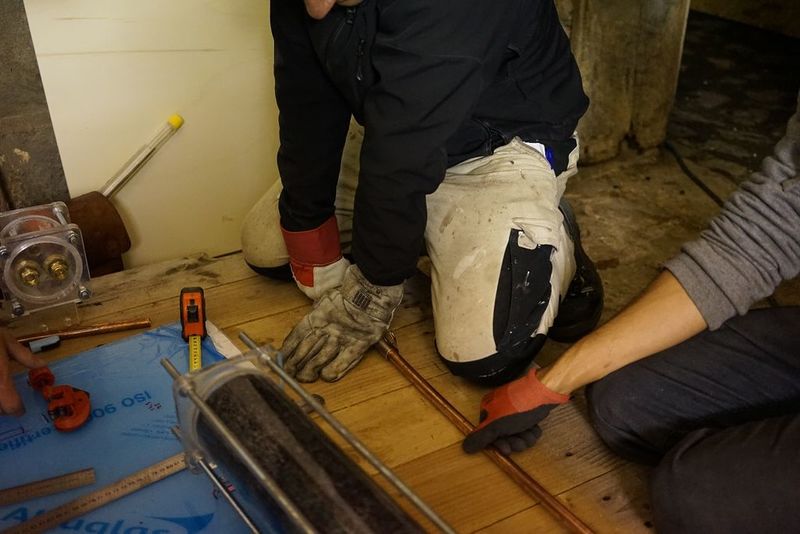
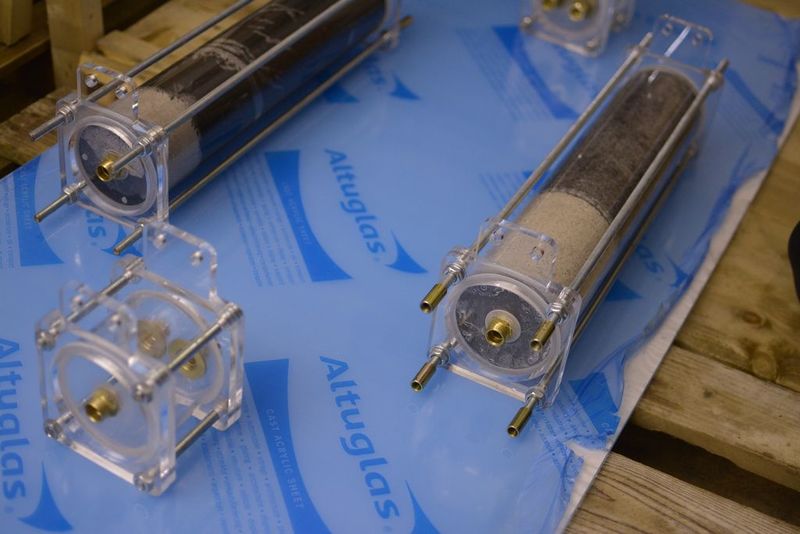
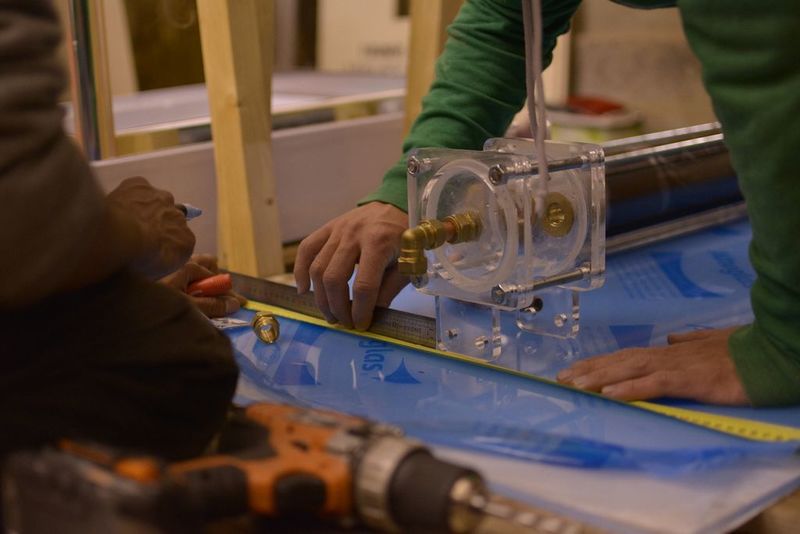
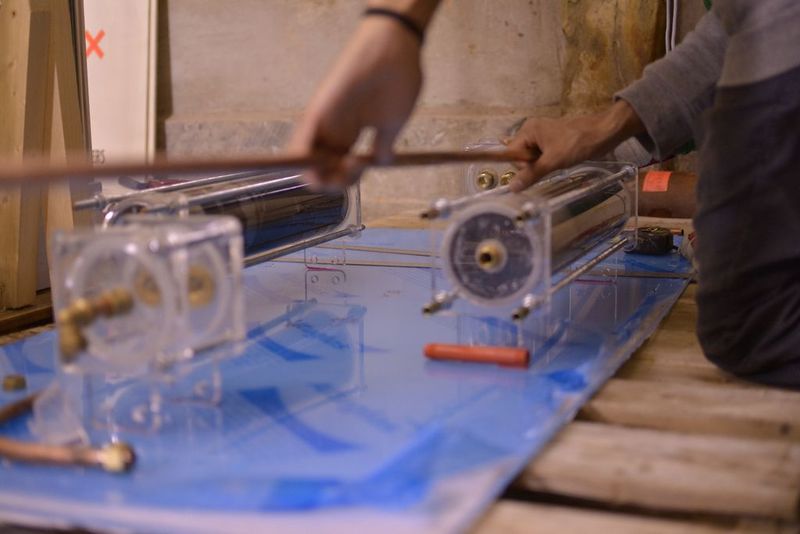
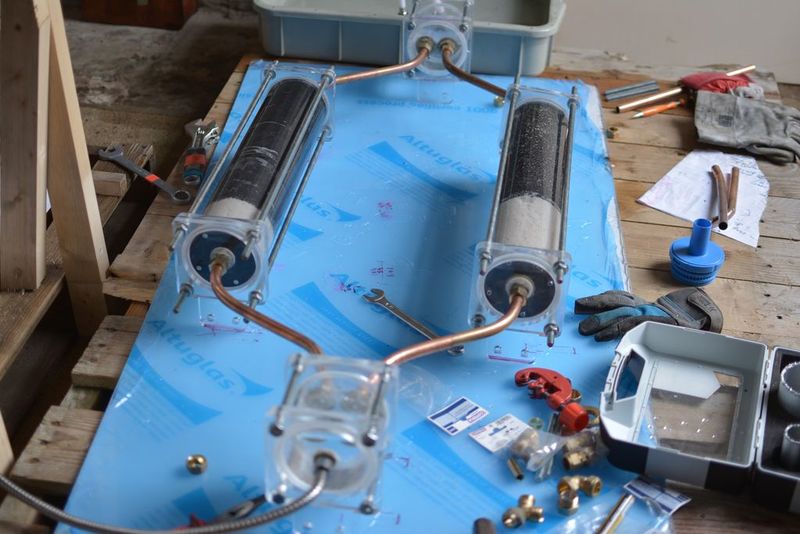
Disposez tous les composants du filtre sur une surface plane. En utilisant votre bon sens et une règle, vous pouvez réussir à tout centrer parfaitement.
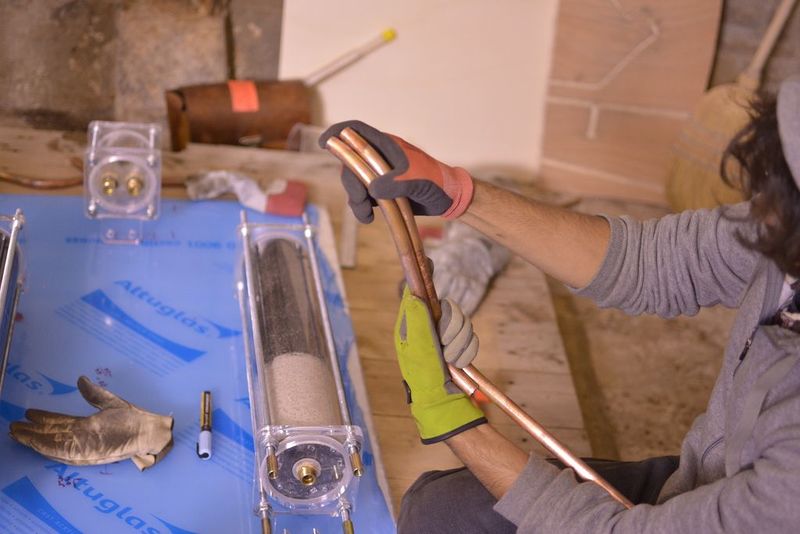
Étape 4 - Pliez le tuyau en conséquence
Once you're happy with the positions bend the pipe accordingly.
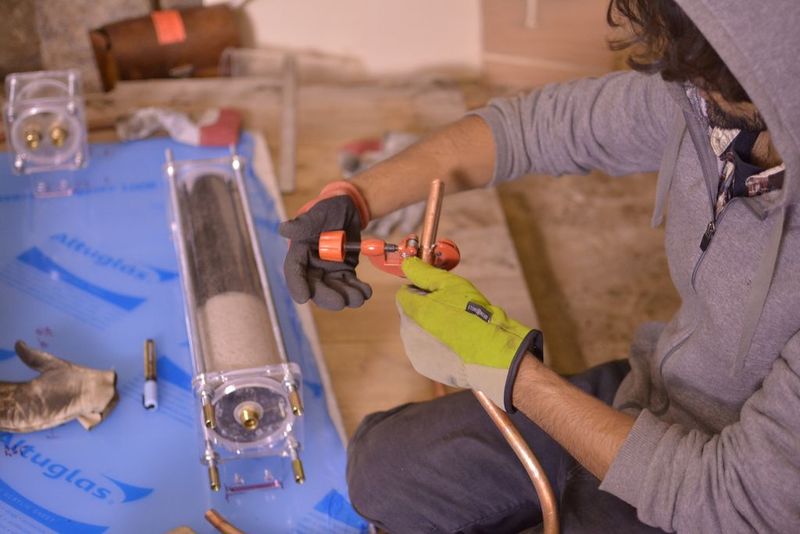
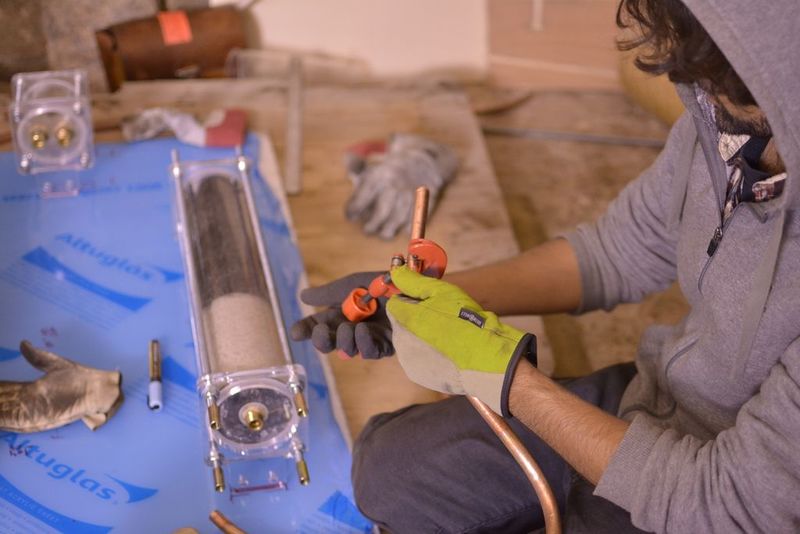
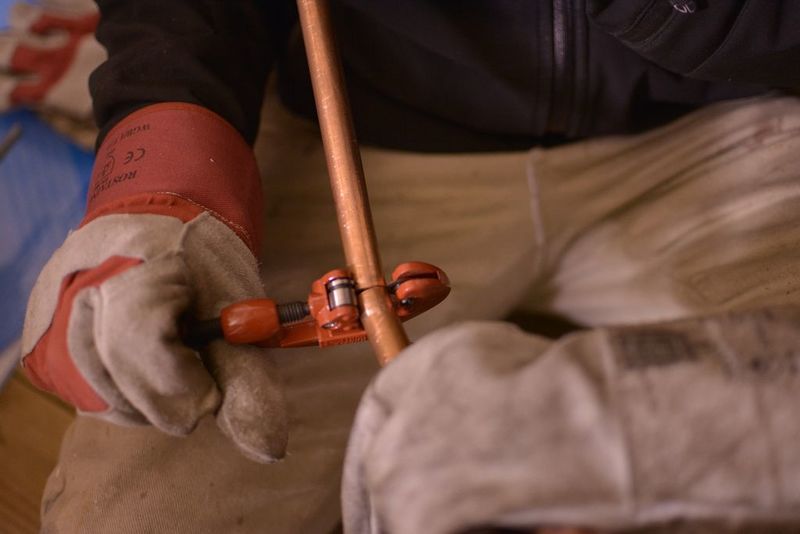
Étape 5 - Cut the pipe
To help cut the pipe you can use a pipe cutting tool but the cheap ones get dull really quickly.
Étape 6 -
Finally ready to test the filters by attaching a shower hose to the input and output of the flow regulators.
Étape 7 -
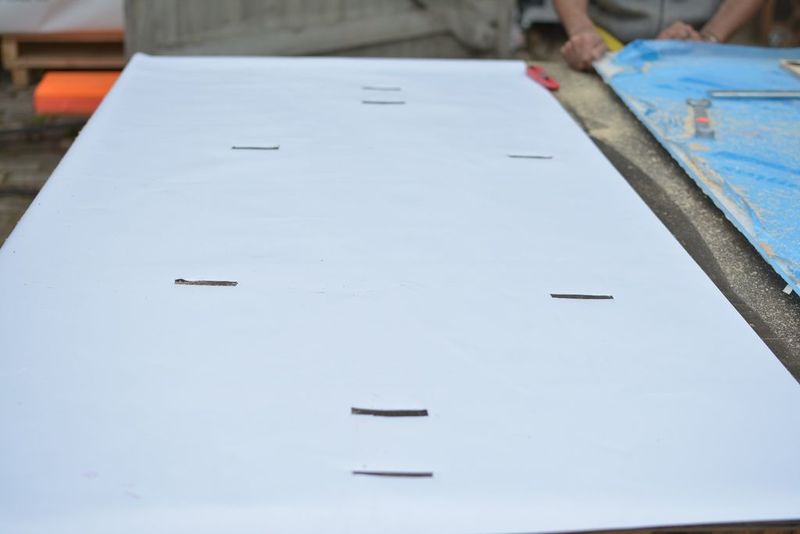
The placement of the filters was drawn onto a waterproof material and holes cut where the mount plates go through.
The mount plates can be bent by 90 degrees which would allow for the filters to be hung directly into the wall. To bend acrylic you need a special device that's basically a heated up wire that weakend specifically the bend point. Once it's warm enough you can just bend it by hand and into the shape you want (it's good to have a template that you can push up against). Let it cool and it will harden into shape. It may be prudent to space the holes in such a way that they screw in between tiles as drilling into tiles without cracking them can be tricky. If you have a basic cement wall you are good to go. Alternatively the threaded rod can be extended all the way from the ground to the roof and fastened with tension (pushing up and down) or simple legs or L-bends can be made so that they can be screwed into the roof and or floor. Or just attach the metal rods used to compress the filter directly to the wall.
Published
 Français
 English
 Deutsch
 Español
 Italiano
 Português