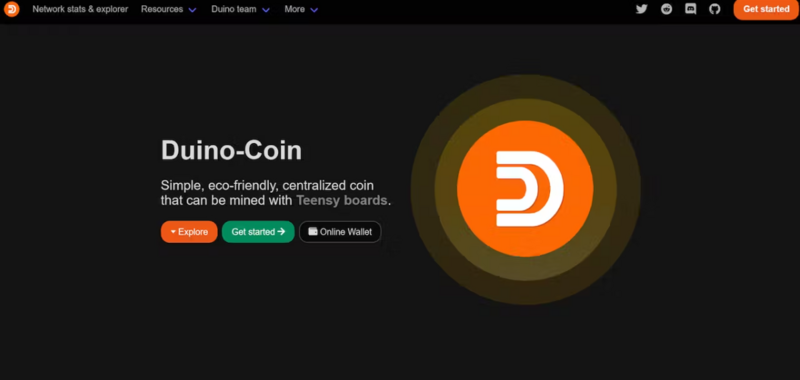
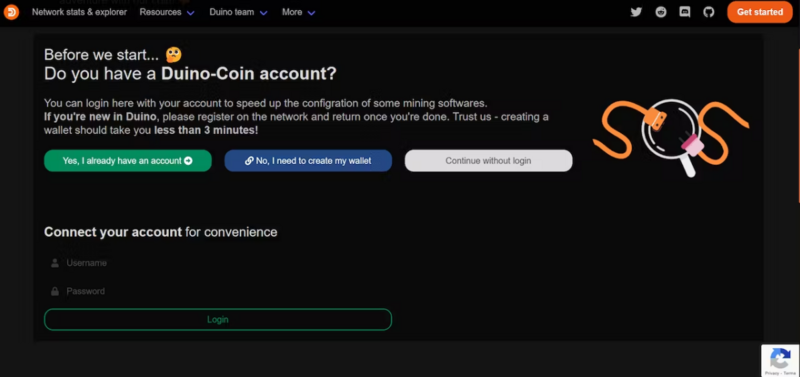
Step 1: Register an account on the Duino-Coin website and create a wallet.
You will need your username and wallet address for mining.
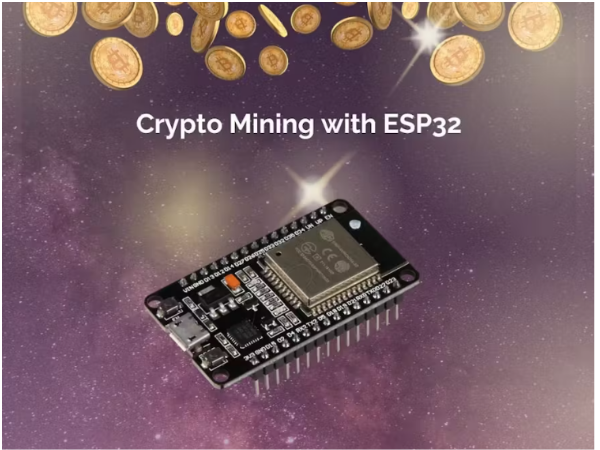
Step 2: Download and install the Arduino IDE and the ESP32 board support package. You will also need to install some libraries, such as WiFiClientSecure, ArduinoJson, and DHT (if you want to use a DHT sensor).
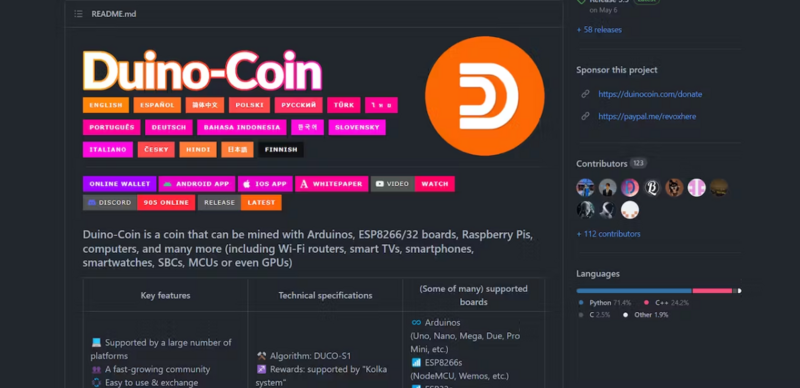
Step 3: Download the Duino-Coin ESP32 code from GitHub
and open it in the Arduino IDE.
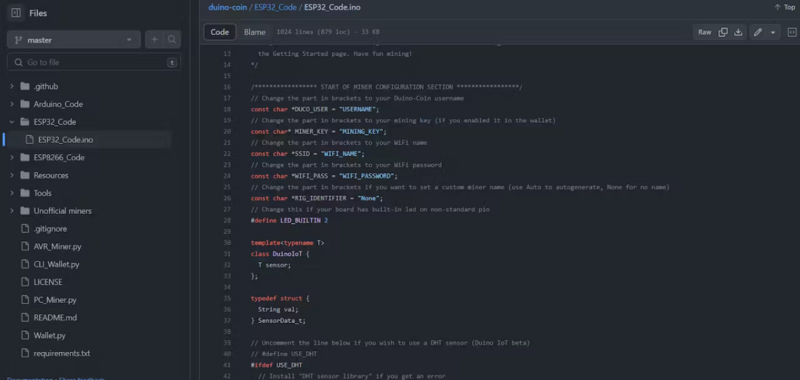
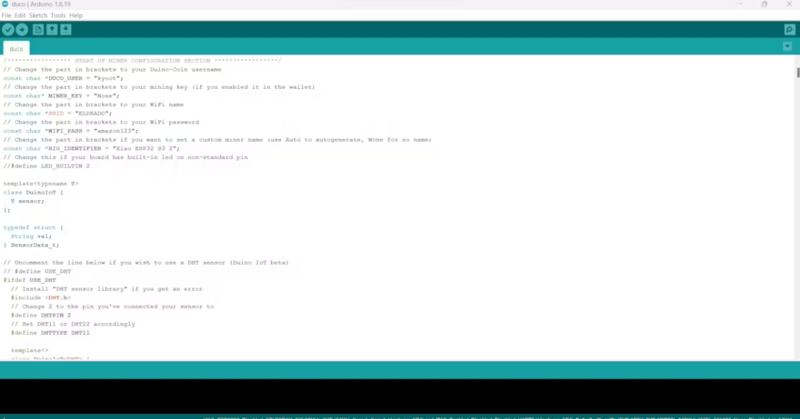
Edit the code to enter your Wi-Fi name, password, username, and mining key (if you enabled it in the wallet). You can also change the rig identifier and the LED pin if you want.
Step 4: Connect your ESP32 board to your computer via a USB cable and select the correct port and board settings in the Arduino IDE.
Upload the code to your ESP32 board and wait for it to connect to the Duino-Coin server.
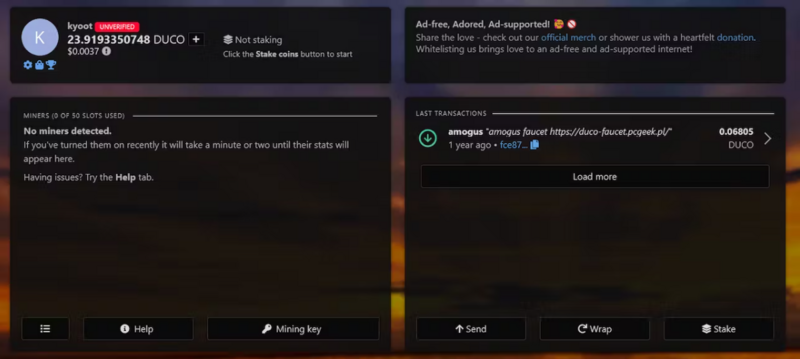
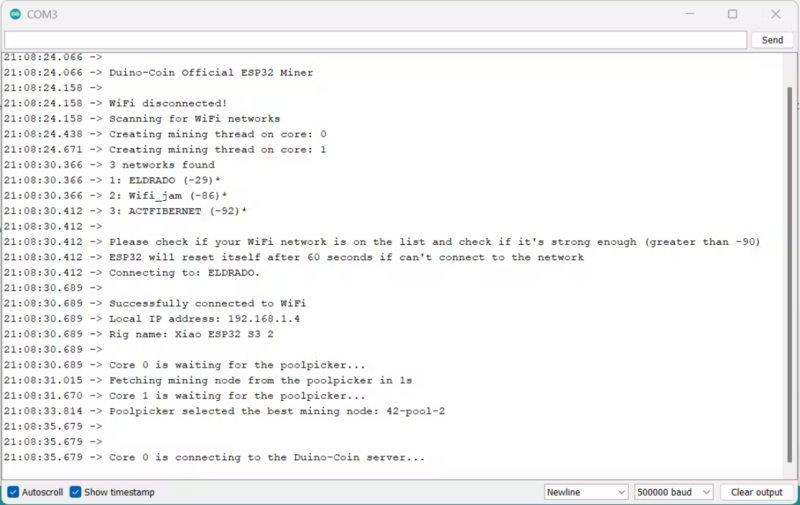
Step 5: You can monitor your mining status and earnings on the Duino-Coin web wallet or the mobile app. You can also use the serial monitor in the Arduino IDE to see the debug messages from your ESP32 board.
That’s it! You are now mining Duco coin with your ESP32 board. You can also use multiple ESP32 boards or other devices, such as Arduino, Raspberry Pi, or PC, to increase your hash rate and earnings. However, be aware of the Kolka system, which adjusts the mining difficulty and rewards based on your device’s performance and network conditions.

 Français
 English
 Deutsch
 Español
 Italiano
 Português