(Page créée avec « To make it works: Hold the back wheel still. Spin the front wheel clockwise, few turns are enough but don't turn more than 20 times(check the tape on the spring). If you c... ») |
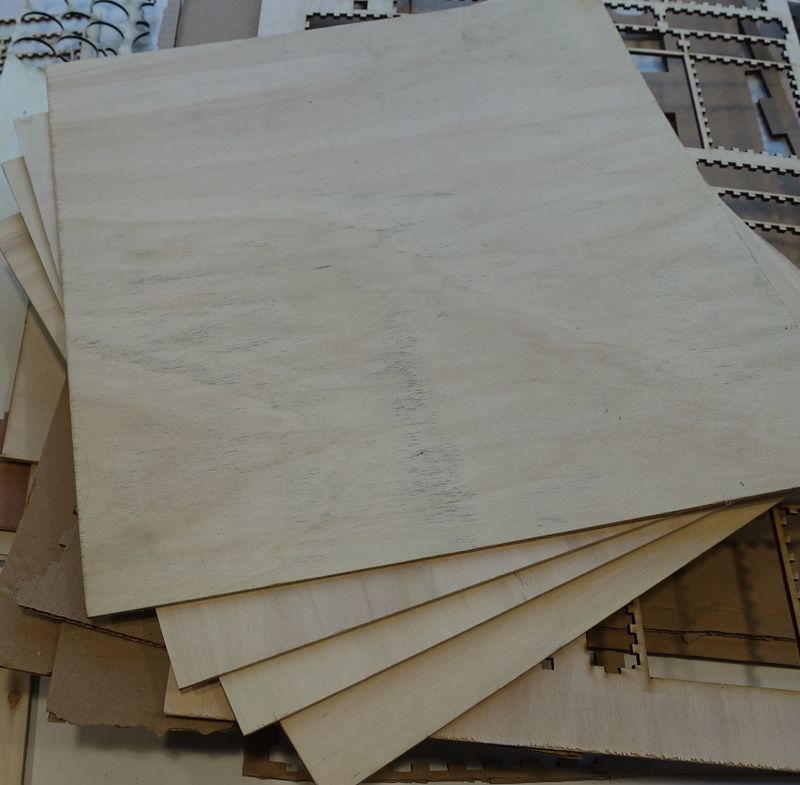
(Page créée avec « Check out the perfect scrap parts ») |
||
| Ligne 285 : | Ligne 285 : | ||
|Step_Picture_01=Sculpture_Kinétique_à_effet_Moiré_DSC05921.jpg | |Step_Picture_01=Sculpture_Kinétique_à_effet_Moiré_DSC05921.jpg | ||
|Step_Picture_02=Sculpture_Kinétique_à_effet_Moiré_DSC05922.jpg | |Step_Picture_02=Sculpture_Kinétique_à_effet_Moiré_DSC05922.jpg | ||
| − | |Step_Title= | + | |Step_Title=Check out the perfect scrap parts |
|Step_Content=Les chutes de bois principales ont été personnalisé pour avoir des côtés de même longueur et peuvent donc être fixé les unes aux autres pour créer des formes, les possibilités sont Infini. | |Step_Content=Les chutes de bois principales ont été personnalisé pour avoir des côtés de même longueur et peuvent donc être fixé les unes aux autres pour créer des formes, les possibilités sont Infini. | ||
Version du 5 janvier 2018 à 13:18
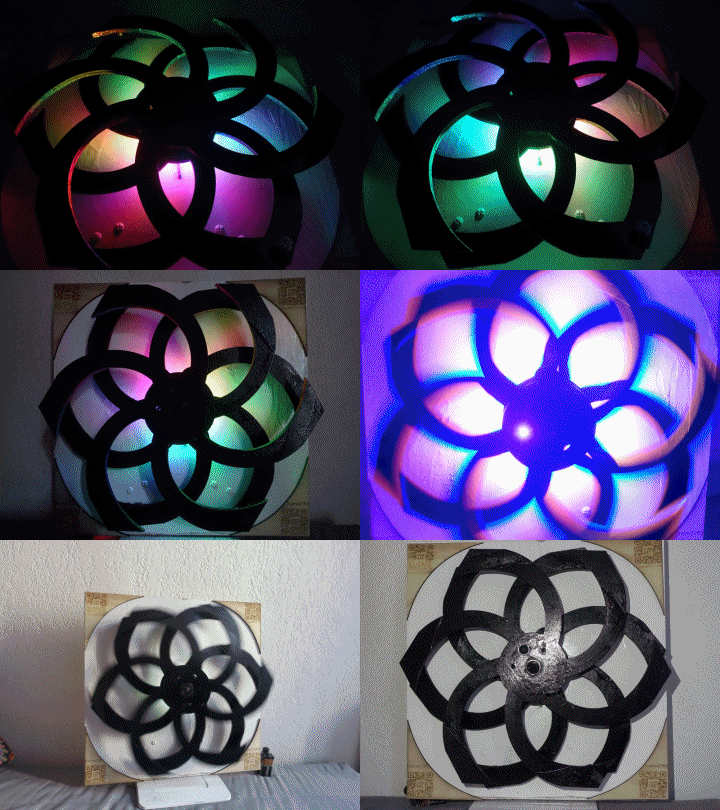
It does run for more than 30 minutes on a single full winding, isn't it spectacular?
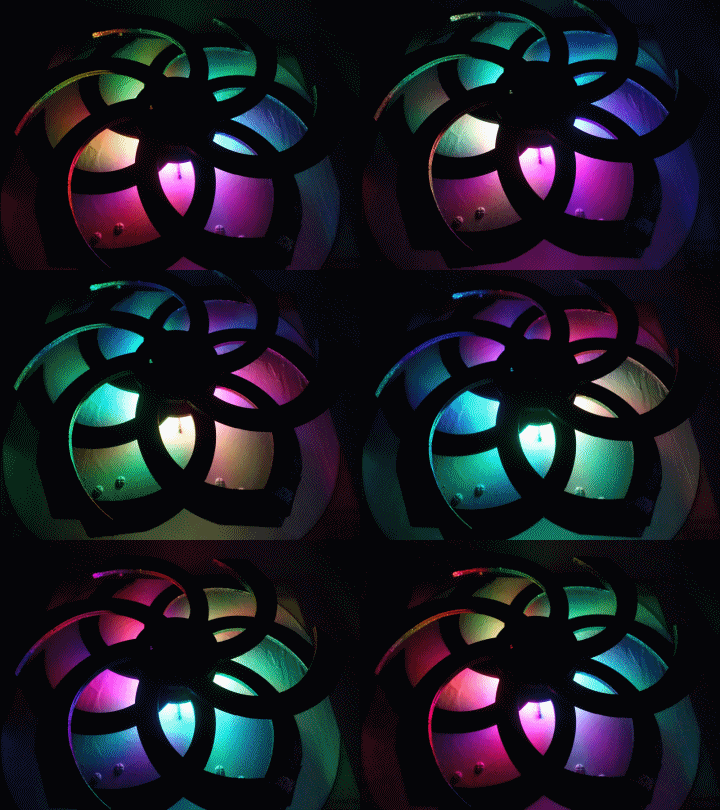
In addition: a fully RGB ambient lighting. The wheels run only with the force of a spring, no motors!Sommaire
- 1 Introduction
- 2 Video d'introduction
- 3 Étape 1 - Cut the plywood with the laser cutter
- 4 Étape 2 - Glue the different pieces
- 5 Étape 3 - Paint the wheels and the support
- 6 Étape 4 - Clean and Optimise your bearings
- 7 Étape 5 - Place the bearings.
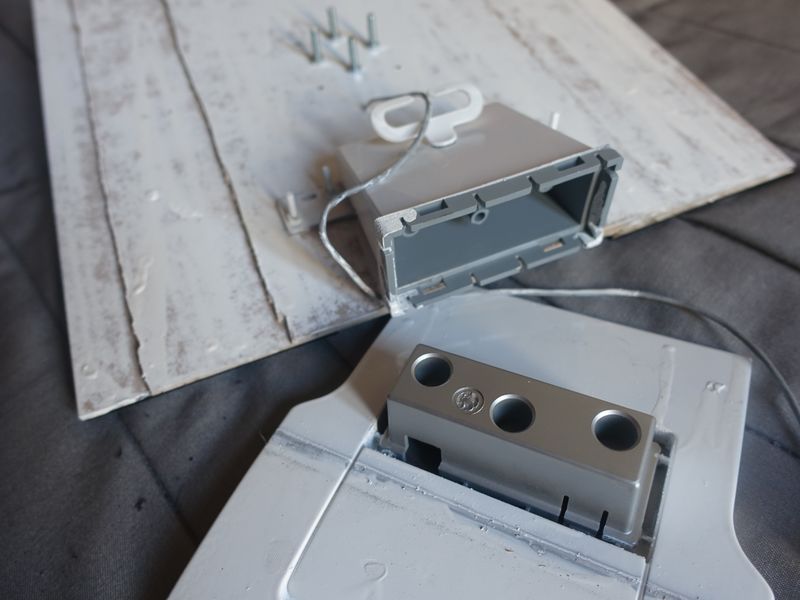
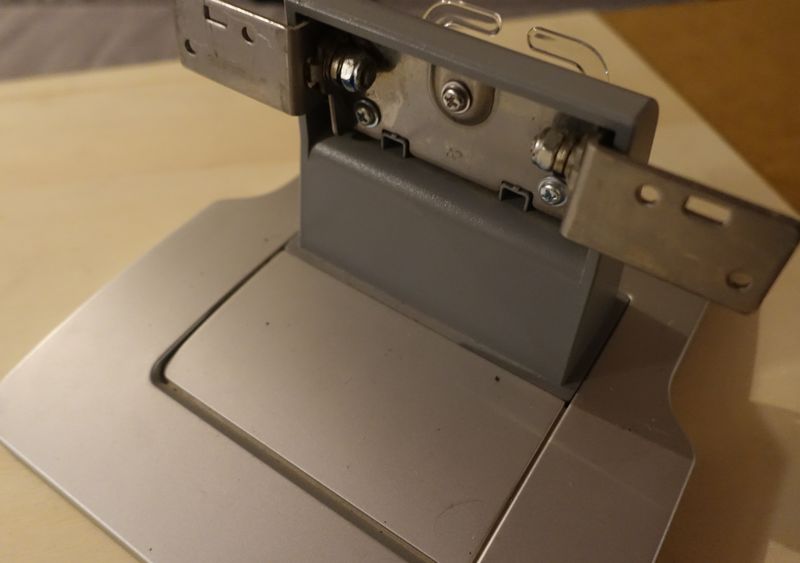
- 8 Étape 6 - Build a support to fix the sculpture
- 9 Étape 7 - Fix the pawls
- 10 Étape 8 - Place the Spring and fix the external pulley
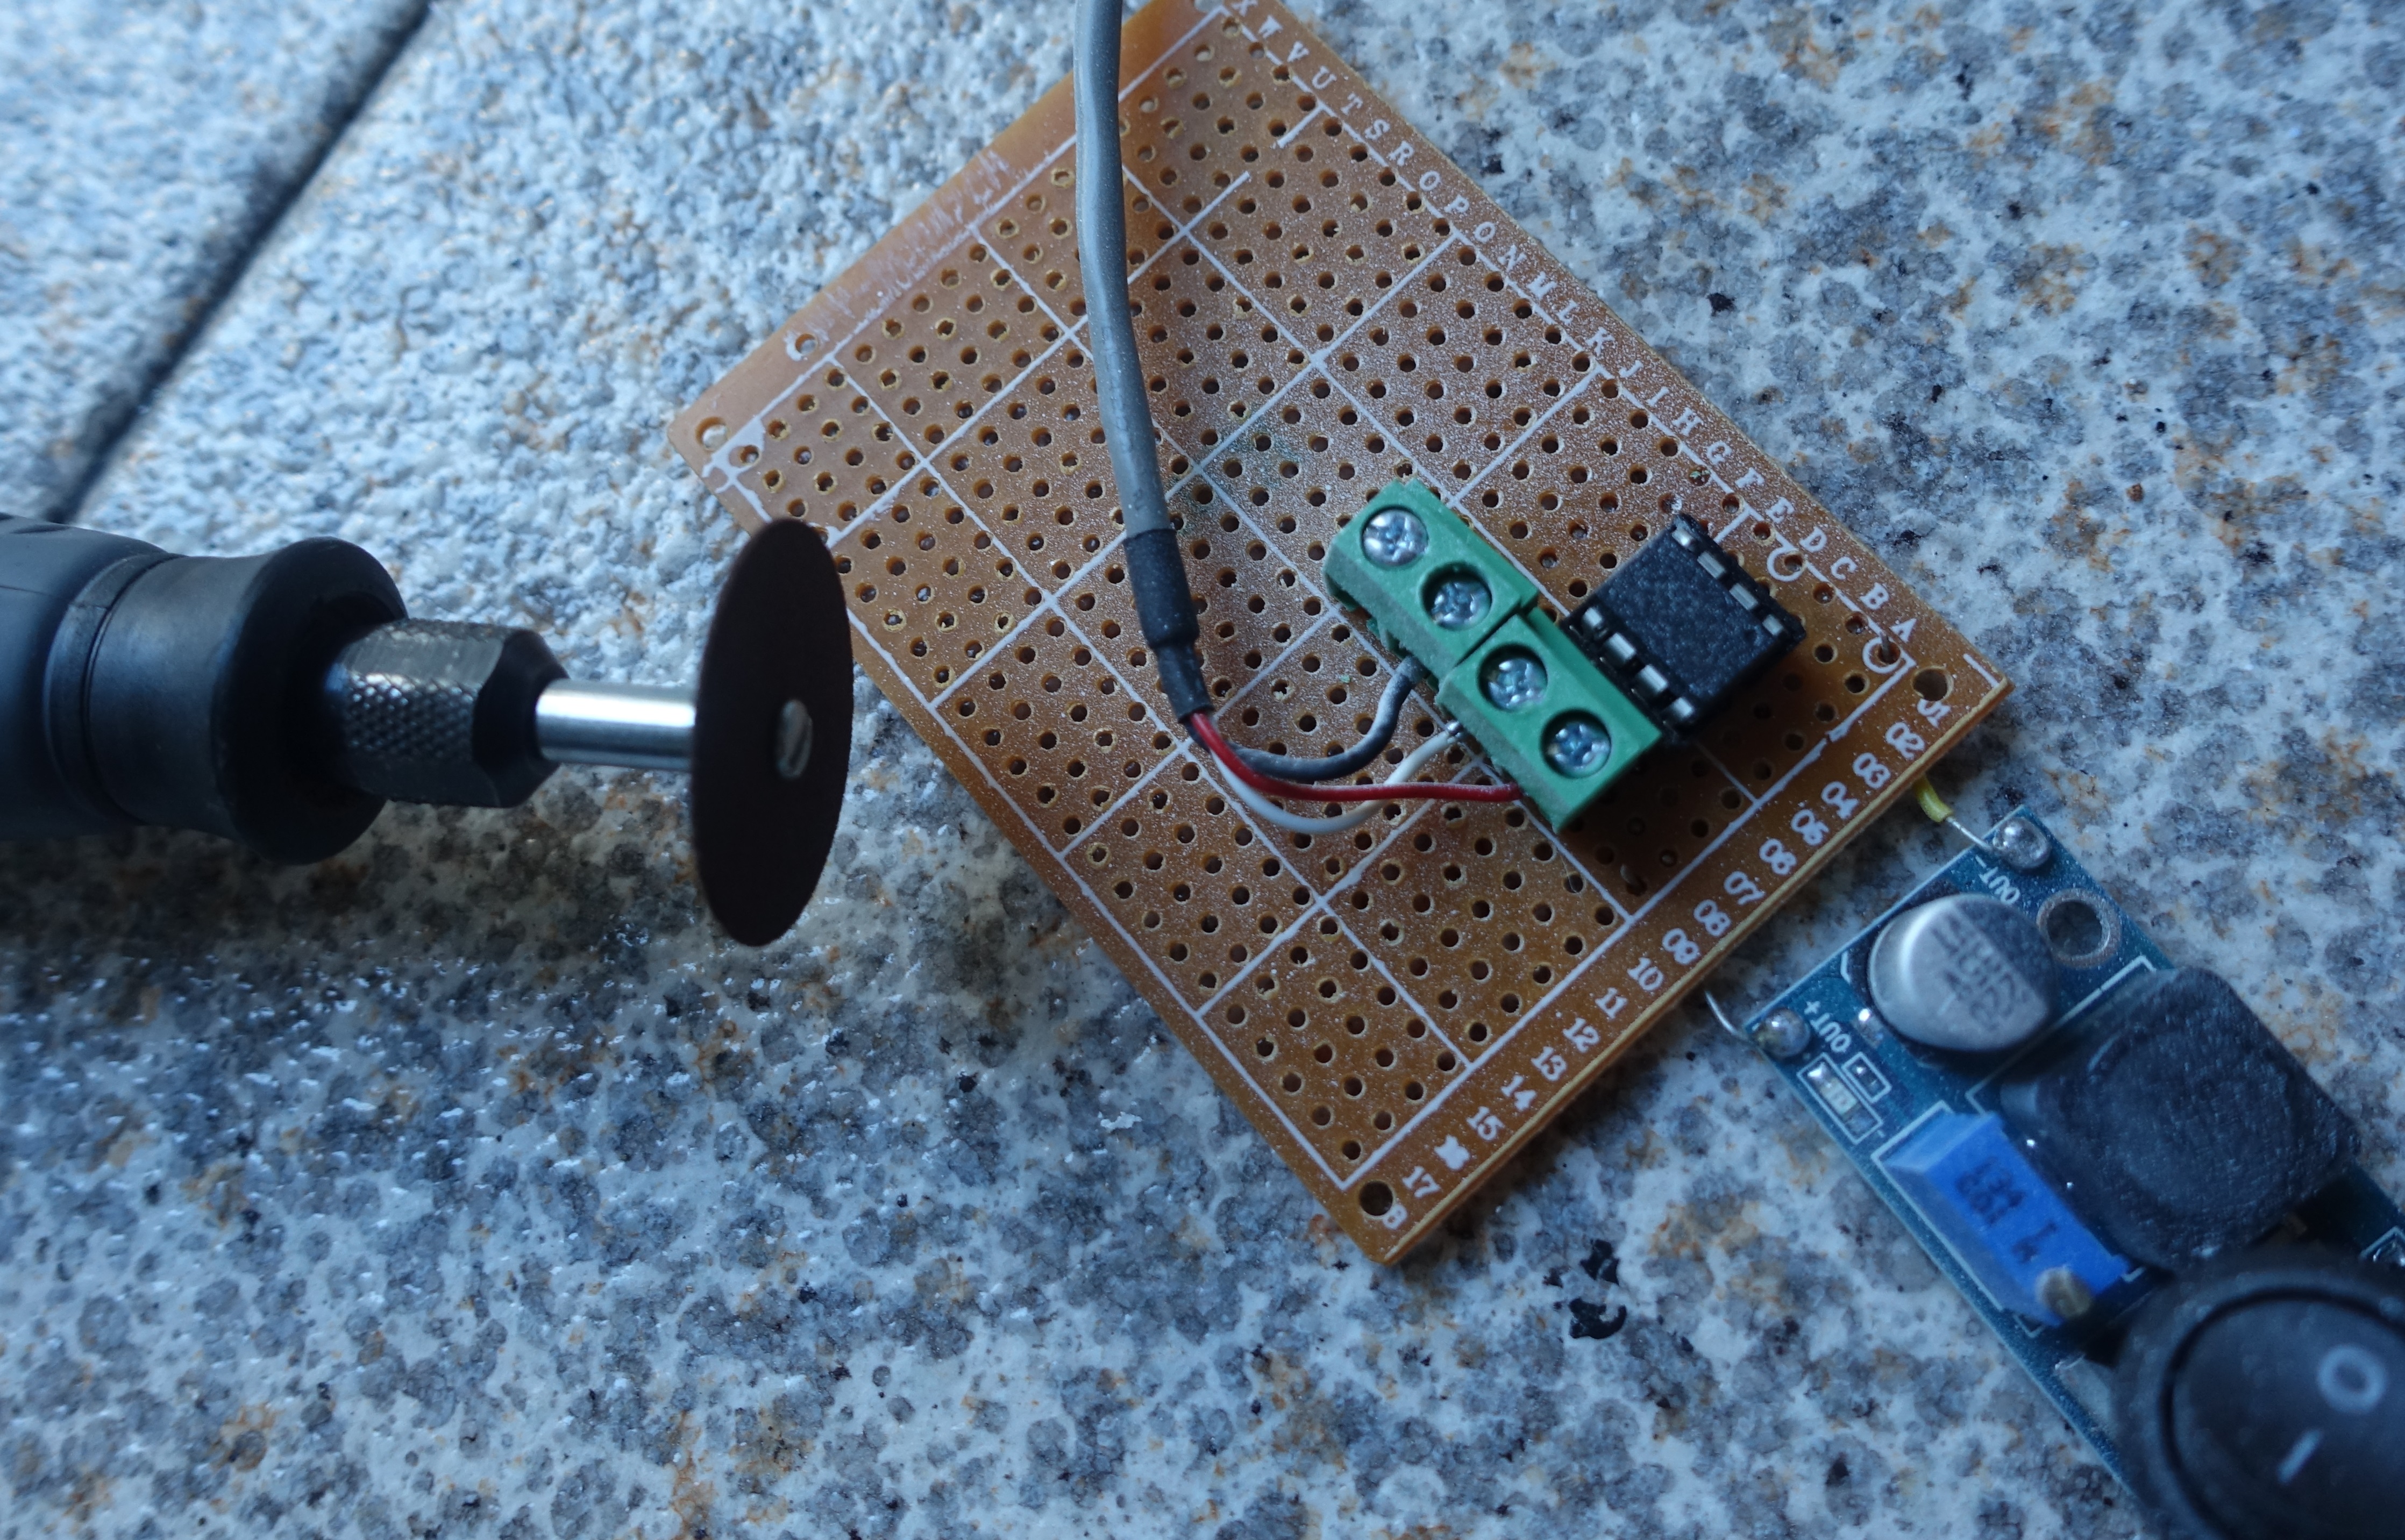
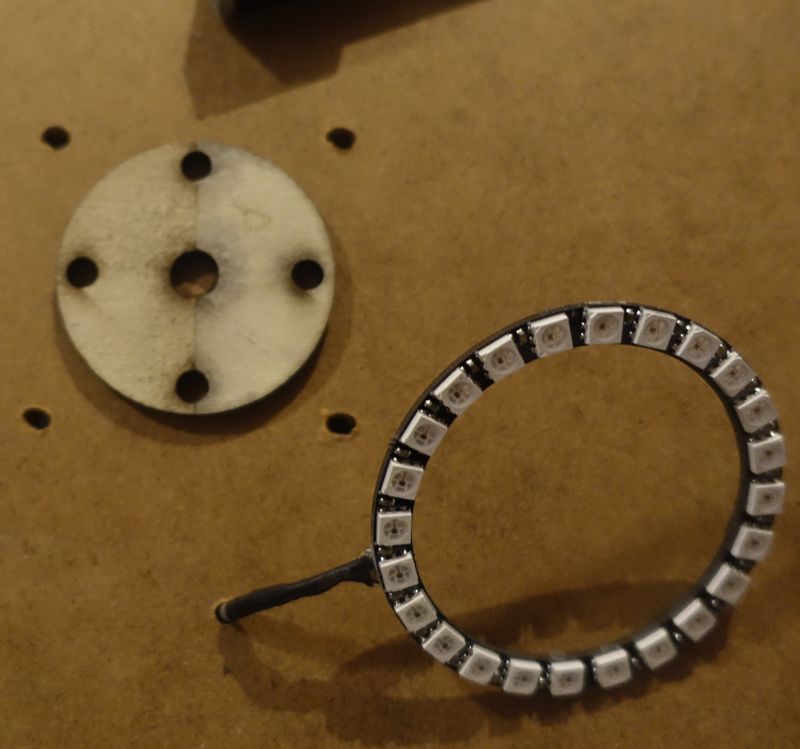
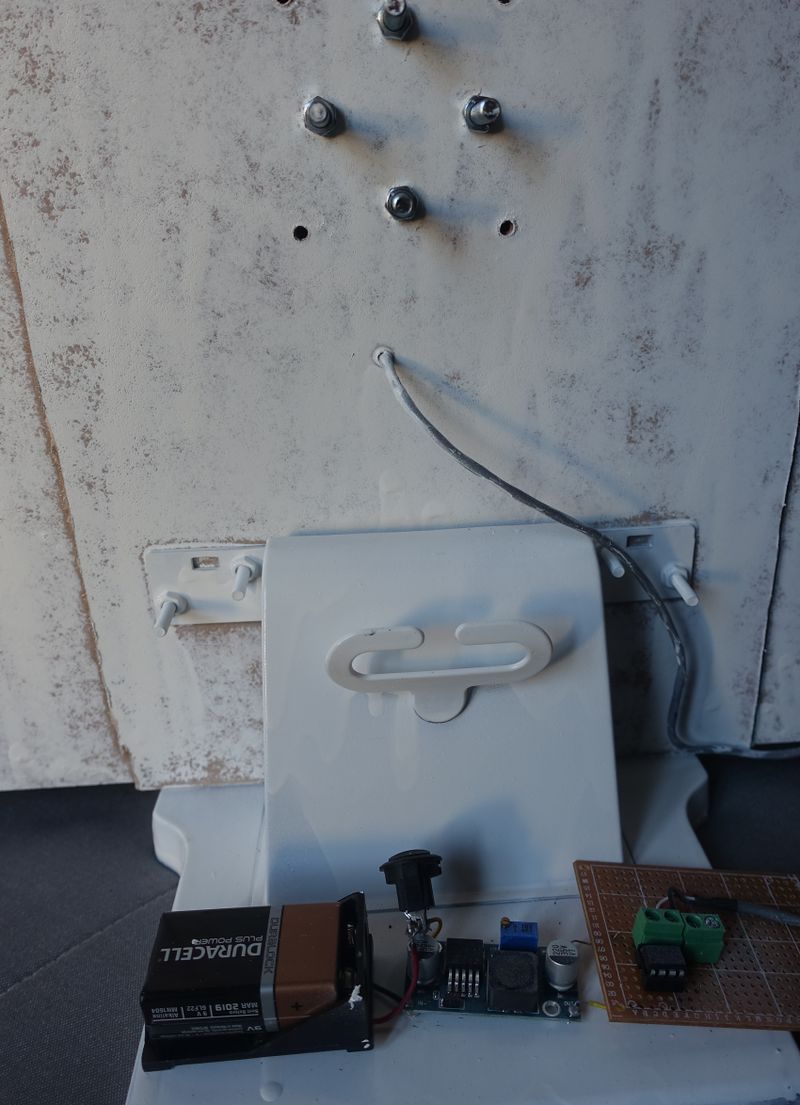
- 11 Étape 9 - Make the Arduino circuit to control the LEDs
- 12 Étape 10 - Adjust the weights on the wheels
- 13 Étape 11 - Align everything in the right order
- 14 Étape 12 - Fix the spring to the centered pulley
- 15 Étape 13 - Watch and Enjoy
- 16 Étape 14 - Check out the perfect scrap parts
- 17 Étape 15 - Maintenance
- 18 Commentaires
Introduction
Greeting to you Maker !
Are you curious? Do you like interior decorations that animate and create a beautiful visual show and yet you don't know how to make a Kinetic Sculpture? Then this tutorial is for you :)
If you want to watch what the final result looks like: I made a Youtube Playlist.'
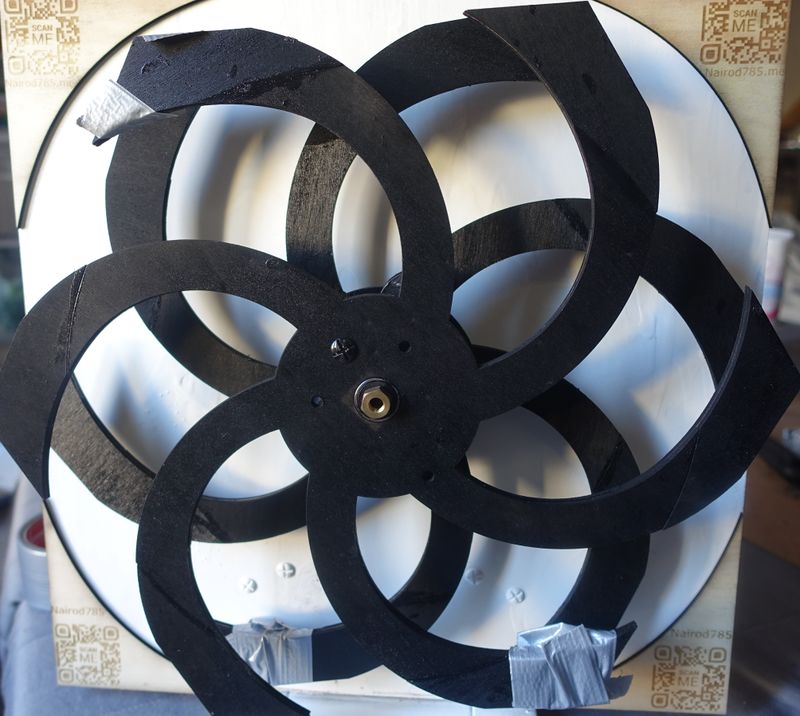
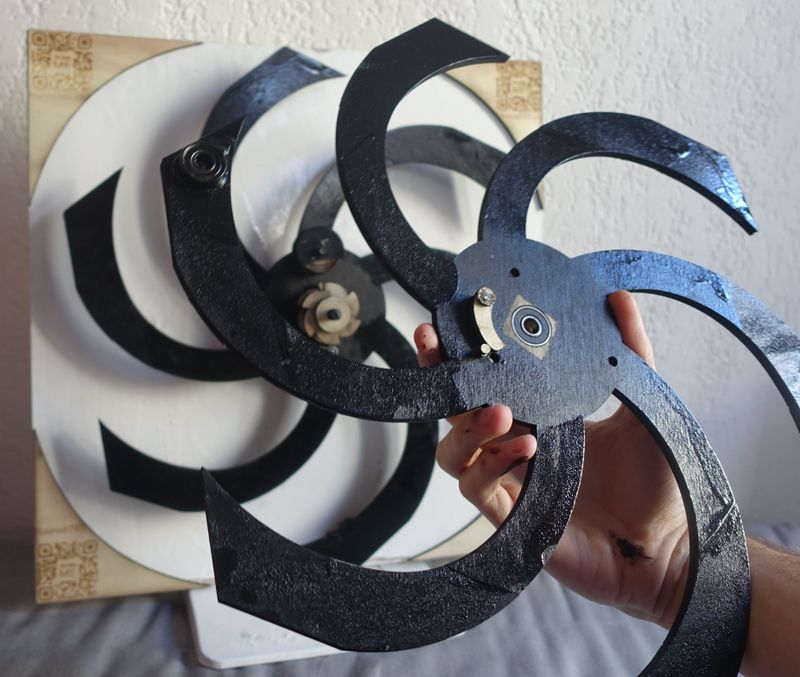
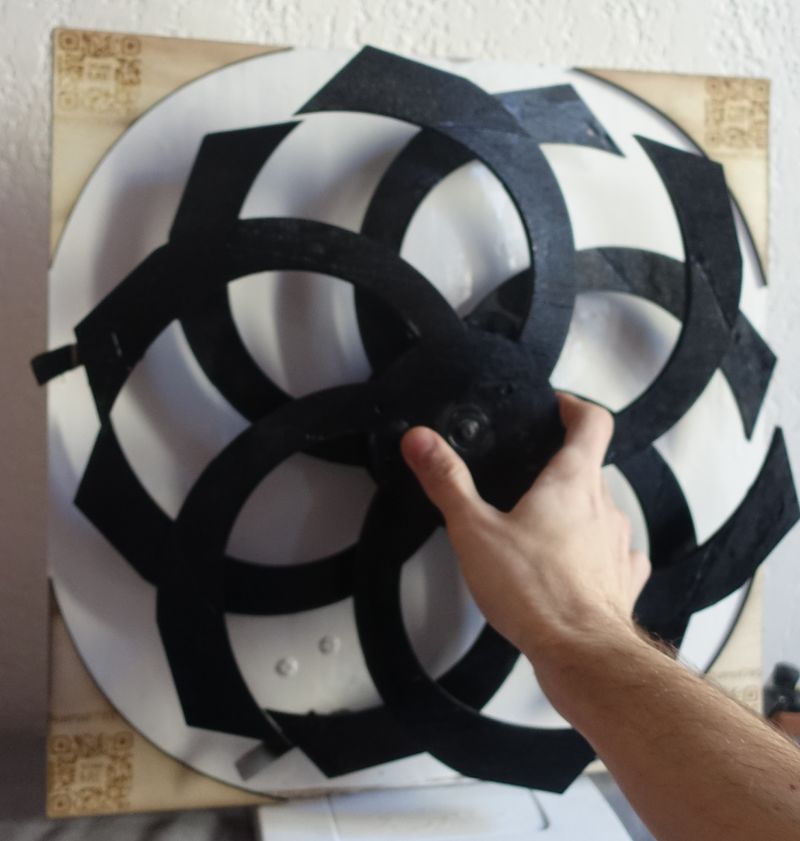
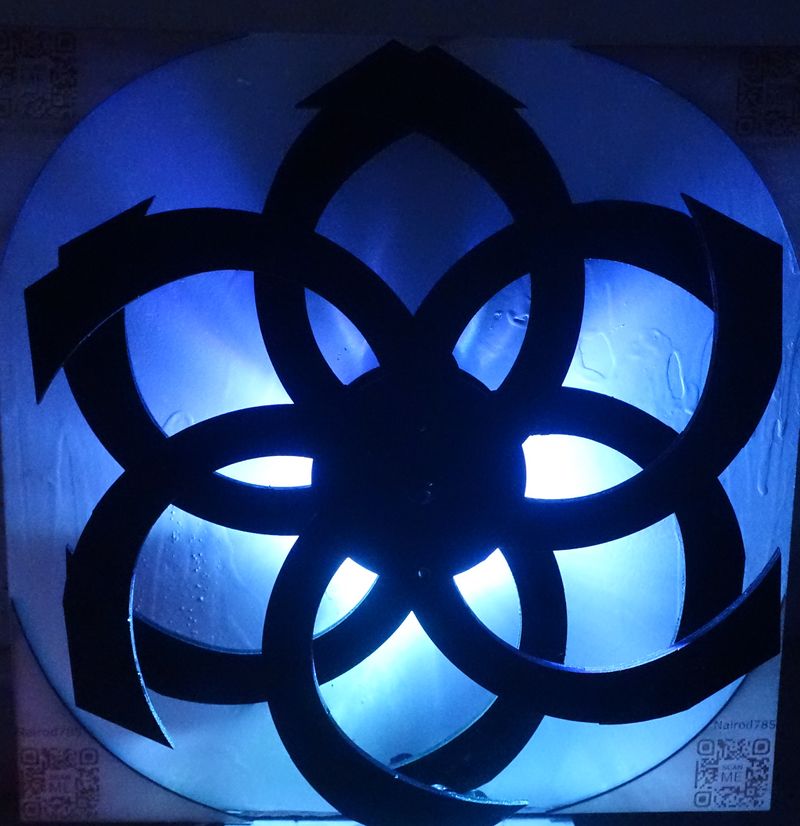
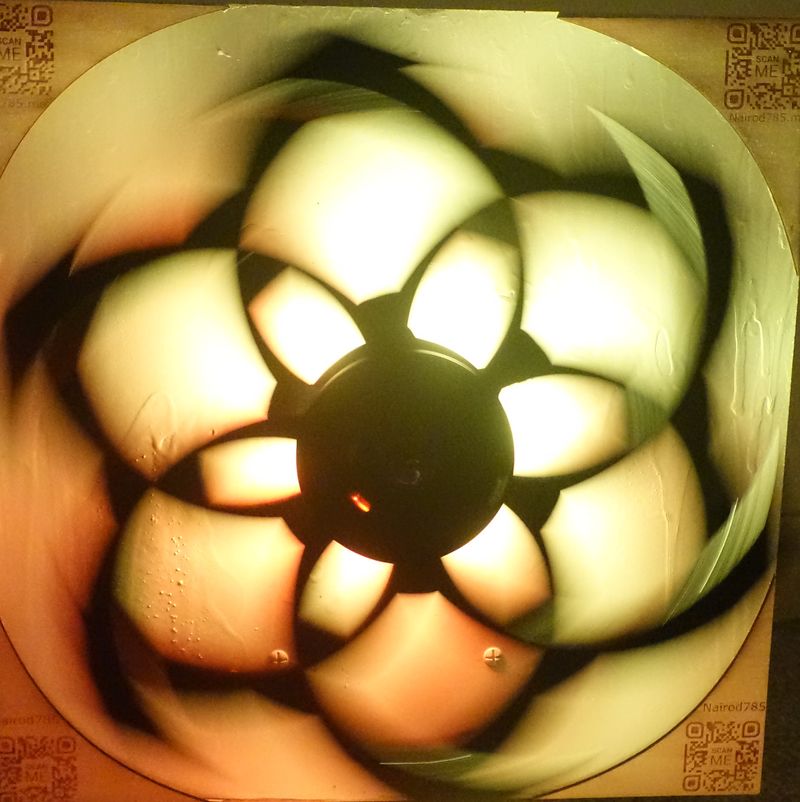
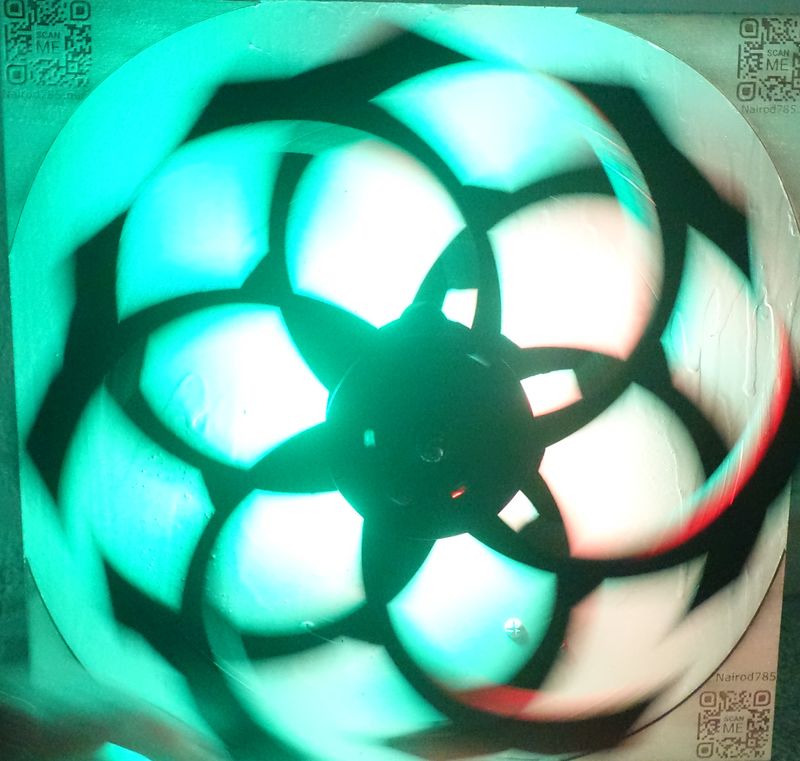
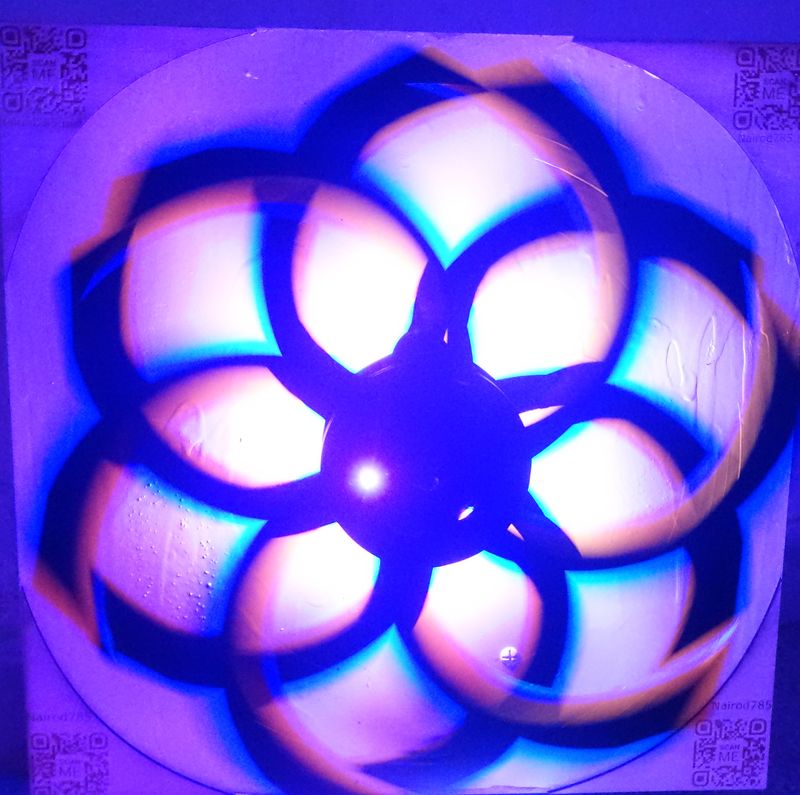
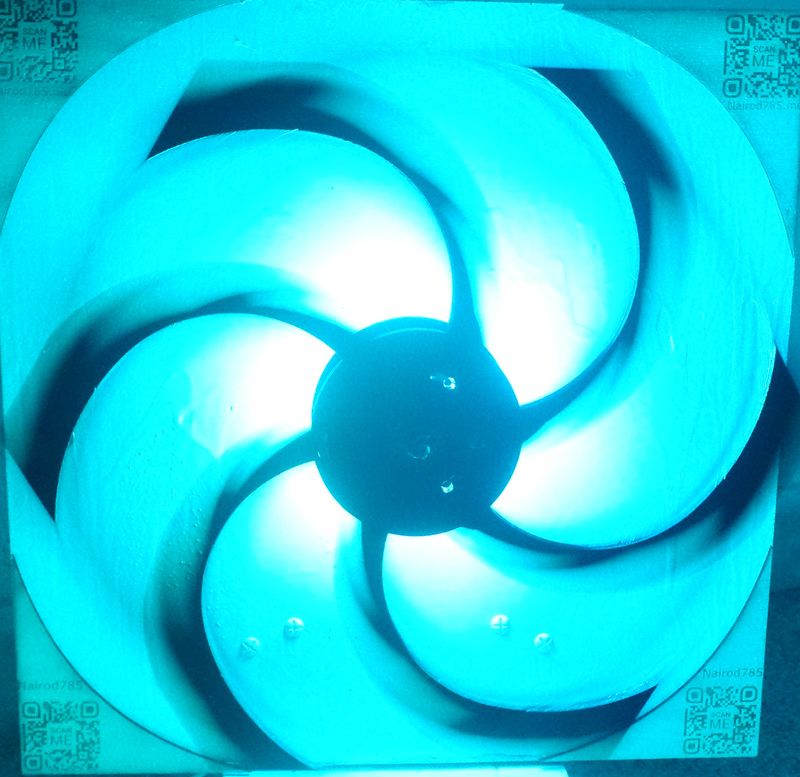
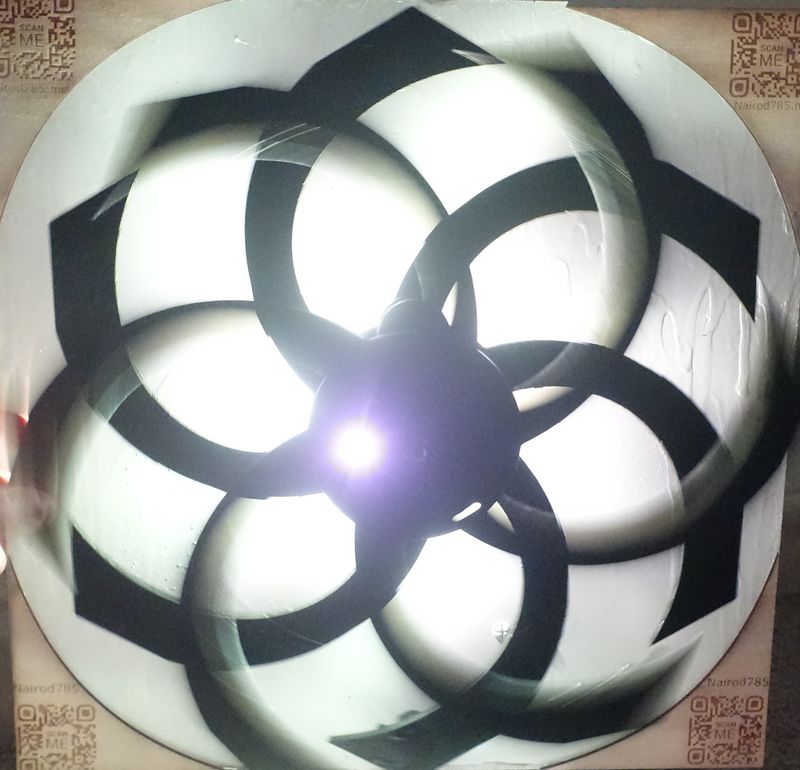
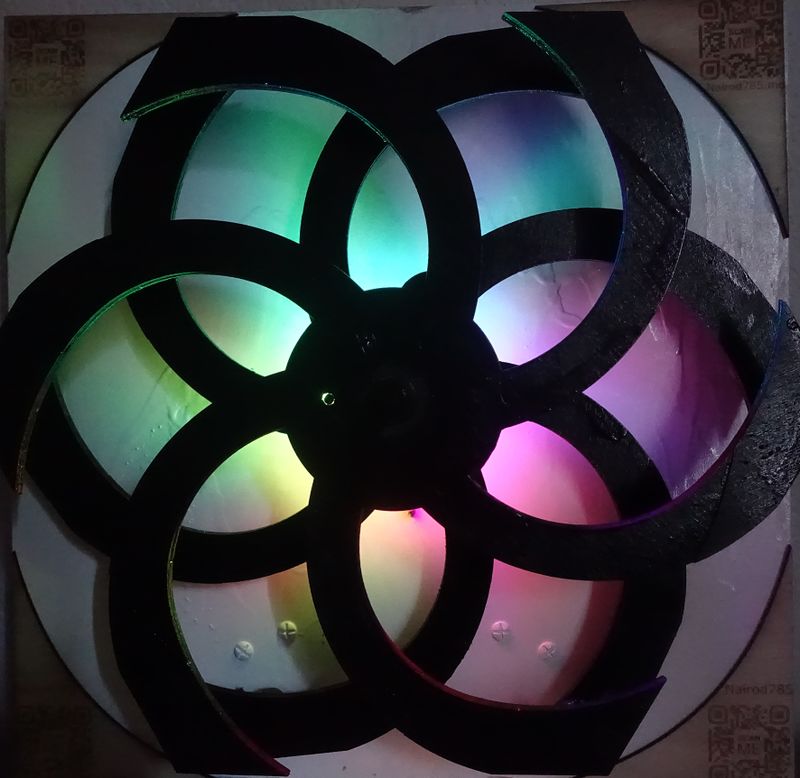
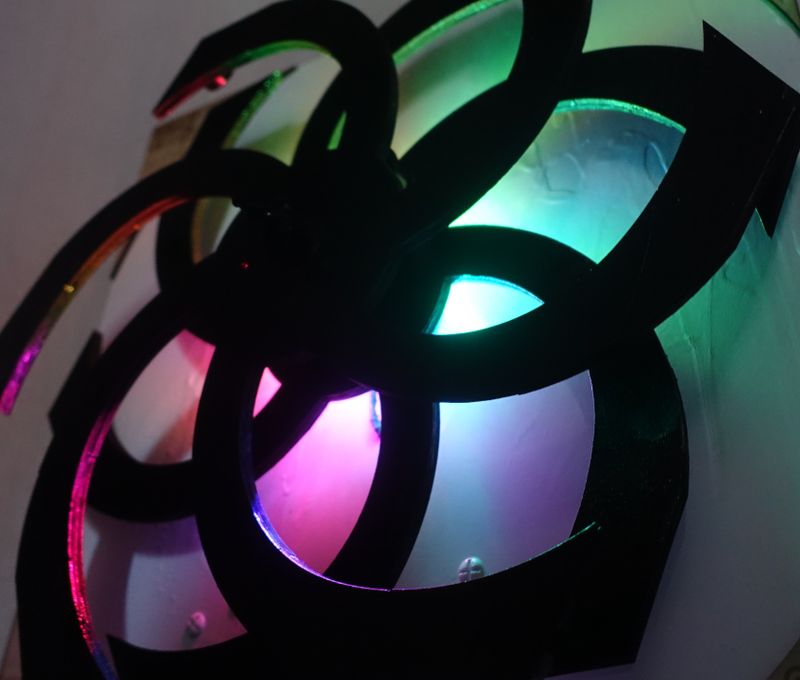
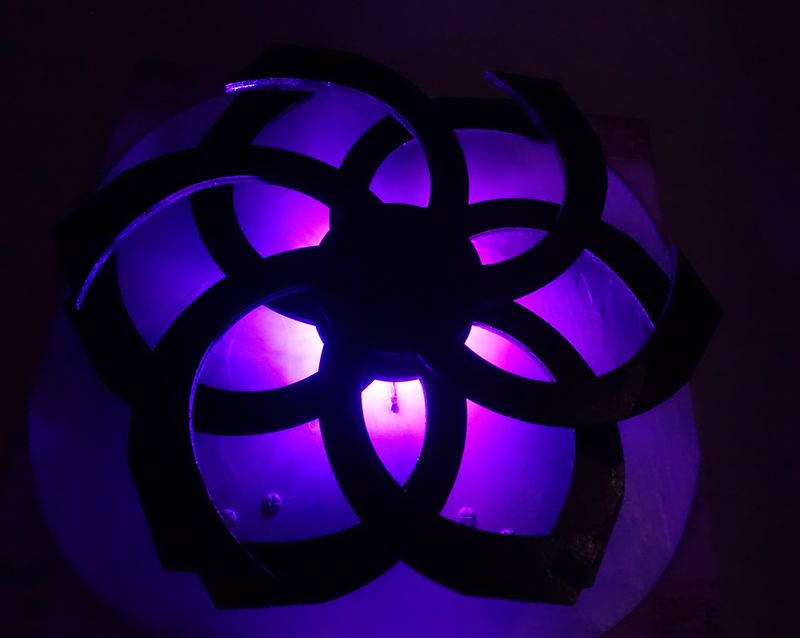
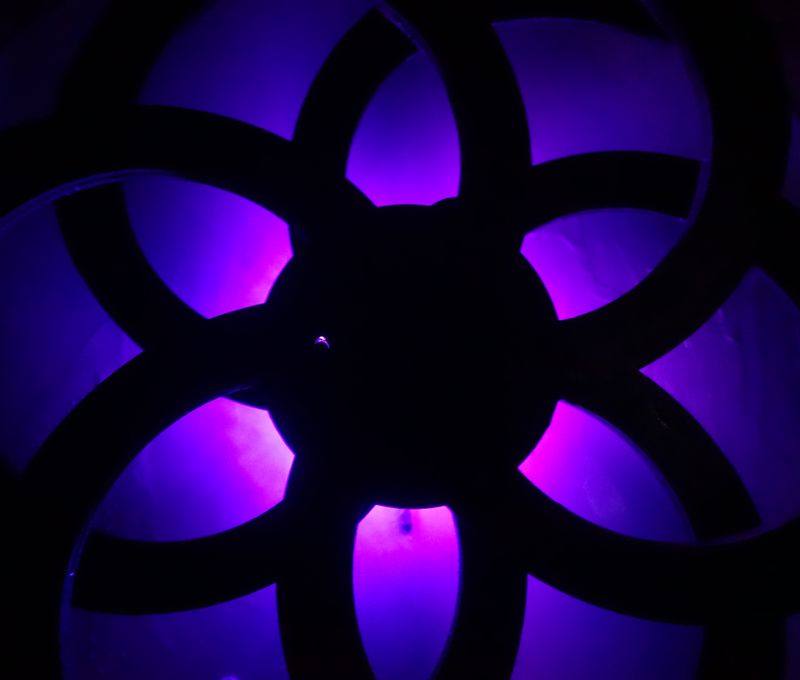
This Spinning Kinetic Sculpture RGB is a sculpture you can fix on a wall or on a support. It is made of 2 main identical wheels that spin in opposite direction, which is creating constructive and destructive visual interferences, it is called the phenomenon of Moiré.
The concept is purely kinetic (spring), it allows the wheels to spin at different and irregular speeds but most importantly to run for a long time (+30minutes). After you rewind the mechanism the wheels start to spin in opposite direction. As soon as the gravity makes the front wheel reverse its spinning direction and pushes some pawls in the system, the 2 wheels are pushed and start to spin again. This is happening until the spring is fully unwinded. If properly optimised and by reducing the friction, it is possible to get a runtime of more than an hour!
I got my inspiration from pre-existing kinetic sculptures, but I decided to make my own design and my own version of the mechanism which is the crucial point of the sculpture.
Until the day, I tried, made, changed and improved my design and finally made a fresh new version by accumulating all my efforts and previous trials. The result is a fully working Kinetic Sculpture that costs almost nothing and more importantly: the size of the mechanism is twice smaller than other documented kinetic sculpture online!
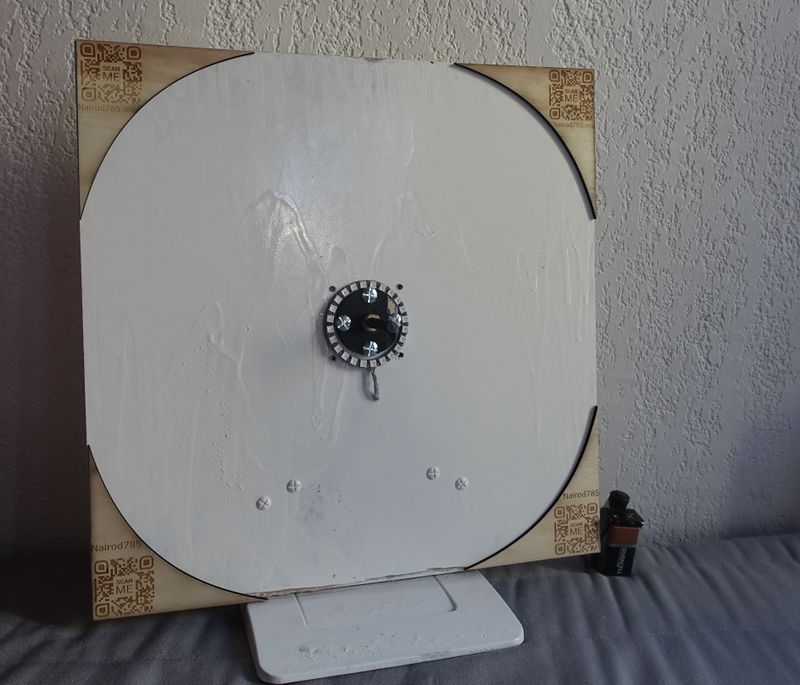
You can also fix it to a support like a mounting base of a screen which will allow you to move it around but a wall will give you a far better looking result.
The center of gravity of the wheel is placed so it acts like a pendulum. The radius of the pendulum plays a major role in the total runtime of the sculpture.
It can look complex on the first sight but if you look more closely at each step you will see that it is fairly easy :). It is also very instructive because you start to understand that every piece plays a major role in the running of the sculpture. You end up with an almost magical piece of art that creates spectacular effects!
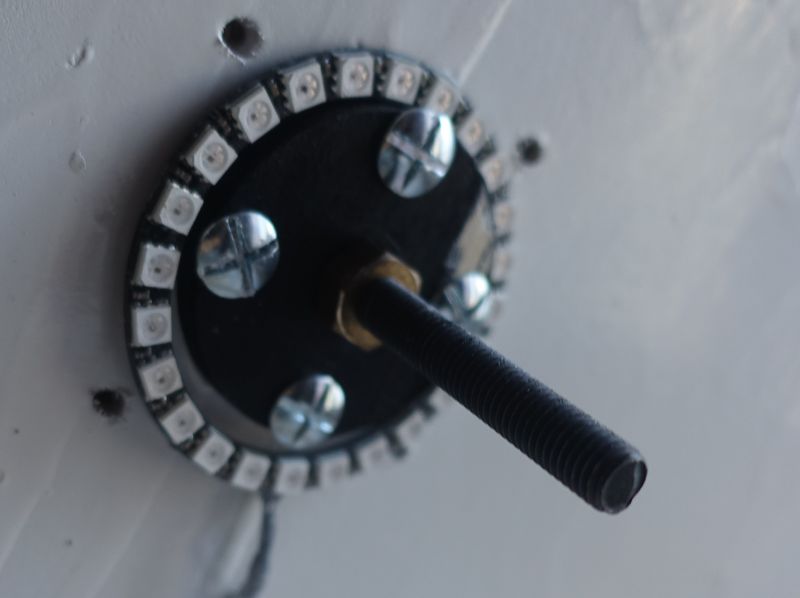
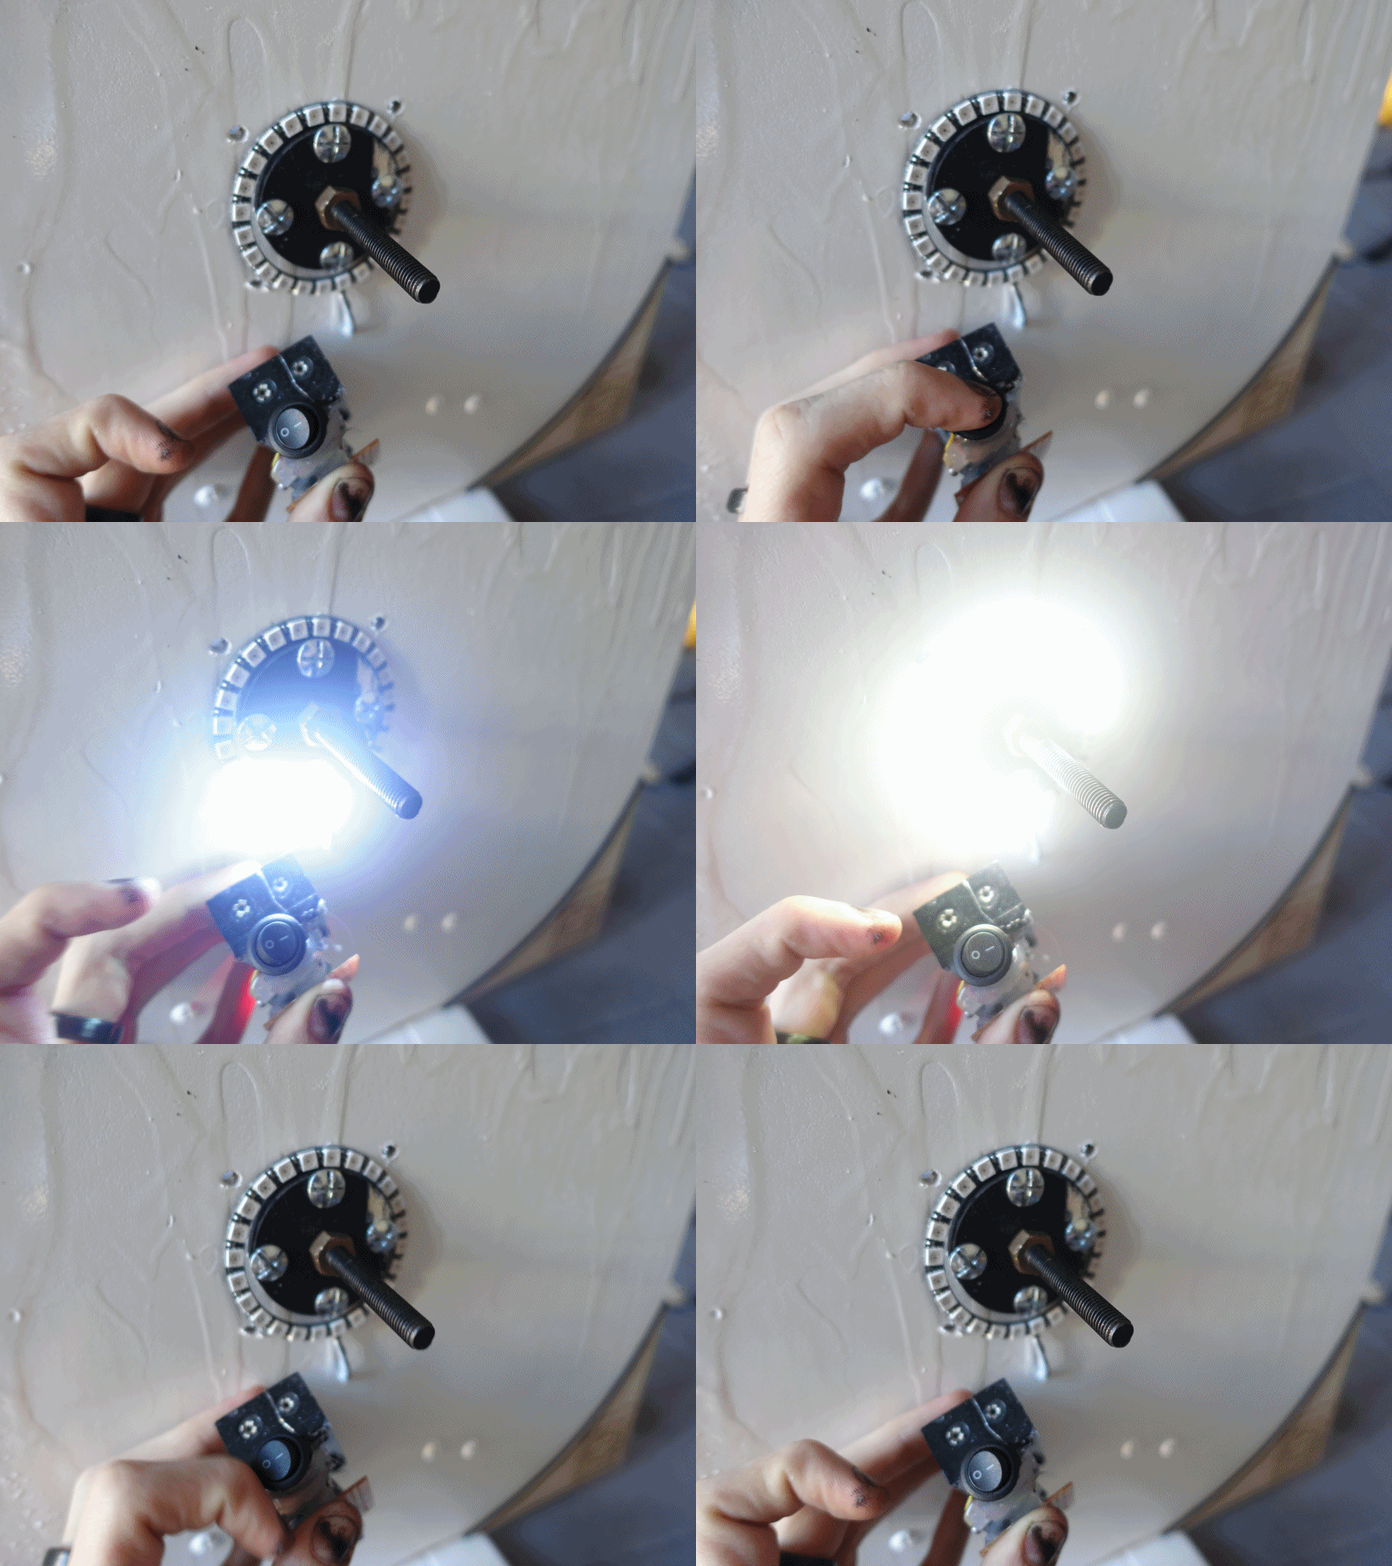
You can complete the sculpture with an RGB LED Ring connected to an Arduino, an ON/OFF switch and a battery so it looks even more amazing. Please note that only the LEDs need an electrical source of energy :)
You can choose to not use the LEDs, it's up to you. You're only limited by your own imagination.
Understanding the mechanism doesn't seem easy at first sight but that's exactly why I documented everything and wrote this tutorial with plenty of pictures and videos. What was a pain in the ass for me is going to be very easy for you. Isn't it why Internet exist? :)
CC BY-NC-SA 4.0
Matériaux
Total cost estimated under 50$. You will need:
- 1x Constant Force Spring A 3X51-20005 or A 3X51-20006 - $18.32 15.50€ PDF & Catalogue
- 5x - 608 Bearings - 3€ Shop Français & Aliexpress
- 4x - 305x305mm Contreplaqué/Acrylic/Plywood 3mm - 7.5€ JR-Contreplaque
- 1x M8 Bolt 60mm with 1 or 2 nut M8
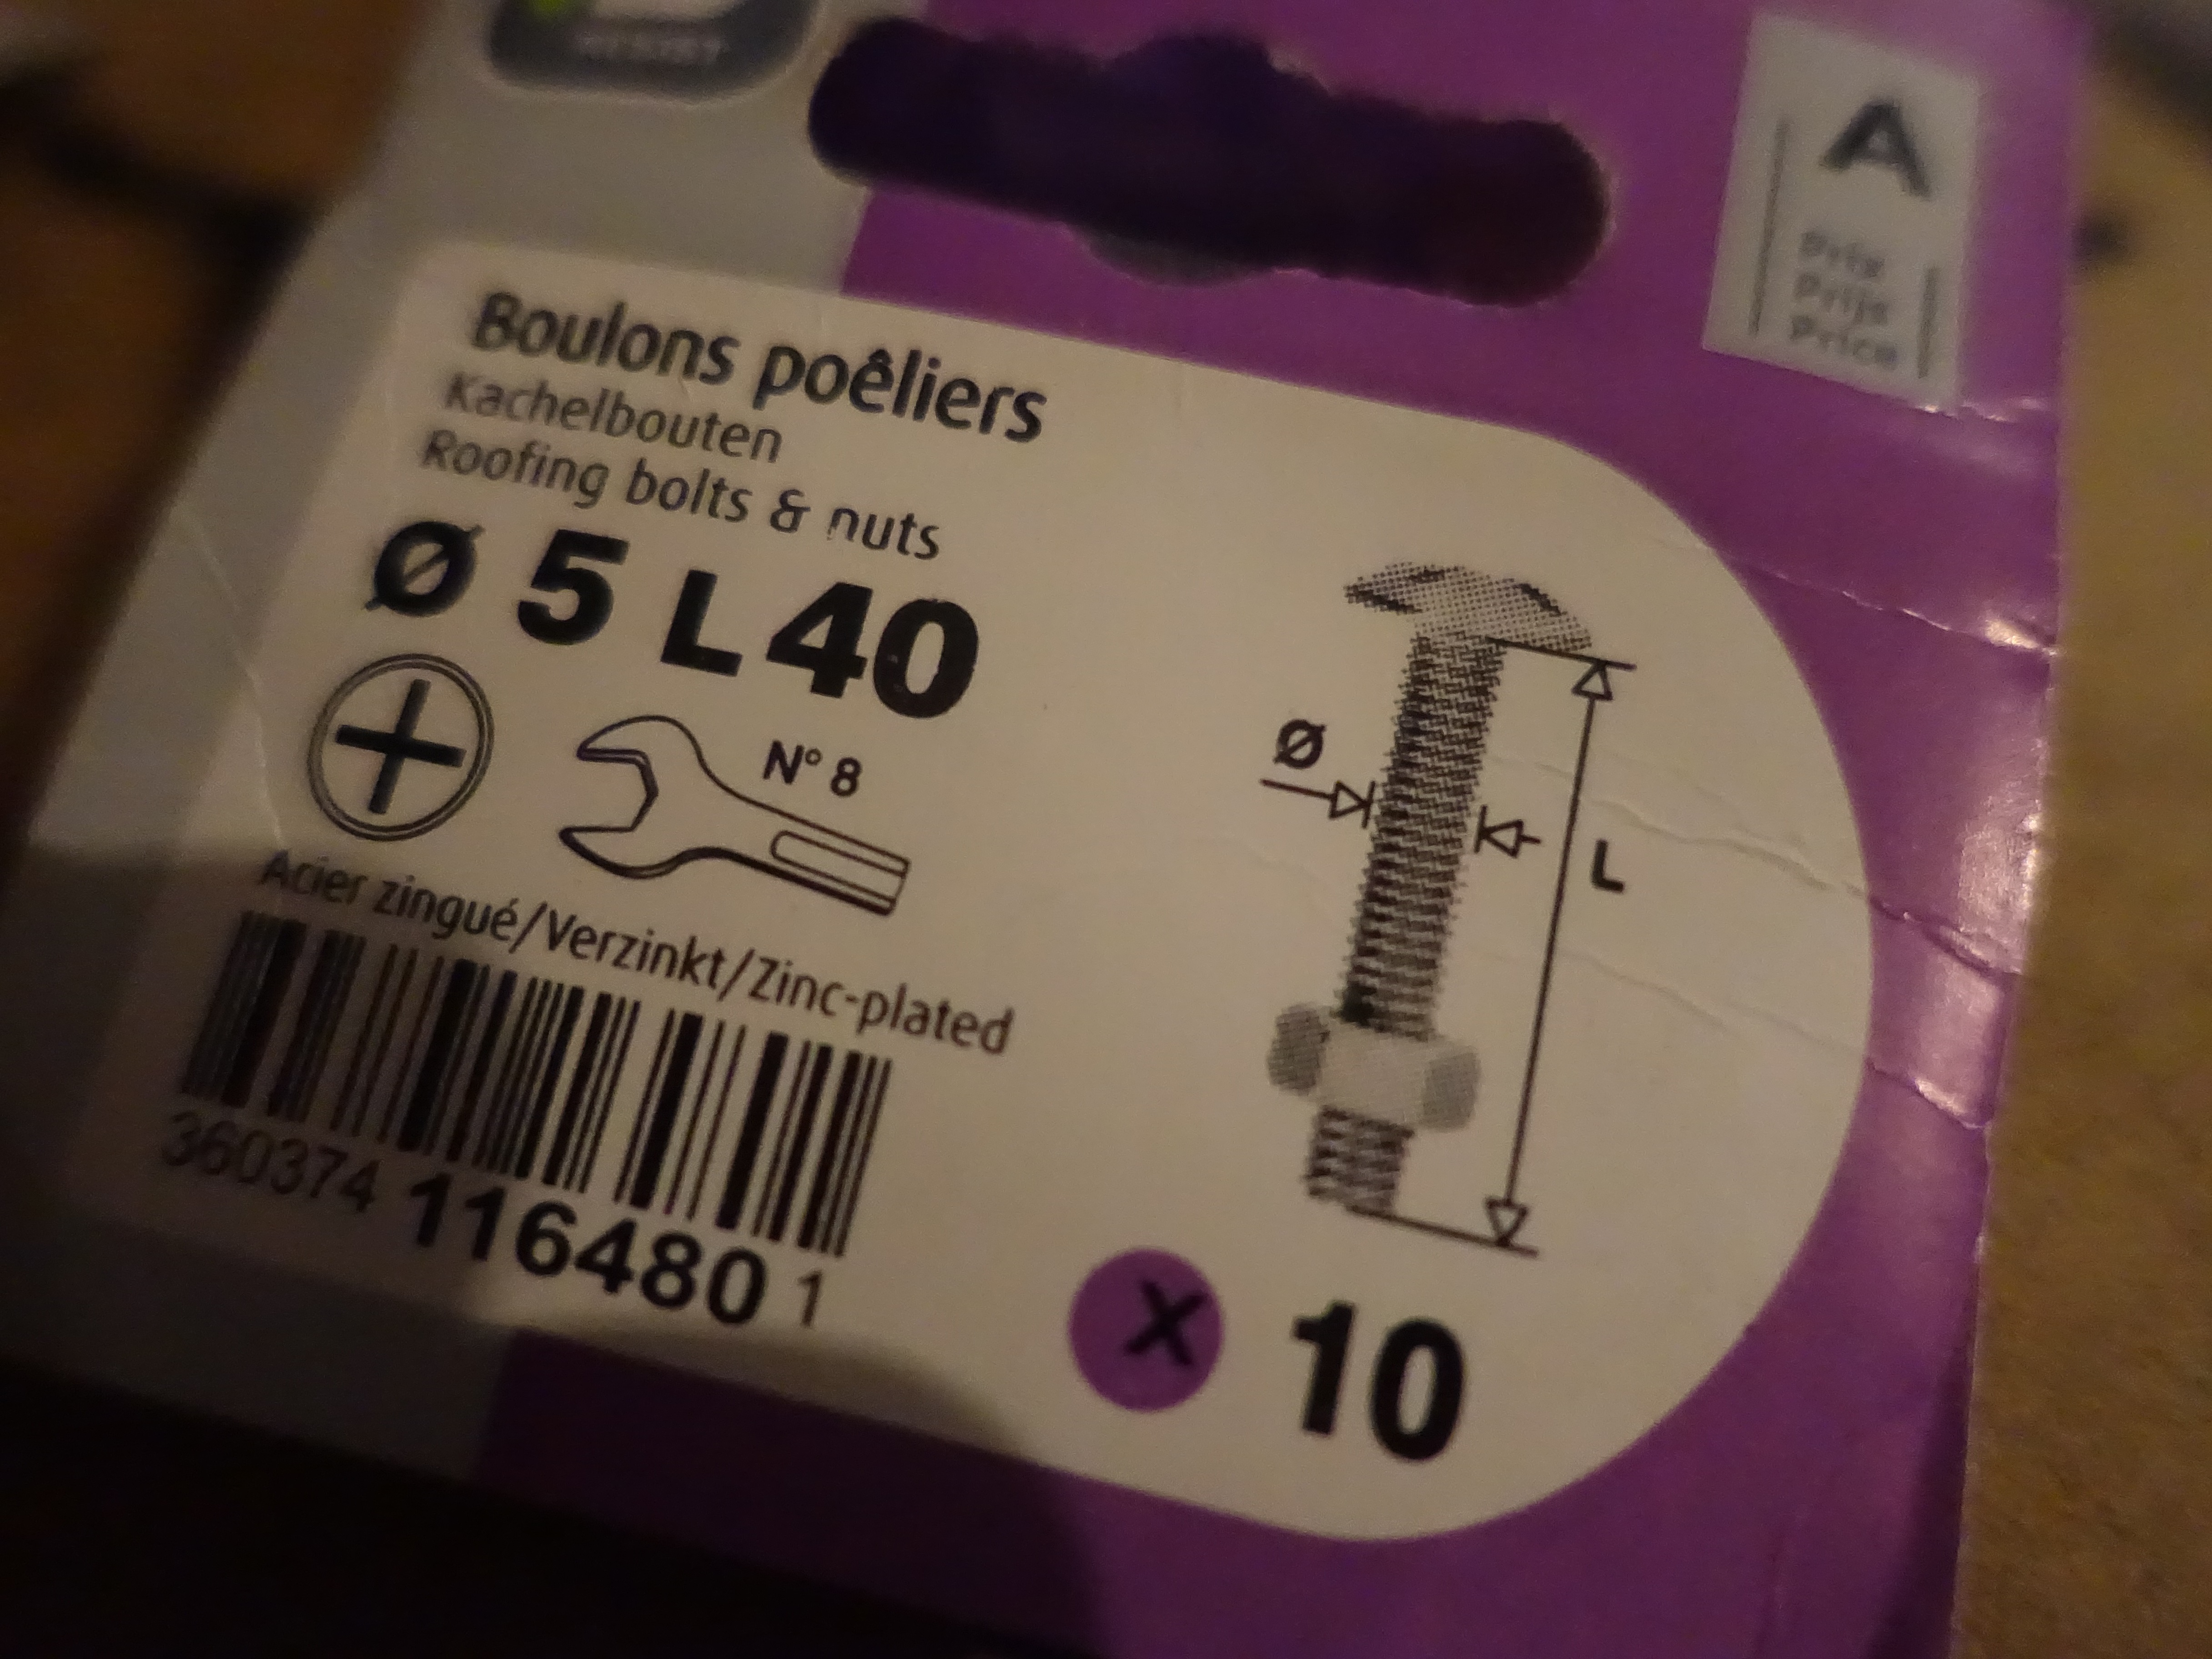
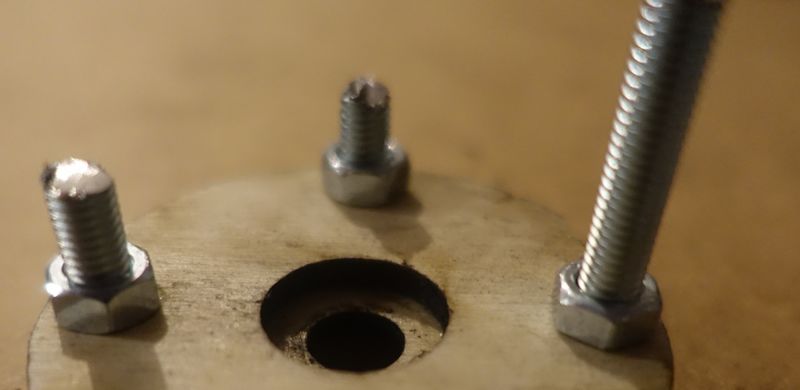
- 3x M5 Bolts 40mm
- 4 Bolts M5 or vis to fix to the wall/support
- 1xVisto fix the spring to the pulley 3mmDiam 10mmLong
- 2x Weights 30grammes
- Embout EarCleanner Spiral
- LED Ring RGB adressable approx 70mm diam - 5€
- Arduino ATTiny -Under 1$
- Battery(+Voltage Regulator) or Wall Adapter + Switch ON/OFF
Outils
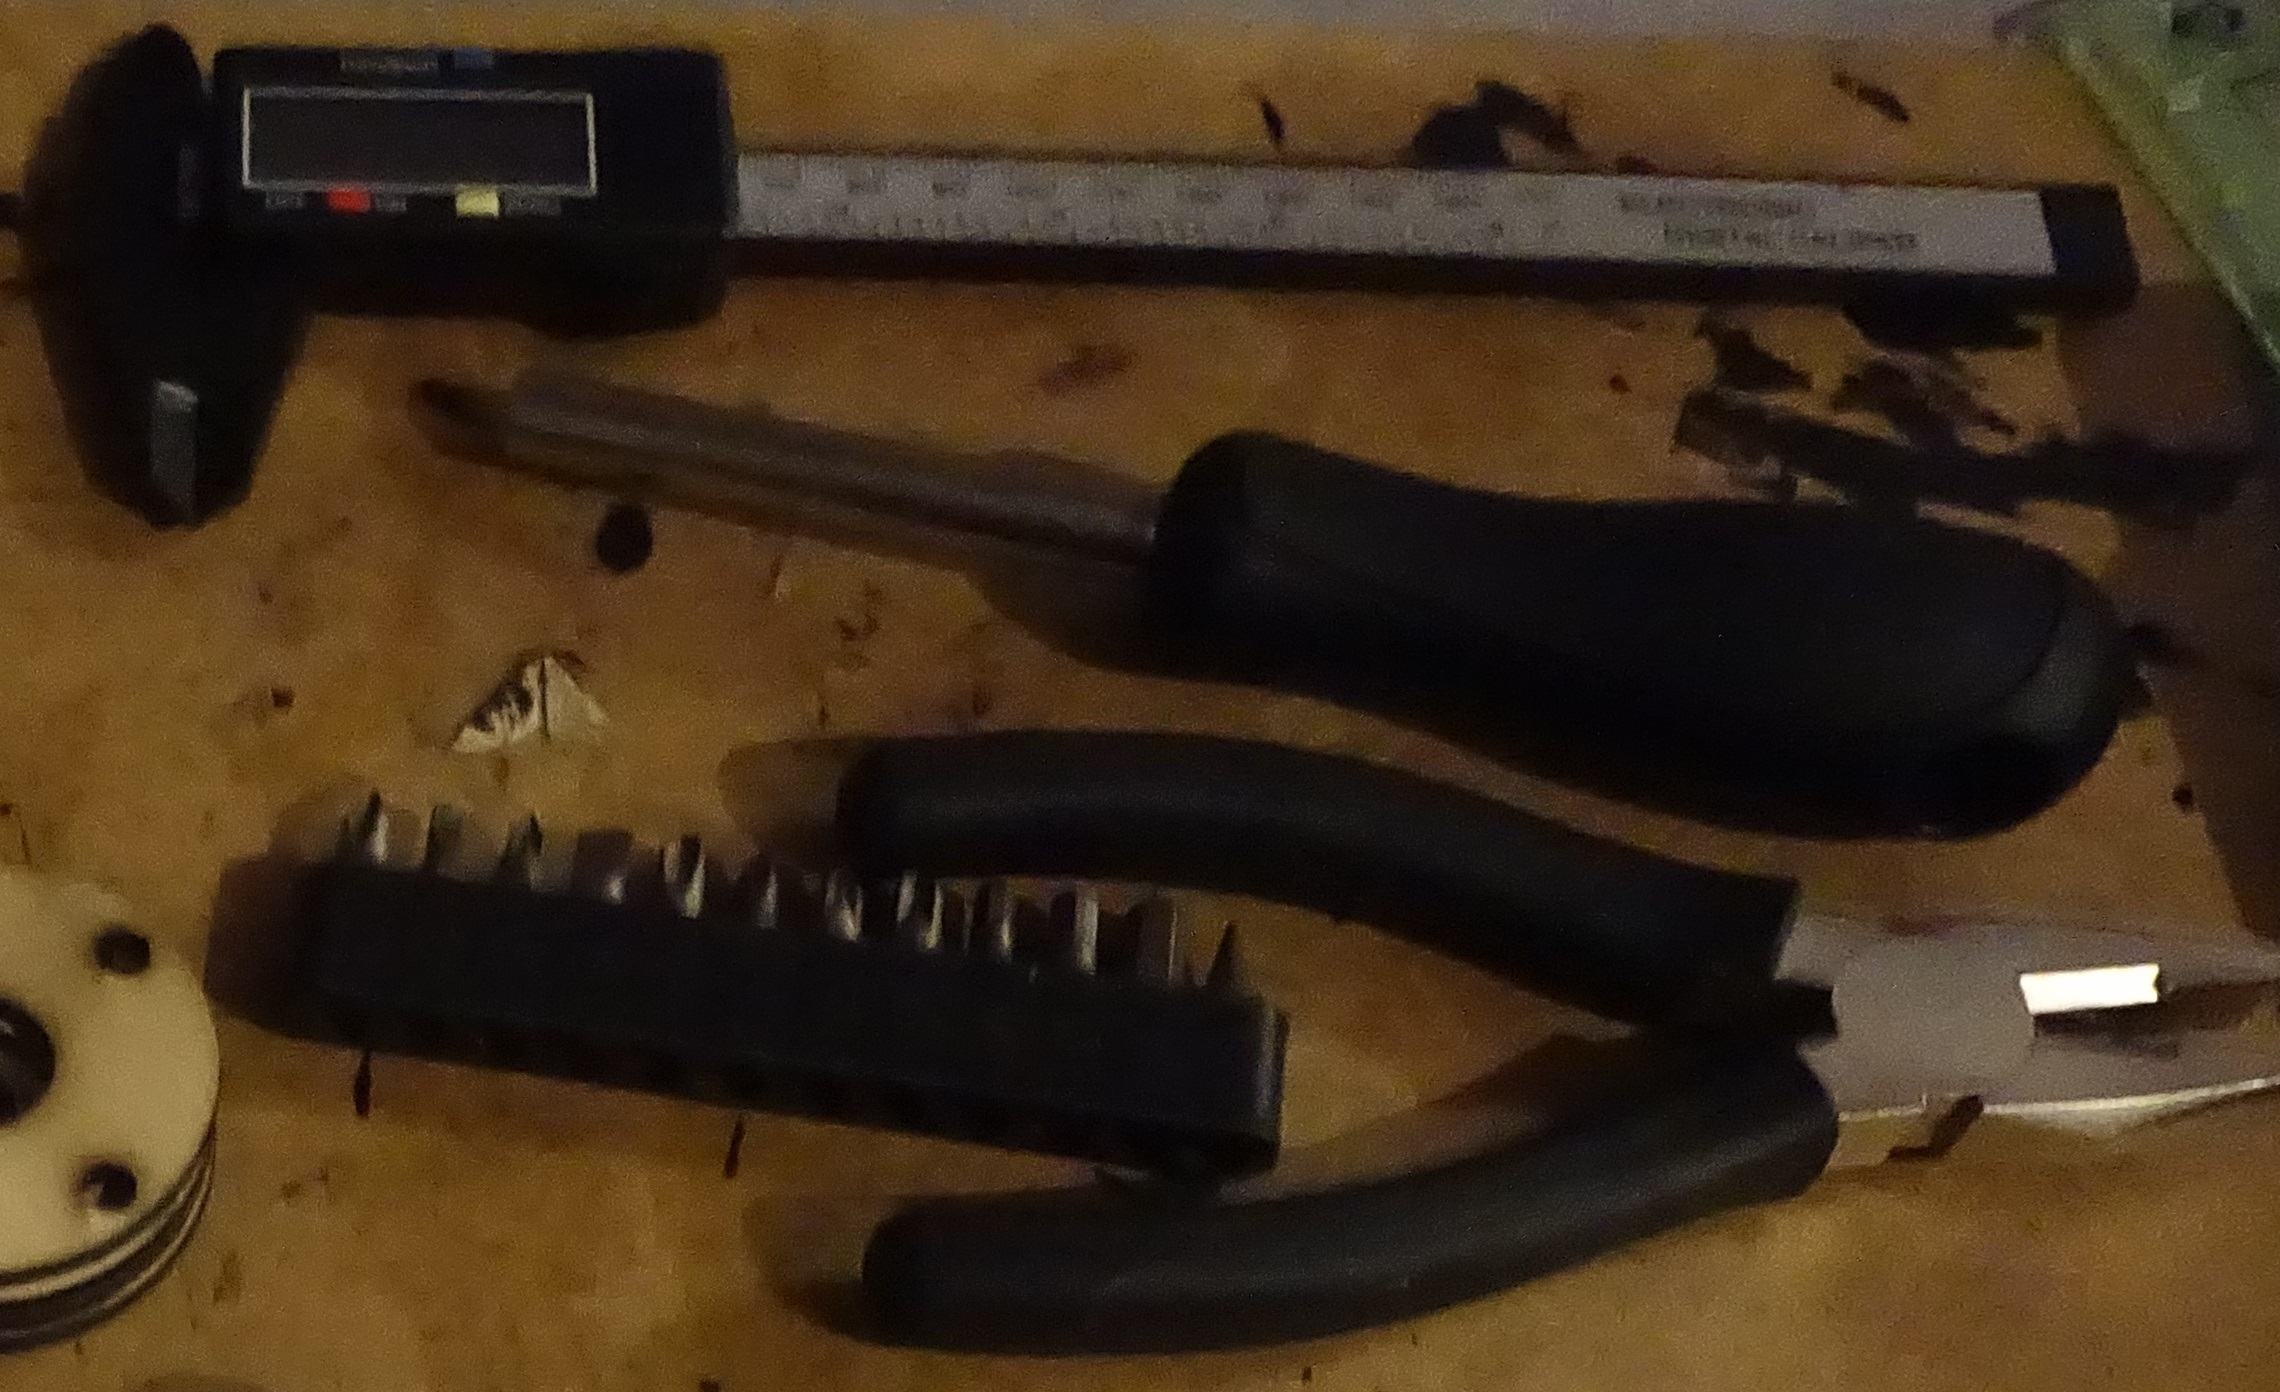
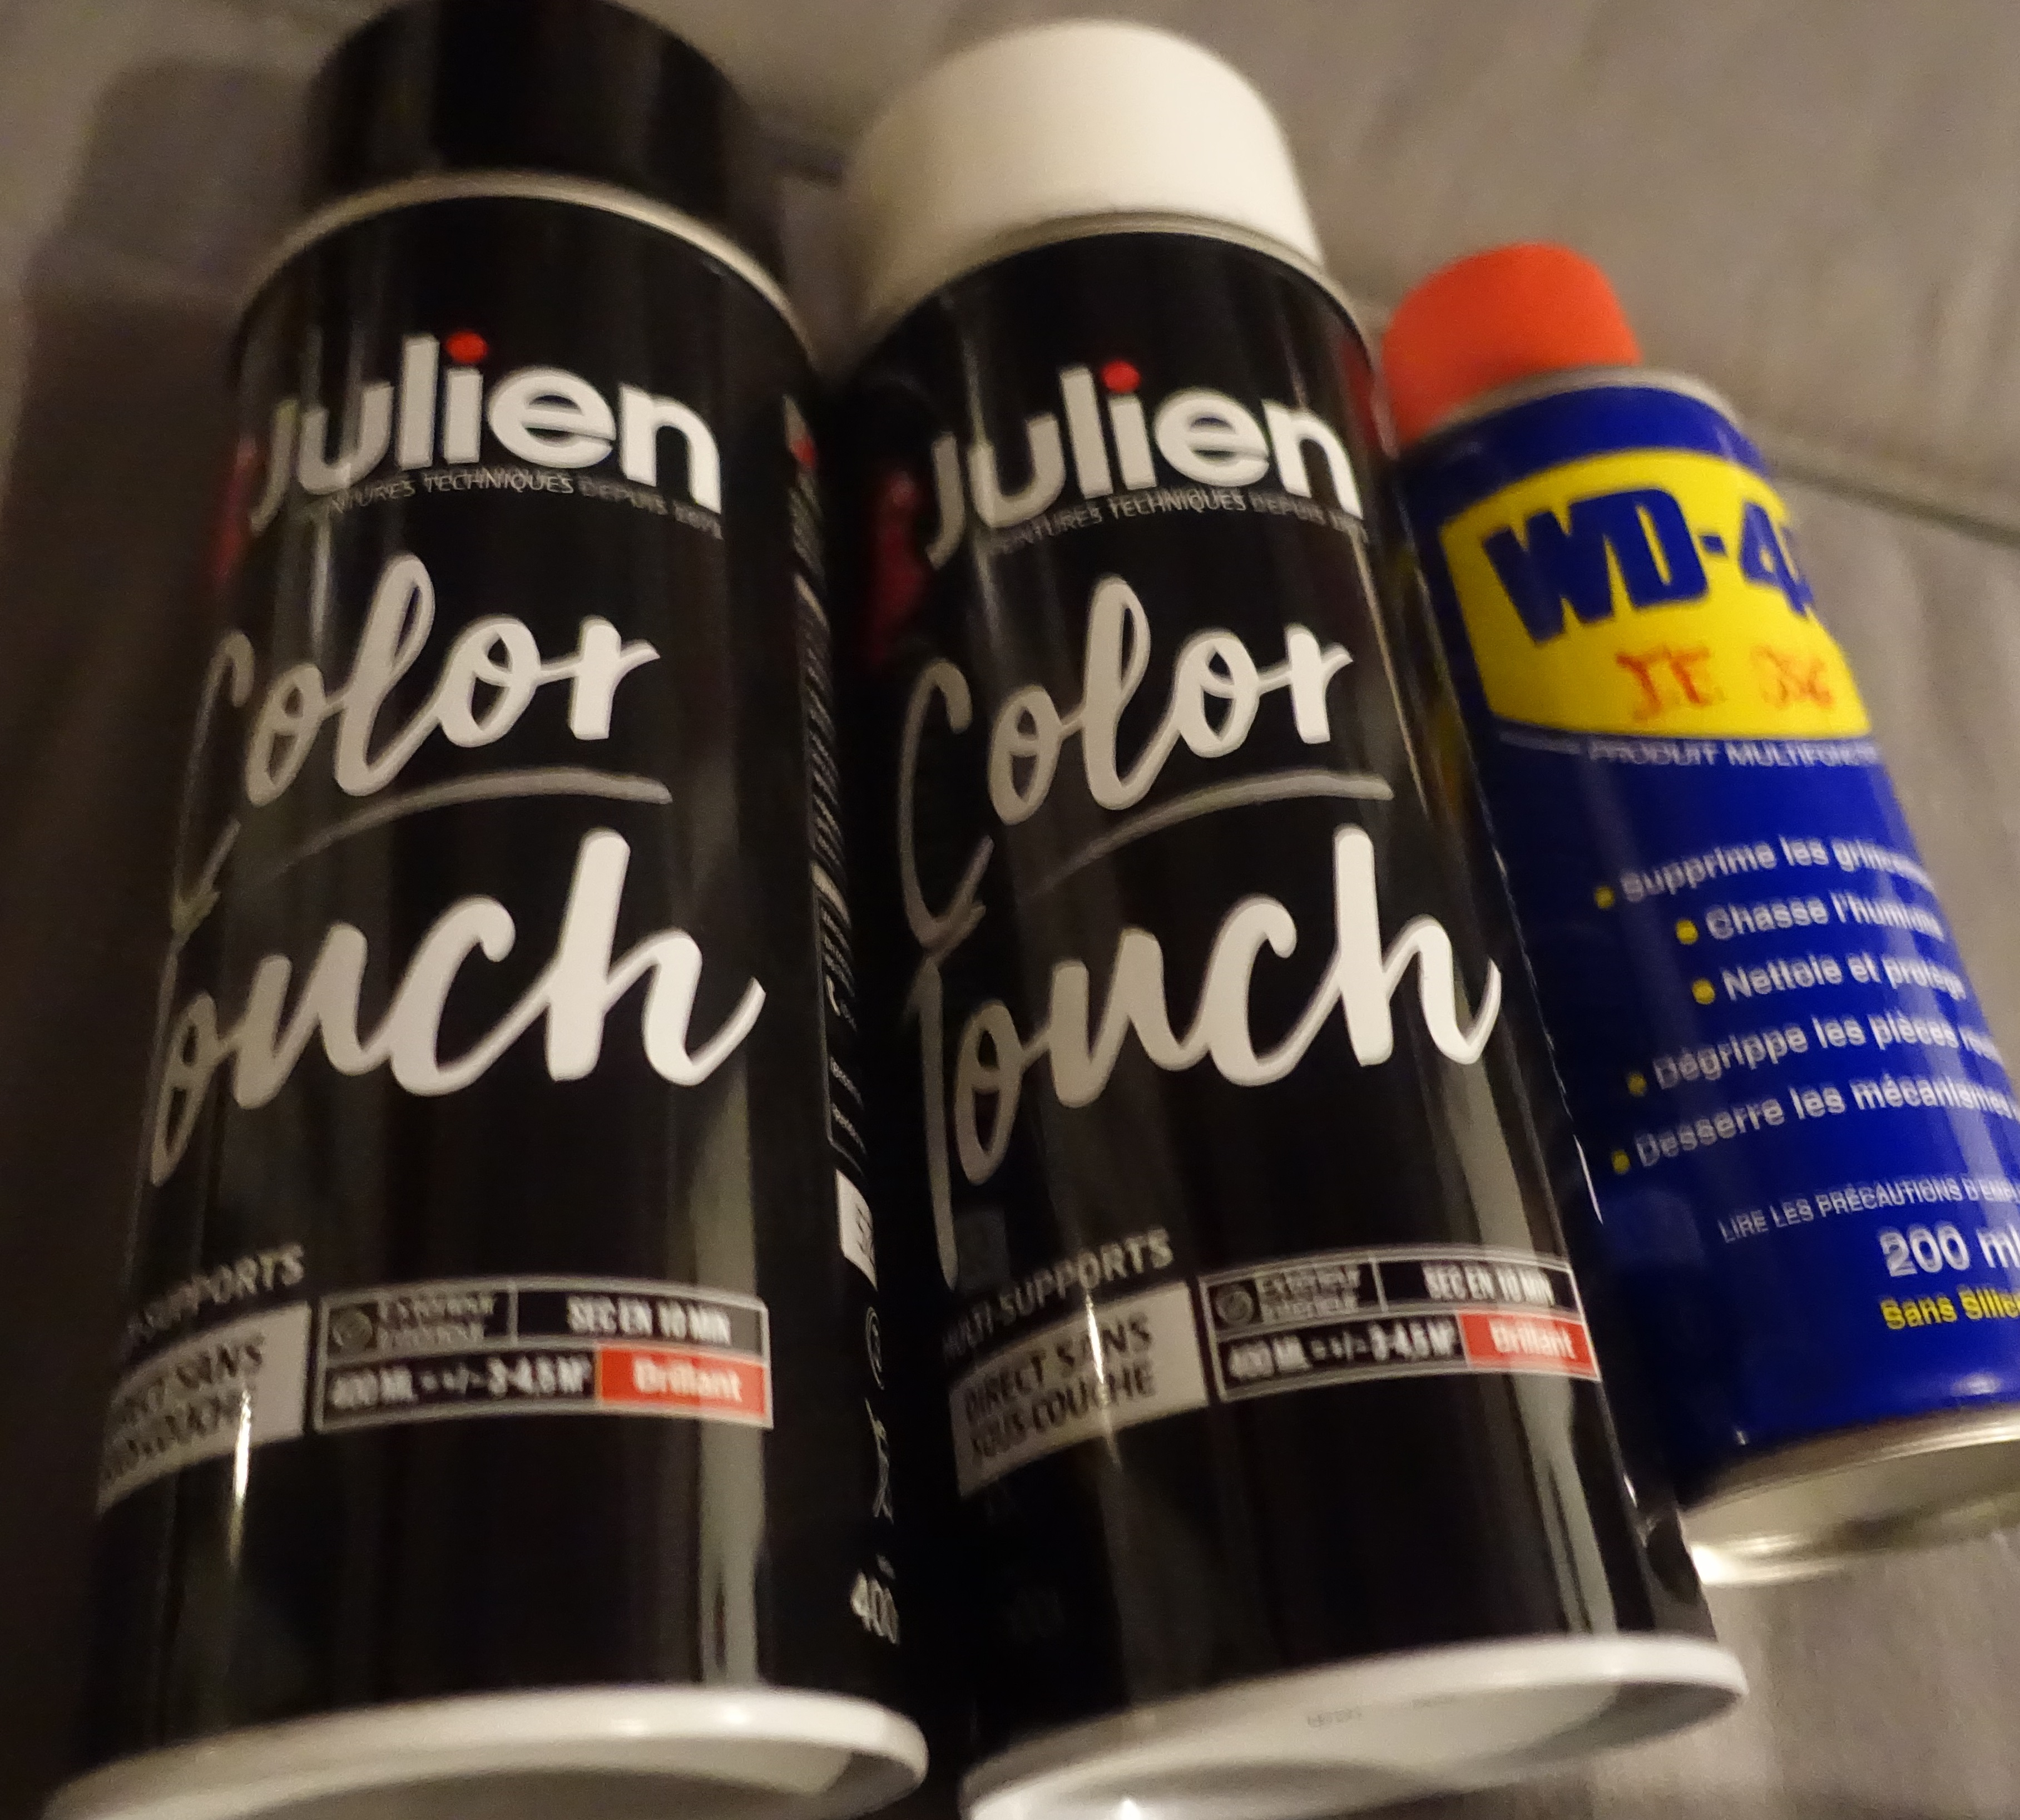
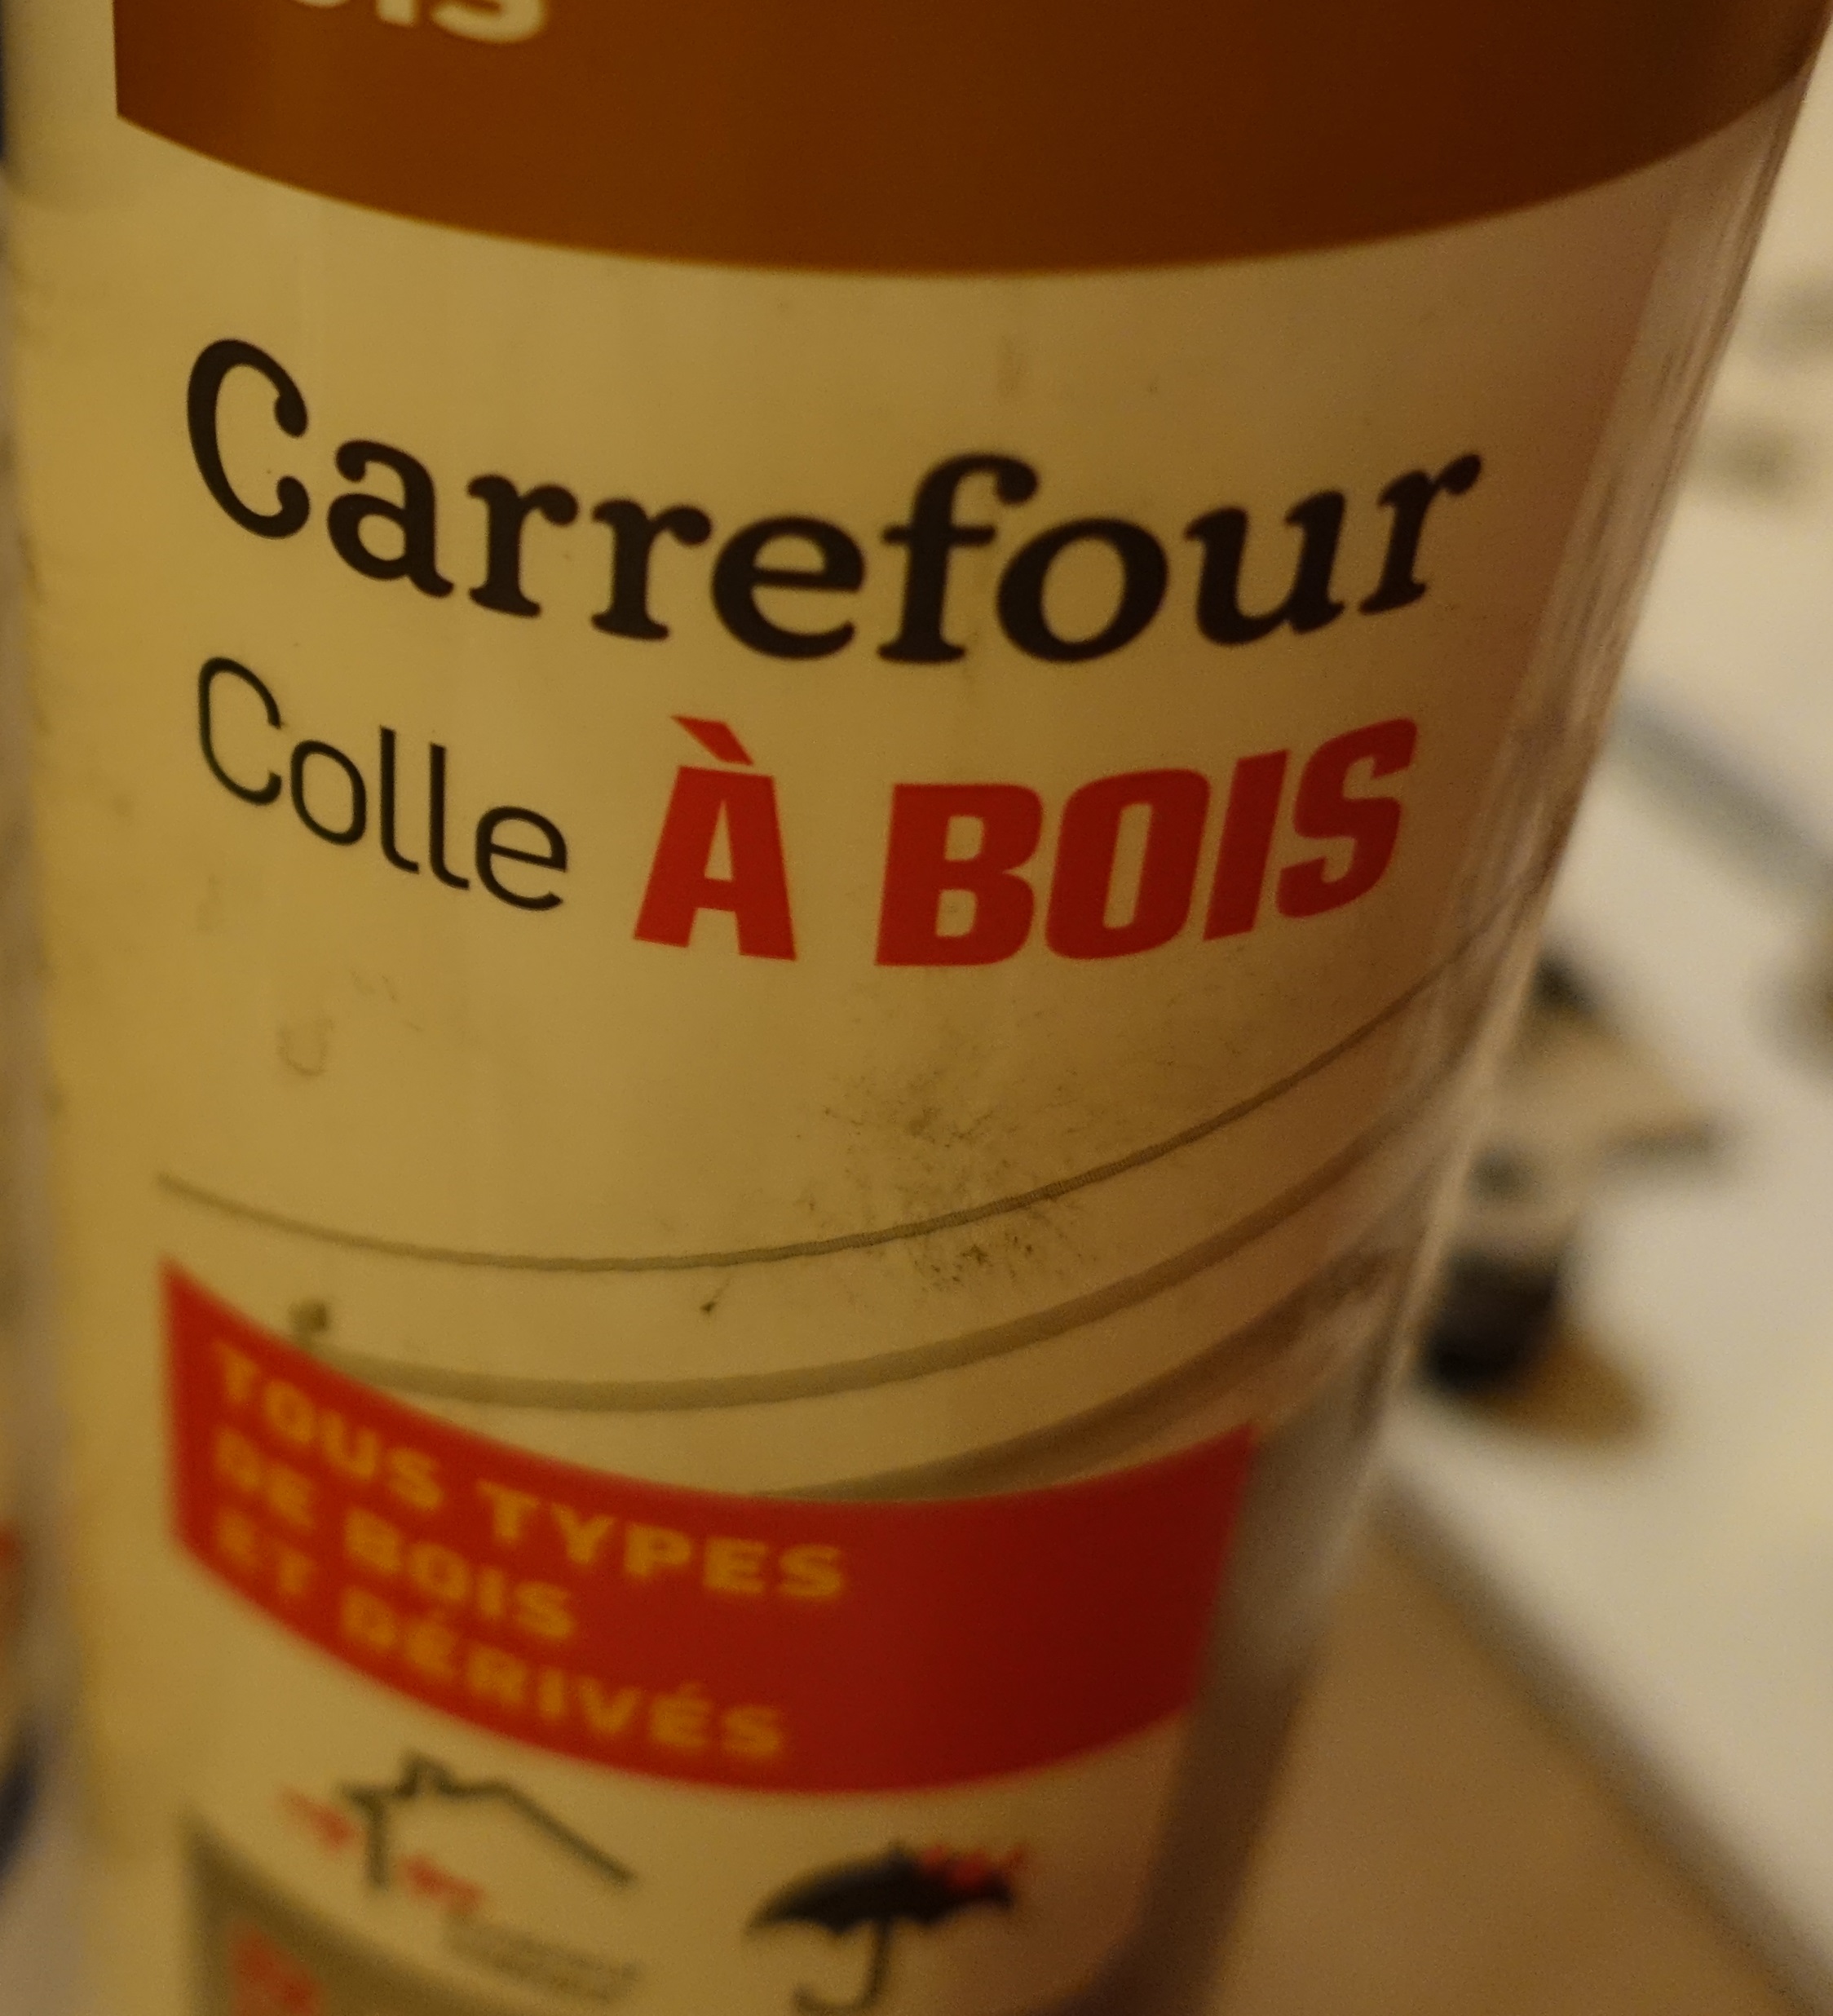
Wood Glue, Black & White Spray Paint, Lubricating Oil for the bearing, SuperGlue, Screwdriver, Soldering Iron, Glue Gun, Dremel, Cutting tool, Laser Cutter
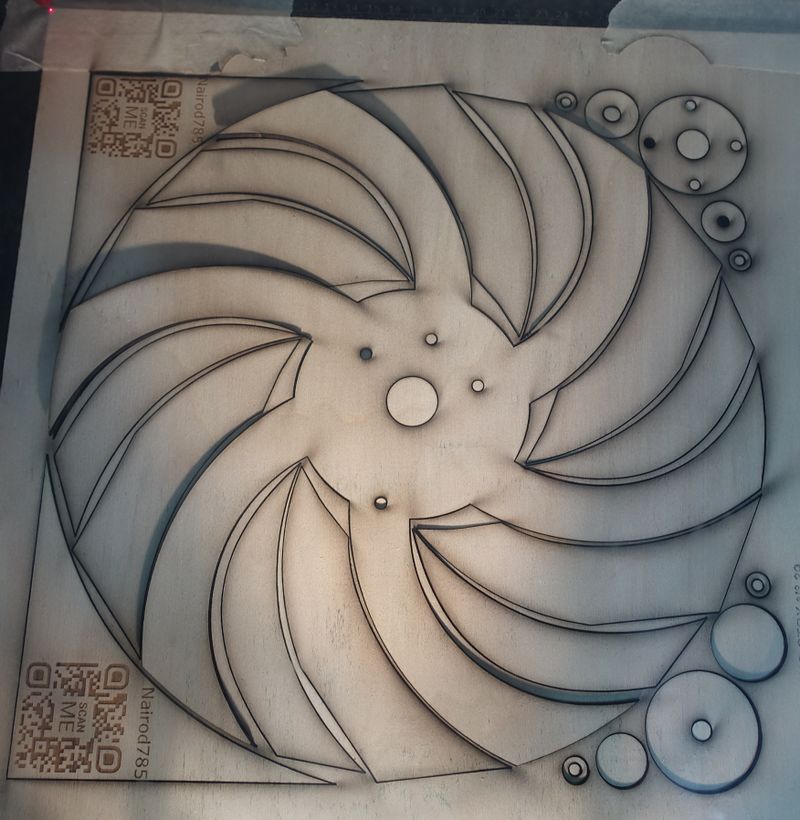
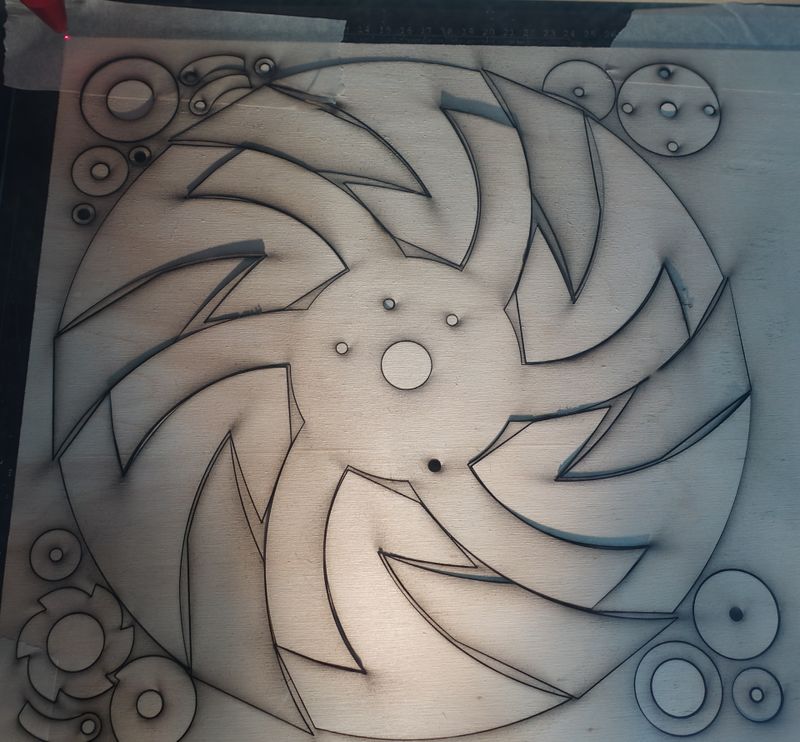
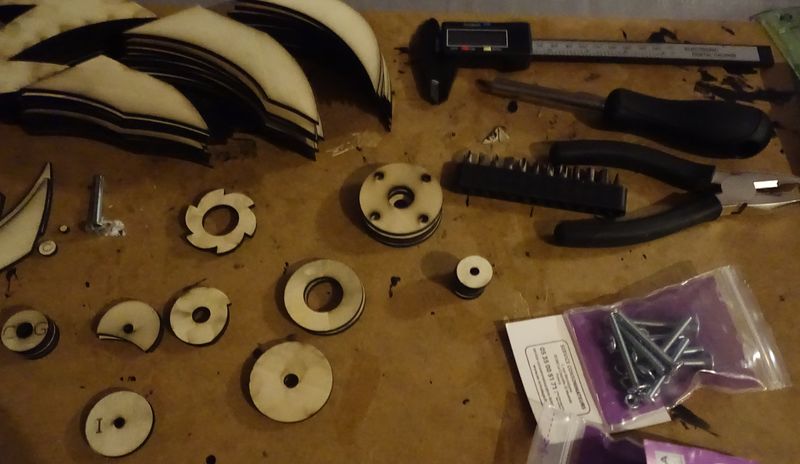
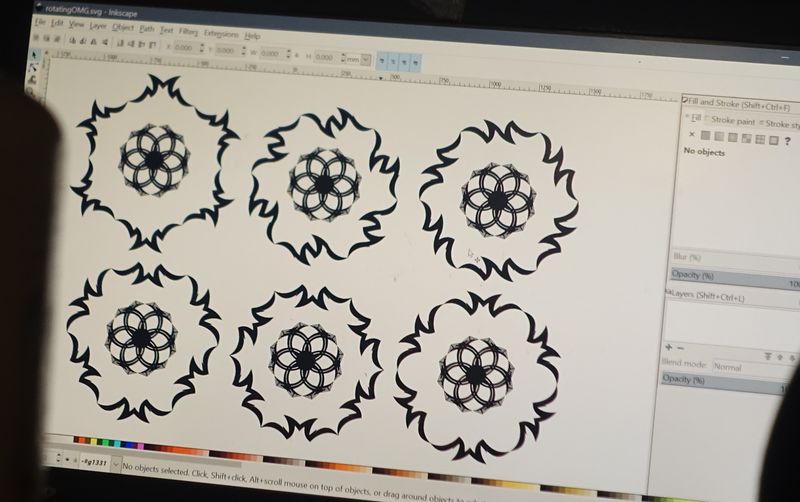
Étape 1 - Cut the plywood with the laser cutter
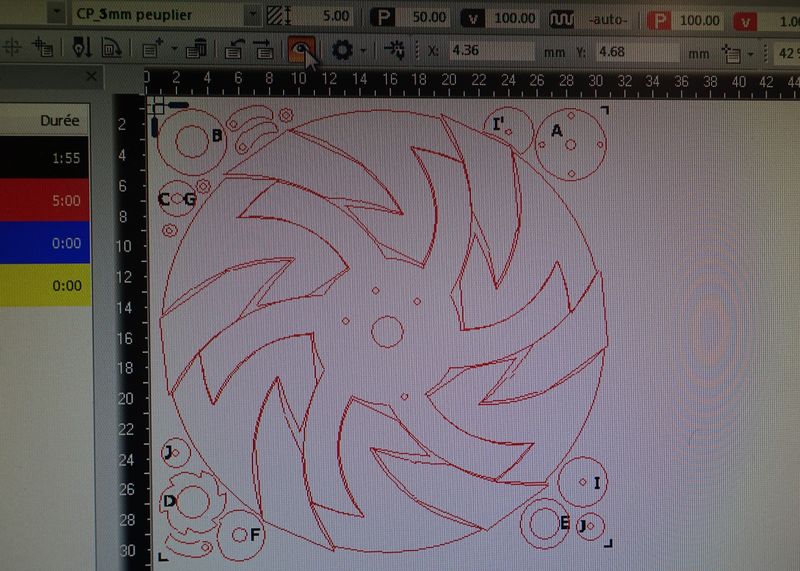
Cut the first svg file on 2 sheets of 300cmx300xm
Do the same for the second file
The cutting file is about 300cm by 300cm so if you have a 600x300 you can cut them two by two by merging the files.
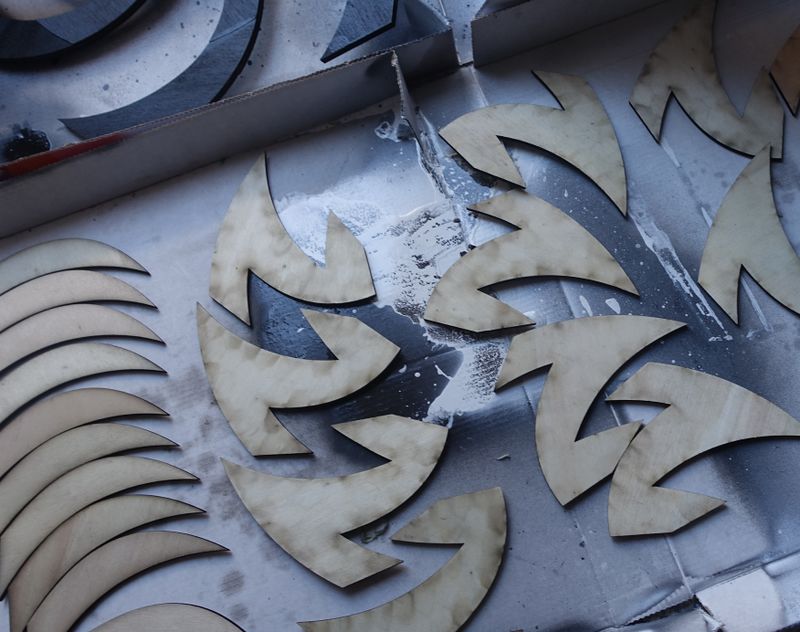
Bring together similar pieces so it's easier to work.
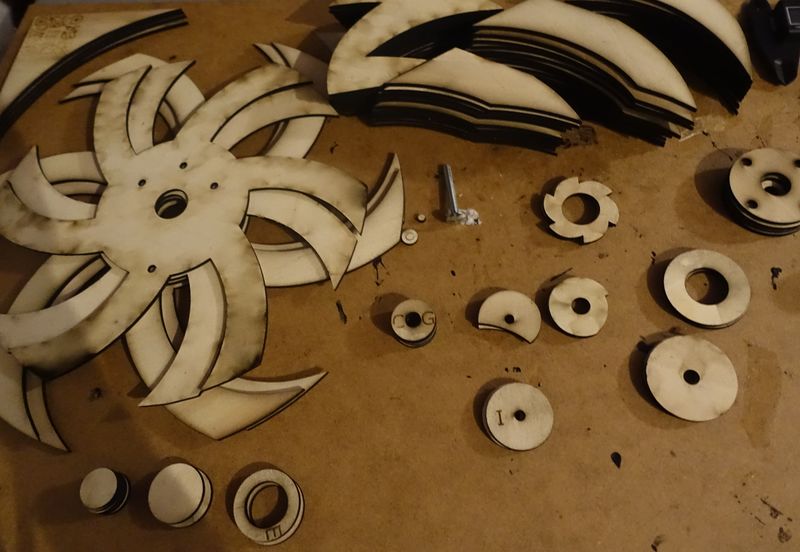
Étape 2 - Glue the different pieces
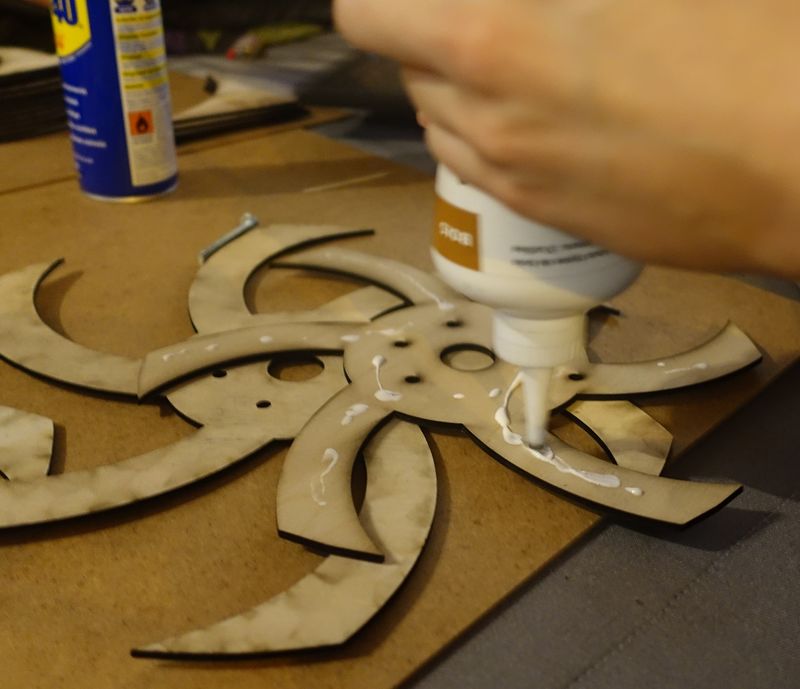
Glue according to the photos
The 2 wheels are the same, just don't forget to align the holes.
Offset Pulley : I/J/J/J
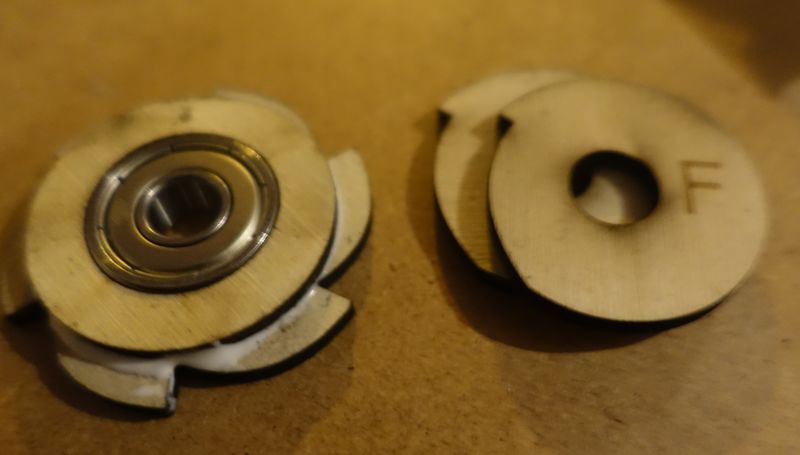
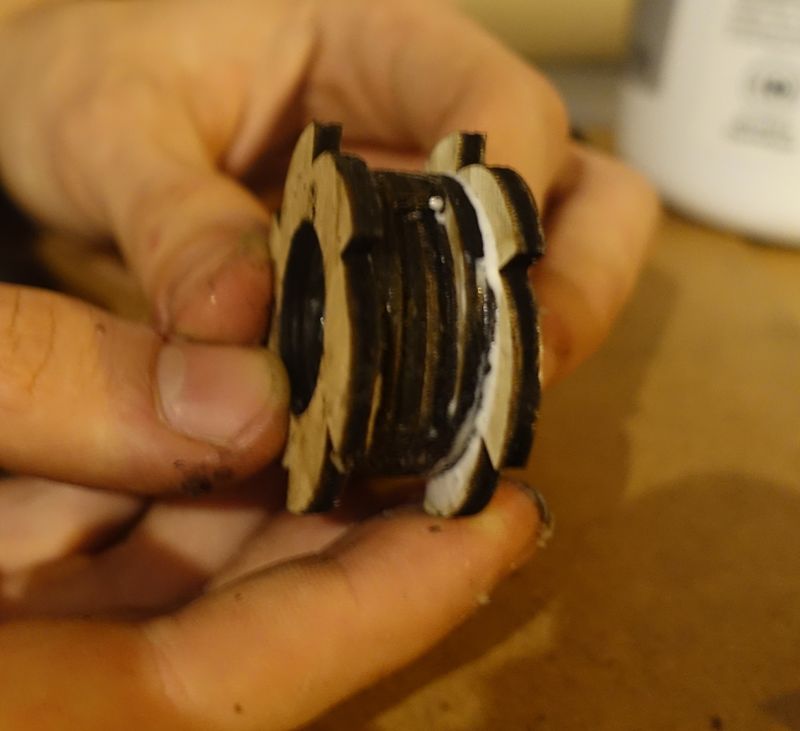
Centered Pulley : D/E/F/F/E/D with the D in the same directions.
Support for the main Bolt: A/A'
Étape 3 - Paint the wheels and the support
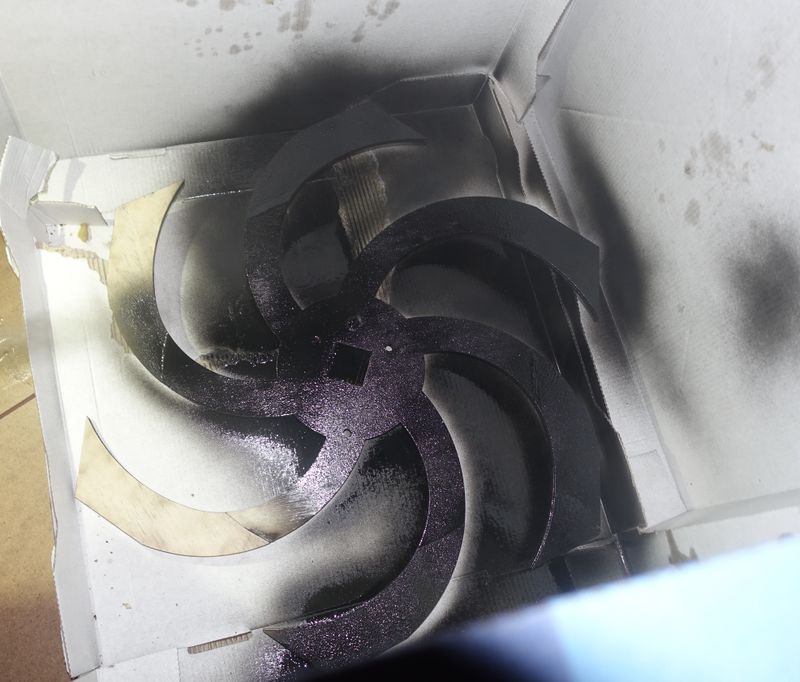
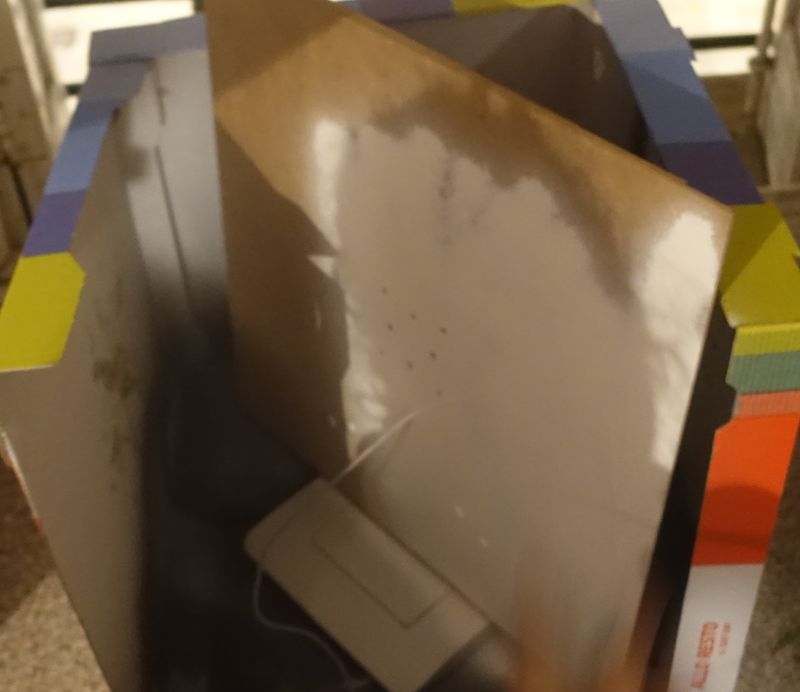
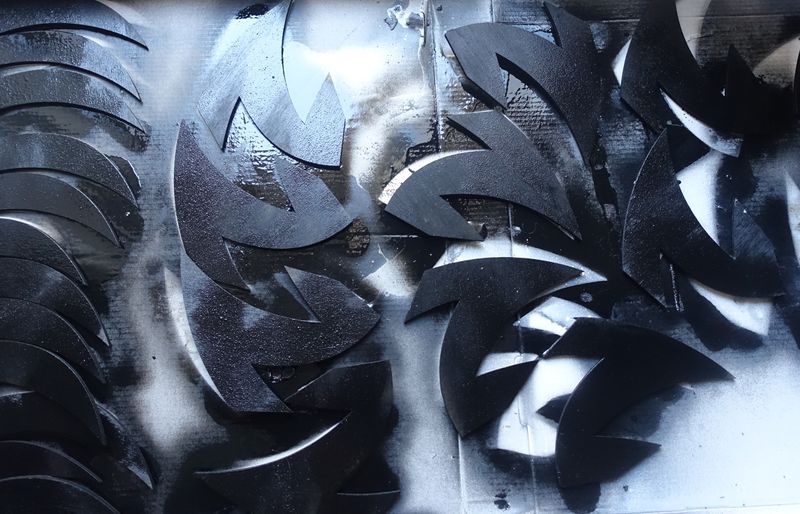
I used shiny paint fora better reflection of the light but it's up to you :)
Paint in black the 2 wheels and I' which will block the spring later.
Paint your support in white if you have one.
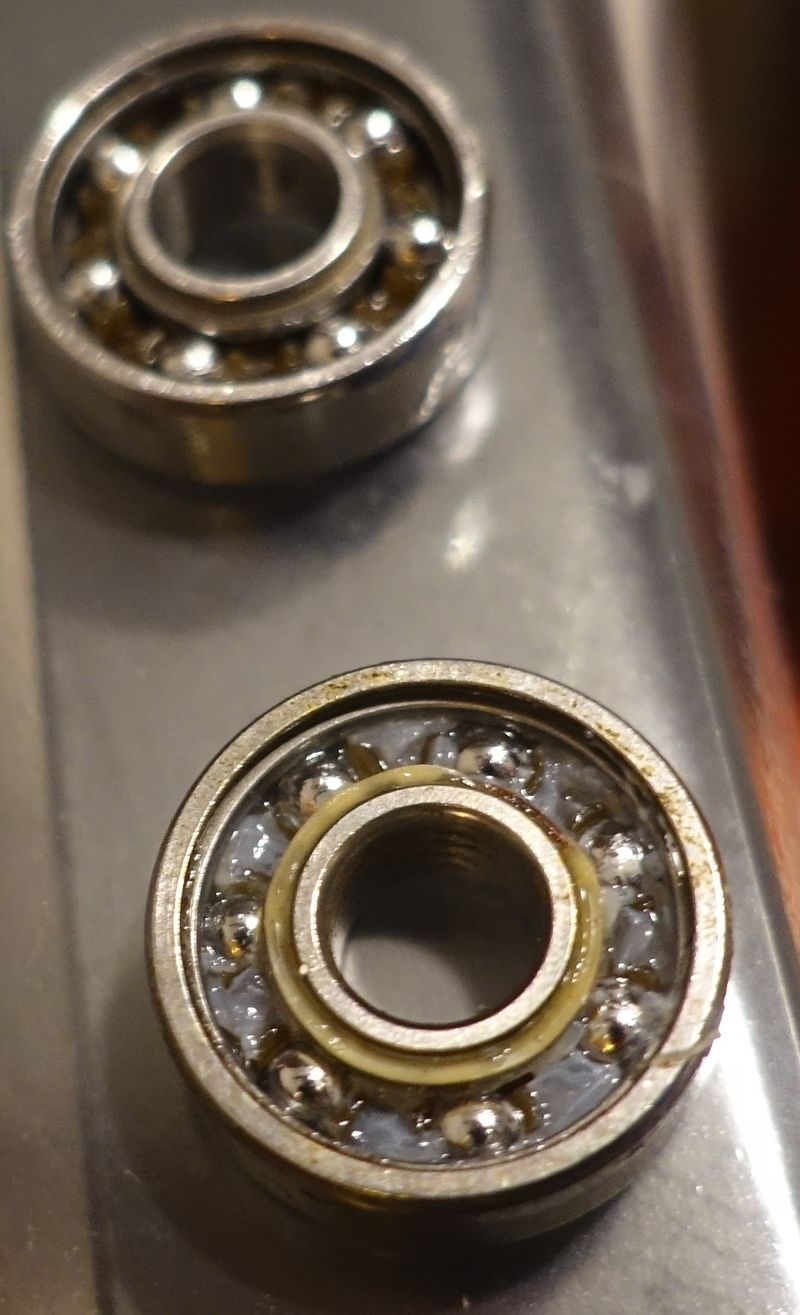
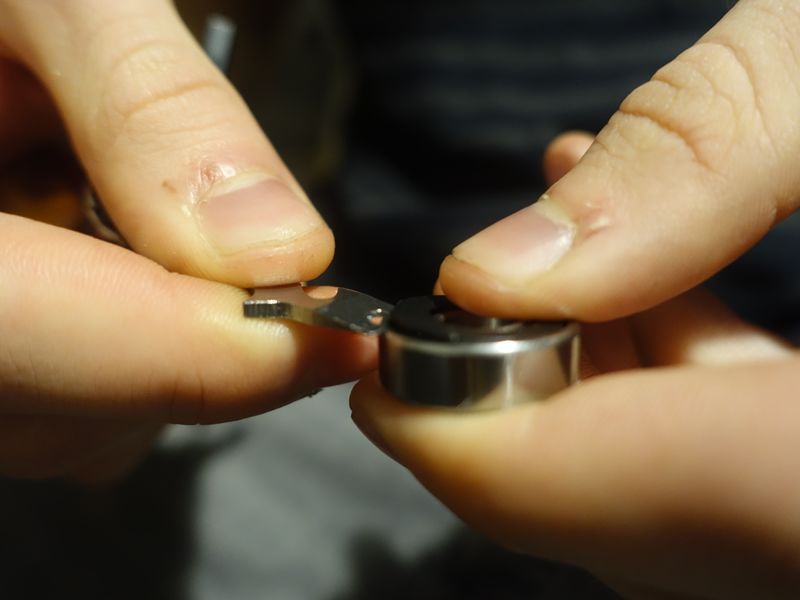
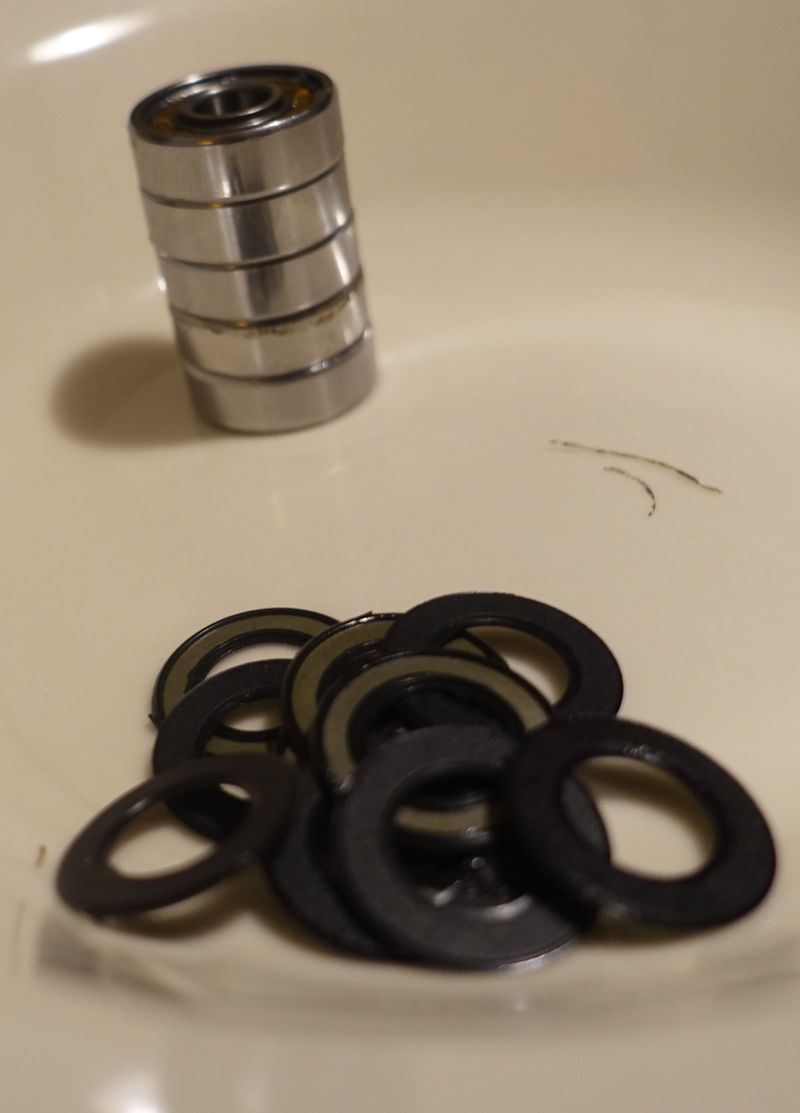
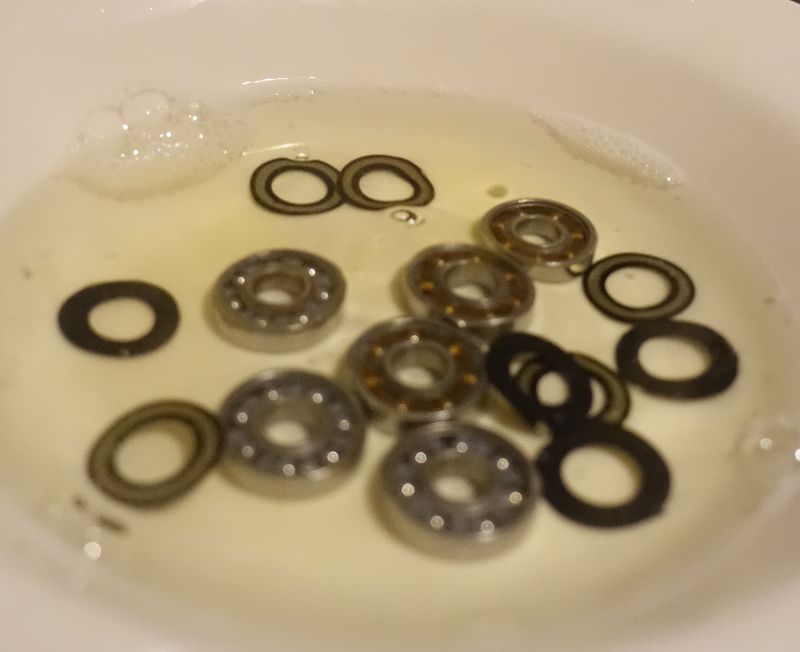
Étape 4 - Clean and Optimise your bearings
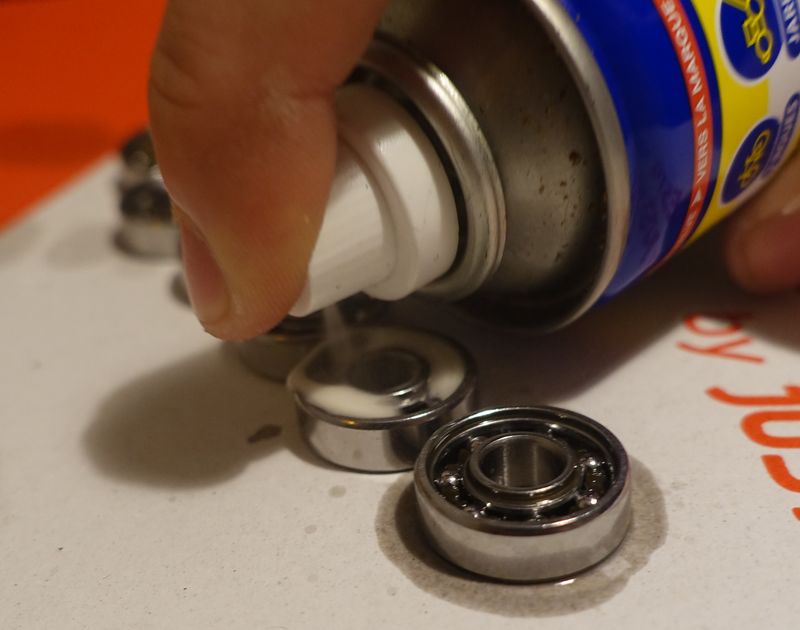
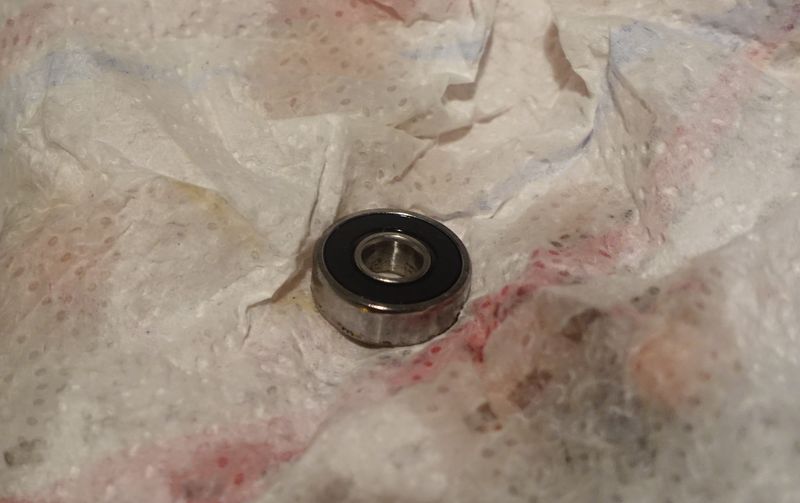
Open you bearing to check if there is any additional grease.
Use some dishwashing liquid and warm water to clean out the grease, we need to replace it with a better one.
Lubricate your bearing with a batter grease like Spray WD40.
You can also spin your bearing with a Dremel one by one, this will spread the oil and optimise the performances.
Si vous avez des roulements avec un joint noir en plastique il est possible de le replacer après nettoyage.
Étape 5 - Place the bearings.
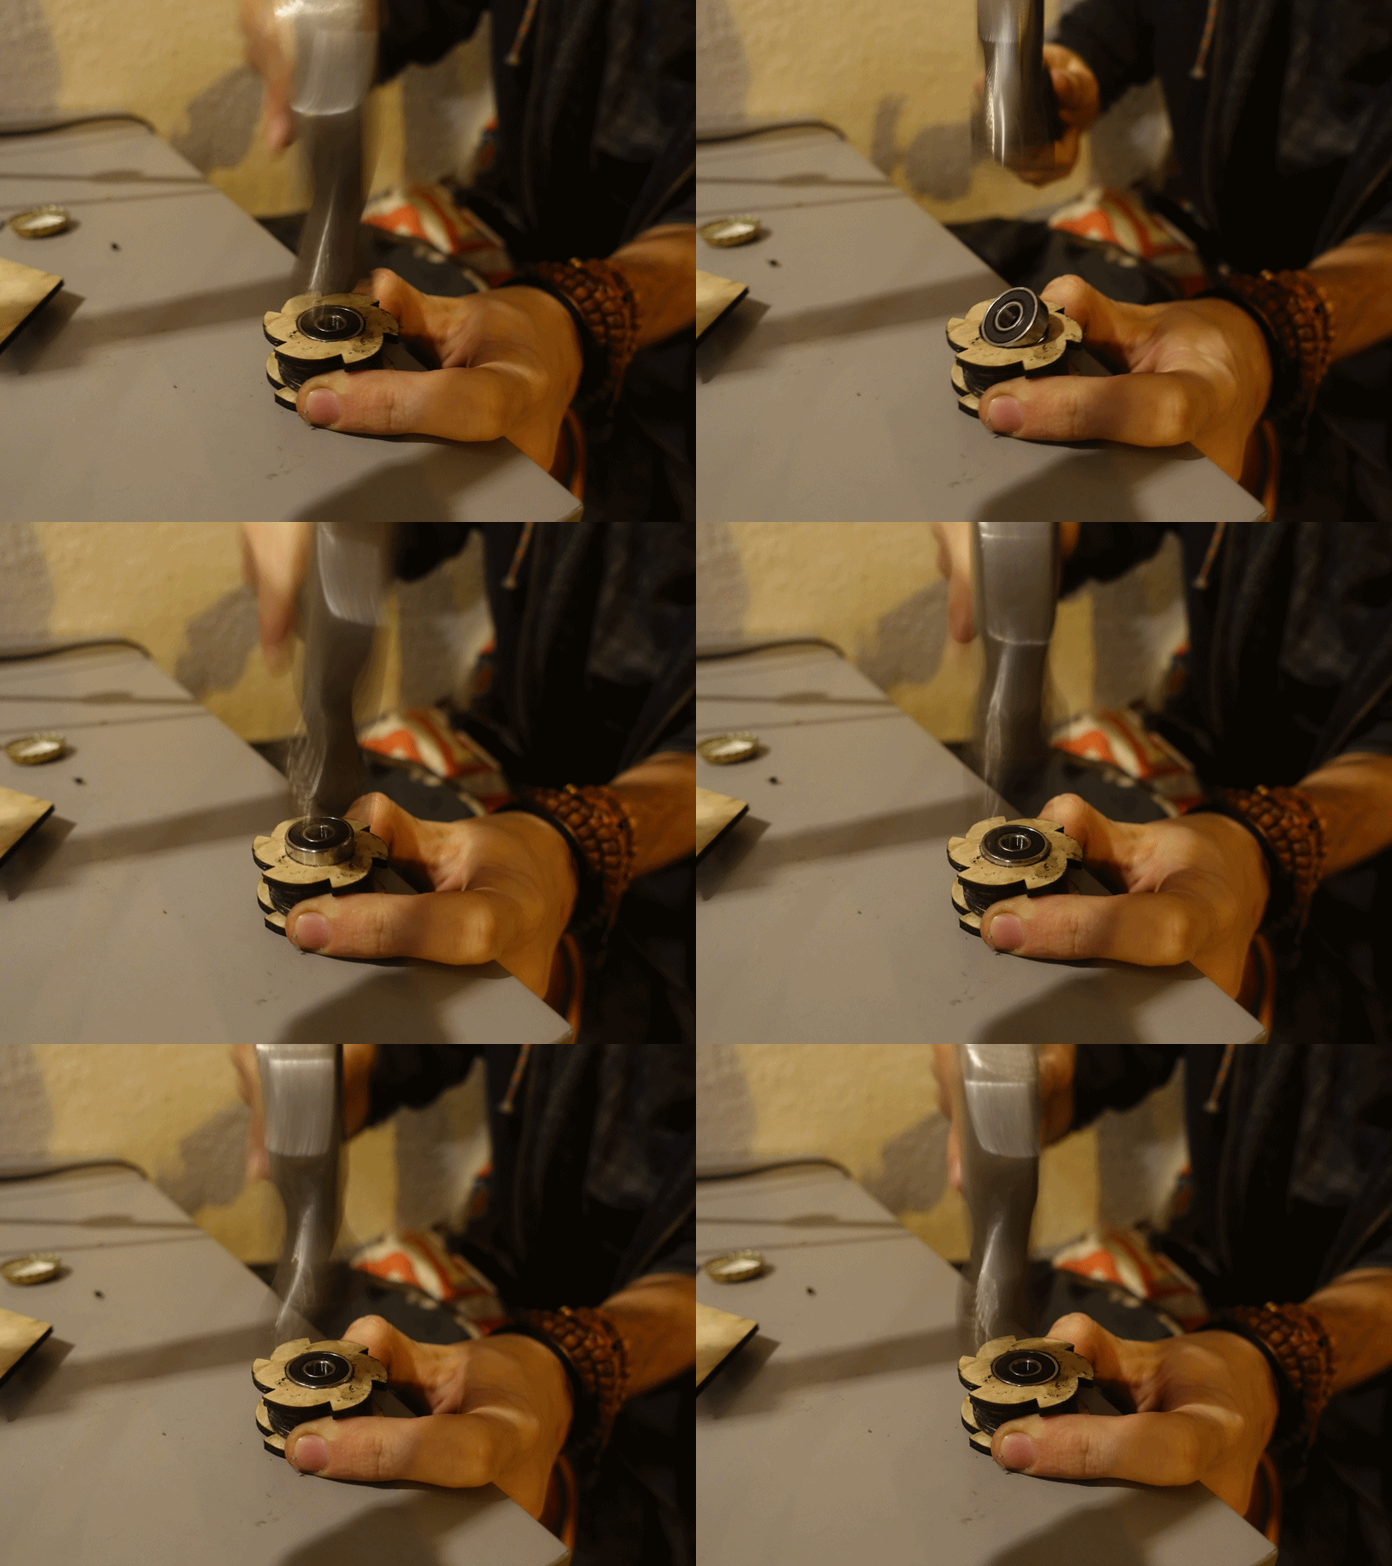
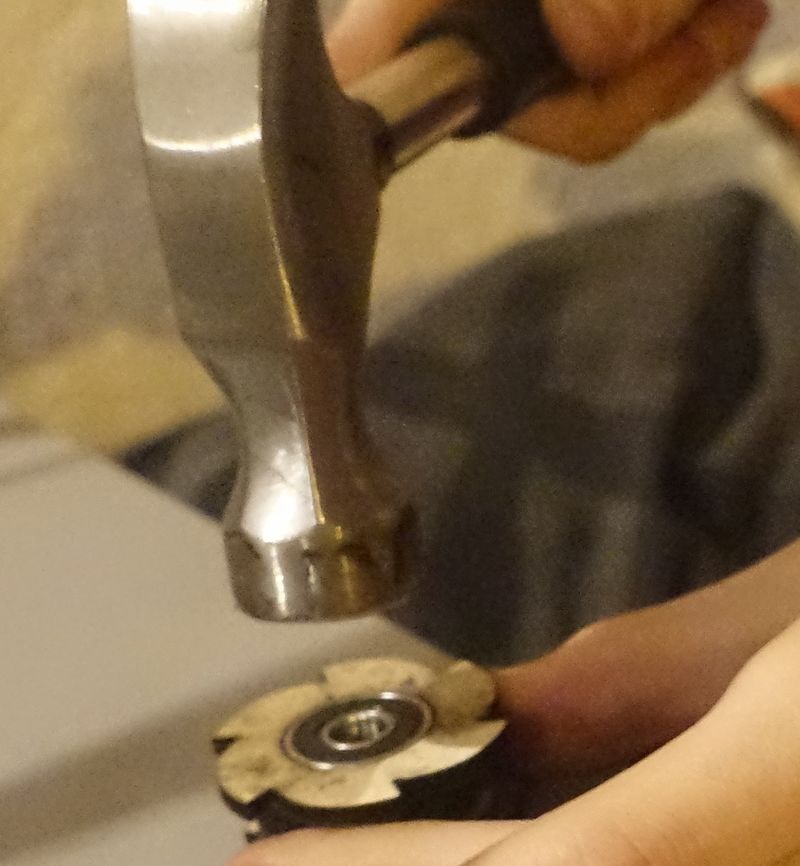
Use a hammer if you can because the diameter of the holes is slightly smaller than those of the bearings.
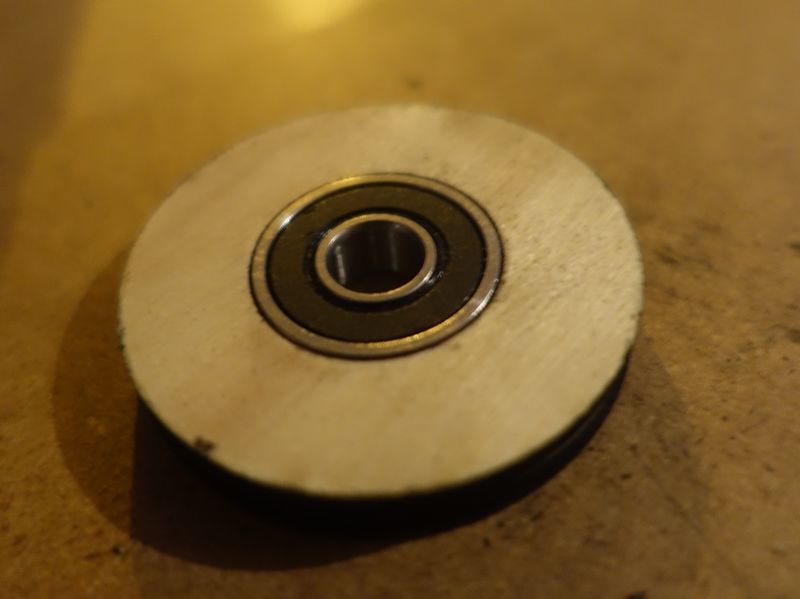
1 Bearing on each side of the centered pulley
1 bearing in each wheel and 1 in B which is going to be the back support of the back wheel.
Attention la poulie centrale est construite de telle manière qu'on ne pourra pas retirer facilement les roulements.
Étape 6 - Build a support to fix the sculpture
Build a support with more plywood, screws, and a screen stand.
Or, simply drill your wall so you can fix the support A/A' to the wall.
Fix A/A' and don't forget the main M8 Bolt, fix firmly.
Étape 7 - Fix the pawls
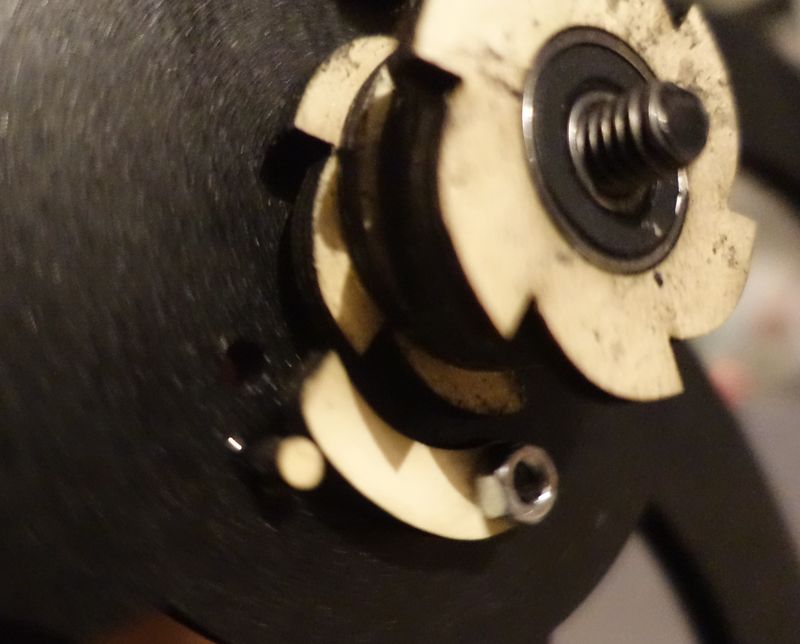
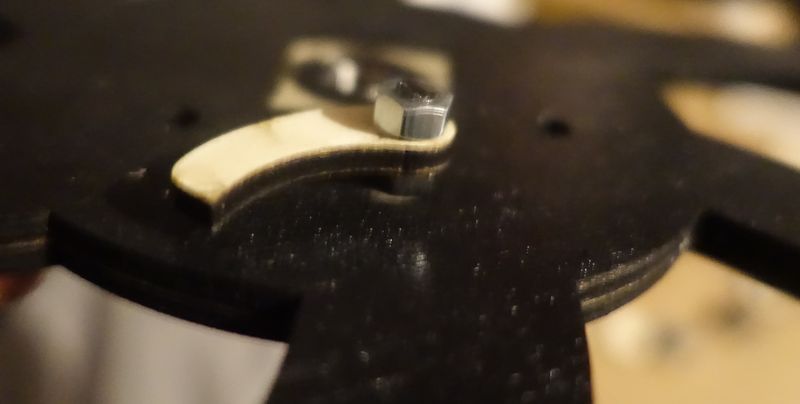
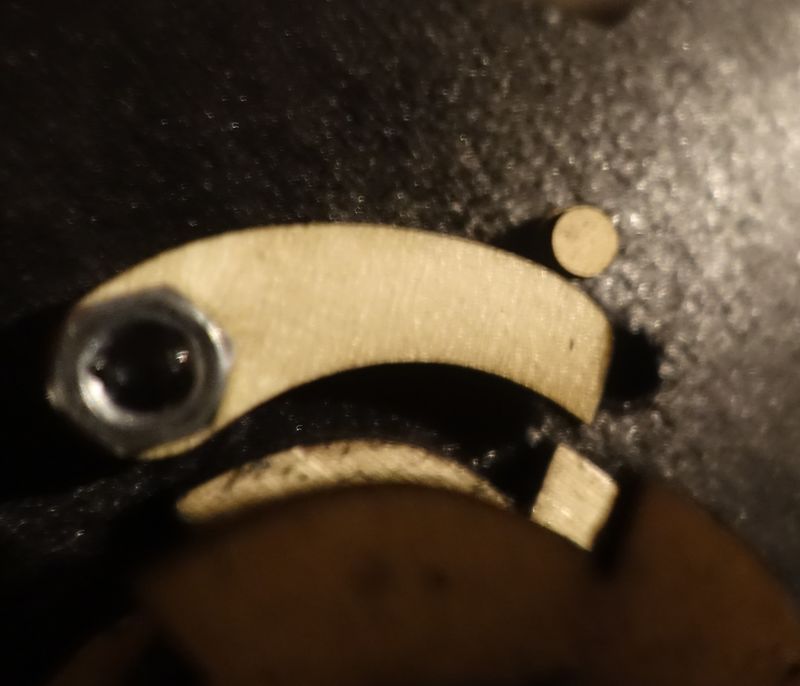
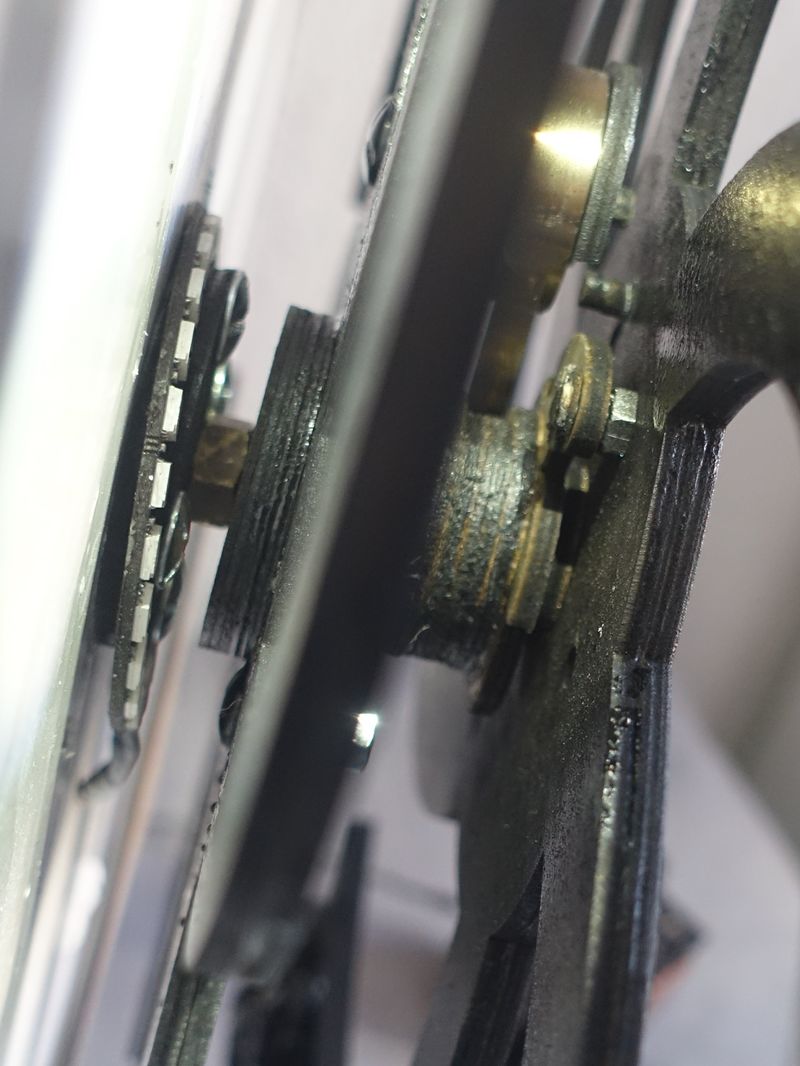
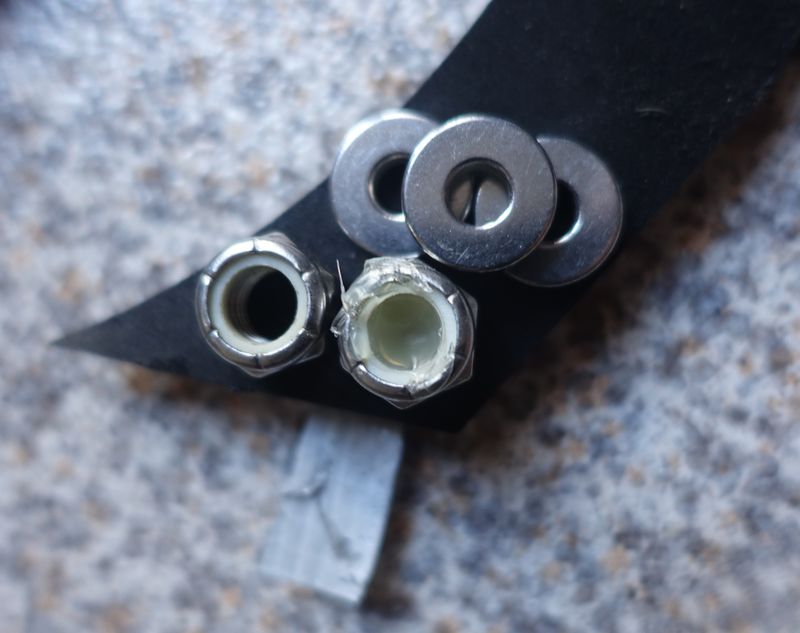
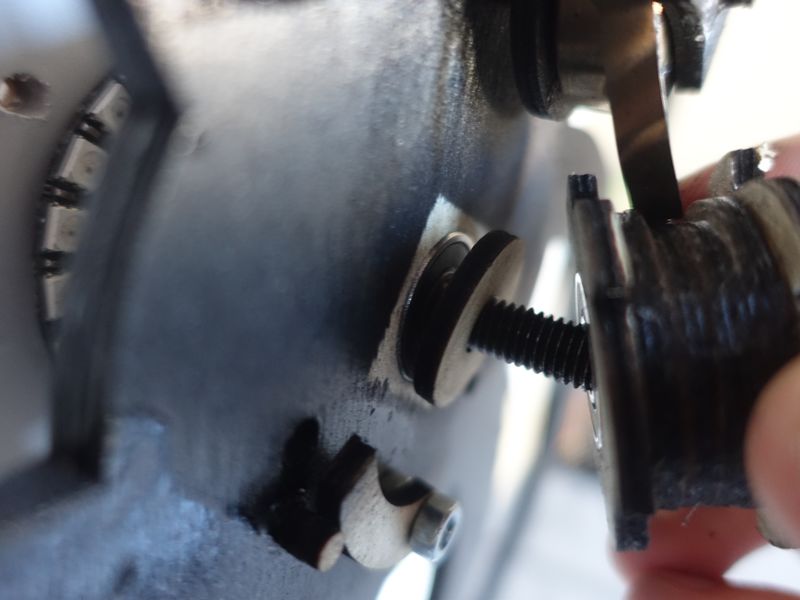
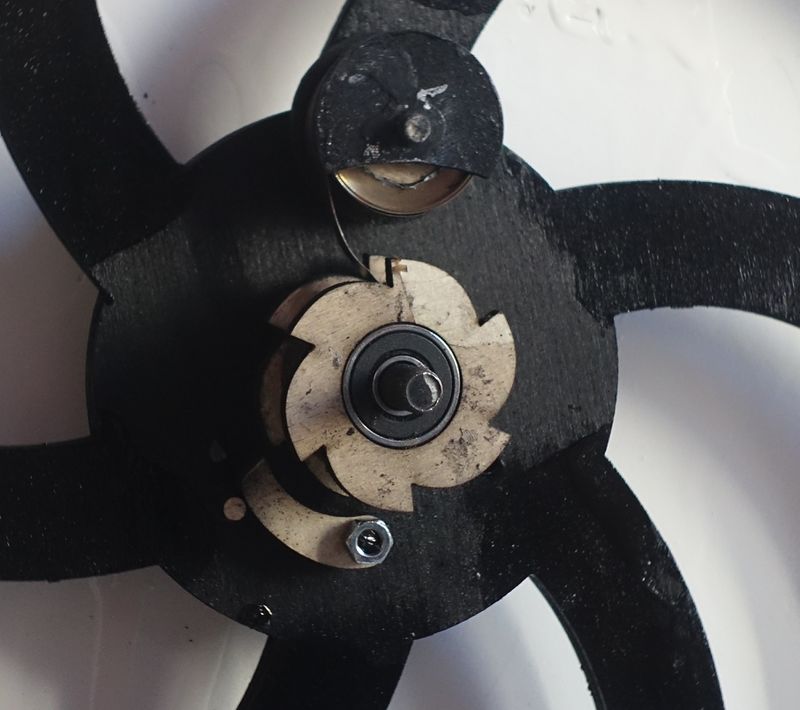
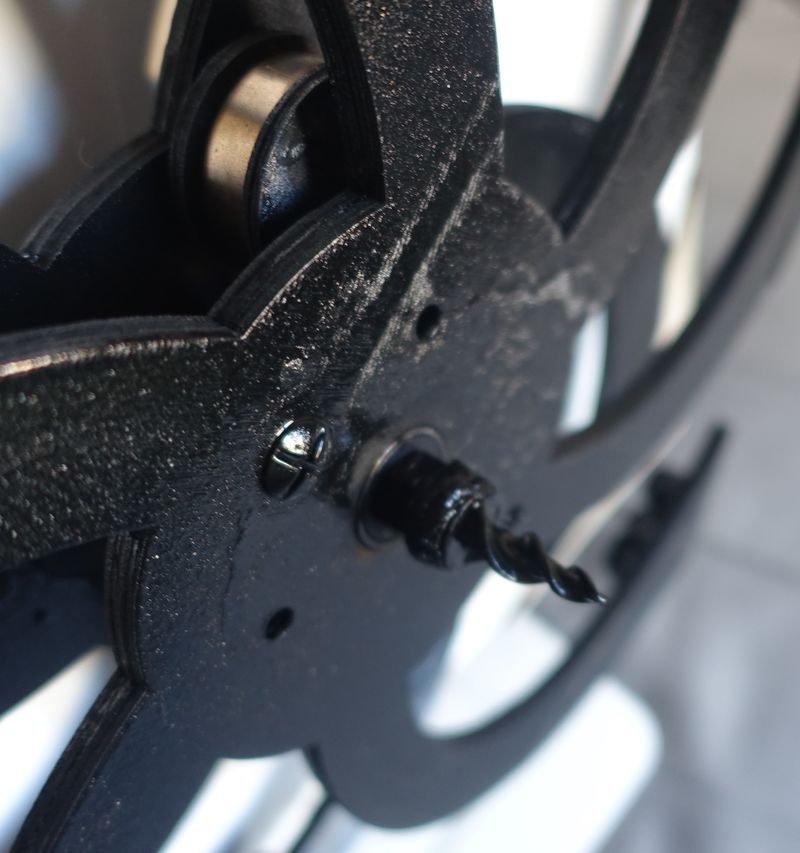
The pawl of the back wheel is placed in front of the external pulley. You fix it using a nut but let it rotate freely. Don't forget to cut the bolt just after the final nut.
The other pawl is fixed using half a piece of wood glued to the bolt but not to the pawl(still needs to move freely). Cut the bolt just after the wood part, it needs to be as short as possible because this is mm sensitive.
The pawls need to rotate on their M5 bolt freely until we glue a small piece of wood to the wheel to stop its course. Check the pictures to see.
Étape 8 - Place the Spring and fix the external pulley
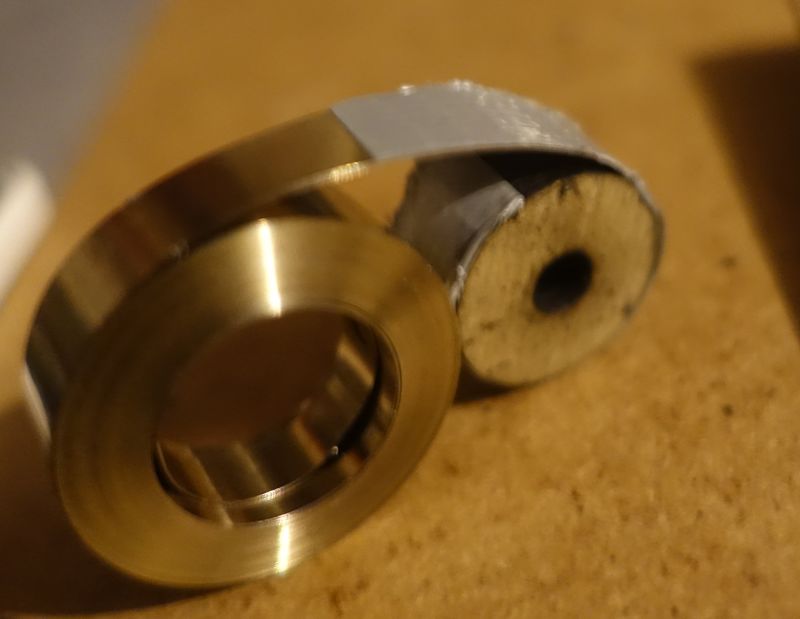
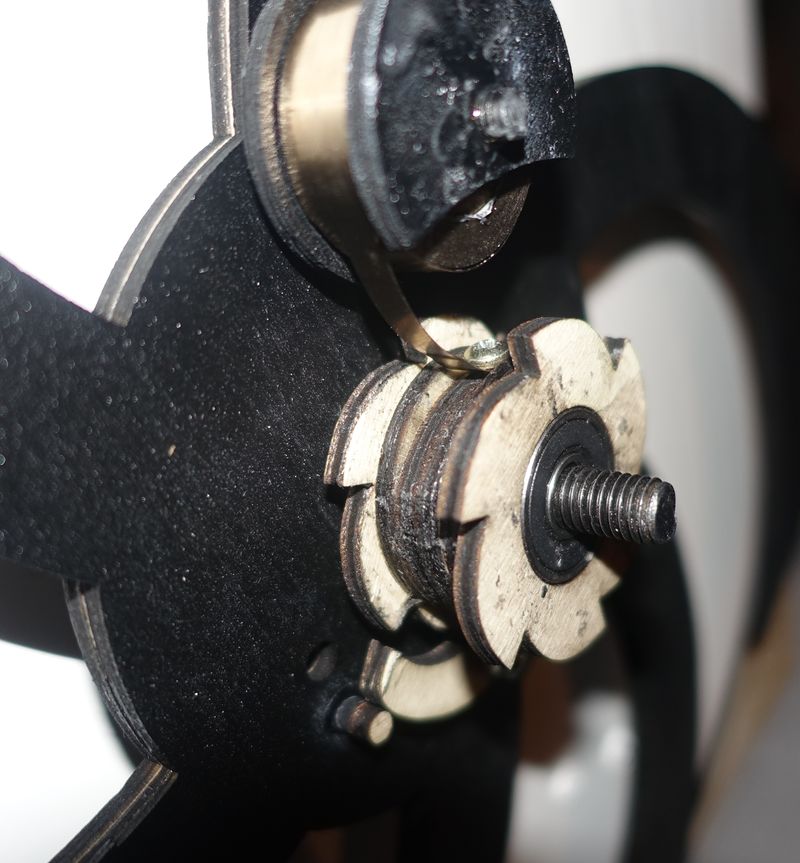
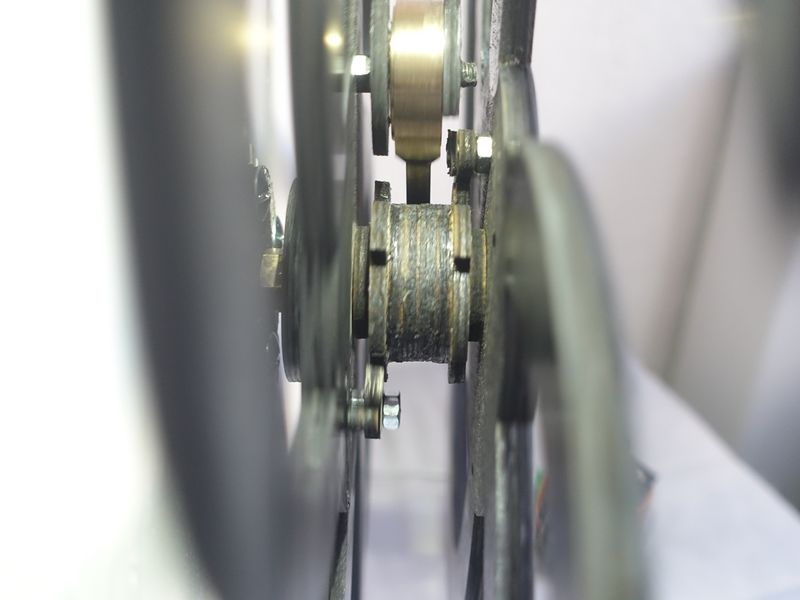
Before putting the spring in place it is important to mark the end of the spring with a piece of tape. This will allow us to check when the spring is almost fully winded and stop before it's too late. Check the pictures :)
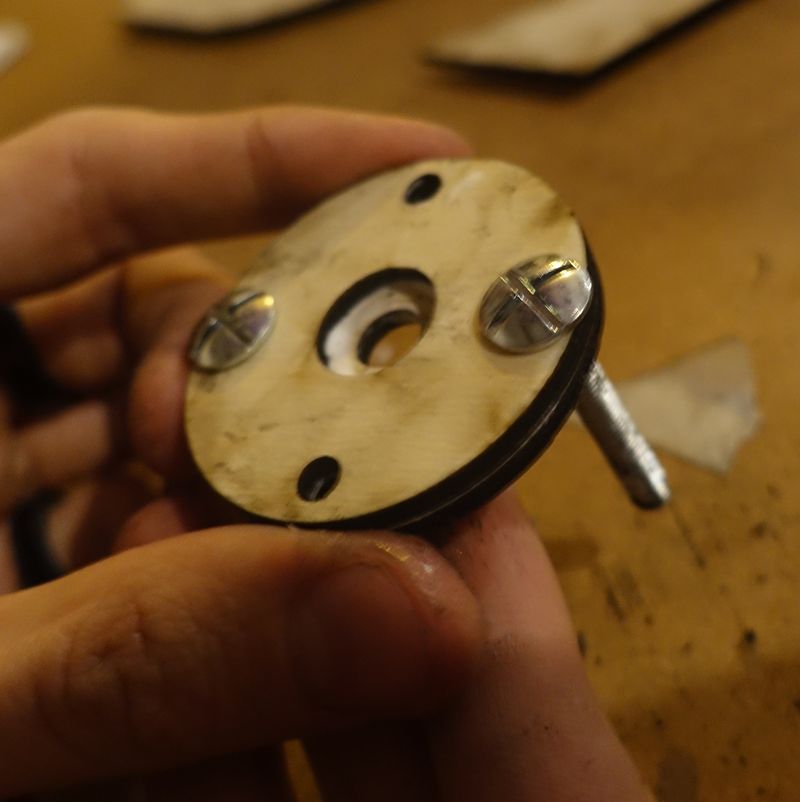
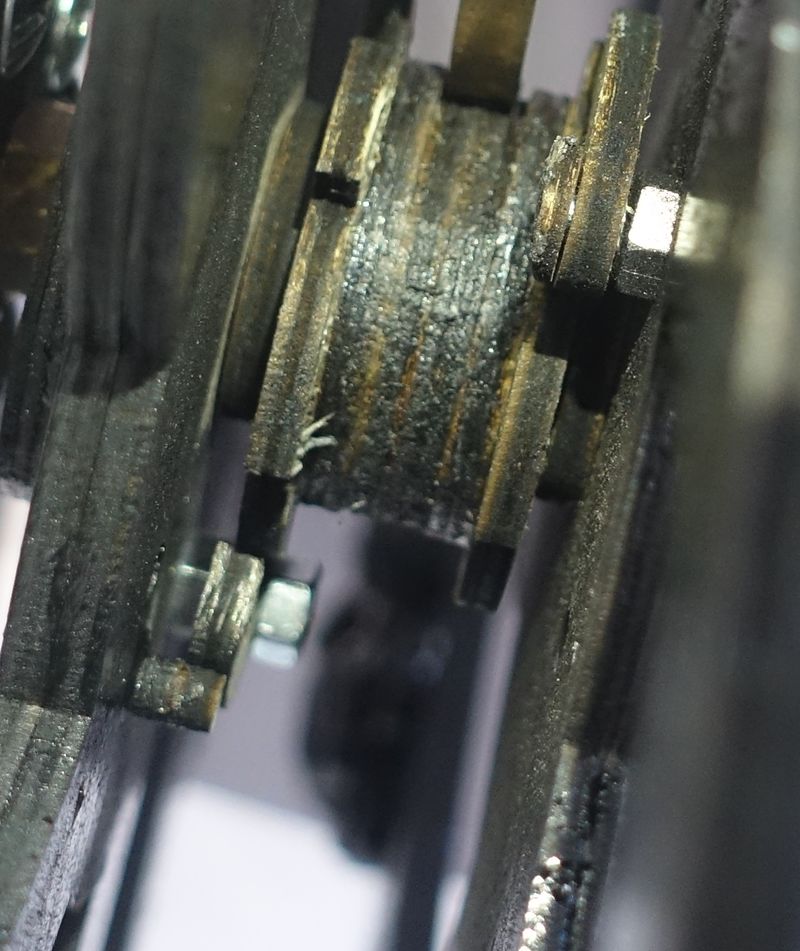
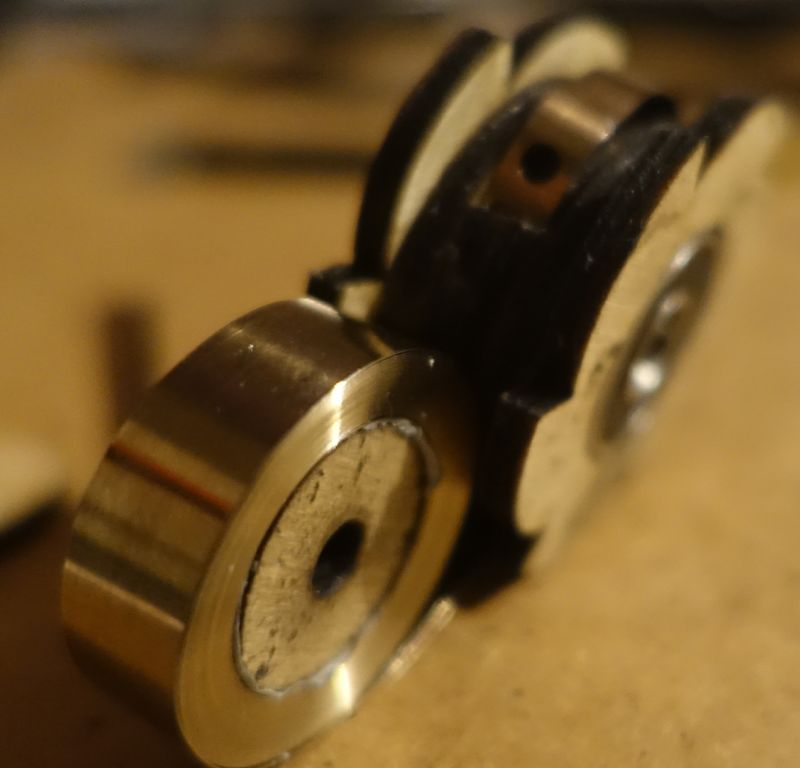
The external pulley is placed on the back wheel: Head of the M5 Bolt/ Back Wheel/ Nut/I/J/J/J/I'.
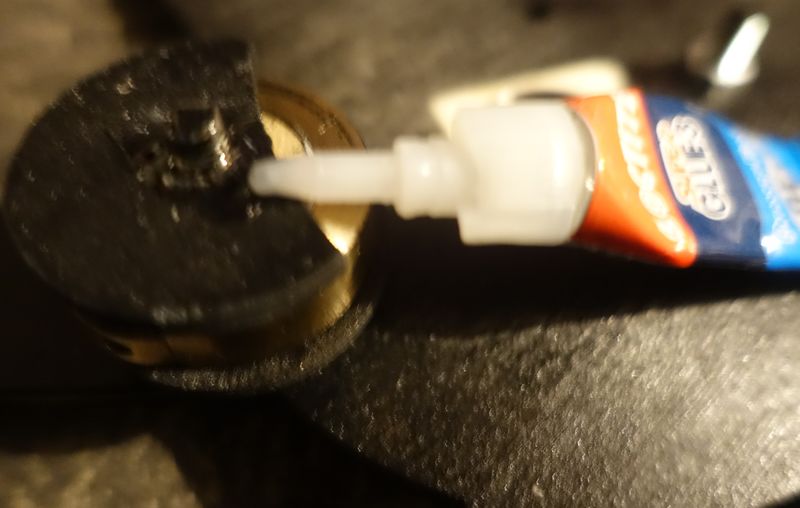
Only the J are glued together to hold the spring. I' is glued to the end of the bolt to stop the spring. Don't forget to cut the bolt.
Étape 9 - Make the Arduino circuit to control the LEDs
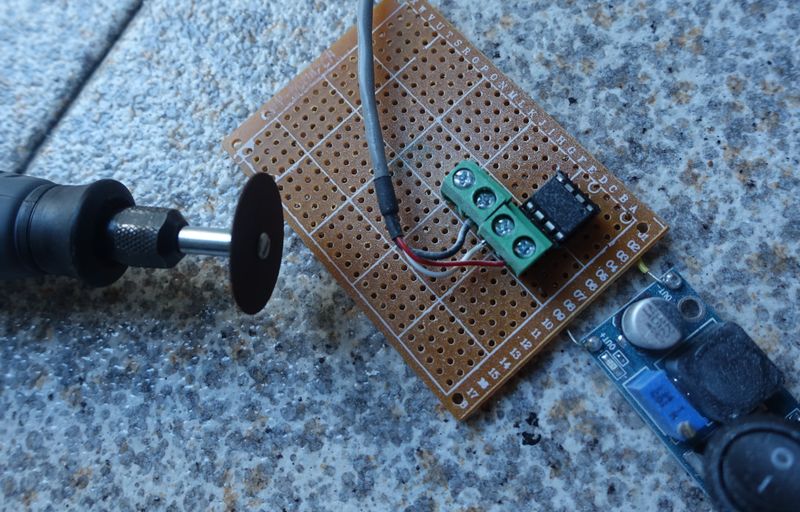
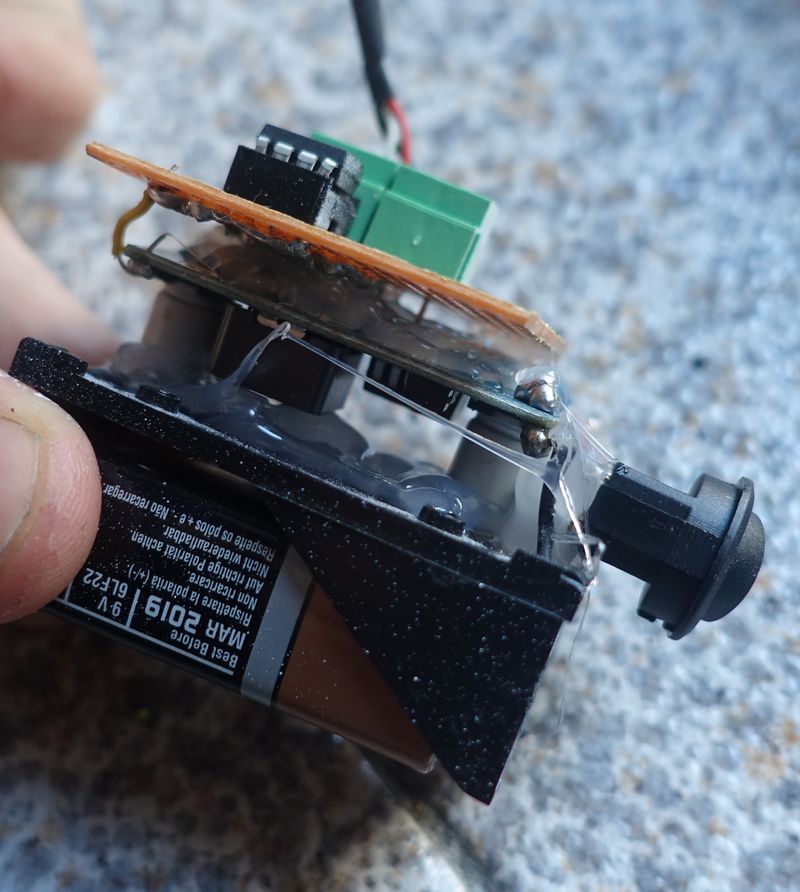
Use an ATTiny, a battery, an ON/OFF Switch and a Voltage Regulator, and of course the Ring of RGB LED.
Étape 10 - Adjust the weights on the wheels
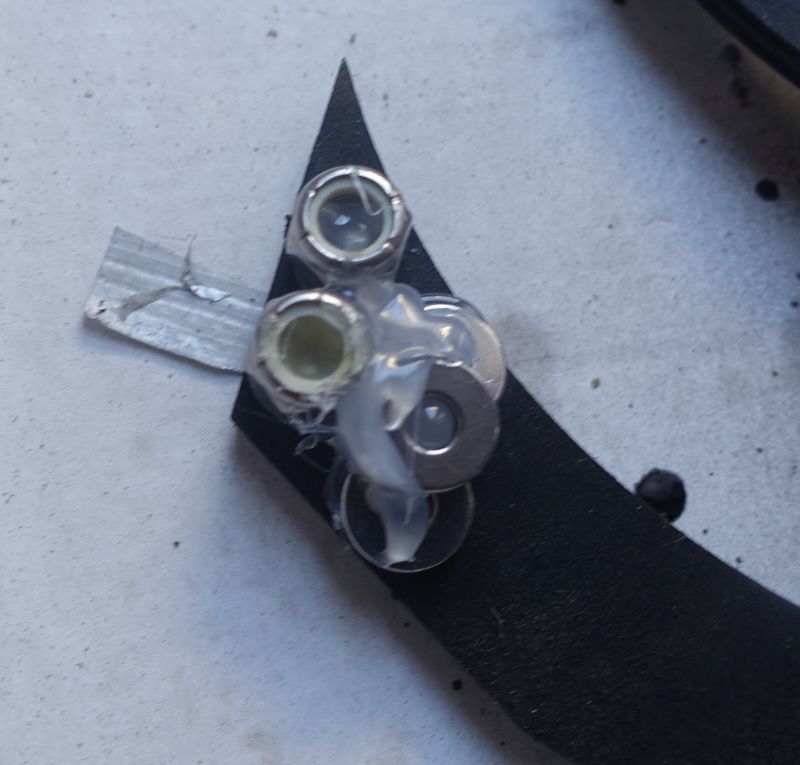
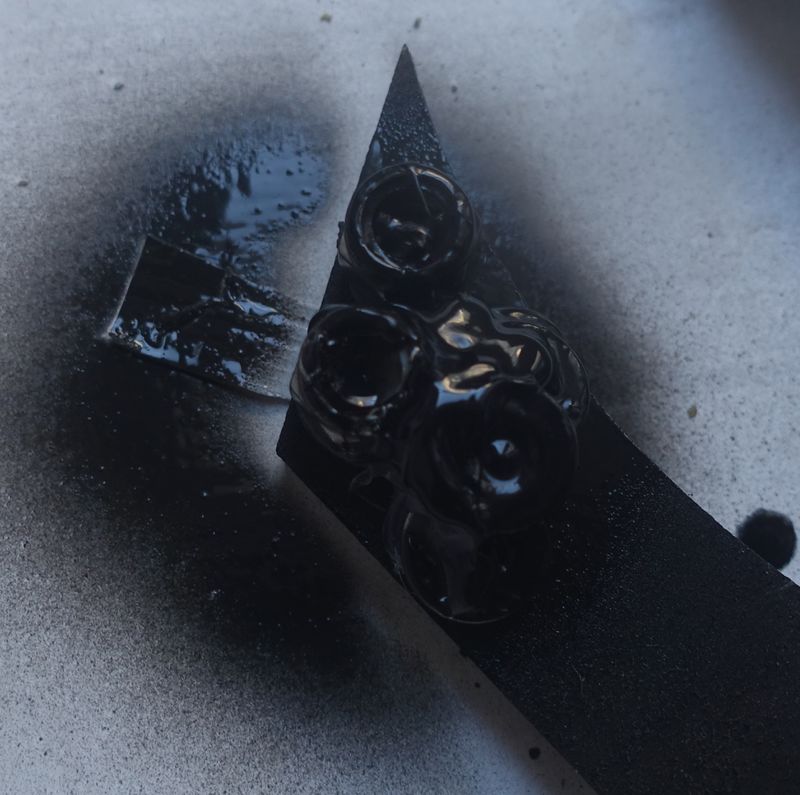
Fix approximately 30 grams of any metal part you can find at the end of the wheels marked by a piece of tape, check the pictures.
Sur la roue nous faisant face on peut fixer un peu plus de poids car il n'y a pas le ressort qui pèse sur cette roue. On peut donc compenser en fixant un autre poids plus léger que les autres à l'opposé pour alourdir la roue.
Test your weight by fixing your weights with tape so you can adjust easily. To test your weight distribution, you need to go to the next step and run your sculpture and see if it does run properly. When you're sure about your setting, glue the weights.
Étape 11 - Align everything in the right order
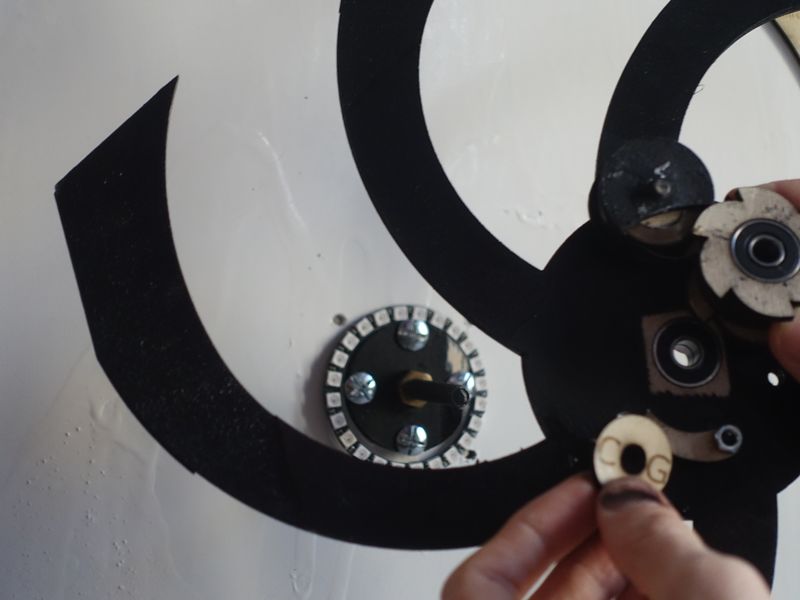
In order: Support with main M8 Bolt/ Nut/ Back Wheel/ CG/ Centered Pulley/ CG/ Front Wheel / Final Nut
See next step to fix the spring before placing the front wheel.
Étape 12 - Fix the spring to the centered pulley
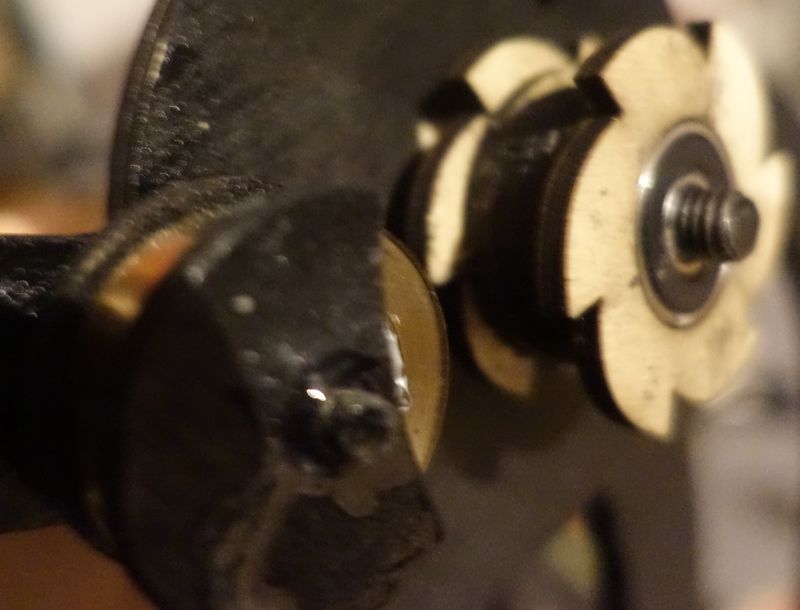
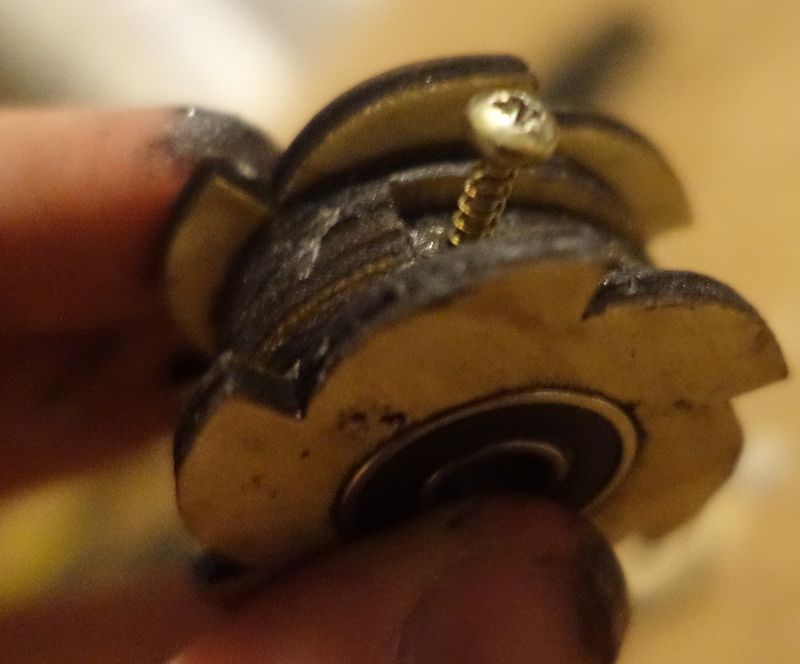
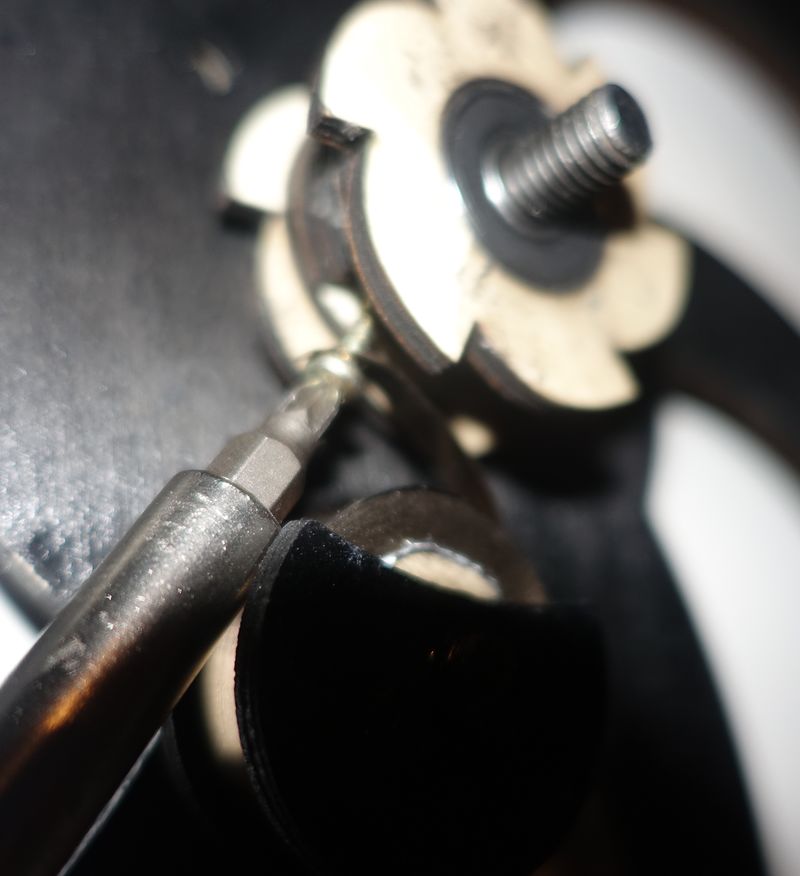
Fix the end of the spring using a 3mm vis(no longer than 10mm) in the center of the centered pulley.
Check pictures
Étape 13 - Watch and Enjoy
To make it works: Hold the back wheel still. Spin the front wheel clockwise, few turns are enough but don't turn more than 20 times(check the tape on the spring). If you come to unwind the spring form the external pulley you'll have to place it back manually by opening the sculpture, be careful.
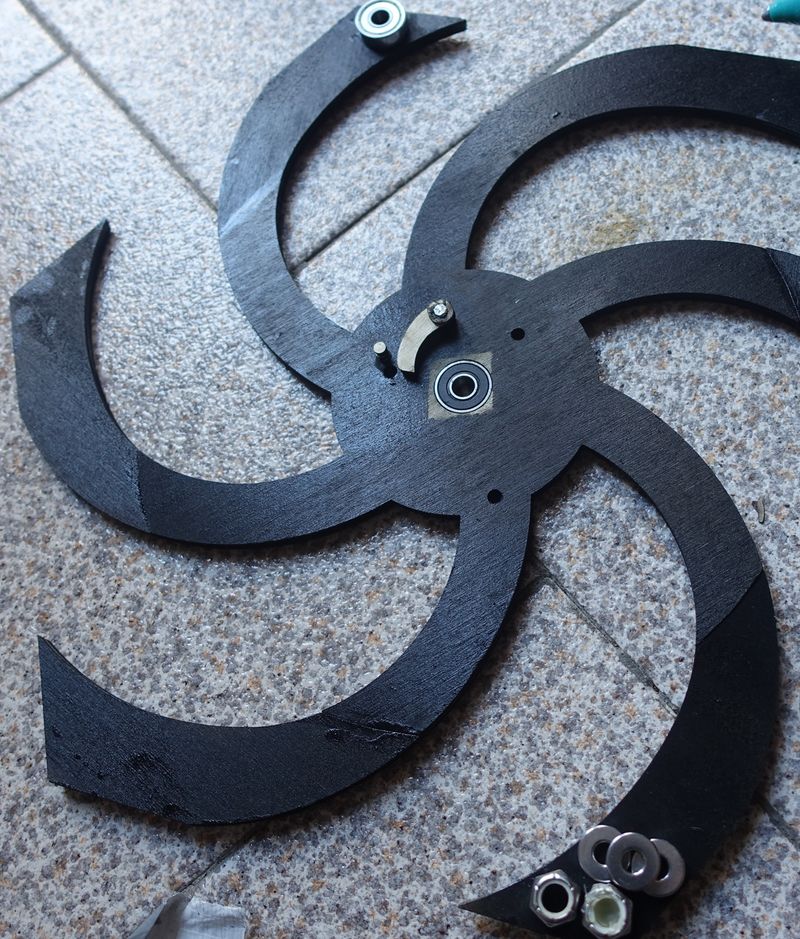
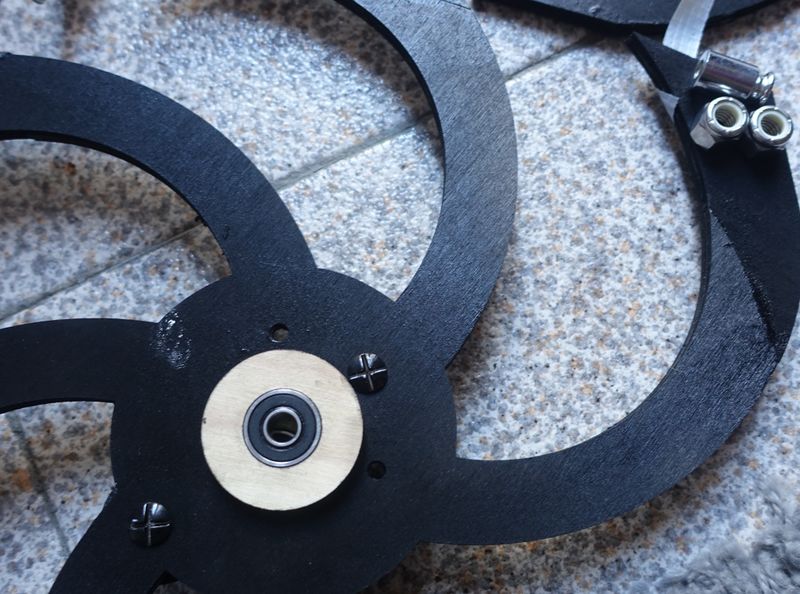
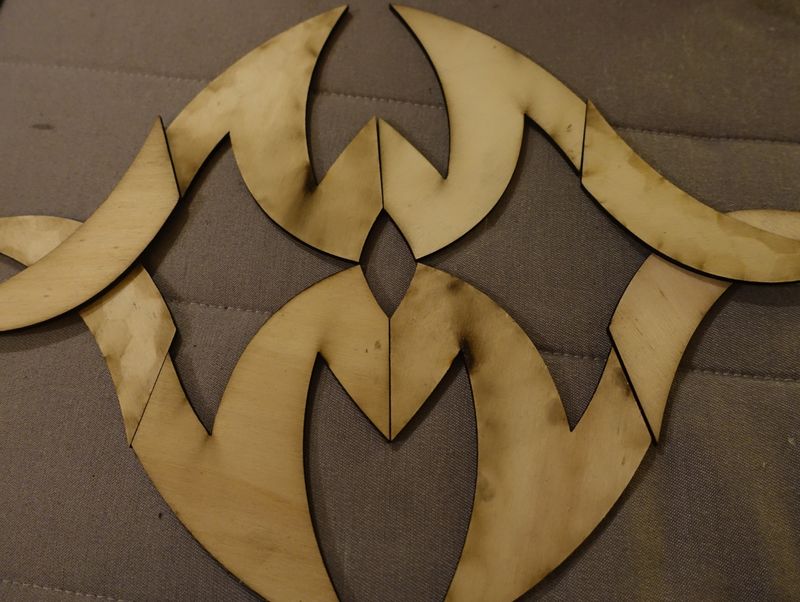
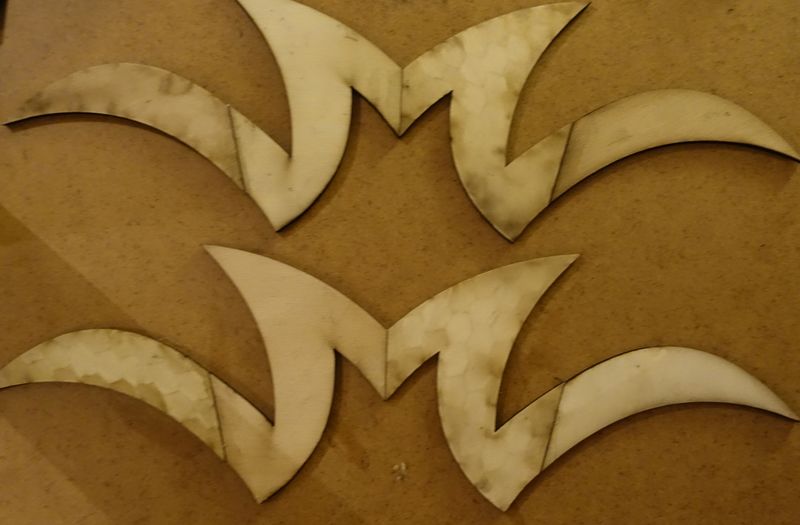
Étape 14 - Check out the perfect scrap parts
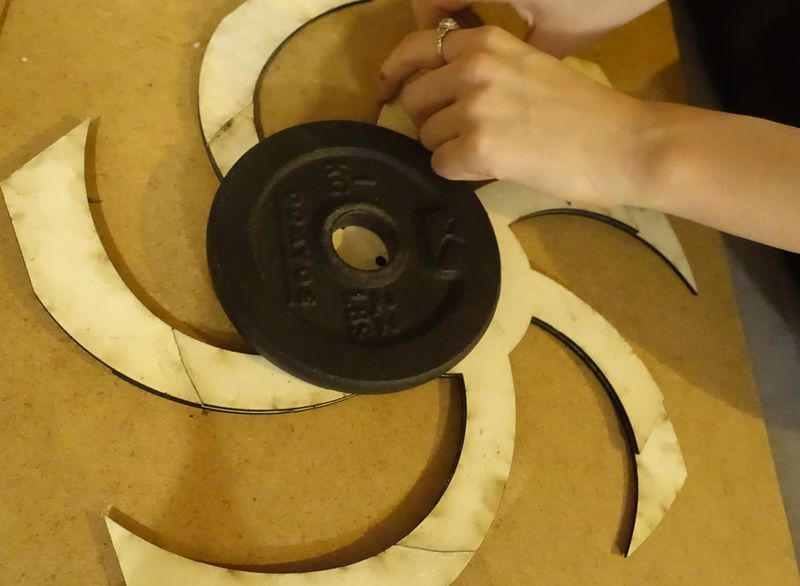
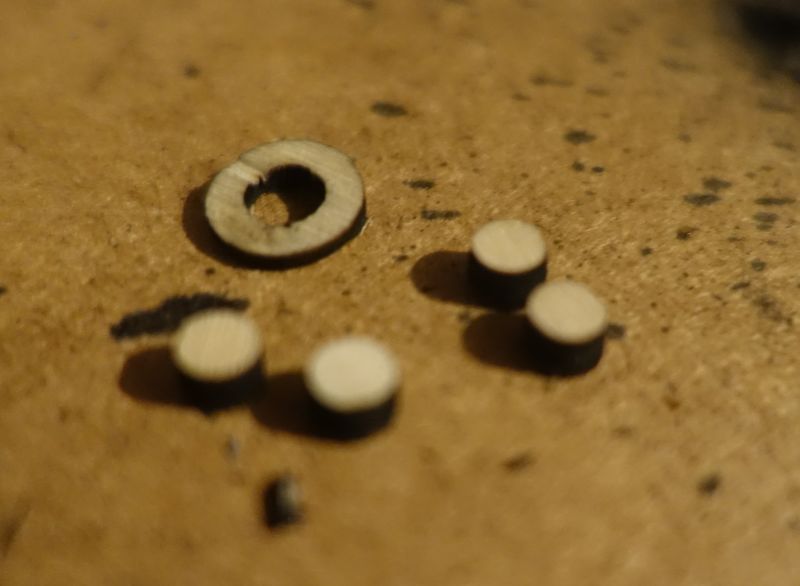
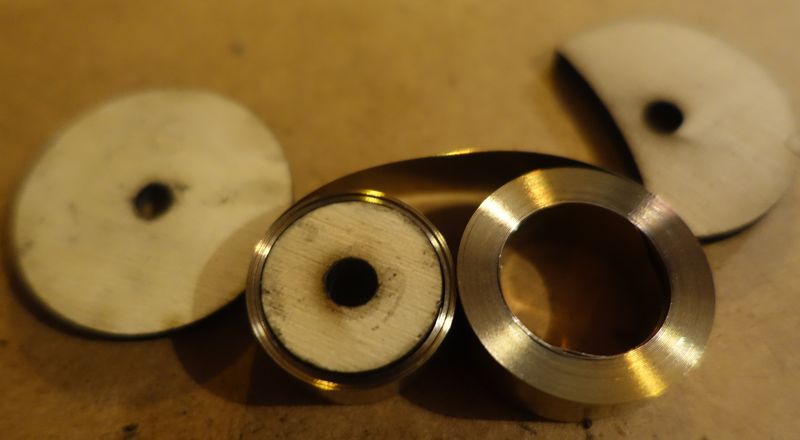
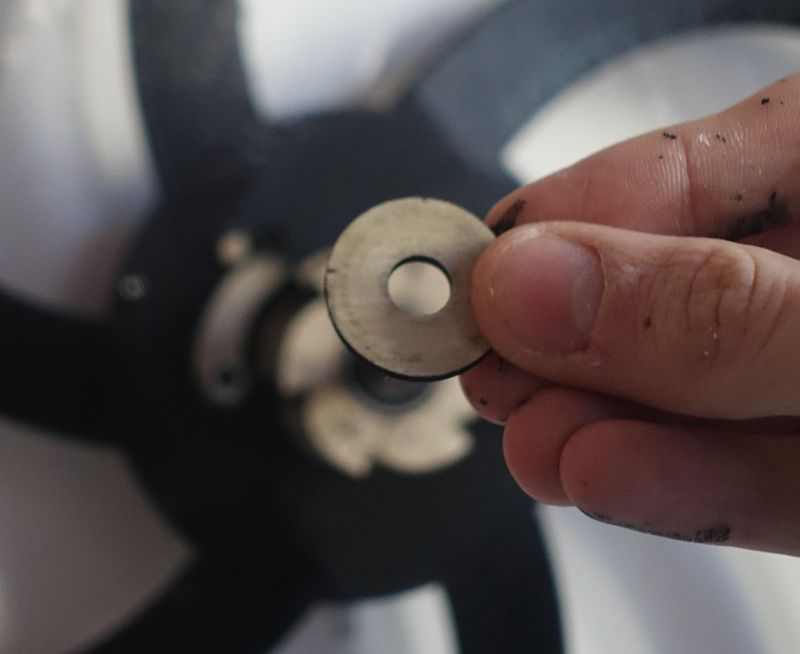
Les chutes de bois principales ont été personnalisé pour avoir des côtés de même longueur et peuvent donc être fixé les unes aux autres pour créer des formes, les possibilités sont Infini.
Par exemple elles peuvent être arrangées pour former un anneau autour de la sculpture si elle est fixée à un mur.
Étape 15 - Maintenance
Pensez à vérifier régulièrement après plusieurs utilisations que la vis fixant le ressort à la poulie intérieure ne s'échappe pas, revisser si nécessaire.
Changer la pile du montage Arduino lorsque les LED ne s'allument presque plus.
Yes


 Français
 English
 Deutsch
 Español
 Italiano
 Português