(Cette version a été marquée pour être traduite) |
(set pageLanguageSource property) |
||
| Ligne 1 : | Ligne 1 : | ||
{{ {{tntn|Tuto Details}} | {{ {{tntn|Tuto Details}} | ||
| − | |SourceLanguage= | + | |SourceLanguage=none |
|Language=en | |Language=en | ||
|IsTranslation=0 | |IsTranslation=0 | ||
Version du 19 septembre 2017 à 16:01
Sommaire
- 1 Étape 1 - Cut balsuters
- 2 Étape 2 - Sand down the rough edges
- 3 Étape 3 - Build the form for the concrete table top
- 4 Étape 4 - Seal and clean the form
- 5 Étape 5 - Mix and pour the concrete
- 6 Étape 6 - Pack down the concrete and vibrate the form
- 7 Étape 7 - Let the concrete cure
- 8 Étape 8 - Remove the form
- 9 Étape 9 - Build the Base
- 10 Étape 10 - Put on the top
- 11 Notes et références
- 12 Commentaires
Étape 1 - Cut balsuters
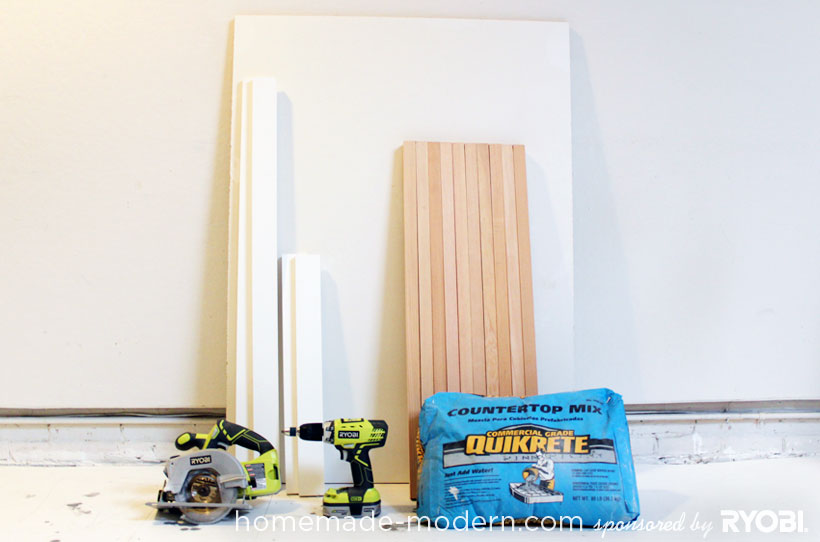
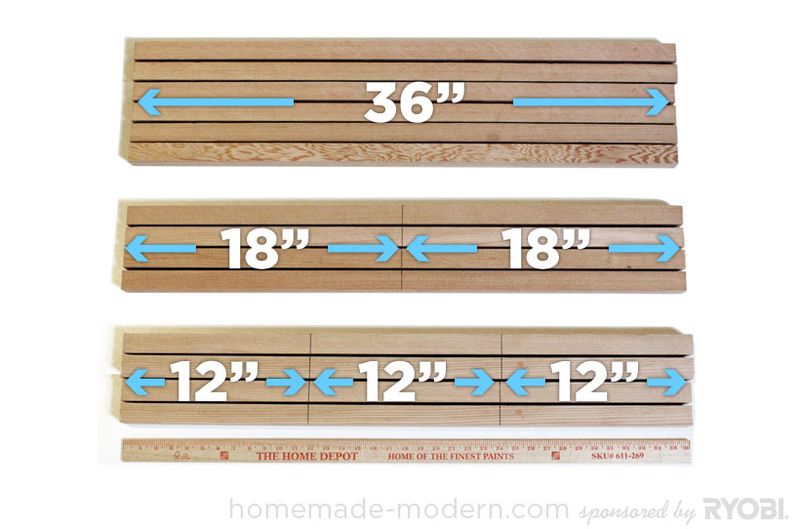
Use a circular saw to cut four balusters into 12” length pieces and another four balusters into 18” length pieces.
Étape 2 - Sand down the rough edges
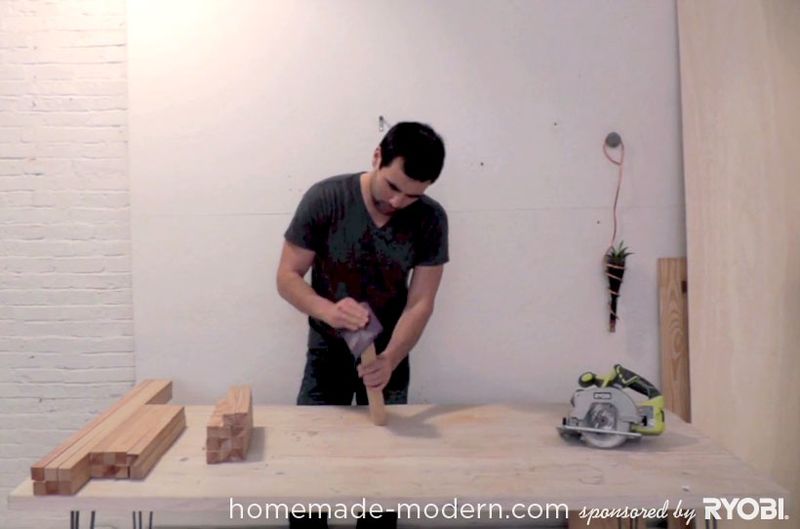
A few passes of sand paper are all that it takes to clean up the edges of the cut balusters.
Étape 3 - Build the form for the concrete table top
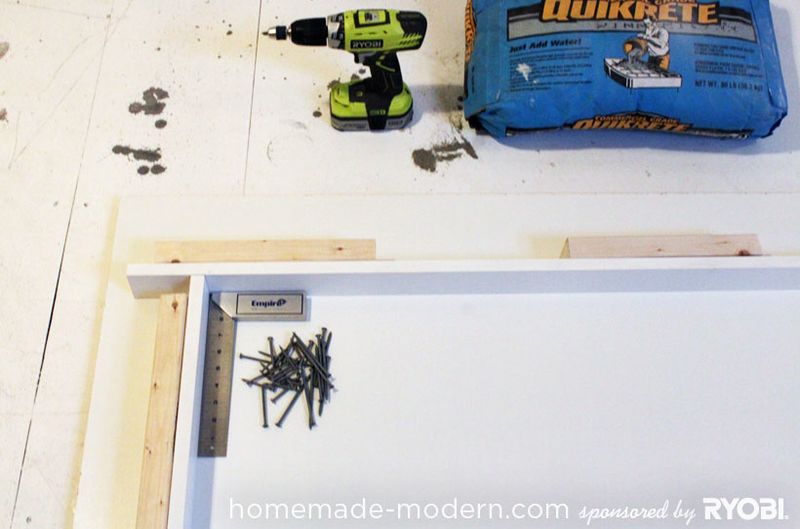
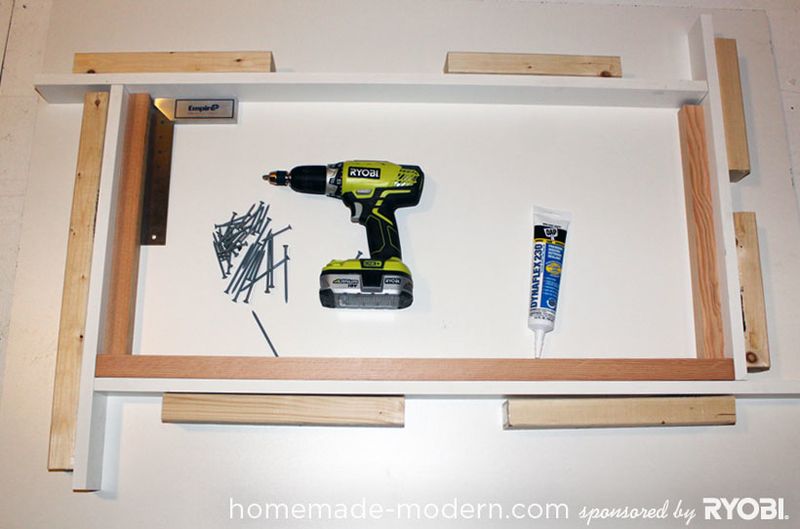
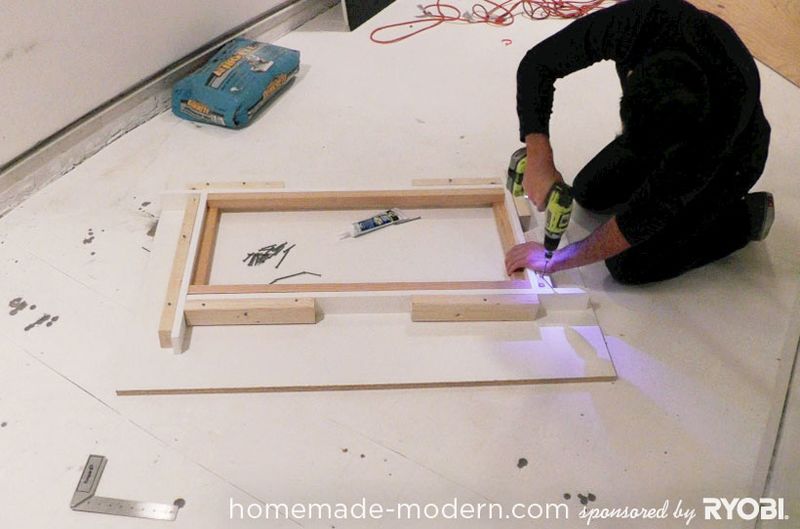
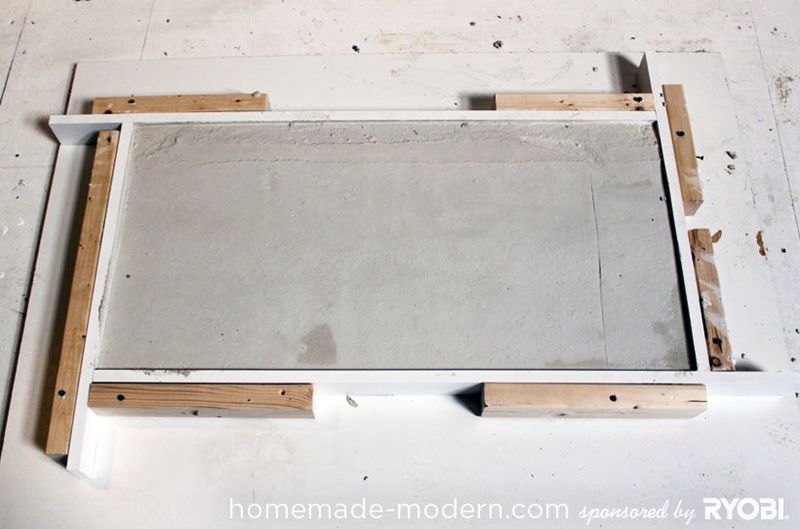
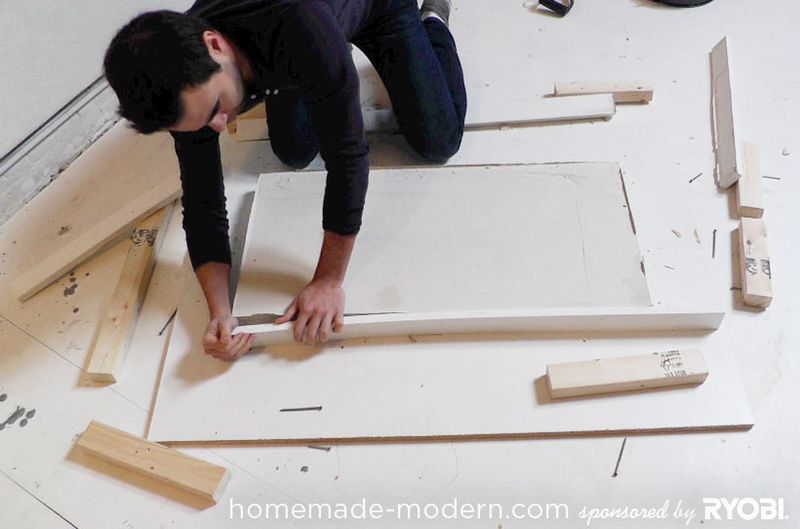
The top should be 18” by 36” but use the balusters you cut and a right angle square to layout the top. Use scrap 2x4s or 2x2s as braces for screwing the melamine together.
Étape 4 - Seal and clean the form
Use latex or silicone caulk to seal the form. Once the caulking is dry, wipe the form to remove dust and dirt before pouring in the concrete.
Étape 5 - Mix and pour the concrete
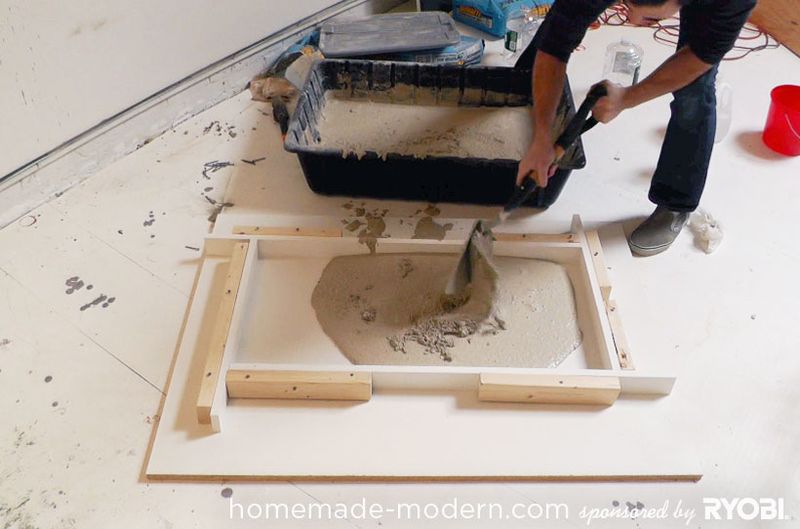
It's easy to work with the white concrete mix and has no large pieces of aggregate. This mix is easier to work with but sets up faster so you'll need to work quickly. I used about 1 ½ bags and didn’t use any reinforcement. The top came out about 2” thick and is quite strong.
Étape 6 - Pack down the concrete and vibrate the form
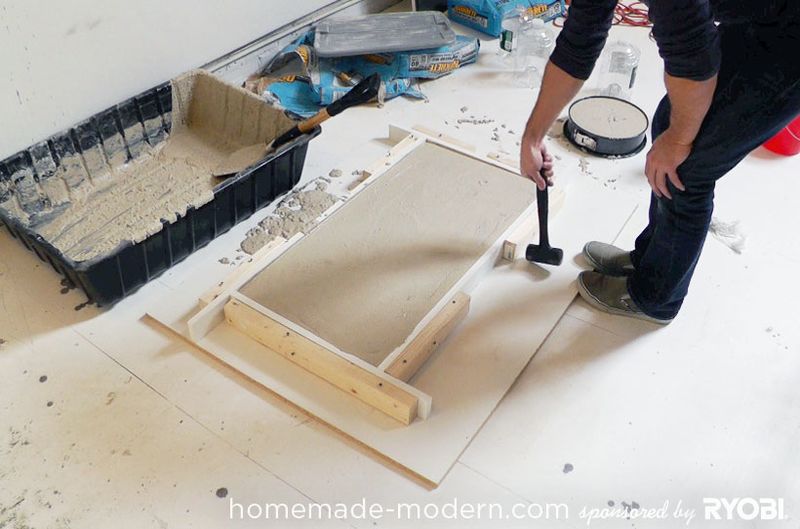
Make sure the wet concrete is pack down into every corner and vibrate the form with a hammer.
Étape 7 - Let the concrete cure
Let the concrete cure for at least 48 hours before removing the form. The manufacturer suggests covering the concrete to control moisture but I didn't and it came out just fine.
Étape 8 - Remove the form
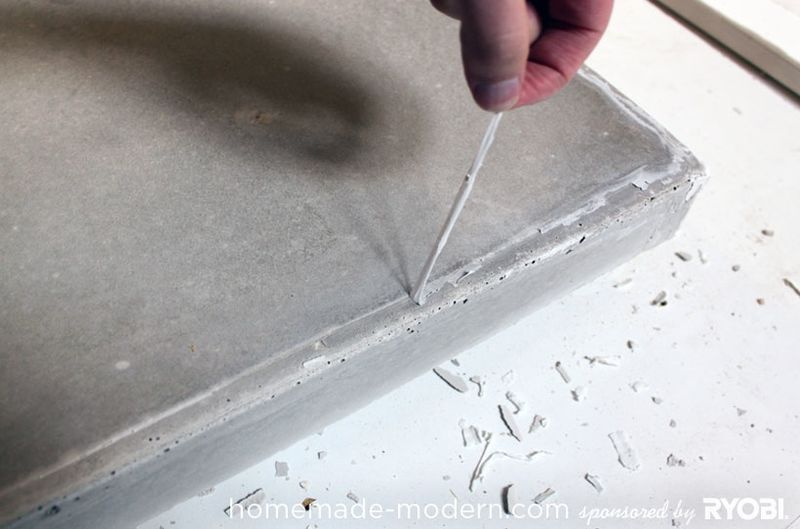
Unscrew the formwork and scrap off any of the caulk that is stuck to the concrete.
Étape 9 - Build the Base
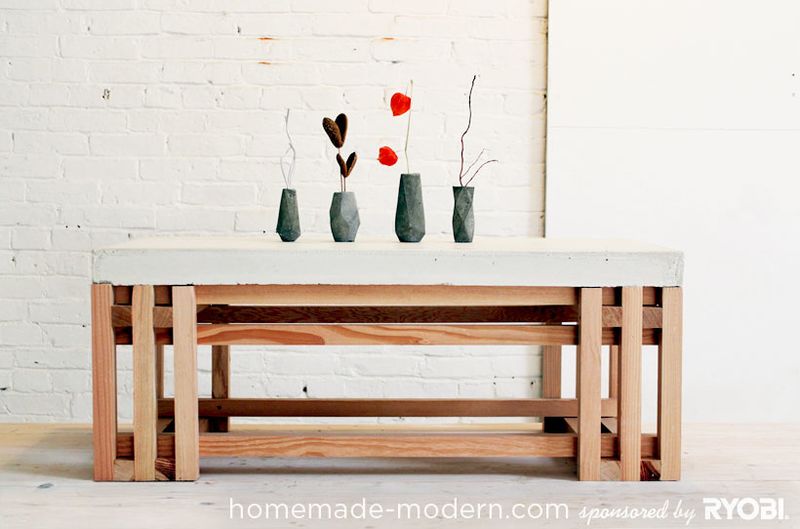
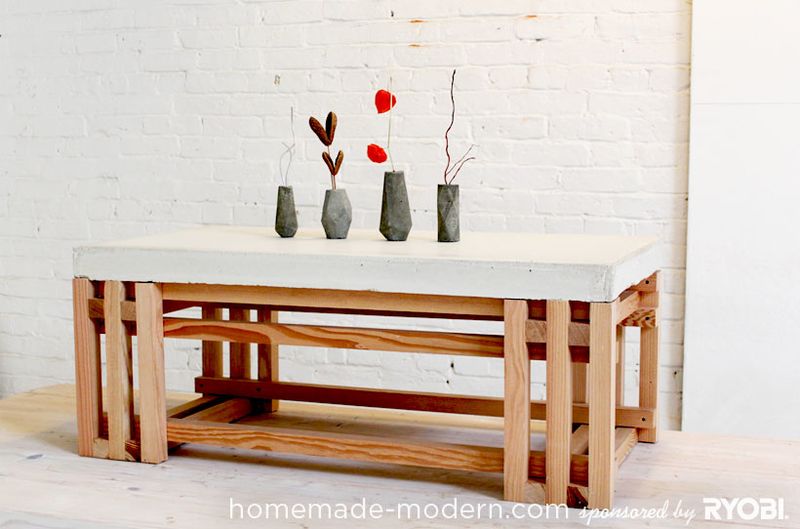
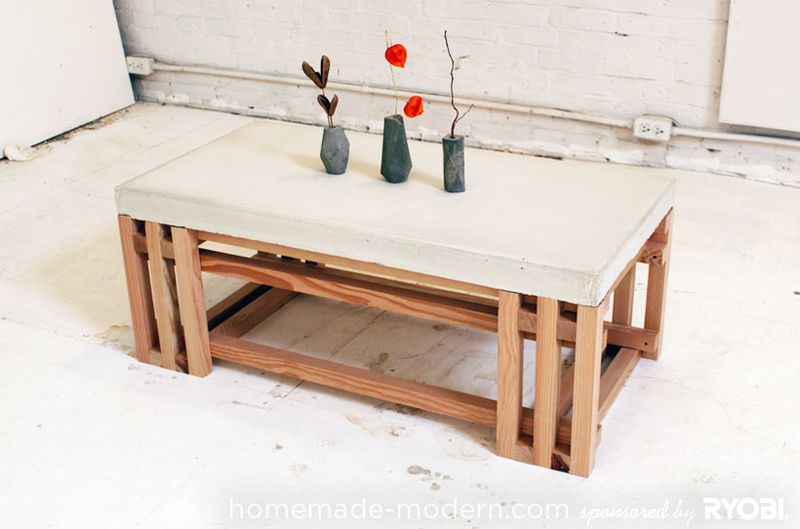
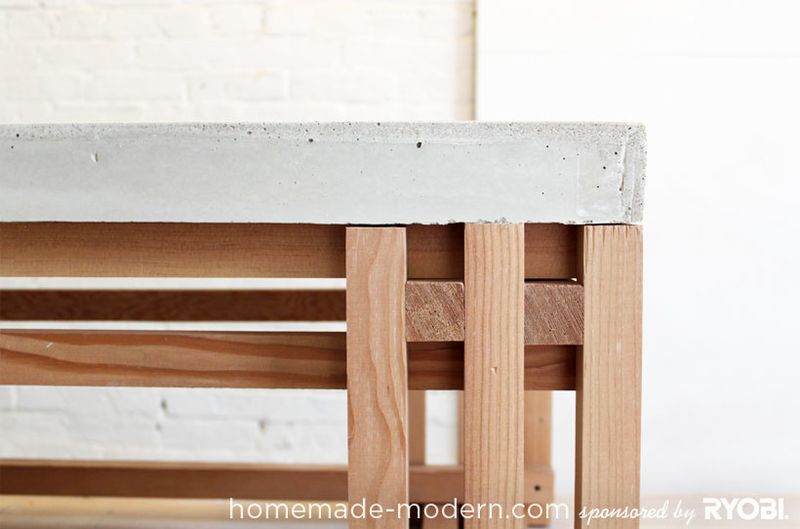
I used 1 screw in each side of each baluster. Even though each joint by itself isn't strong the resulting framework is quite sturdy. To keep the balusters from splitting drill pilot holes before screwing.
Étape 10 - Put on the top
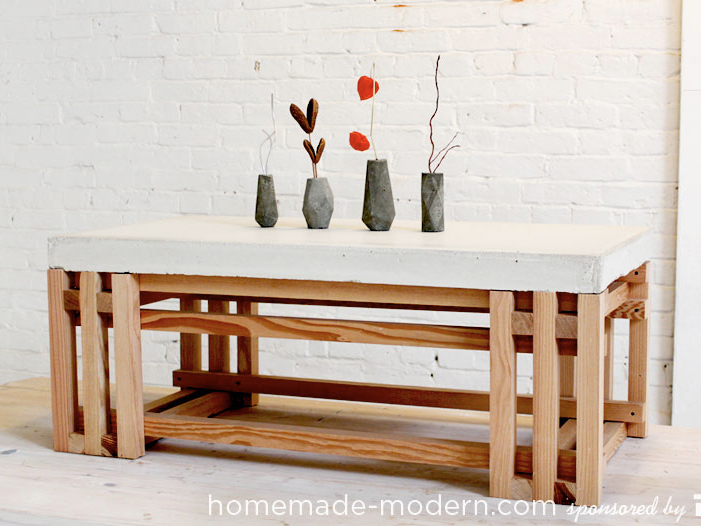
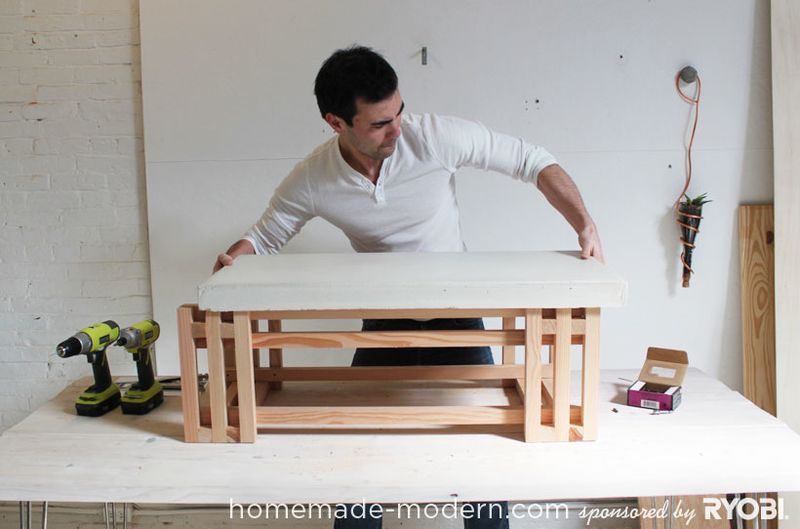
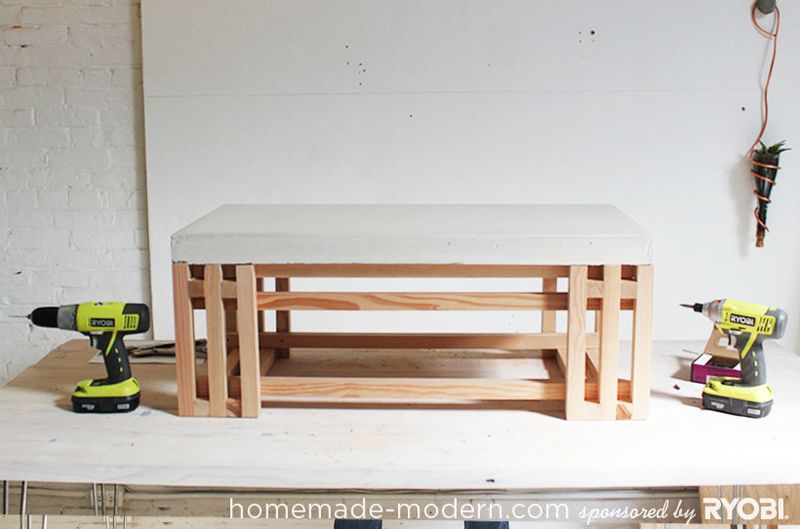
The concrete top is quite heavy and doesn’t slide but I put a couple screws up through the wood and into the concrete about 3/8” anyway.
Notes et références
- This project is also available on my blog
- Watch the video tutorial of this standing desk on my Youtube channel
Yes
 Français
 English
 Deutsch
 Español
 Italiano
 Português