| Ligne 43 : | Ligne 43 : | ||
{{Tuto Step | {{Tuto Step | ||
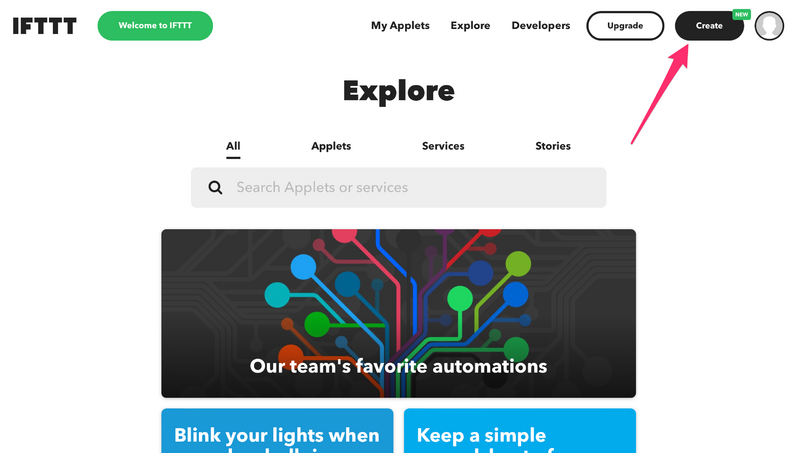
|Step_Title=<translate>Create a new applet</translate> | |Step_Title=<translate>Create a new applet</translate> | ||
| − | |Step_Content=<translate>First, click create in the upper right hand corner | + | |Step_Content=<translate>First, click '''create''' in the upper right hand corner |
| − | |||
<br /></translate> | <br /></translate> | ||
|Step_Picture_00=ESP32___DHT22___IFTTT_Explore_Integrations_-_IFTTT.png | |Step_Picture_00=ESP32___DHT22___IFTTT_Explore_Integrations_-_IFTTT.png | ||
| − | | | + | }} |
| + | {{Tuto Step | ||
| + | |Step_Title=<translate>set up applet</translate> | ||
| + | |Step_Content=<translate>Then, hit '''Add''' next to '''IF THIS'''</translate> | ||
| + | |Step_Picture_00=ESP32_DHT22_IFTTT_Create_-_IFTTT.png | ||
| + | }} | ||
| + | {{Tuto Step | ||
| + | |Step_Title=<translate>Select webhooks</translate> | ||
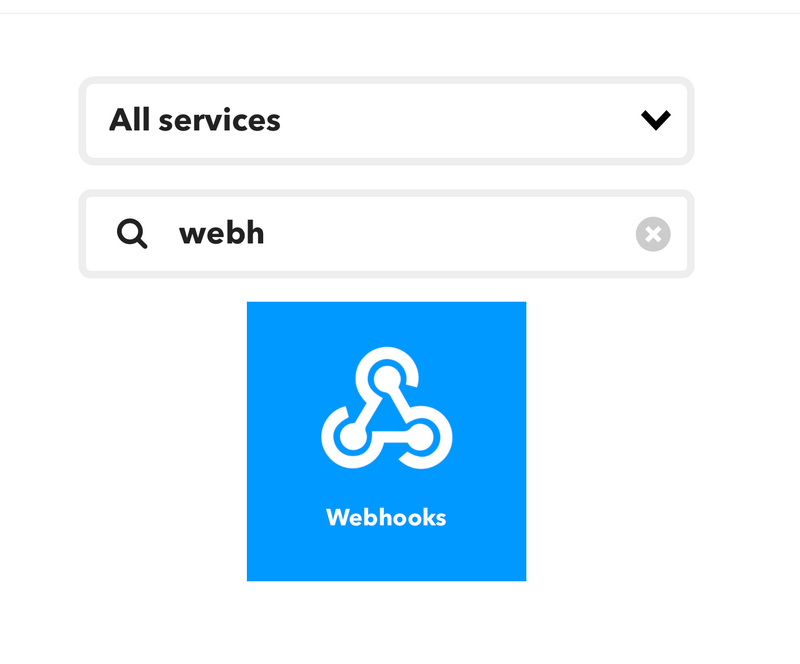
| + | |Step_Content=<translate>Once you are on choose a service, type in '''Webhooks''' in the search bar and click Webhooks</translate> | ||
| + | |Step_Picture_00=ESP32___DHT22___IFTTT_Screenshot_1_14_23__10_56_AM.png | ||
| + | }} | ||
| + | {{Tuto Step | ||
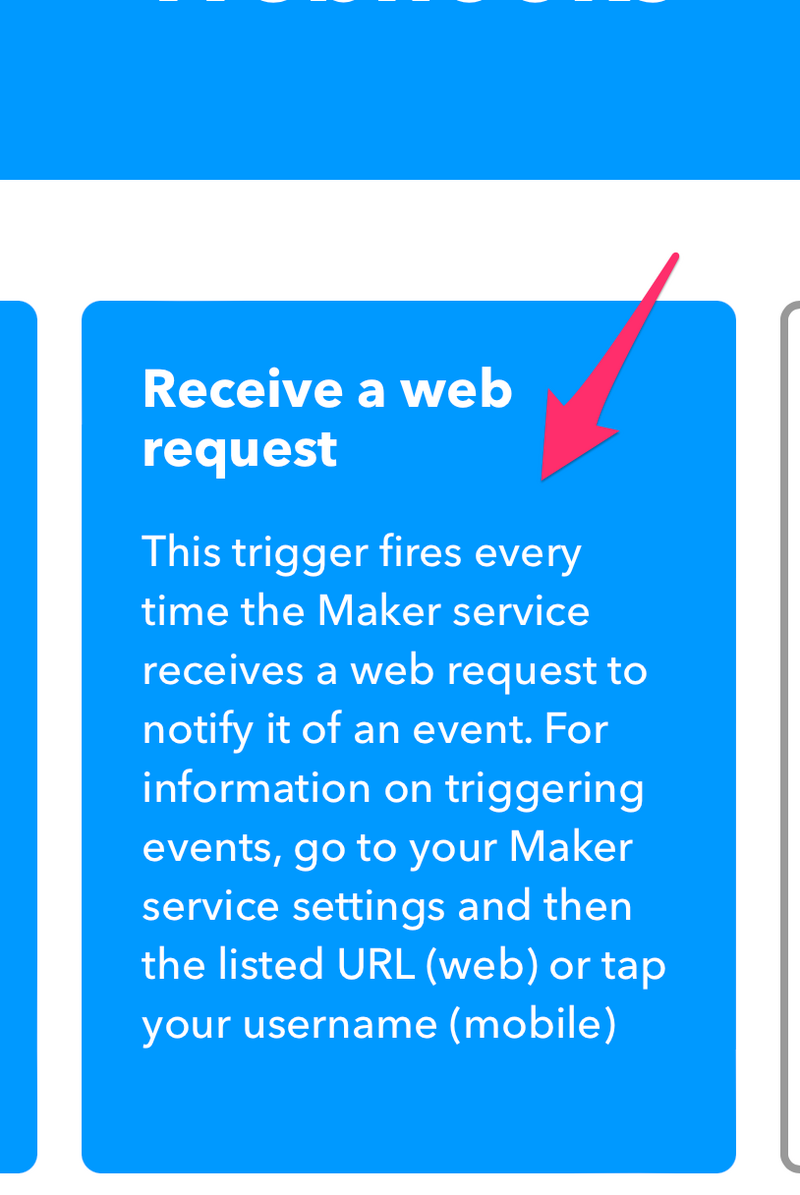
| + | |Step_Title=<translate>Select request type</translate> | ||
| + | |Step_Content=<translate>On webhooks, select '''receive a web request'''</translate> | ||
| + | |Step_Picture_00=ESP32___DHT22___IFTTT_Create_-_IFTTT.png | ||
| + | }} | ||
| + | {{Tuto Step | ||
| + | |Step_Title=<translate>Set up Webhooks Account</translate> | ||
| + | |Step_Content=<translate>- If you already have a webhooks account, skip this step | ||
| + | |||
| + | |||
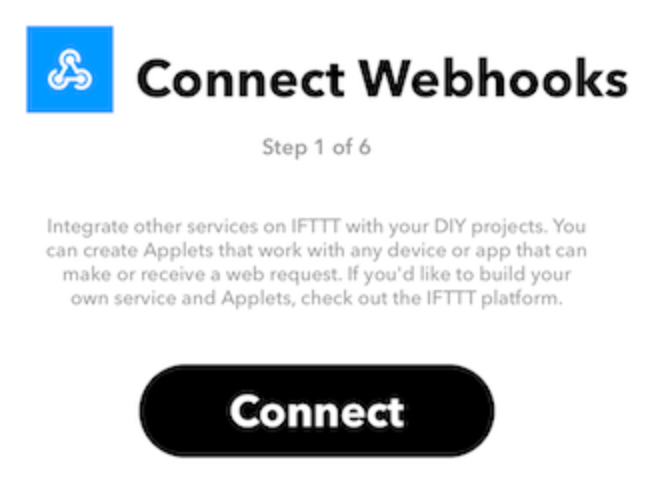
| + | Otherwise, click the '''connect''' button and follow the steps on their website to create a webhooks account</translate> | ||
| + | |Step_Picture_00=ESP32___DHT22___IFTTT_Send_Notifications_from_ESP32_to_Telegram_with_IFTTT___GPIO_CC_Learning.png | ||
| + | }} | ||
| + | {{Tuto Step | ||
| + | |Step_Title=<translate>Name event for trigger</translate> | ||
| + | |Step_Content=<translate>Name the event for the trigger '''esp32''' (it is case sensitive so be careful)</translate> | ||
| + | |Step_Picture_00=ESP32___DHT22___IFTTT_NameEsp32event.png | ||
| + | }} | ||
| + | {{Tuto Step | ||
| + | |Step_Title=<translate>Set up reaction</translate> | ||
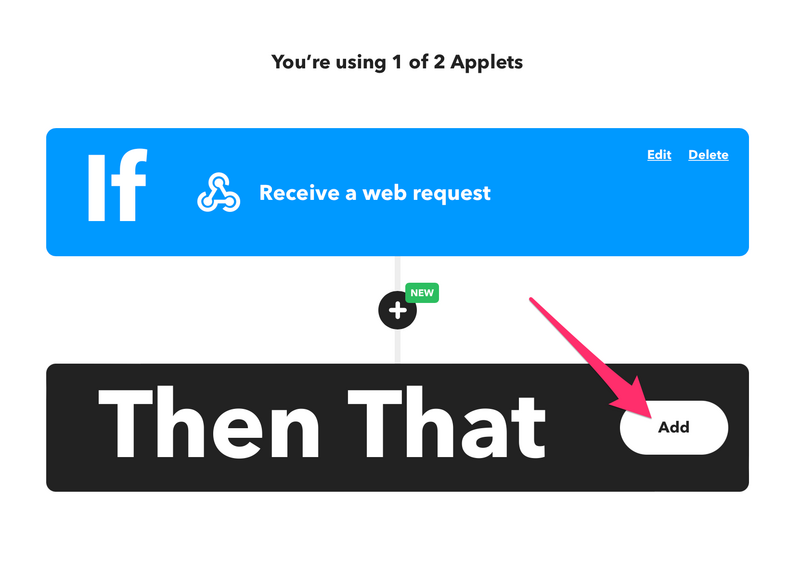
| + | |Step_Content=<translate>Once the trigger is set up, click '''Add''' next to '''Then That'''</translate> | ||
| + | |Step_Picture_00=ESP32___DHT22___IFTTT_Screenshot_1_14_23__11_07_AM.png | ||
| + | }} | ||
| + | {{Tuto Step | ||
| + | |Step_Title=<translate>Select google sheets</translate> | ||
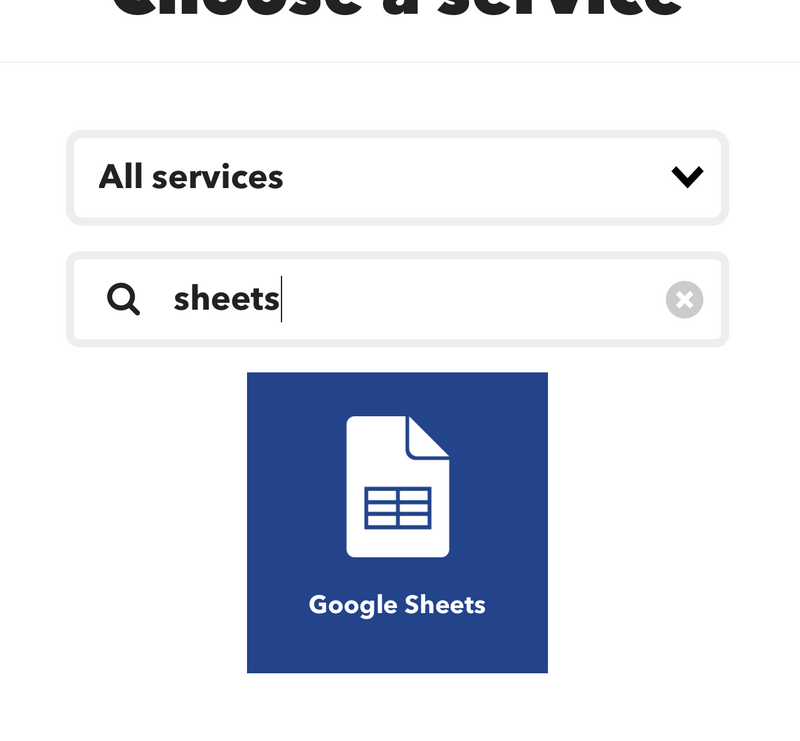
| + | |Step_Content=<translate>In the search bar, search '''sheets''' and click '''google sheets'''</translate> | ||
| + | |Step_Picture_00=ESP32___DHT22___IFTTT_Screenshot_1_14_23__11_09_AM.png | ||
| + | }} | ||
| + | {{Tuto Step | ||
| + | |Step_Title=<translate>Set up sheets</translate> | ||
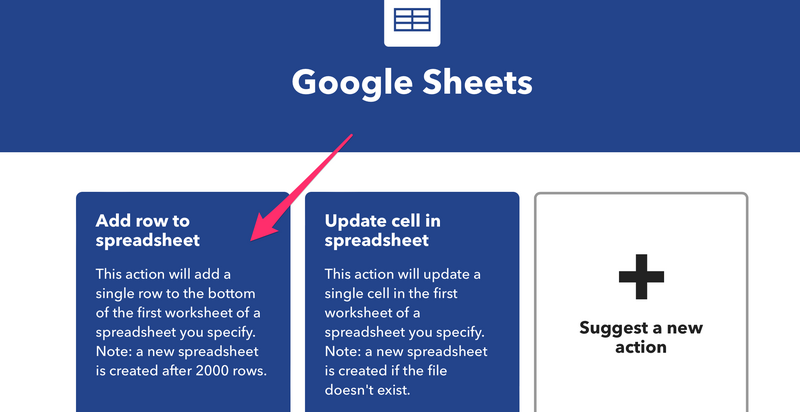
| + | |Step_Content=<translate>Select '''Add row to spreadsheet'''</translate> | ||
| + | |Step_Picture_00=ESP32___DHT22___IFTTT_Screenshot_1_14_23__11_10_AM.png | ||
| + | }} | ||
| + | {{Tuto Step | ||
| + | |Step_Title=<translate>Connect to sheets</translate> | ||
| + | |Step_Content=<translate>Click the '''Connect''' button</translate> | ||
| + | |Step_Picture_00=ESP32___DHT22___IFTTT_Screenshot_1_14_23__11_12_AM.png | ||
| + | }} | ||
| + | {{Tuto Step | ||
| + | |Step_Title=<translate>Sign in using gmail</translate> | ||
| + | |Step_Content=<translate>Use your gmail to sign in to sheets</translate> | ||
}} | }} | ||
{{Tuto Step | {{Tuto Step | ||
Version du 14 janvier 2023 à 17:16
Send DHT22 temperature and humidity values to a google sheet through ESP32 and Webhooks
Difficulté
Moyen
Durée
1 heure(s)
Catégories
Électronique
Coût
0 USD ($)
Sommaire
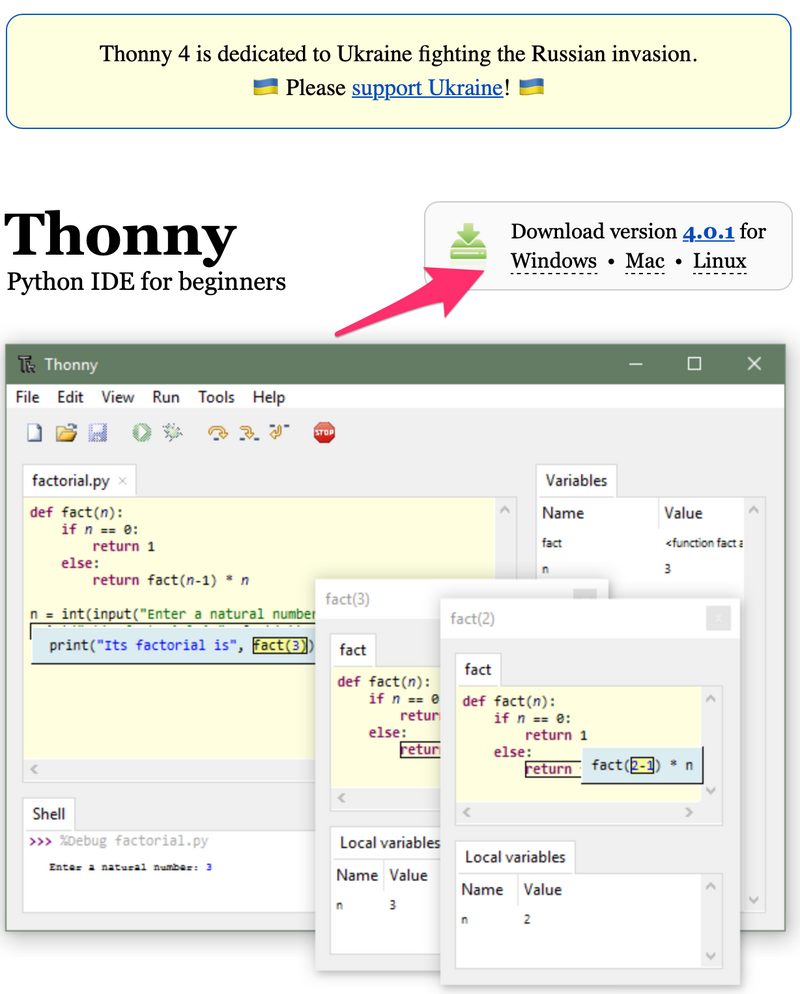
- 1 Introduction
- 2 Étape 1 - Install Thonny or Other Python IDLE
- 3 Étape 2 - Setup Circuit
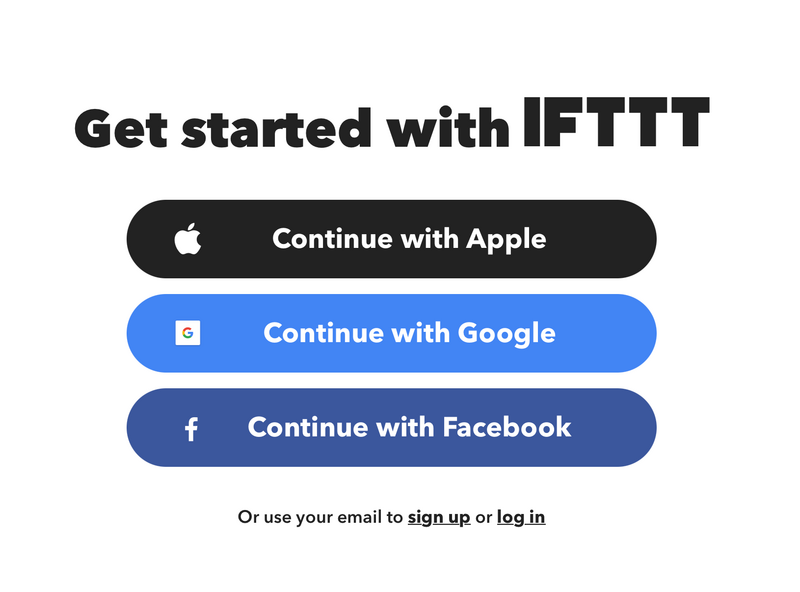
- 4 Étape 3 - Setup IFTTT
- 5 Étape 4 - Create a new applet
- 6 Étape 5 - set up applet
- 7 Étape 6 - Select webhooks
- 8 Étape 7 - Select request type
- 9 Étape 8 - Set up Webhooks Account
- 10 Étape 9 - Name event for trigger
- 11 Étape 10 - Set up reaction
- 12 Étape 11 - Select google sheets
- 13 Étape 12 - Set up sheets
- 14 Étape 13 - Connect to sheets
- 15 Étape 14 - Sign in using gmail
- 16 Étape 15 - Source Code for thonny
- 17 Commentaires
Introduction
ESP32 connected to DHT22, to read temperature and humidity
Matériaux
Outils
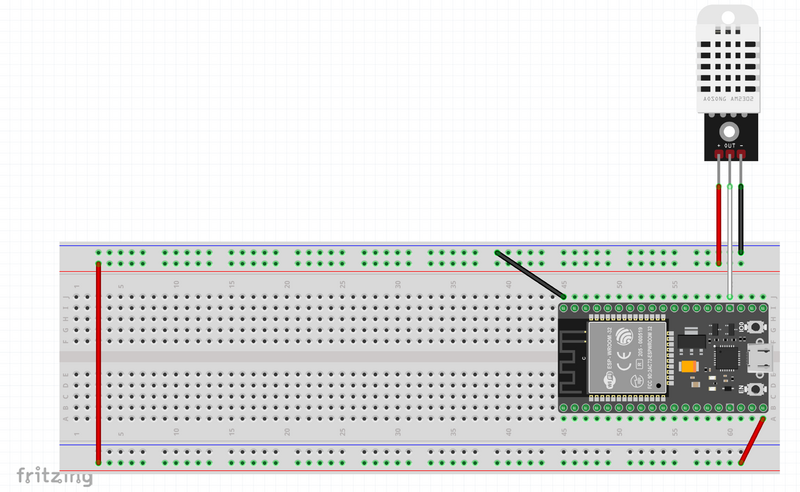
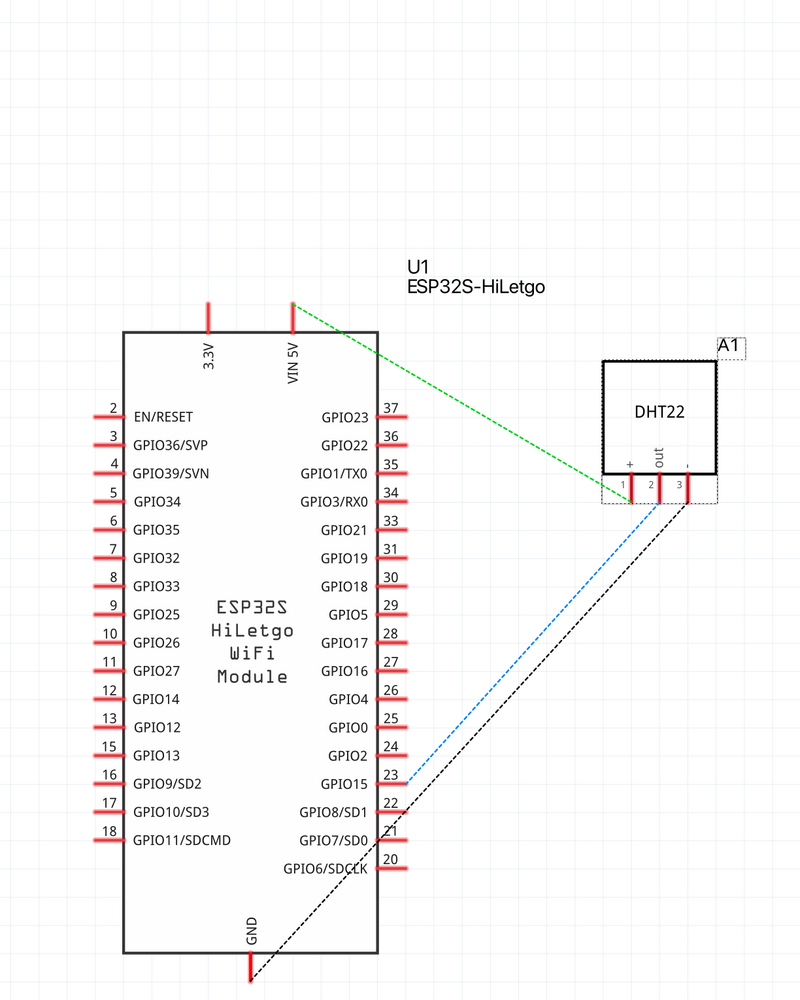
Étape 2 - Setup Circuit
+ pin on DHT22 to VCC on ESP
out pin on DHT22 to GPIO pin 15 on ESP(can change depending on code)
- pin on DHT22 to GND on ESP
Étape 6 - Select webhooks
Once you are on choose a service, type in Webhooks in the search bar and click Webhooks
Étape 8 - Set up Webhooks Account
- If you already have a webhooks account, skip this step
Otherwise, click the connect button and follow the steps on their website to create a webhooks account
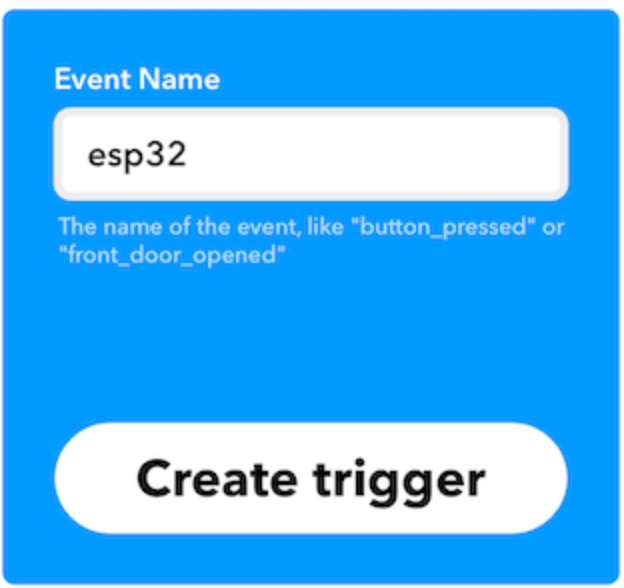
Étape 9 - Name event for trigger
Name the event for the trigger esp32 (it is case sensitive so be careful)
Étape 14 - Sign in using gmail
Use your gmail to sign in to sheets
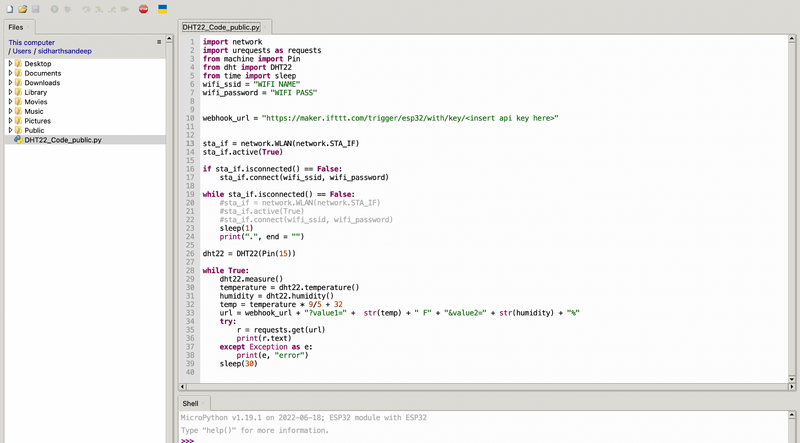
Étape 15 - Source Code for thonny
import network
import urequests as requests
from machine import Pin
from dht import DHT22
from time import sleep
wifi_ssid = "WIFI NAME"
wifi_password = "WIFI PASS"


webhook_url = "https://maker.ifttt.com/trigger/esp32/with/key/<insert api key here>"


sta_if = network.WLAN(network.STA_IF)
sta_if.active(True)

if sta_if.isconnected() == False:
    sta_if.connect(wifi_ssid, wifi_password)

while sta_if.isconnected() == False:
    #sta_if = network.WLAN(network.STA_IF)
    #sta_if.active(True)
    #sta_if.connect(wifi_ssid, wifi_password)
    sleep(1)
    print(".", end = "")

dht22 = DHT22(Pin(15))

while True:
    dht22.measure()
    temperature = dht22.temperature()
    humidity = dht22.humidity()
    temp = temperature * 9/5 + 32
    url = webhook_url + "?value1=" +  str(temp) + " F" + "&value2=" + str(humidity) + "%"
    try:
        r = requests.get(url)
        print(r.text)
    except Exception as e:
        print(e, "error")
    sleep(30)
Draft

 Français
 English
 Deutsch
 Español
 Italiano
 Português