(set pageLanguageSource property) |
|||
| Ligne 1 : | Ligne 1 : | ||
{{ {{tntn|Tuto Details}} | {{ {{tntn|Tuto Details}} | ||
| − | | | + | |Main_Picture=SolarOSE_G5_3_11.jpg |
| − | | | + | |Licences=Attribution-ShareAlike (CC BY-SA) |
| − | | | + | |Description=<translate>This is the forth tutorial for building the solar concentrator of Open Source Ecologie (French branch of Open Source Ecology). Here we are going to build the secondary reflector Composed Parabolic Concentrator (CPC).</translate> |
| + | |Area=Energy | ||
|Type=Creation | |Type=Creation | ||
| − | |||
| − | |||
|Difficulty=Easy | |Difficulty=Easy | ||
| + | |Duration=3 | ||
| + | |Duration-type=hour(s) | ||
|Cost=22 | |Cost=22 | ||
|Currency=EUR (€) | |Currency=EUR (€) | ||
| − | | | + | |SourceLanguage=none |
| − | | | + | |Language=en |
| − | | | + | |IsTranslation=0 |
| − | |||
}} | }} | ||
{{ {{tntn|Introduction}} | {{ {{tntn|Introduction}} | ||
|Introduction=<translate>To build the secondary reflector Composed Parabolic Concentrator (CPC)</translate> | |Introduction=<translate>To build the secondary reflector Composed Parabolic Concentrator (CPC)</translate> | ||
}} | }} | ||
| − | |||
{{ {{tntn|Materials}} | {{ {{tntn|Materials}} | ||
|Material=<translate>* Skeleton of CPC | |Material=<translate>* Skeleton of CPC | ||
| Ligne 26 : | Ligne 25 : | ||
- Drilling machine and drill with a diameter of 4 mm | - Drilling machine and drill with a diameter of 4 mm | ||
- 30 screws M4 and spacers</translate> | - 30 screws M4 and spacers</translate> | ||
| − | | | + | |Tools=<translate></translate> |
| − | |||
| − | |||
| − | |||
| − | |||
| − | |||
}} | }} | ||
| − | {{Separator}} | + | {{ {{tntn|Separator}}}} |
{{ {{tntn|Tuto Step}} | {{ {{tntn|Tuto Step}} | ||
|Step_Title=<translate>Cutting the mirror sheet</translate> | |Step_Title=<translate>Cutting the mirror sheet</translate> | ||
|Step_Content=<translate>With a cutter, cut a 340x680 mm rectangle of mirror sheet. Mind to protect the reflective surface of the mirror during the operation and to work on the back side. One needs to run the cutter several times to bite the metal and to fold back and forth in order to detach it.</translate> | |Step_Content=<translate>With a cutter, cut a 340x680 mm rectangle of mirror sheet. Mind to protect the reflective surface of the mirror during the operation and to work on the back side. One needs to run the cutter several times to bite the metal and to fold back and forth in order to detach it.</translate> | ||
|Step_Picture_00=SolarOSE_G5_1_1.jpg | |Step_Picture_00=SolarOSE_G5_1_1.jpg | ||
| − | |||
| − | |||
| − | |||
| − | |||
| − | |||
}} | }} | ||
{{ {{tntn|Tuto Step}} | {{ {{tntn|Tuto Step}} | ||
| Ligne 49 : | Ligne 38 : | ||
|Step_Picture_00=SolarOSE_G5_2_1.jpg | |Step_Picture_00=SolarOSE_G5_2_1.jpg | ||
|Step_Picture_01=SolarOSE_G5_2_2.jpg | |Step_Picture_01=SolarOSE_G5_2_2.jpg | ||
| − | |||
| − | |||
| − | |||
| − | |||
}} | }} | ||
{{ {{tntn|Tuto Step}} | {{ {{tntn|Tuto Step}} | ||
|Step_Title=<translate>Drilling</translate> | |Step_Title=<translate>Drilling</translate> | ||
|Step_Content=<translate>Drill the fixation holes of the mirror using the following method. The oblong holes can be made by drilling with the drill tilting to each side until a hole with a 7 mm diameter is obtained. (see the suggestions at the end of the section related to this subject).</translate> | |Step_Content=<translate>Drill the fixation holes of the mirror using the following method. The oblong holes can be made by drilling with the drill tilting to each side until a hole with a 7 mm diameter is obtained. (see the suggestions at the end of the section related to this subject).</translate> | ||
| − | |||
| − | |||
| − | |||
| − | |||
| − | |||
| − | |||
}} | }} | ||
{{ {{tntn|Tuto Step}} | {{ {{tntn|Tuto Step}} | ||
| Ligne 101 : | Ligne 80 : | ||
|Step_Picture_00=SolarOSE_G5_4_3.png | |Step_Picture_00=SolarOSE_G5_4_3.png | ||
|Step_Picture_01=SolarOSE_G5_4_4.png | |Step_Picture_01=SolarOSE_G5_4_4.png | ||
| − | |||
| − | |||
| − | |||
| − | |||
}} | }} | ||
{{ {{tntn|Tuto Step}} | {{ {{tntn|Tuto Step}} | ||
| Ligne 116 : | Ligne 91 : | ||
|Step_Picture_01=SolarOSE_G5_4_5.png | |Step_Picture_01=SolarOSE_G5_4_5.png | ||
|Step_Picture_02=SolarOSE_G5_4_2.png | |Step_Picture_02=SolarOSE_G5_4_2.png | ||
| − | |||
| − | |||
| − | |||
}} | }} | ||
| − | {{ {{tntn|Notes}}|}} | + | {{ {{tntn|Notes}} |
| + | |Notes=<translate></translate> | ||
| + | }} | ||
| + | {{ {{tntn|Tuto Status}} | ||
| + | |Complete=Published | ||
| + | }} | ||
| + | {{Separator}} | ||
Version du 27 juin 2018 à 15:09
Introduction
Matériaux
- Skeleton of CPC
- Aluminum mirror sheet finishing - Cutter - 1 m ruler, square and metallic protractor - 3 big clamps - Drilling machine and drill with a diameter of 4 mm - 30 screws M4 and spacers
Outils
Étape 1 - Cutting the mirror sheet
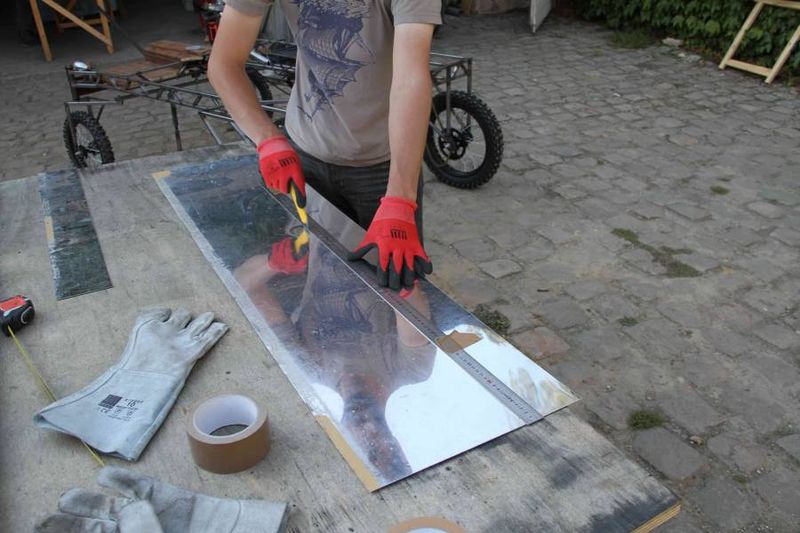
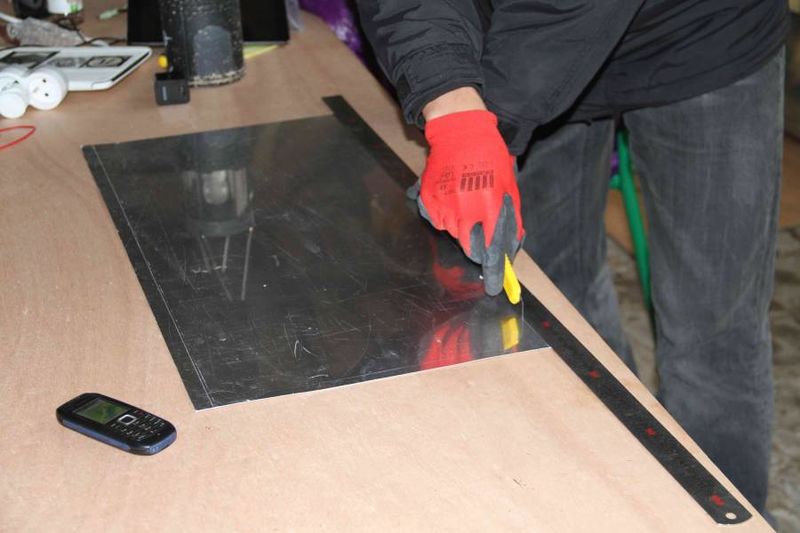
With a cutter, cut a 340x680 mm rectangle of mirror sheet. Mind to protect the reflective surface of the mirror during the operation and to work on the back side. One needs to run the cutter several times to bite the metal and to fold back and forth in order to detach it.
Étape 2 - Marking the folding lines
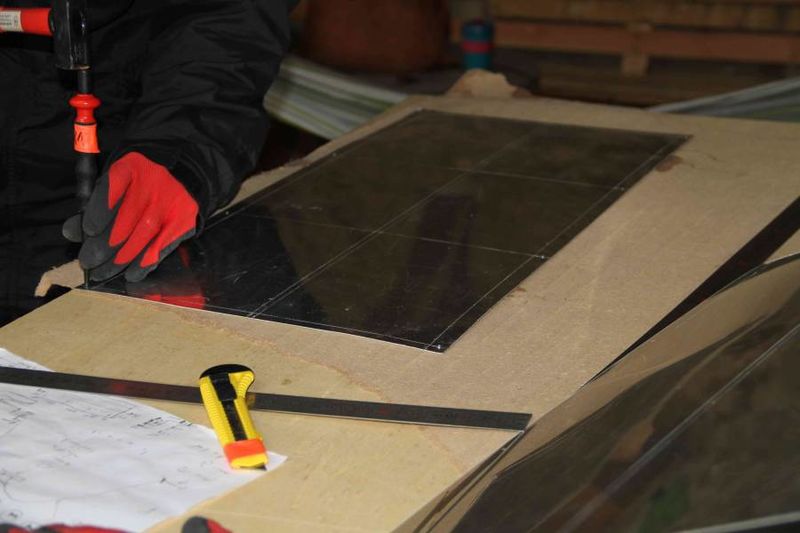
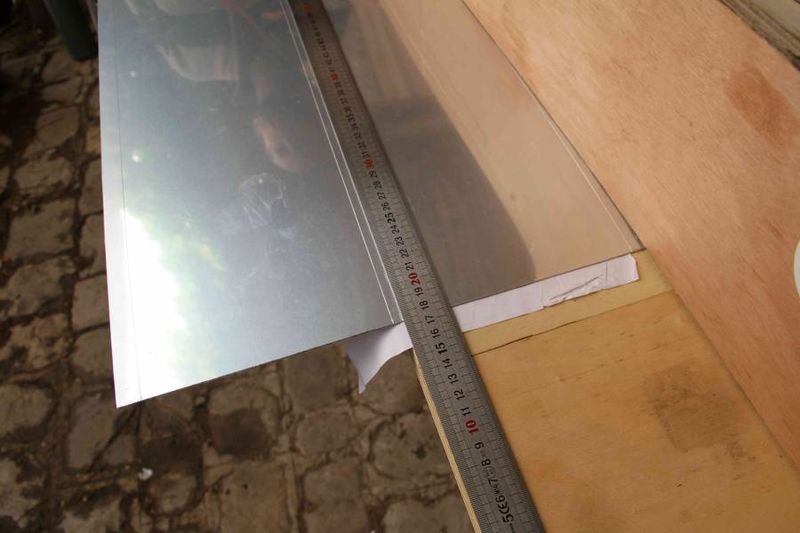
With the cutter, trace the folding lines following the plan below. Run the cutter in order to mark the lines without going through and fragilizing the metal.
Étape 3 - Drilling
Drill the fixation holes of the mirror using the following method. The oblong holes can be made by drilling with the drill tilting to each side until a hole with a 7 mm diameter is obtained. (see the suggestions at the end of the section related to this subject).
Étape 4 - Folding
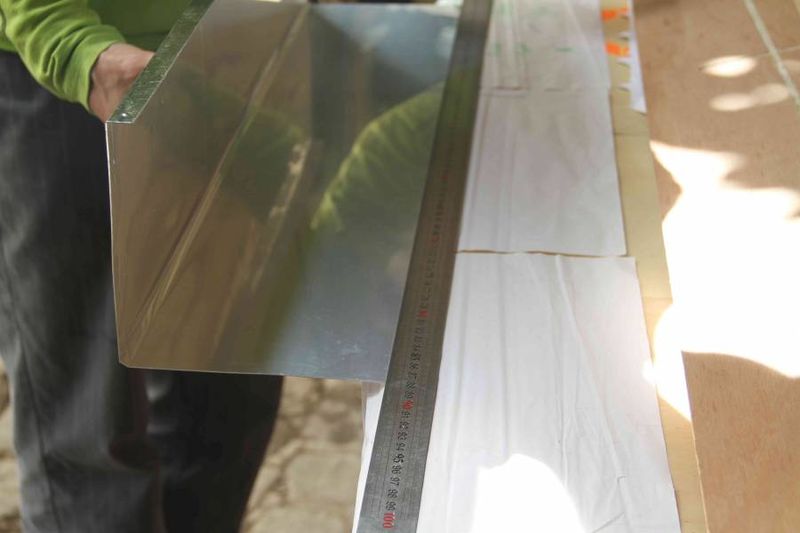
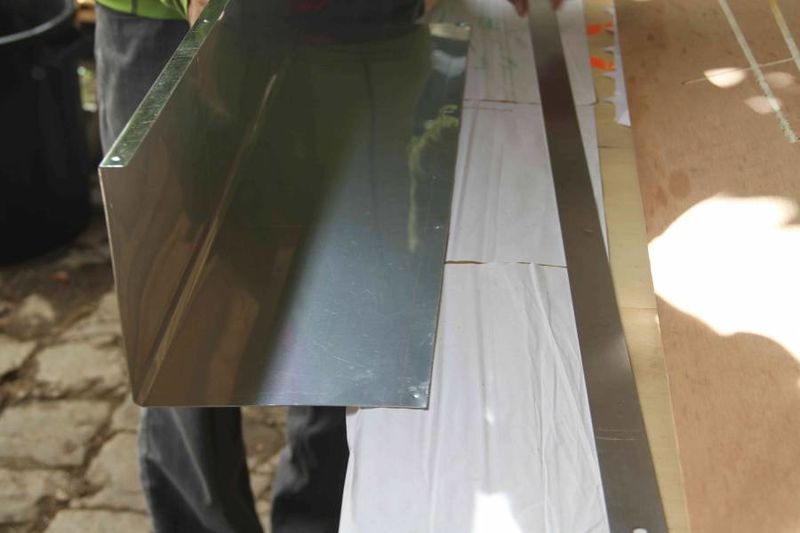
We propose a method that uses simple tools. A folding press can do the job if it folds uniformly the mirror. While doing the folding manually, it is easier to work in a team of two persons in order to fold correctly the mirror.
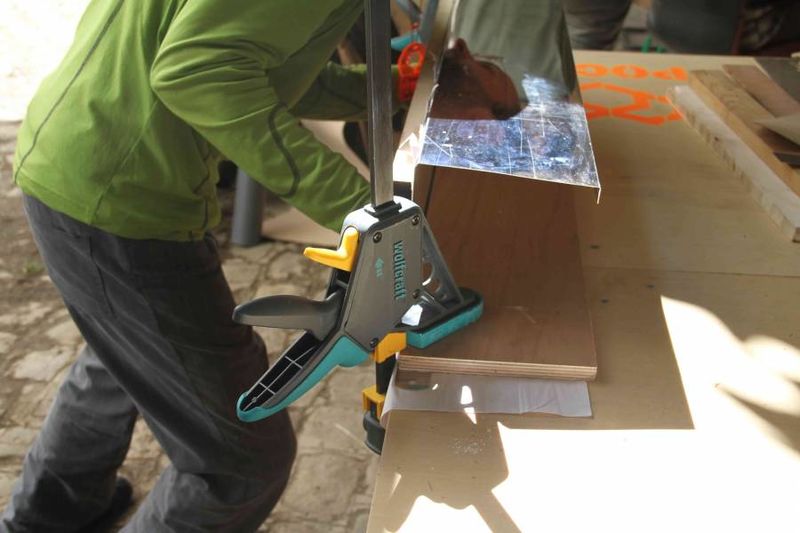
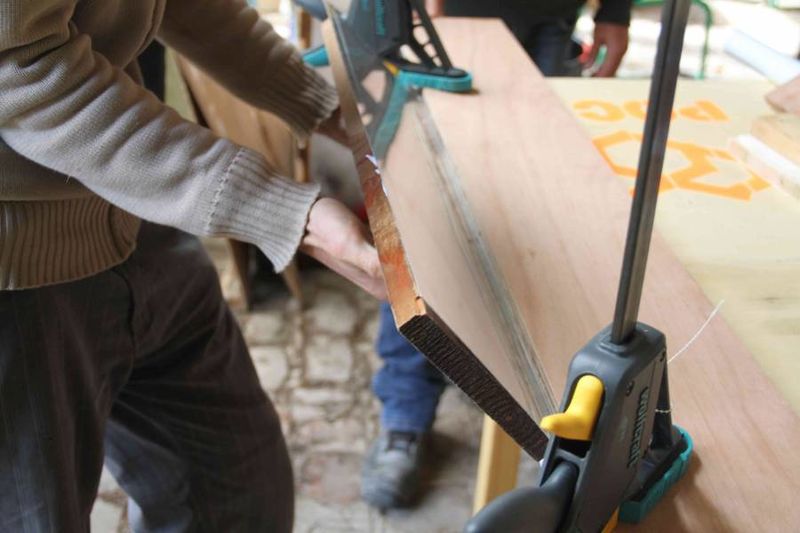
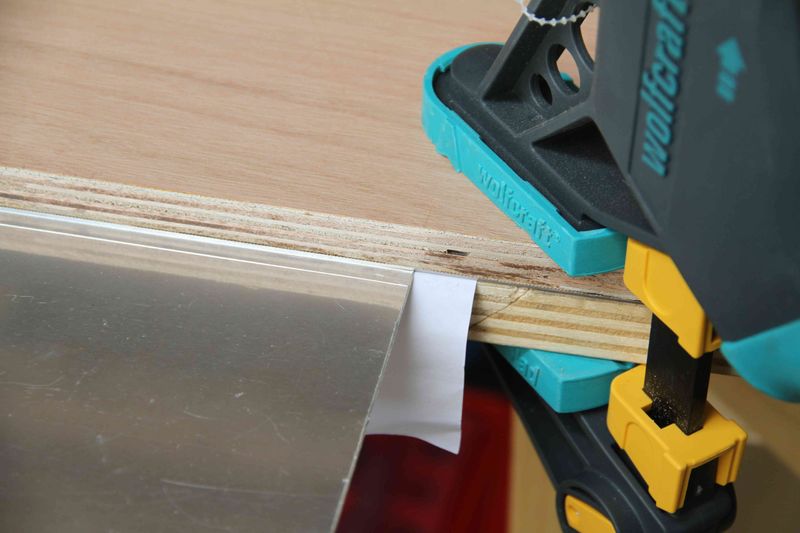
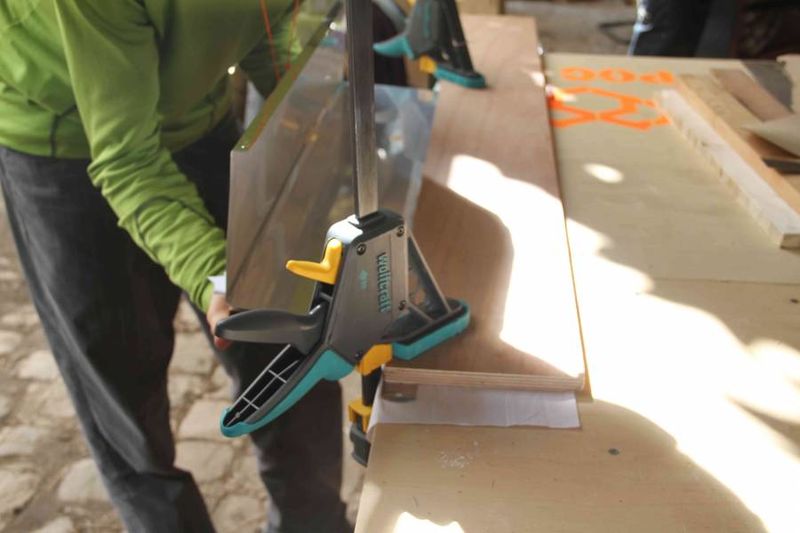
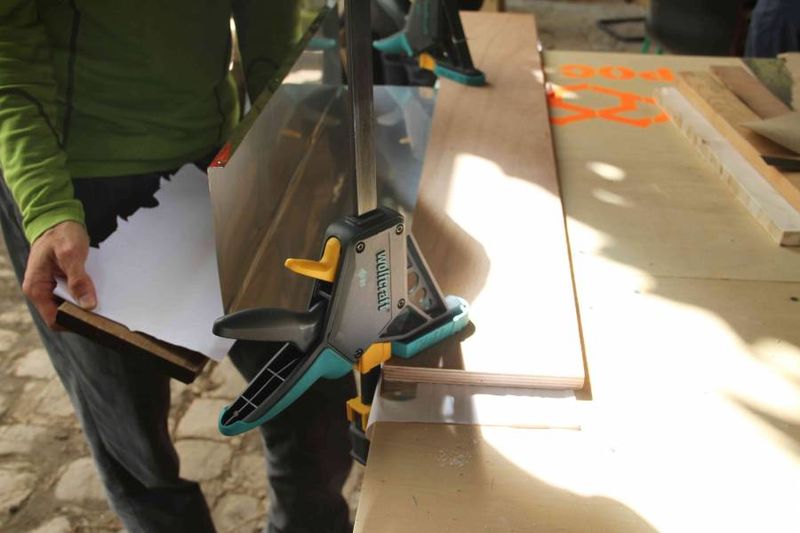
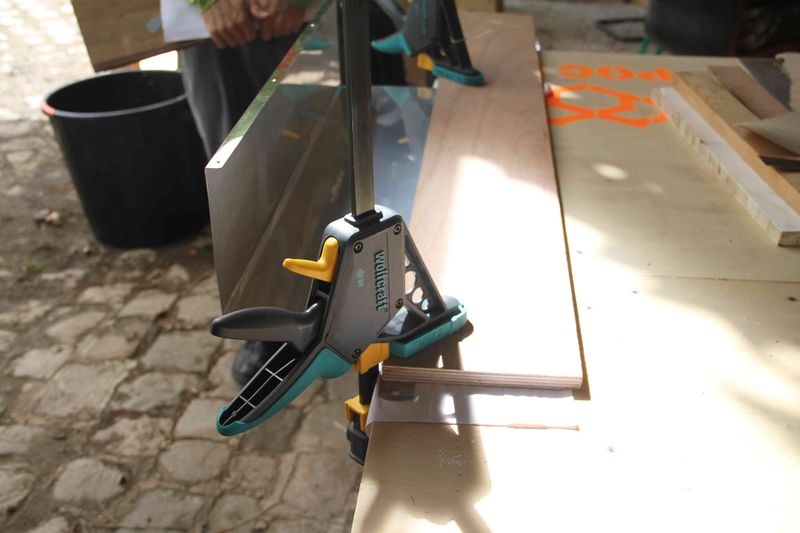
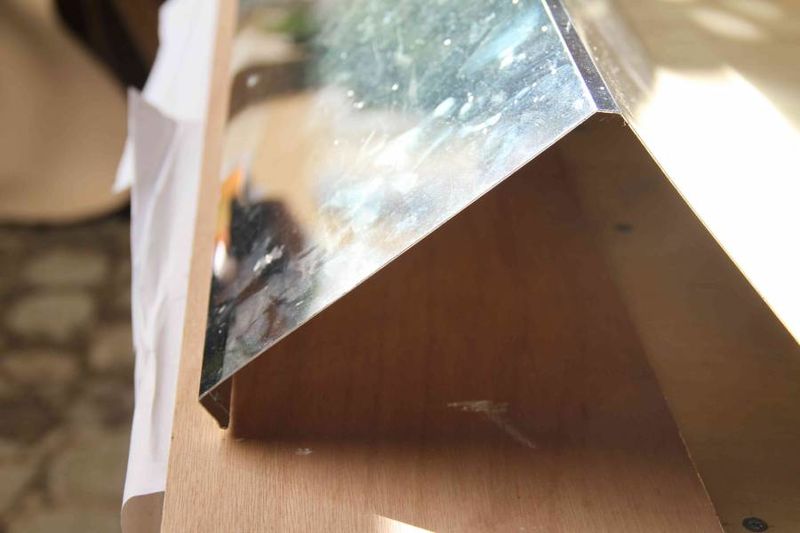
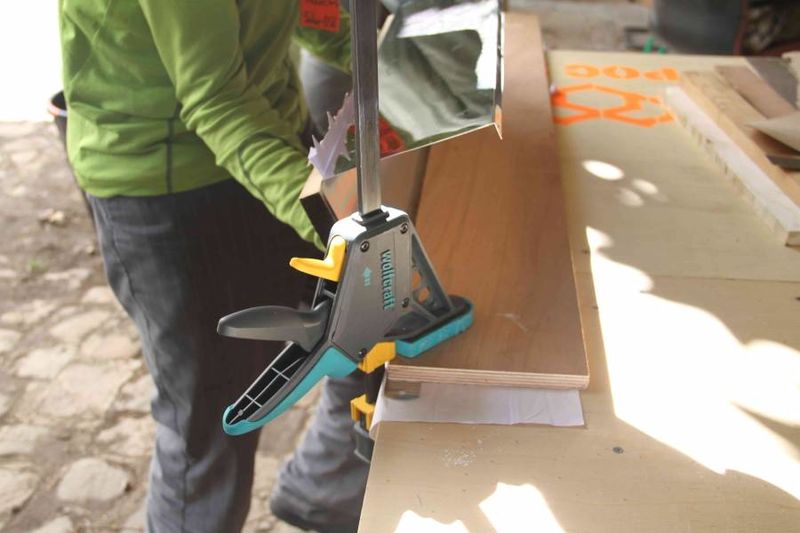
Choose a rigid table that does not bend and has a right angle edge. Start with a fold on the central line. Put the mirror sheet with the reflecting part on the backside, in order to see easily the dashes marked on the sheet. Fold following the first apparent fold (the second central fold is marked under the support board). Protect the mirror with paper sheet. Keep firmly the mirror sheet under the board with a clamp on each edge. Choose a rigid board, having a right angle edge and a length greater than the mirror sheet; check that the board is against the edge of the table. Press underneath to obtain a mirror sheet fold between 20 and 30° (approximatively half of 45°). The pressure should be uniform on the entire surface, in order to assure a regular fold.
Étape 5 - Folding the second fold
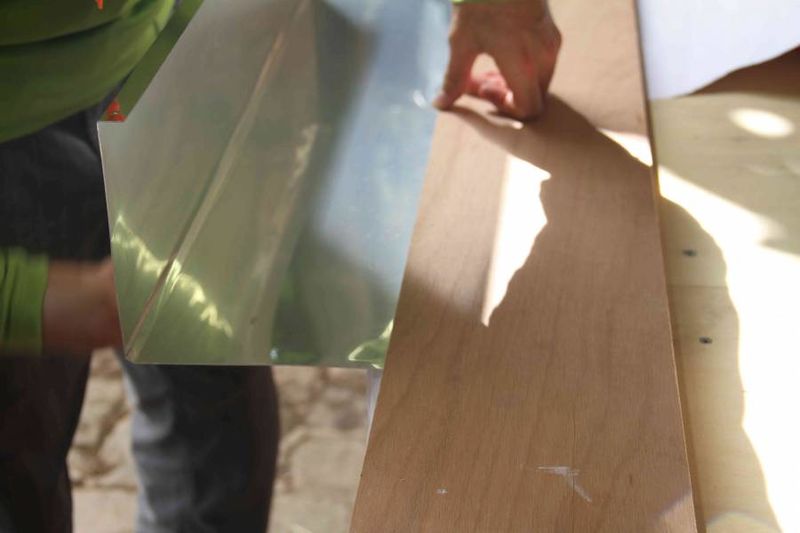
Continue with the same method for the second fold: it is enough to release the mirror sheet and take it out a few mm so that the dash lines appear. Reposition the mirror sheet. Pressing near the fold is very important during this step. The first fold can be reinforced, but it is necessary to impose a second angle between 20 to 30°, so that the total angle is 45°.
Apply two times the same method for each of the lateral folds: fix firmly the mirror sheet on a lateral band of 15 mm. This allows a better grip when folding the mirror sheet. Impose a 90° angle. Press against the dashed line.
Étape 6 - Bending
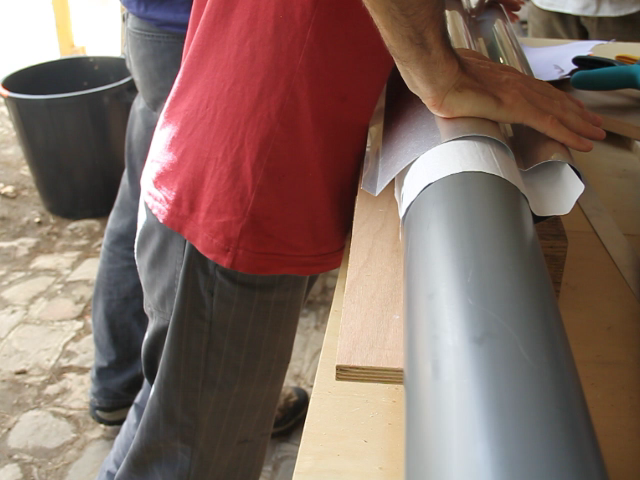
The 0.5 mm sheet is rigid. A preforming is necessary to maintain the reflector in the position imposed by the hangers. The method presented uses simple tools that give a good result (any suggestion for improvement is welcomed). It is easier to work in a team of two persons in order to bend the mirror on its entire length.
Install a rigid board large of maximum 150 mm, elevated by 100 mm over the table. This allows to install a part of the reflector, without being hindered by the other scroll.
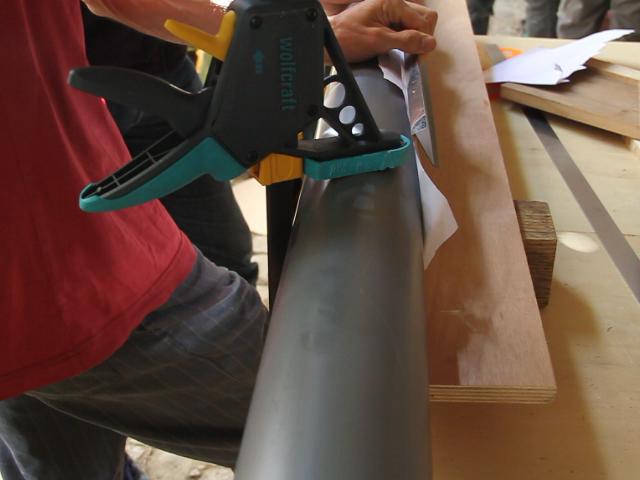
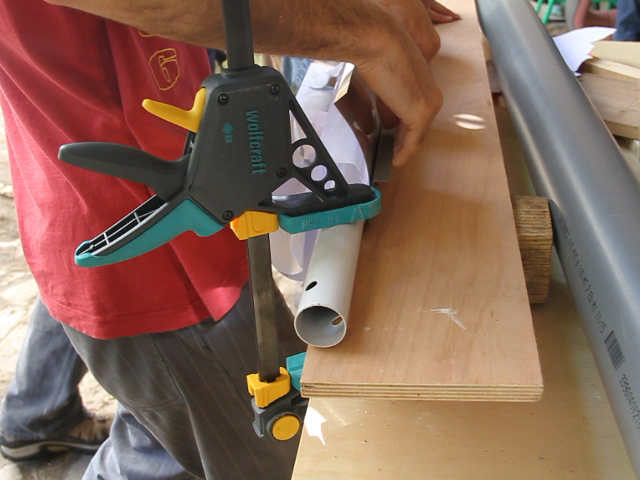
A first bending is imposed by the tube having a diameter of 100 mm: for example, use an evacuation tube made of PVC. Put the mirror sheet with the reflecting part on the upside. Align the first central fold on the edge of the board in order to leave forward the free scroll. Protect with paper the reflector. Fix the tube on the board edge, as near as possible to the center of the CPC.
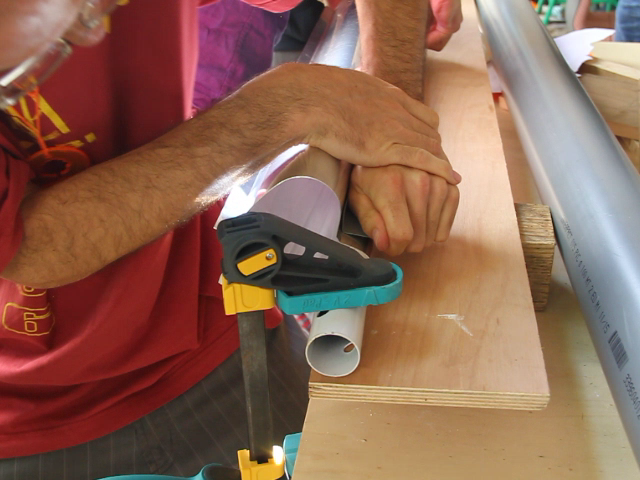
Check that the tube is parallel to the mirror sheet. Clench correctly the clamps (with a height of 250 mm). With a large board or a metal squared tube, lift the scroll blocked under the tube. Tackle the mirror sheet against the tube on its entire length in order to impose a regular bending. Insist in the final part so the bending goes until the lateral part of the CPC.
Repeat the action on the other scroll.
Étape 7 - Bending around a 40 mm tube
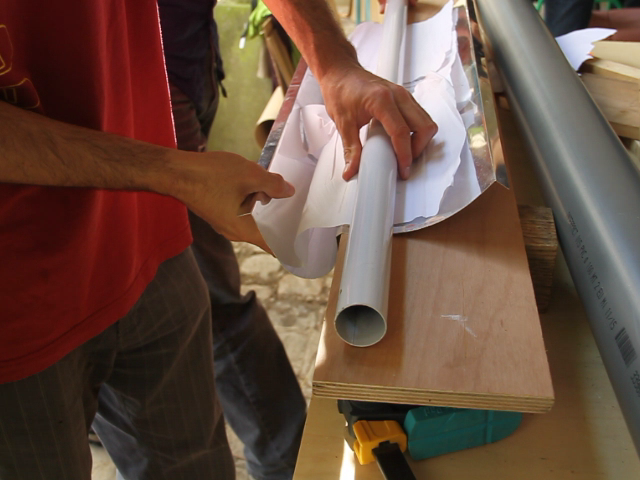
A second bending around a 40 mm tube is necessary in the central part. Put the 40 mm tube in the same position as the previous tube. Attention to put the tube as close as possible to the board edge. In this way, the mirror deformation will be closer to the center. In order to improve this bending, it is possible, afterwards, to put the mirror the other way: pinch it by letting approximately 70 mm of the mirror outside; measure from the central fold. Thus, by lifting the mirror, tackle the mirror sheet on the tube until the center. In practice, the result is harder to obtain because in this configuration, one does not have a lever arm. As well, attention must be paid not to modify the folding, because the mirror can break down.
Repeat the operation on the other scroll.
The secondary reflector CPC is ready to be assembled.
Published
 Français
 English
 Deutsch
 Español
 Italiano
 Português