(Cette version a été marquée pour être traduite) |
(update property name) |
||
| (2 révisions intermédiaires par un autre utilisateur non affichées) | |||
| Ligne 1 : | Ligne 1 : | ||
| − | {{ | + | {{Tuto Details |
| − | |Main_Picture= | + | |Main_Picture=Présentoir_à_bague_b7a18eb65b92c97099d8baab1edb6f45.jpg |
|Licences=Attribution (CC BY) | |Licences=Attribution (CC BY) | ||
|Description=<translate><!--T:1--> Présentoir à bague réalisable facilement avec une imprimante 3D</translate> | |Description=<translate><!--T:1--> Présentoir à bague réalisable facilement avec une imprimante 3D</translate> | ||
| Ligne 15 : | Ligne 15 : | ||
|IsTranslation=0 | |IsTranslation=0 | ||
}} | }} | ||
| − | {{ | + | {{Introduction |
|Introduction=<translate></translate> | |Introduction=<translate></translate> | ||
}} | }} | ||
| − | {{ | + | {{Materials |
|Material=<translate><!--T:2--> PLA</translate> | |Material=<translate><!--T:2--> PLA</translate> | ||
|Tools=<translate><!--T:3--> Imprimante 3D</translate> | |Tools=<translate><!--T:3--> Imprimante 3D</translate> | ||
| − | |Tuto_Attachments={{ | + | |Tuto_Attachments={{Tuto Attachments |
|Attachment=cone bague | |Attachment=cone bague | ||
}} | }} | ||
}} | }} | ||
| − | {{ | + | {{Separator}} |
| − | {{ | + | {{Tuto Step |
|Step_Title=<translate><!--T:4--> Modéliser un cône</translate> | |Step_Title=<translate><!--T:4--> Modéliser un cône</translate> | ||
|Step_Content=<translate><!--T:5--> | |Step_Content=<translate><!--T:5--> | ||
| Ligne 38 : | Ligne 38 : | ||
|Step_Picture_00=Présentoir_à_bague_Capture1.JPG | |Step_Picture_00=Présentoir_à_bague_Capture1.JPG | ||
}} | }} | ||
| − | {{ | + | {{Tuto Step |
|Step_Title=<translate><!--T:8--> Préparer l'impression 3D</translate> | |Step_Title=<translate><!--T:8--> Préparer l'impression 3D</translate> | ||
|Step_Content=<translate><!--T:9--> | |Step_Content=<translate><!--T:9--> | ||
| Ligne 53 : | Ligne 53 : | ||
|Step_Picture_00=Présentoir_à_bague_Capture3.JPG | |Step_Picture_00=Présentoir_à_bague_Capture3.JPG | ||
}} | }} | ||
| − | {{ | + | {{Tuto Step |
|Step_Title=<translate><!--T:13--> Présenter en boutique</translate> | |Step_Title=<translate><!--T:13--> Présenter en boutique</translate> | ||
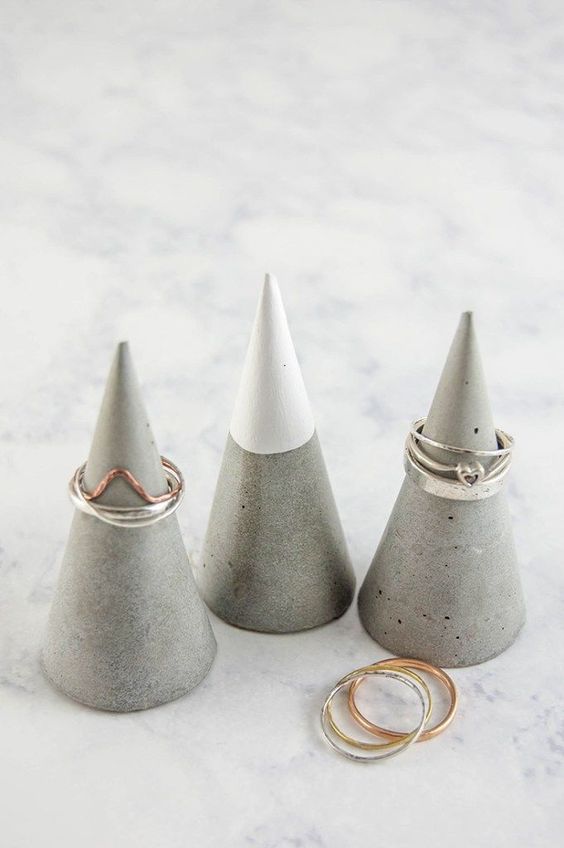
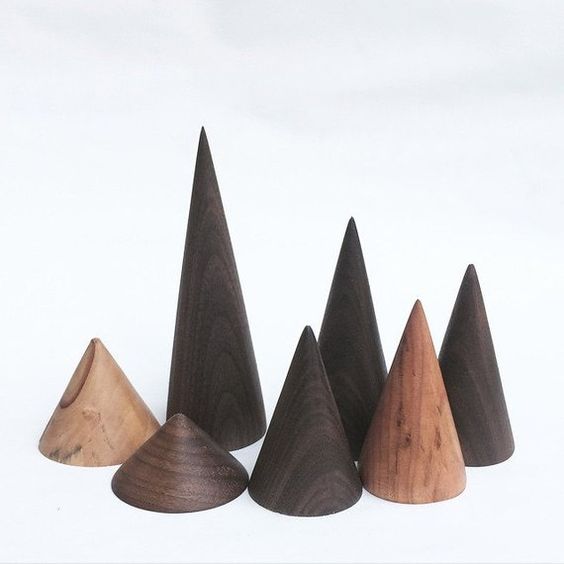
|Step_Content=<translate><!--T:14--> Disposer vos bagues sur les présentoirs</translate> | |Step_Content=<translate><!--T:14--> Disposer vos bagues sur les présentoirs</translate> | ||
| + | |Step_Picture_00=Présentoir_à_bague_e8f1b975f96e4f2b984a99da22b38334.jpg | ||
| + | |Step_Picture_01=Présentoir_à_bague_b7a18eb65b92c97099d8baab1edb6f45.jpg | ||
}} | }} | ||
| − | {{ | + | {{Notes |
|Notes=<translate></translate> | |Notes=<translate></translate> | ||
}} | }} | ||
| − | {{ | + | {{Tuto Status |
|Complete=Published | |Complete=Published | ||
}} | }} | ||
Version actuelle datée du 9 décembre 2019 à 11:52
Présentoir à bague réalisable facilement avec une imprimante 3D
Difficulté
Très facile
Durée
15 minute(s)
Catégories
Art, Vêtement & Accessoire, Décoration
Coût
2 EUR (€)
Matériaux
PLA
Outils
Imprimante 3D
Étape 1 - Modéliser un cône
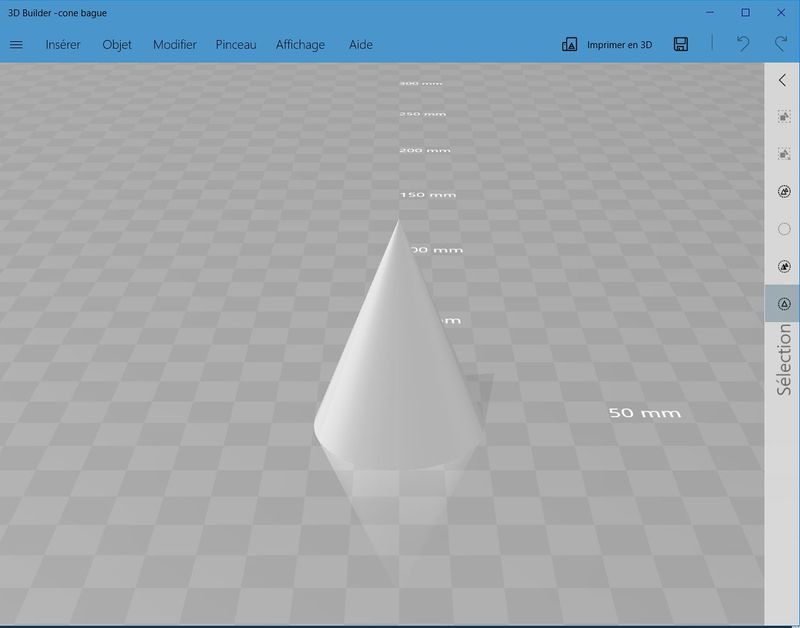
Réaliser une cone avec le logiciel Tinkercad ou 3D Builder.
5 cm de haut parait être un bonne taille mais vous pouvez faire des tailles différentes
Enregistrer au format .STL
Étape 2 - Préparer l'impression 3D
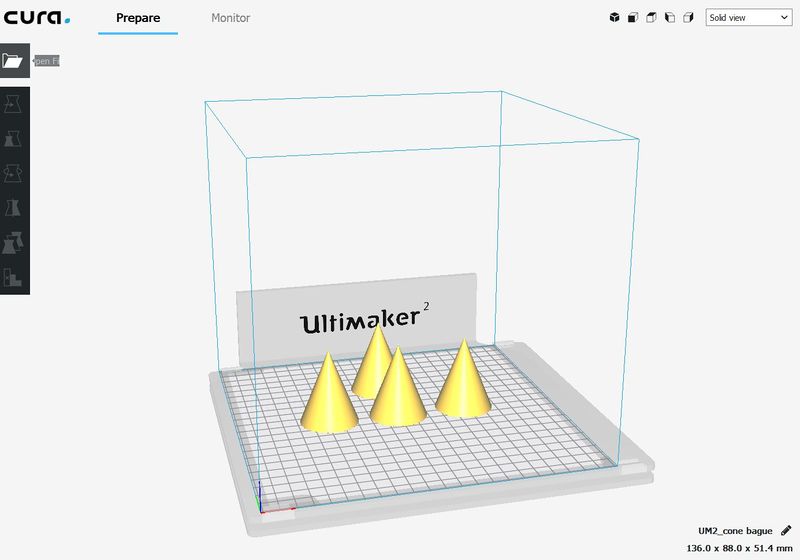
Préparer l'impression avec le logiciel Cura.
Imprimer en creux pour une impression plus rapide ou en mode spiral pour les plus audacieux.
wall thickness : 0.8mm
infill : 0%
Published


 Français
 English
 Deutsch
 Español
 Italiano
 Português