(Cette version a été marquée pour être traduite) |
(update property name) |
||
| (Une révision intermédiaire par un autre utilisateur non affichée) | |||
| Ligne 1 : | Ligne 1 : | ||
| − | {{ | + | {{Tuto Details |
|Main_Picture=Présentoir_pour_flyers_IMG_3309a.JPG | |Main_Picture=Présentoir_pour_flyers_IMG_3309a.JPG | ||
|Licences=Attribution-ShareAlike (CC BY-SA) | |Licences=Attribution-ShareAlike (CC BY-SA) | ||
|Description=<translate><!--T:1--> Ces présentoirs, réalisés en carton, servent à disposer vos flyers. Deux tailles sont proposées, correspondant à des flyers standard, petits et grands : 21x15cm et 15x10cm.</translate> | |Description=<translate><!--T:1--> Ces présentoirs, réalisés en carton, servent à disposer vos flyers. Deux tailles sont proposées, correspondant à des flyers standard, petits et grands : 21x15cm et 15x10cm.</translate> | ||
| − | |Area= | + | |Area=Furniture |
|Type=Technique | |Type=Technique | ||
|Difficulty=Very easy | |Difficulty=Very easy | ||
| Ligne 14 : | Ligne 14 : | ||
|IsTranslation=0 | |IsTranslation=0 | ||
}} | }} | ||
| − | {{ | + | {{Introduction |
|Introduction=<translate></translate> | |Introduction=<translate></translate> | ||
}} | }} | ||
| − | {{ | + | {{Materials |
|Material=<translate><!--T:2--> Carton (3mm ou autre épaisseur)</translate> | |Material=<translate><!--T:2--> Carton (3mm ou autre épaisseur)</translate> | ||
|Tools=<translate><!--T:3--> | |Tools=<translate><!--T:3--> | ||
| Ligne 30 : | Ligne 30 : | ||
<!--T:6--> | <!--T:6--> | ||
- Colle</translate> | - Colle</translate> | ||
| − | |Tuto_Attachments={{ | + | |Tuto_Attachments={{Tuto Attachments |
|Attachment=Grand presentoir flyer coté1.pdf | |Attachment=Grand presentoir flyer coté1.pdf | ||
| − | }}{{ | + | }}{{Tuto Attachments |
|Attachment=Grand presentoir flyer non coté1.pdf | |Attachment=Grand presentoir flyer non coté1.pdf | ||
| − | }}{{ | + | }}{{Tuto Attachments |
|Attachment=Grand presentoir flyer.dxf | |Attachment=Grand presentoir flyer.dxf | ||
| − | }}{{ | + | }}{{Tuto Attachments |
|Attachment=Petit presentoir flyer coté.pdf | |Attachment=Petit presentoir flyer coté.pdf | ||
| − | }}{{ | + | }}{{Tuto Attachments |
|Attachment=Petit presentoir flyer non coté.pdf | |Attachment=Petit presentoir flyer non coté.pdf | ||
| − | }}{{ | + | }}{{Tuto Attachments |
|Attachment=Petit presentoir flyer.dxf | |Attachment=Petit presentoir flyer.dxf | ||
}} | }} | ||
}} | }} | ||
| − | {{ | + | {{Separator}} |
| − | {{ | + | {{Tuto Step |
|Step_Title=<translate><!--T:7--> Découpe</translate> | |Step_Title=<translate><!--T:7--> Découpe</translate> | ||
|Step_Content=<translate><!--T:8--> | |Step_Content=<translate><!--T:8--> | ||
| Ligne 57 : | Ligne 57 : | ||
|Step_Picture_00=Présentoir_pour_flyers_grand_presentoir_flyer.jpg | |Step_Picture_00=Présentoir_pour_flyers_grand_presentoir_flyer.jpg | ||
}} | }} | ||
| − | {{ | + | {{Tuto Step |
|Step_Title=<translate><!--T:11--> Pliage et collage</translate> | |Step_Title=<translate><!--T:11--> Pliage et collage</translate> | ||
|Step_Content=<translate><!--T:12--> Pliez le présentoir selon les lignes rouges et collez la languette à l'arrière selon l’inclinaison voulue</translate> | |Step_Content=<translate><!--T:12--> Pliez le présentoir selon les lignes rouges et collez la languette à l'arrière selon l’inclinaison voulue</translate> | ||
| Ligne 63 : | Ligne 63 : | ||
|Step_Picture_01=Présentoir_pour_flyers_IMG_3305a.JPG | |Step_Picture_01=Présentoir_pour_flyers_IMG_3305a.JPG | ||
}} | }} | ||
| − | {{ | + | {{Notes |
|Notes=<translate></translate> | |Notes=<translate></translate> | ||
}} | }} | ||
| − | {{ | + | {{Tuto Status |
|Complete=Published | |Complete=Published | ||
}} | }} | ||
Version actuelle datée du 9 décembre 2019 à 11:52
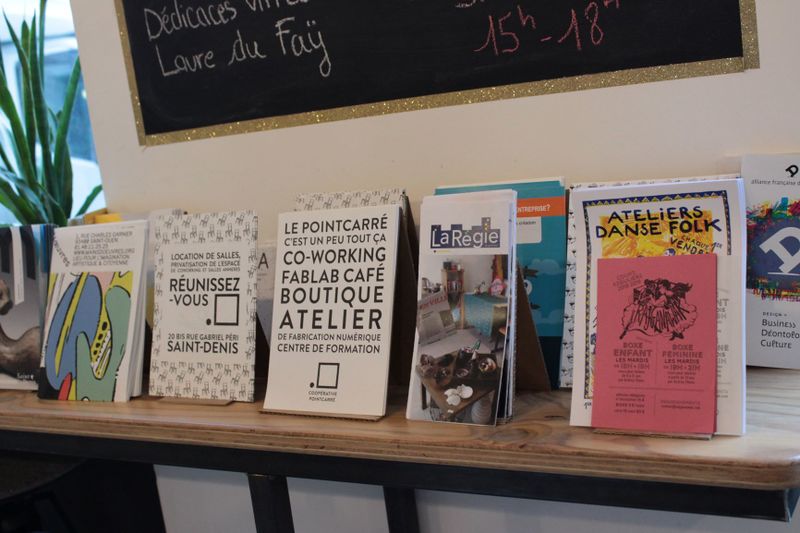
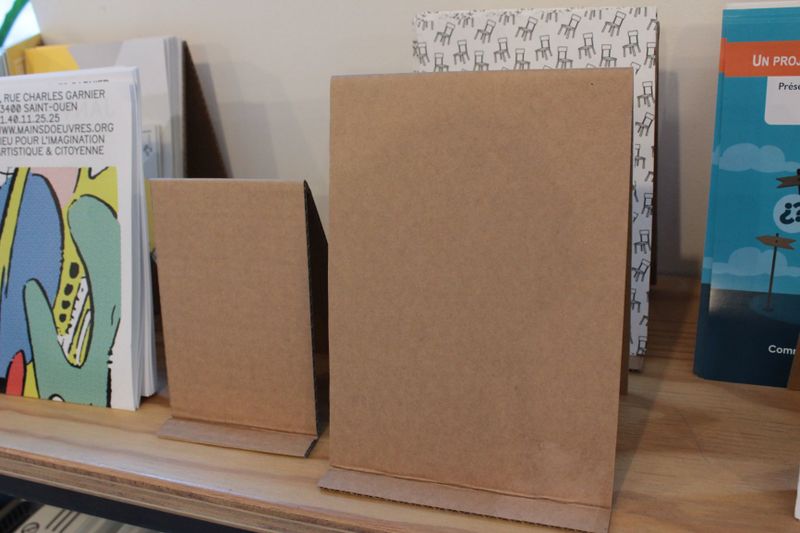
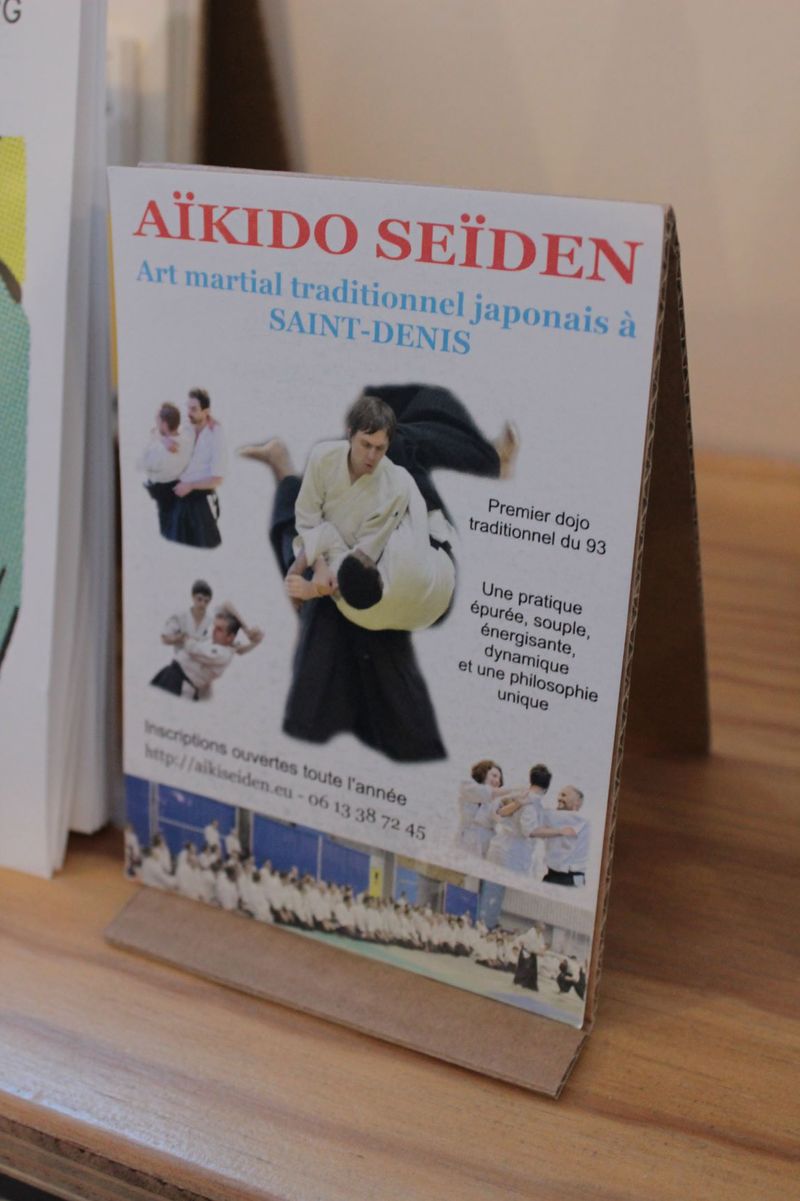
Ces présentoirs, réalisés en carton, servent à disposer vos flyers. Deux tailles sont proposées, correspondant à des flyers standard, petits et grands : 21x15cm et 15x10cm.
Difficulté
Très facile
Durée
5 minute(s)
Catégories
Mobilier
Coût
1 EUR (€)
Matériaux
Carton (3mm ou autre épaisseur)
Outils
-Machine de découpe laser
ou
-Crayon, règle, équerre, cutter
- Colle
Étape 1 - Découpe
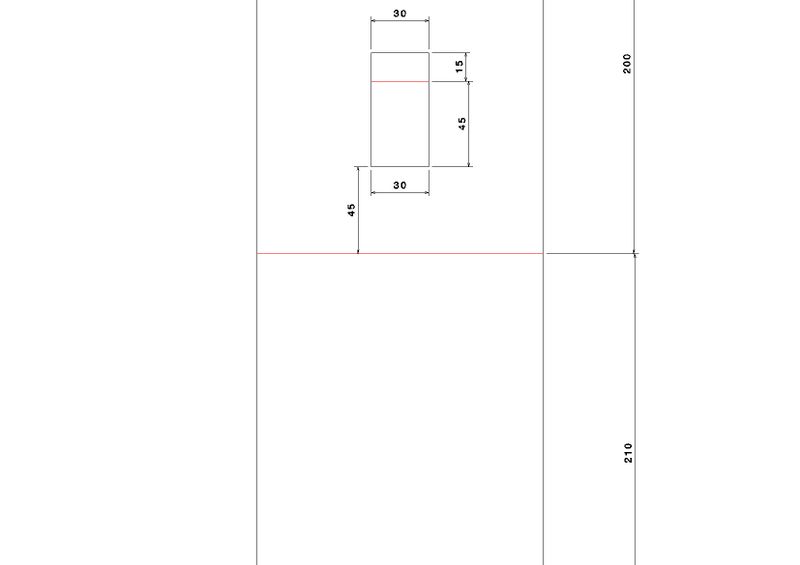
Découpez le carton avec la machine de découpe laser. Les traits noirs sont à découper, les traits rouges sont à couper en pointillés pour les plier.
ou
Découpez le carton au cutter avec une règle en métal après avoir tracé les lignes à l'aide d'une règle et d'une équerre.
Étape 2 - Pliage et collage
Pliez le présentoir selon les lignes rouges et collez la languette à l'arrière selon l’inclinaison voulue
Published


 Français
 English
 Deutsch
 Español
 Italiano
 Português