(convert properties for internationnalized Wikifab) |
(update property name) |
||
| (4 révisions intermédiaires par 3 utilisateurs non affichées) | |||
| Ligne 1 : | Ligne 1 : | ||
| − | {{ | + | {{Tuto Details |
| − | |SourceLanguage= | + | |SourceLanguage=none |
|Language=en | |Language=en | ||
|IsTranslation=0 | |IsTranslation=0 | ||
|Type=Creation | |Type=Creation | ||
|Area=Robotics, Energy, Science and Biology | |Area=Robotics, Energy, Science and Biology | ||
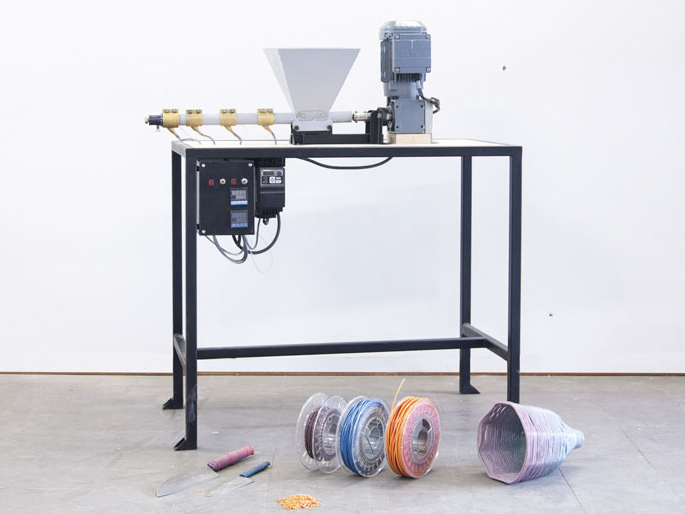
| − | |Description=<translate>Extrusion is a continuous process where plastic flakes are inserted in the hopper and extruded into a line of plastic. These lines can be used to make new raw material (3d printing filament), granulate, spinned around a mold or up to you to find new creative ways.</translate> | + | |Description=<translate><!--T:1--> Extrusion is a continuous process where plastic flakes are inserted in the hopper and extruded into a line of plastic. These lines can be used to make new raw material (3d printing filament), granulate, spinned around a mold or up to you to find new creative ways.</translate> |
|Difficulty=Hard | |Difficulty=Hard | ||
|Cost=192 | |Cost=192 | ||
| Ligne 14 : | Ligne 14 : | ||
|Main_Picture=Machine-extrusion.jpg | |Main_Picture=Machine-extrusion.jpg | ||
}} | }} | ||
| − | {{ | + | {{Introduction |
| − | |Introduction=<translate>The extrusion machine has quite a specific output, a line. This is well suited to make new granulate and 3D printer filament. However use your creativity and you will find other applications for it as well. Change the nozzle for different shapes and sizes, turn it around a mold to make lamps or a handle for a knife. | + | |Introduction=<translate><!--T:2--> |
| + | The extrusion machine has quite a specific output, a line. This is well suited to make new granulate and 3D printer filament. However use your creativity and you will find other applications for it as well. Change the nozzle for different shapes and sizes, turn it around a mold to make lamps or a handle for a knife. | ||
| + | <!--T:3--> | ||
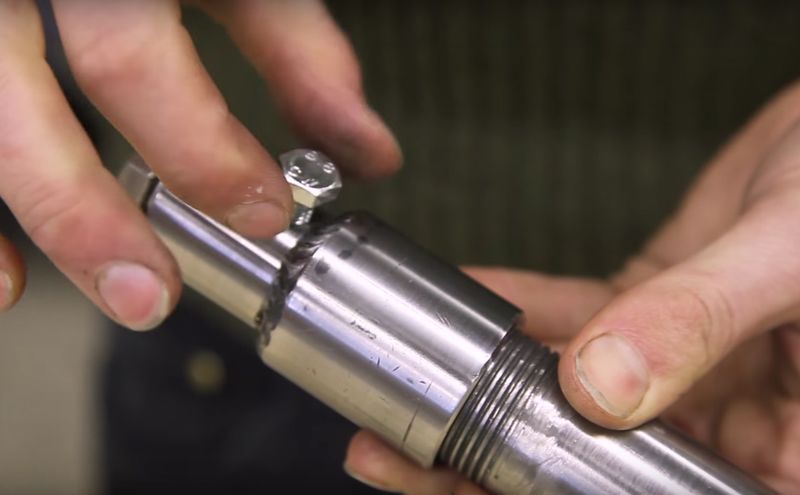
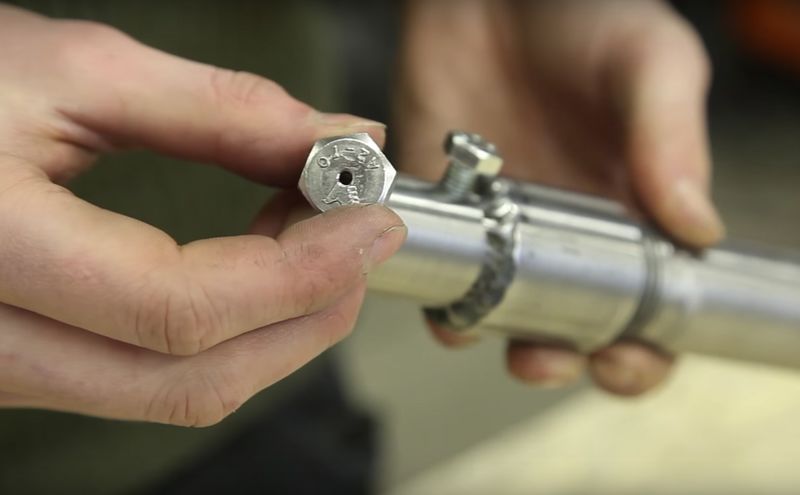
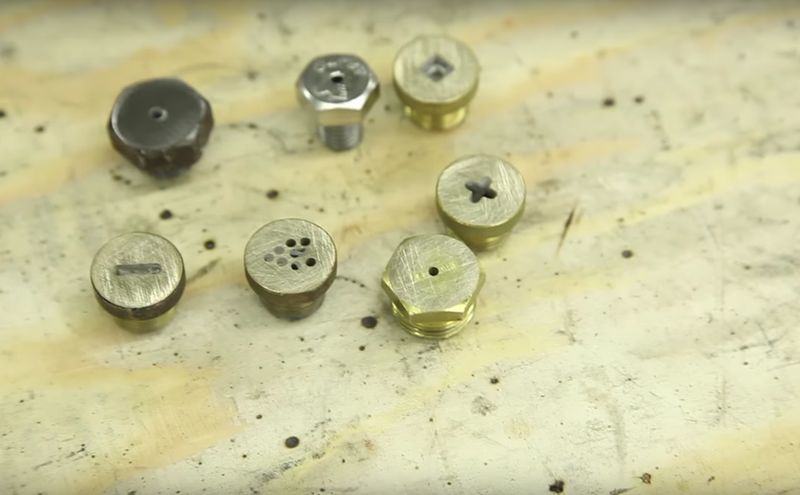
The extrusion machine consists in 6 different elements: the hopper, the barrel, the nozzle, the barrel holder, the framework and the electronics.</translate> | The extrusion machine consists in 6 different elements: the hopper, the barrel, the nozzle, the barrel holder, the framework and the electronics.</translate> | ||
}} | }} | ||
| − | {{ | + | {{Materials |
| − | |Material=<translate>* Metal sheet plates | + | |Material=<translate><!--T:4--> |
| + | * Metal sheet plates | ||
* Metal tubes</translate> | * Metal tubes</translate> | ||
|Tools=* Angle grinder | |Tools=* Angle grinder | ||
| Ligne 32 : | Ligne 35 : | ||
}} | }} | ||
{{Separator}} | {{Separator}} | ||
| − | {{ | + | {{Tuto Step |
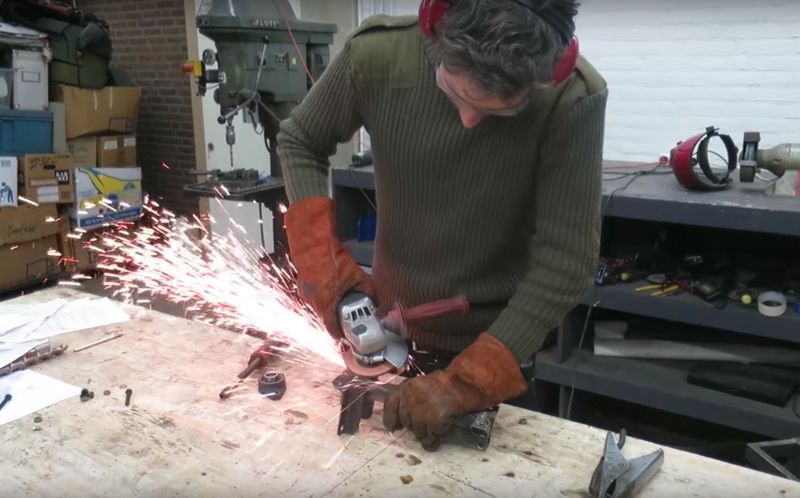
| − | |Step_Title=<translate>Hopper: cutting metal plates</translate> | + | |Step_Title=<translate><!--T:5--> Hopper: cutting metal plates</translate> |
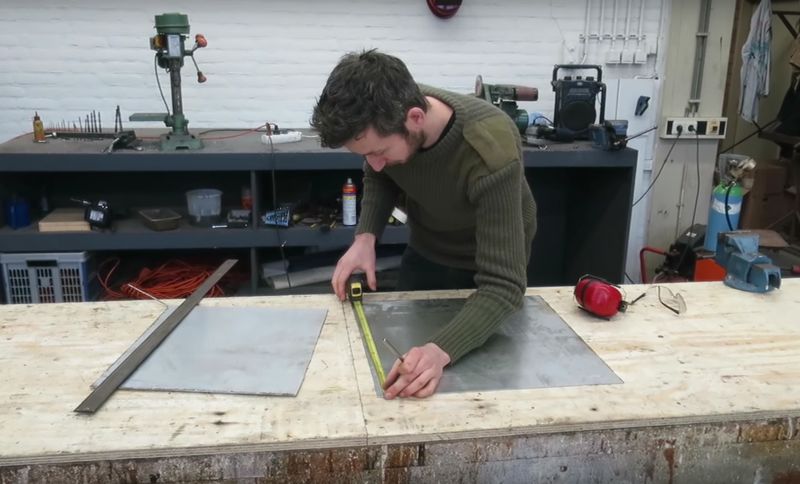
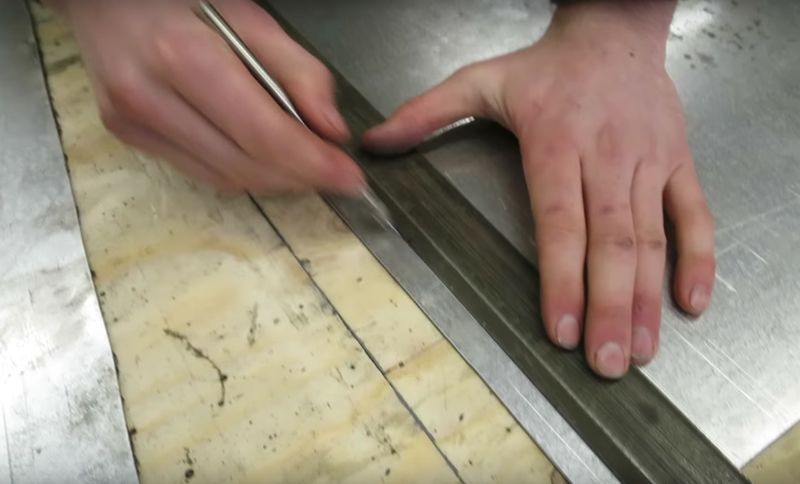
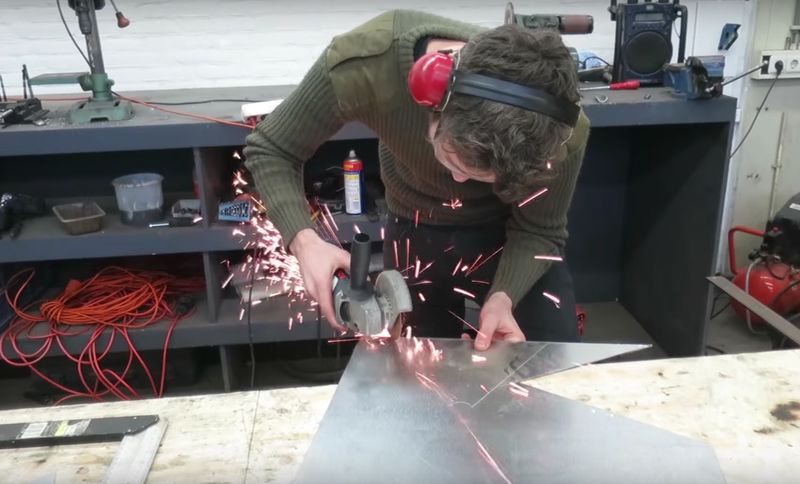
| − | |Step_Content=<translate>Get the metal sheet plates. Take measurements following the blue prints and cut the sheets with a grinding machine and sand metal edges.</translate> | + | |Step_Content=<translate><!--T:6--> Get the metal sheet plates. Take measurements following the blue prints and cut the sheets with a grinding machine and sand metal edges.</translate> |
|Step_Picture_00=PPla 1 Hooper 01a.jpg | |Step_Picture_00=PPla 1 Hooper 01a.jpg | ||
|Step_Picture_01=PPla 1 Hooper 01b.jpg | |Step_Picture_01=PPla 1 Hooper 01b.jpg | ||
| Ligne 41 : | Ligne 44 : | ||
|Step_Picture_04=PPla 1 Hooper 01e.jpg | |Step_Picture_04=PPla 1 Hooper 01e.jpg | ||
}} | }} | ||
| − | {{ | + | {{Tuto Step |
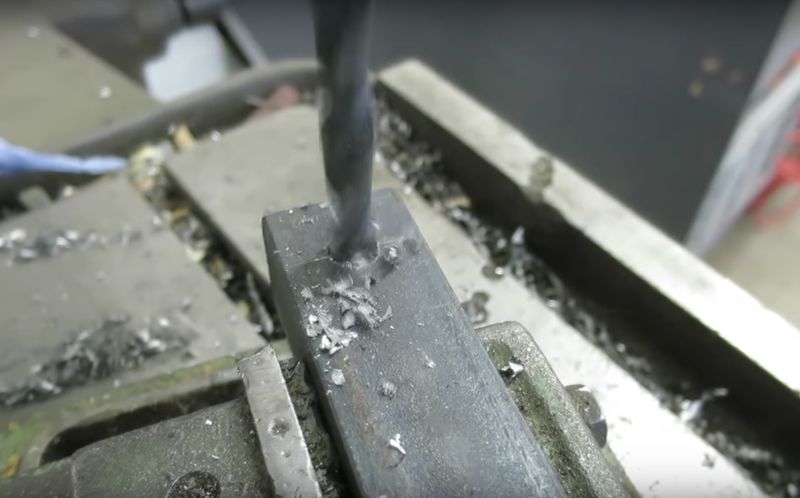
| − | |Step_Title=<translate>Hopper: drilling metal plates</translate> | + | |Step_Title=<translate><!--T:7--> Hopper: drilling metal plates</translate> |
| − | |Step_Content=<translate>Prick the plate with a hammer and drill the metal plates on the milling machine</translate> | + | |Step_Content=<translate><!--T:8--> Prick the plate with a hammer and drill the metal plates on the milling machine</translate> |
|Step_Picture_00=PPla 1 Hooper 02a.jpg | |Step_Picture_00=PPla 1 Hooper 02a.jpg | ||
|Step_Picture_01=PPla 1 Hooper 02b.jpg | |Step_Picture_01=PPla 1 Hooper 02b.jpg | ||
|Step_Picture_02=PPla 1 Hooper 02c.jpg | |Step_Picture_02=PPla 1 Hooper 02c.jpg | ||
}} | }} | ||
| − | {{ | + | {{Tuto Step |
| − | |Step_Title=<translate>Hopper: welding metal plates</translate> | + | |Step_Title=<translate><!--T:9--> Hopper: welding metal plates</translate> |
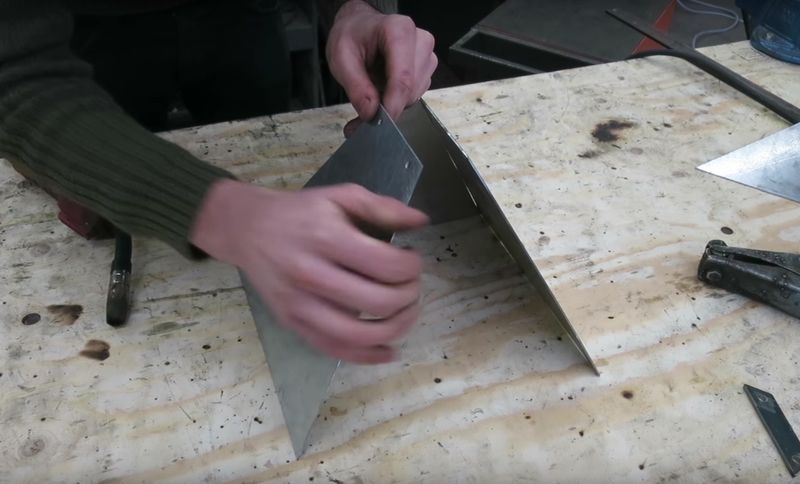
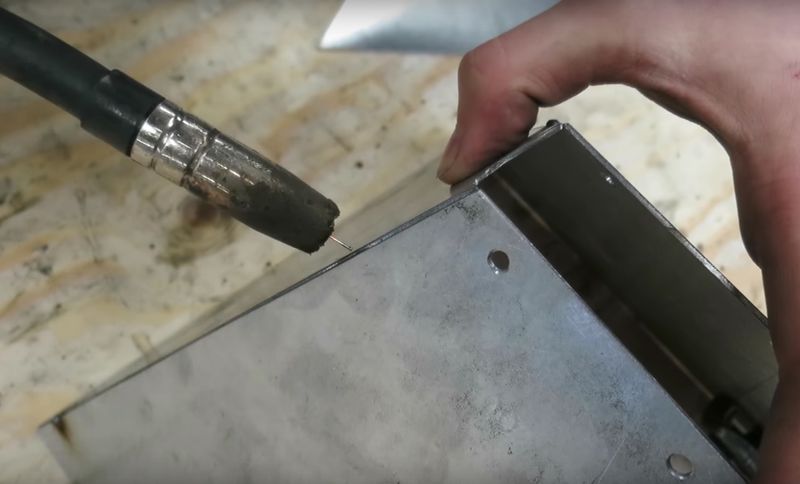
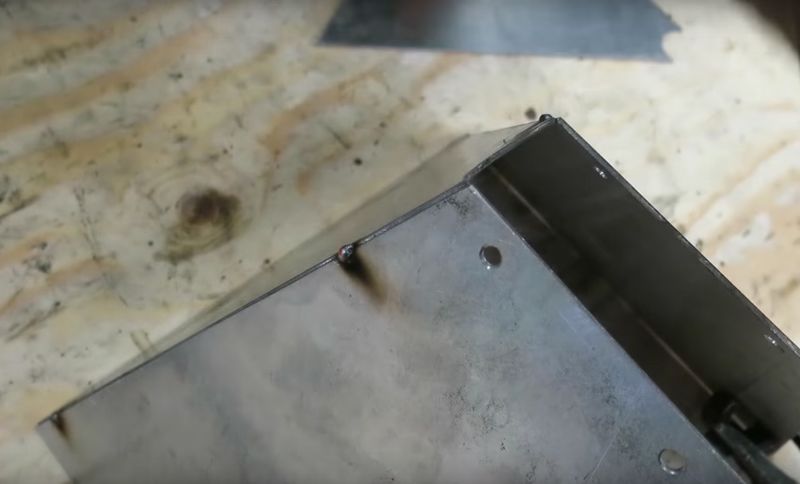
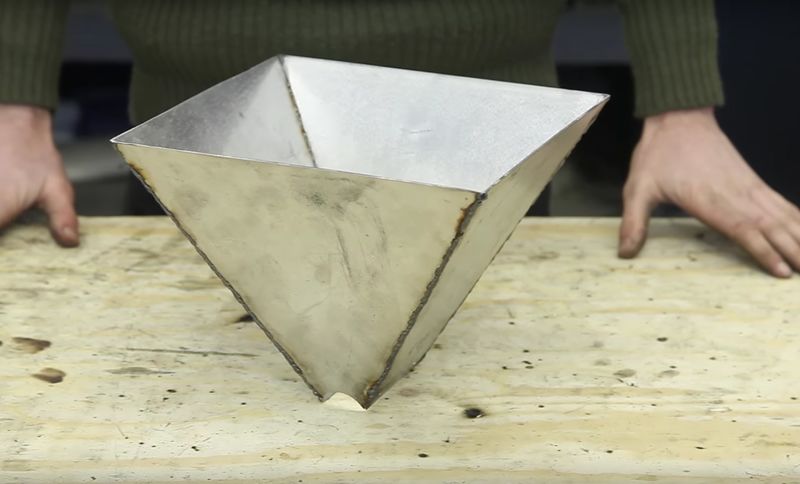
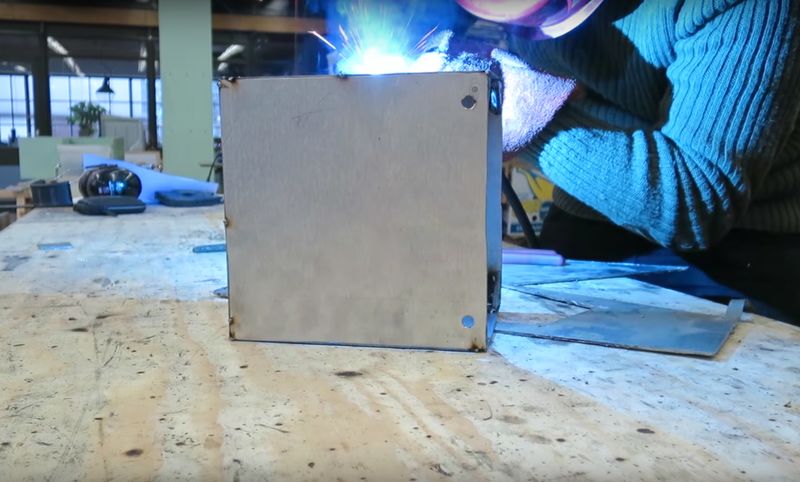
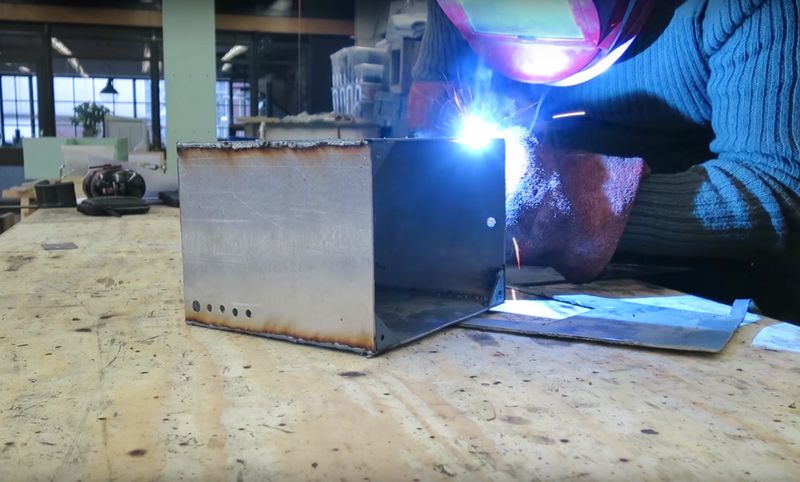
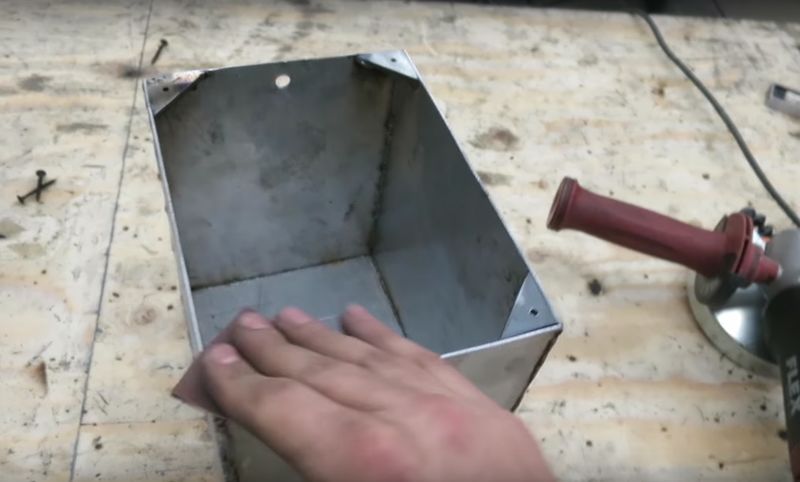
| − | |Step_Content=<translate>Make a pyramid with the plates and weld them together</translate> | + | |Step_Content=<translate><!--T:10--> Make a pyramid with the plates and weld them together</translate> |
|Step_Picture_00=PPla 1 Hooper 03a.jpg | |Step_Picture_00=PPla 1 Hooper 03a.jpg | ||
|Step_Picture_01=PPla 1 Hooper 03b.jpg | |Step_Picture_01=PPla 1 Hooper 03b.jpg | ||
| Ligne 58 : | Ligne 61 : | ||
|Step_Picture_05=PPla 1 Hooper 03f.jpg | |Step_Picture_05=PPla 1 Hooper 03f.jpg | ||
}} | }} | ||
| − | {{ | + | {{Tuto Step |
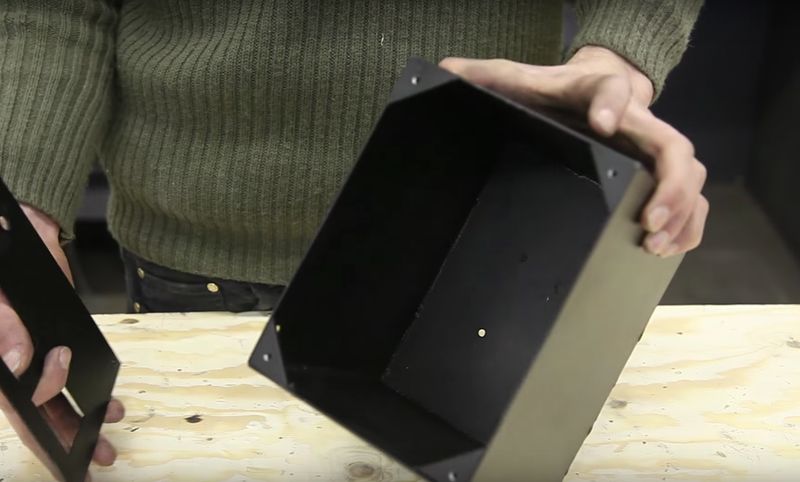
| − | |Step_Title=<translate>Hopper finishes</translate> | + | |Step_Title=<translate><!--T:11--> Hopper finishes</translate> |
|Step_Picture_00=PPla 1 Hooper 04a.jpg | |Step_Picture_00=PPla 1 Hooper 04a.jpg | ||
|Step_Picture_01=PPla 1 Hooper 04b.jpg | |Step_Picture_01=PPla 1 Hooper 04b.jpg | ||
}} | }} | ||
| − | {{ | + | {{Tuto Step |
| − | |Step_Title=<translate>Barrel</translate> | + | |Step_Title=<translate><!--T:12--> Barrel</translate> |
|Step_Picture_00=PPla 1 Barrel 01a.jpg | |Step_Picture_00=PPla 1 Barrel 01a.jpg | ||
|Step_Picture_01=PPla 1 Barrel 01b.jpg | |Step_Picture_01=PPla 1 Barrel 01b.jpg | ||
| Ligne 71 : | Ligne 74 : | ||
|Step_Picture_04=PPla 1 Barrel 01e.jpg | |Step_Picture_04=PPla 1 Barrel 01e.jpg | ||
}} | }} | ||
| − | {{ | + | {{Tuto Step |
| − | |Step_Title=<translate>Barrel</translate> | + | |Step_Title=<translate><!--T:13--> Barrel</translate> |
|Step_Picture_00=PPla 1 Barrel 02.jpg | |Step_Picture_00=PPla 1 Barrel 02.jpg | ||
}} | }} | ||
| − | {{ | + | {{Tuto Step |
|Step_Picture_00=PPla 1 Barrel 03a.jpg | |Step_Picture_00=PPla 1 Barrel 03a.jpg | ||
|Step_Picture_01=PPla 1 Barrel 03b.jpg | |Step_Picture_01=PPla 1 Barrel 03b.jpg | ||
|Step_Picture_02=PPla 1 Barrel 03c.jpg | |Step_Picture_02=PPla 1 Barrel 03c.jpg | ||
}} | }} | ||
| − | {{ | + | {{Tuto Step |
|Step_Picture_00=PPla 1 Barrel 04a.jpg | |Step_Picture_00=PPla 1 Barrel 04a.jpg | ||
|Step_Picture_01=PPla 1 Barrel 04b.jpg | |Step_Picture_01=PPla 1 Barrel 04b.jpg | ||
}} | }} | ||
| − | {{ | + | {{Tuto Step |
|Step_Picture_00=PPla 1 Barrel 05a.jpg | |Step_Picture_00=PPla 1 Barrel 05a.jpg | ||
|Step_Picture_01=PPla 1 Barrel 05b.jpg | |Step_Picture_01=PPla 1 Barrel 05b.jpg | ||
}} | }} | ||
| − | {{ | + | {{Tuto Step |
|Step_Picture_00=PPla 1 Barrel 06a.jpg | |Step_Picture_00=PPla 1 Barrel 06a.jpg | ||
|Step_Picture_01=PPla 1 Barrel 06b.jpg | |Step_Picture_01=PPla 1 Barrel 06b.jpg | ||
| Ligne 94 : | Ligne 97 : | ||
|Step_Picture_03=PPla 1 Barrel 06d.jpg | |Step_Picture_03=PPla 1 Barrel 06d.jpg | ||
}} | }} | ||
| − | {{ | + | {{Tuto Step |
|Step_Picture_00=PPla 1 Barrel 07a.jpg | |Step_Picture_00=PPla 1 Barrel 07a.jpg | ||
|Step_Picture_01=PPla 1 Barrel 07b.jpg | |Step_Picture_01=PPla 1 Barrel 07b.jpg | ||
}} | }} | ||
| − | {{ | + | {{Tuto Step |
| − | |Step_Title=<translate>Nozzle</translate> | + | |Step_Title=<translate><!--T:14--> Nozzle</translate> |
|Step_Picture_00=PP nozzle 01a.jpg | |Step_Picture_00=PP nozzle 01a.jpg | ||
|Step_Picture_01=PP nozzle 01b.jpg | |Step_Picture_01=PP nozzle 01b.jpg | ||
}} | }} | ||
| − | {{ | + | {{Tuto Step |
|Step_Picture_00=PP nozzle 02a.jpg | |Step_Picture_00=PP nozzle 02a.jpg | ||
|Step_Picture_01=PP nozzle 02b.jpg | |Step_Picture_01=PP nozzle 02b.jpg | ||
| Ligne 110 : | Ligne 113 : | ||
|Step_Picture_04=PP nozzle 02e.jpg | |Step_Picture_04=PP nozzle 02e.jpg | ||
}} | }} | ||
| − | {{ | + | {{Tuto Step |
|Step_Picture_00=PP nozzle 04a.jpg | |Step_Picture_00=PP nozzle 04a.jpg | ||
|Step_Picture_01=PP nozzle 04b.jpg | |Step_Picture_01=PP nozzle 04b.jpg | ||
|Step_Picture_02=PP nozzle 04c.jpg | |Step_Picture_02=PP nozzle 04c.jpg | ||
}} | }} | ||
| − | {{ | + | {{Tuto Step |
|Step_Picture_00=PP nozzle 05a.jpg | |Step_Picture_00=PP nozzle 05a.jpg | ||
|Step_Picture_01=PP nozzle 05b.jpg | |Step_Picture_01=PP nozzle 05b.jpg | ||
|Step_Picture_02=PP nozzle 05c.jpg | |Step_Picture_02=PP nozzle 05c.jpg | ||
}} | }} | ||
| − | {{ | + | {{Tuto Step |
|Step_Picture_00=PP nozzle 06a.jpg | |Step_Picture_00=PP nozzle 06a.jpg | ||
}} | }} | ||
| − | {{ | + | {{Tuto Step |
|Step_Picture_00=PP nozzle 07a.jpg | |Step_Picture_00=PP nozzle 07a.jpg | ||
|Step_Picture_01=PP nozzle 07b.jpg | |Step_Picture_01=PP nozzle 07b.jpg | ||
| Ligne 130 : | Ligne 133 : | ||
|Step_Picture_04=PP nozzle 07e.jpg | |Step_Picture_04=PP nozzle 07e.jpg | ||
}} | }} | ||
| − | {{ | + | {{Tuto Step |
| − | |Step_Title=<translate>Barrel holder</translate> | + | |Step_Title=<translate><!--T:15--> Barrel holder</translate> |
|Step_Picture_00=PP barrel holderZ 01a.jpg | |Step_Picture_00=PP barrel holderZ 01a.jpg | ||
|Step_Picture_01=PP barrel holderZ 01b.jpg | |Step_Picture_01=PP barrel holderZ 01b.jpg | ||
}} | }} | ||
| − | {{ | + | {{Tuto Step |
|Step_Picture_00=PP barrel holderZ 02a.jpg | |Step_Picture_00=PP barrel holderZ 02a.jpg | ||
|Step_Picture_01=PP barrel holderZ 02b.jpg | |Step_Picture_01=PP barrel holderZ 02b.jpg | ||
| Ligne 142 : | Ligne 145 : | ||
|Step_Picture_04=PP barrel holderZ 02e.jpg | |Step_Picture_04=PP barrel holderZ 02e.jpg | ||
}} | }} | ||
| − | {{ | + | {{Tuto Step |
|Step_Picture_00=PP barrel holderZ 03.jpg | |Step_Picture_00=PP barrel holderZ 03.jpg | ||
}} | }} | ||
| − | {{ | + | {{Tuto Step |
|Step_Picture_00=PP barrel holderZ 04a.jpg | |Step_Picture_00=PP barrel holderZ 04a.jpg | ||
|Step_Picture_01=PP barrel holderZ 04b.jpg | |Step_Picture_01=PP barrel holderZ 04b.jpg | ||
| Ligne 153 : | Ligne 156 : | ||
|Step_Picture_05=PP barrel holderZ 04f.jpg | |Step_Picture_05=PP barrel holderZ 04f.jpg | ||
}} | }} | ||
| − | {{ | + | {{Tuto Step |
|Step_Picture_00=PP barrel holder 05a.gif | |Step_Picture_00=PP barrel holder 05a.gif | ||
}} | }} | ||
| − | {{ | + | {{Tuto Step |
| − | |Step_Title=<translate>Framework</translate> | + | |Step_Title=<translate><!--T:16--> Framework</translate> |
|Step_Picture_00=PP framework 01a.jpg | |Step_Picture_00=PP framework 01a.jpg | ||
|Step_Picture_01=PP framework 01b.jpg | |Step_Picture_01=PP framework 01b.jpg | ||
| Ligne 163 : | Ligne 166 : | ||
|Step_Picture_03=PP framework 01d.jpg | |Step_Picture_03=PP framework 01d.jpg | ||
}} | }} | ||
| − | {{ | + | {{Tuto Step |
|Step_Picture_00=PP framework 02a.jpg | |Step_Picture_00=PP framework 02a.jpg | ||
|Step_Picture_01=PP framework 02b.jpg | |Step_Picture_01=PP framework 02b.jpg | ||
| Ligne 170 : | Ligne 173 : | ||
|Step_Picture_04=PP framework 02e.jpg | |Step_Picture_04=PP framework 02e.jpg | ||
}} | }} | ||
| − | {{ | + | {{Tuto Step |
|Step_Picture_00=PP framework 03.jpg | |Step_Picture_00=PP framework 03.jpg | ||
}} | }} | ||
| − | {{ | + | {{Tuto Step |
|Step_Picture_00=PP framework 04a.jpg | |Step_Picture_00=PP framework 04a.jpg | ||
|Step_Picture_01=PP framework 04b.jpg | |Step_Picture_01=PP framework 04b.jpg | ||
| Ligne 179 : | Ligne 182 : | ||
|Step_Picture_03=PP framework 04d.jpg | |Step_Picture_03=PP framework 04d.jpg | ||
}} | }} | ||
| − | {{ | + | {{Tuto Step |
|Step_Picture_00=PP ElecBox 01a.jpg | |Step_Picture_00=PP ElecBox 01a.jpg | ||
|Step_Picture_01=PP ElecBox 01b.jpg | |Step_Picture_01=PP ElecBox 01b.jpg | ||
|Step_Picture_02=PP ElecBox 01c.jpg | |Step_Picture_02=PP ElecBox 01c.jpg | ||
}} | }} | ||
| − | {{ | + | {{Tuto Step |
|Step_Picture_00=PP ElecBox 02a.jpg | |Step_Picture_00=PP ElecBox 02a.jpg | ||
|Step_Picture_01=PP ElecBox 02b.jpg | |Step_Picture_01=PP ElecBox 02b.jpg | ||
| Ligne 190 : | Ligne 193 : | ||
|Step_Picture_03=PP ElecBox 02d.jpg | |Step_Picture_03=PP ElecBox 02d.jpg | ||
}} | }} | ||
| − | {{ | + | {{Tuto Step |
|Step_Picture_00=PP ElecBox 03a.jpg | |Step_Picture_00=PP ElecBox 03a.jpg | ||
|Step_Picture_01=PP ElecBox 03b.jpg | |Step_Picture_01=PP ElecBox 03b.jpg | ||
| Ligne 198 : | Ligne 201 : | ||
|Step_Picture_05=PP ElecBox 03f.jpg | |Step_Picture_05=PP ElecBox 03f.jpg | ||
}} | }} | ||
| − | {{ | + | {{Tuto Step |
|Step_Picture_00=PP ElecBox 04a.jpg | |Step_Picture_00=PP ElecBox 04a.jpg | ||
|Step_Picture_01=PP ElecBox 04b.jpg | |Step_Picture_01=PP ElecBox 04b.jpg | ||
}} | }} | ||
| − | {{ | + | {{Tuto Step |
|Step_Picture_00=PP ElecConnect 01a.jpg | |Step_Picture_00=PP ElecConnect 01a.jpg | ||
|Step_Picture_01=PP ElecConnect 01b.jpg | |Step_Picture_01=PP ElecConnect 01b.jpg | ||
|Step_Picture_02=PP ElecConnect 01d.jpg | |Step_Picture_02=PP ElecConnect 01d.jpg | ||
}} | }} | ||
| − | {{ | + | {{Tuto Step |
|Step_Picture_00=PP ElecConnect 02b.jpg | |Step_Picture_00=PP ElecConnect 02b.jpg | ||
|Step_Picture_01=PP ElecConnect 02c.jpg | |Step_Picture_01=PP ElecConnect 02c.jpg | ||
| Ligne 214 : | Ligne 217 : | ||
|Step_Picture_04=PP ElecConnect 02f.jpg | |Step_Picture_04=PP ElecConnect 02f.jpg | ||
}} | }} | ||
| − | {{ | + | {{Tuto Step |
| − | |Step_Title=<translate>Attach it to the frame</translate> | + | |Step_Title=<translate><!--T:17--> Attach it to the frame</translate> |
|Step_Picture_00=PP ElecConnect 03a.jpg | |Step_Picture_00=PP ElecConnect 03a.jpg | ||
}} | }} | ||
| − | {{ | + | {{Tuto Step |
|Step_Picture_00=PP ElecConnect 04a.jpg | |Step_Picture_00=PP ElecConnect 04a.jpg | ||
|Step_Picture_01=PP ElecConnect 04b.jpg | |Step_Picture_01=PP ElecConnect 04b.jpg | ||
| Ligne 226 : | Ligne 229 : | ||
|Step_Picture_05=PP ElecConnect 04f.jpg | |Step_Picture_05=PP ElecConnect 04f.jpg | ||
}} | }} | ||
| − | {{ | + | {{Tuto Step |
|Step_Picture_00=PP ElecConnect 05a.jpg | |Step_Picture_00=PP ElecConnect 05a.jpg | ||
|Step_Picture_01=PP ElecConnect 05b.jpg | |Step_Picture_01=PP ElecConnect 05b.jpg | ||
|Step_Picture_02=PP ElecConnect 05c.jpg | |Step_Picture_02=PP ElecConnect 05c.jpg | ||
}} | }} | ||
| − | {{ | + | {{Tuto Step |
| − | |Step_Title=<translate>Engine</translate> | + | |Step_Title=<translate><!--T:18--> Engine</translate> |
|Step_Picture_00=PP Engine.gif | |Step_Picture_00=PP Engine.gif | ||
}} | }} | ||
| − | {{ | + | {{Tuto Step |
| − | |Step_Title=<translate>Improvements and learn</translate> | + | |Step_Title=<translate><!--T:19--> Improvements and learn</translate> |
| − | |Step_Content=<translate>'''Suggestion:''' Currently, the nose decided the amount of plastic that comes out. | + | |Step_Content=<translate><!--T:20--> |
| + | '''Suggestion:''' Currently, the nose decided the amount of plastic that comes out. | ||
| + | <!--T:21--> | ||
However, a better way to do this is by adding a controllable engine. There are different ways to control the speed of an engine by using different controllers or regulators. | However, a better way to do this is by adding a controllable engine. There are different ways to control the speed of an engine by using different controllers or regulators. | ||
| + | <!--T:22--> | ||
'''How to use the machine''' | '''How to use the machine''' | ||
| + | <!--T:23--> | ||
[https://www.youtube.com/watch?v=p4NoY33-Tfo&t=15m9s Clic here] to watch our online video (starting from 15:09) to learn how to use the machine. | [https://www.youtube.com/watch?v=p4NoY33-Tfo&t=15m9s Clic here] to watch our online video (starting from 15:09) to learn how to use the machine. | ||
| + | <!--T:24--> | ||
Thanks!</translate> | Thanks!</translate> | ||
|Step_Picture_00=Machine-extrusion.jpg | |Step_Picture_00=Machine-extrusion.jpg | ||
| Ligne 250 : | Ligne 258 : | ||
|Step_Picture_02=PP Final 02.gif | |Step_Picture_02=PP Final 02.gif | ||
}} | }} | ||
| − | {{ | + | {{Notes|}} |
{{Tuto_Status | {{Tuto_Status | ||
| − | |Complete= | + | |Complete=Published |
}} | }} | ||
Version actuelle datée du 9 décembre 2019 à 11:49
Sommaire
- 1 Introduction
- 2 Étape 1 - Hopper: cutting metal plates
- 3 Étape 2 - Hopper: drilling metal plates
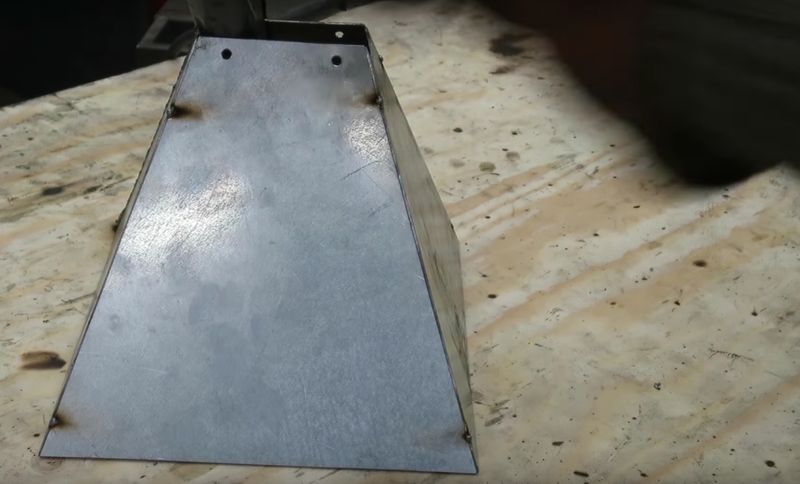
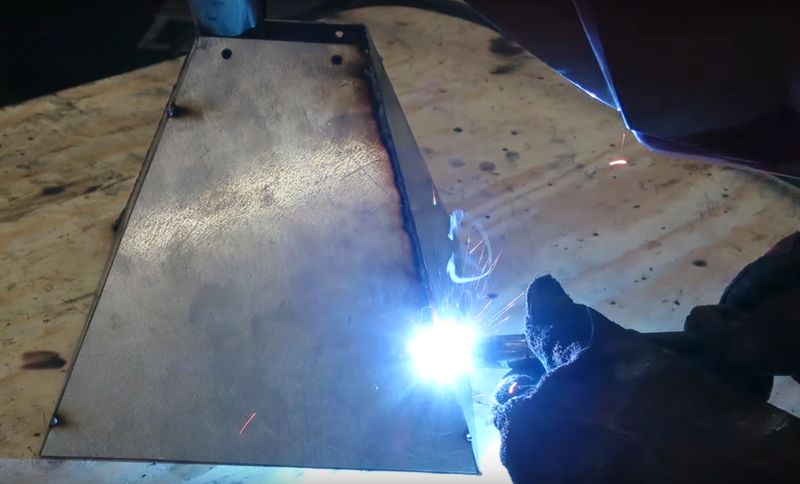
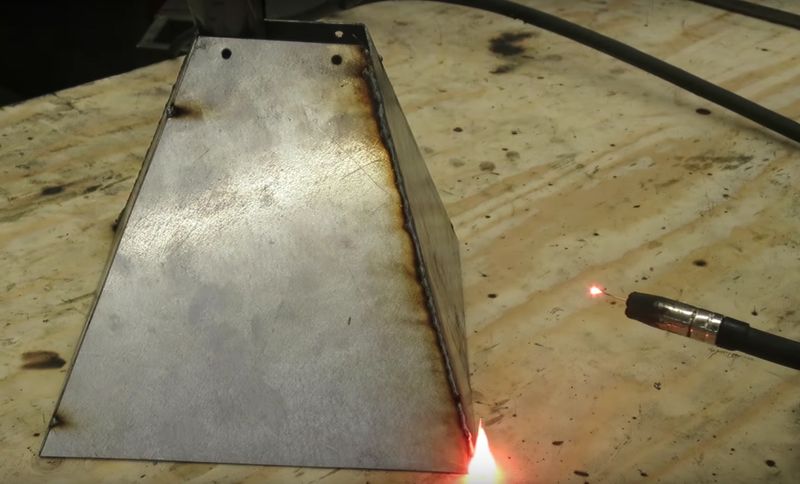
- 4 Étape 3 - Hopper: welding metal plates
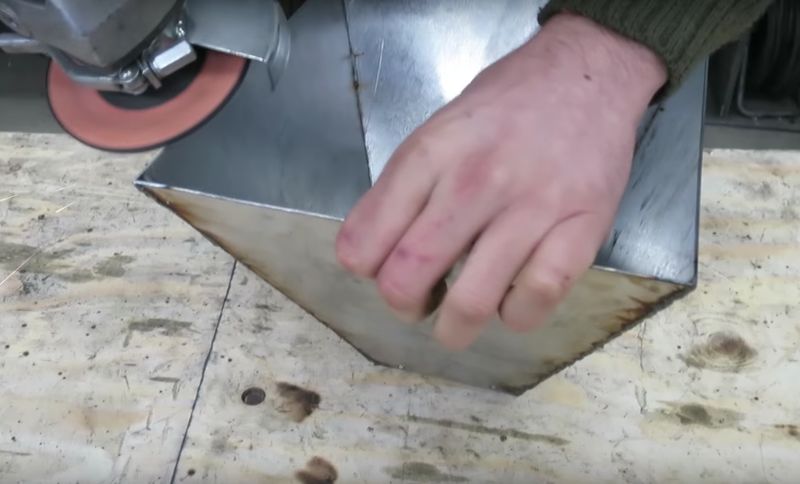
- 5 Étape 4 - Hopper finishes
- 6 Étape 5 - Barrel
- 7 Étape 6 - Barrel
- 8 Étape 7 -
- 9 Étape 8 -
- 10 Étape 9 -
- 11 Étape 10 -
- 12 Étape 11 -
- 13 Étape 12 - Nozzle
- 14 Étape 13 -
- 15 Étape 14 -
- 16 Étape 15 -
- 17 Étape 16 -
- 18 Étape 17 -
- 19 Étape 18 - Barrel holder
- 20 Étape 19 -
- 21 Étape 20 -
- 22 Étape 21 -
- 23 Étape 22 -
- 24 Étape 23 - Framework
- 25 Étape 24 -
- 26 Étape 25 -
- 27 Étape 26 -
- 28 Étape 27 -
- 29 Étape 28 -
- 30 Étape 29 -
- 31 Étape 30 -
- 32 Étape 31 -
- 33 Étape 32 -
- 34 Étape 33 - Attach it to the frame
- 35 Étape 34 -
- 36 Étape 35 -
- 37 Étape 36 - Engine
- 38 Étape 37 - Improvements and learn
- 39 Commentaires
Introduction
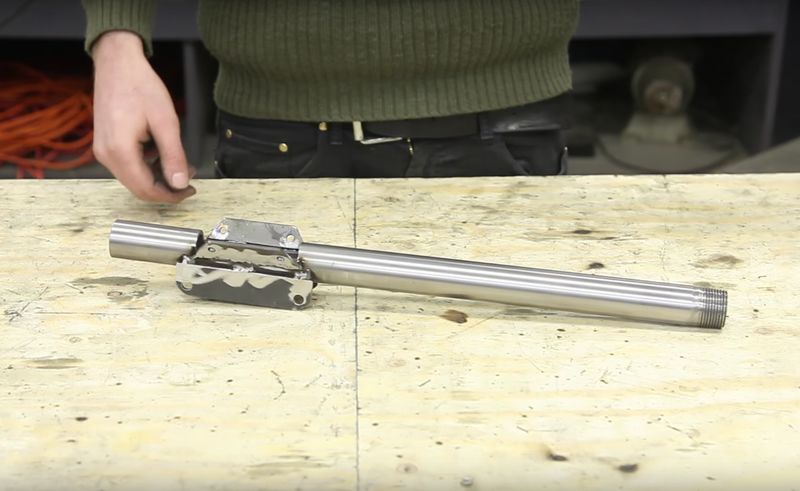
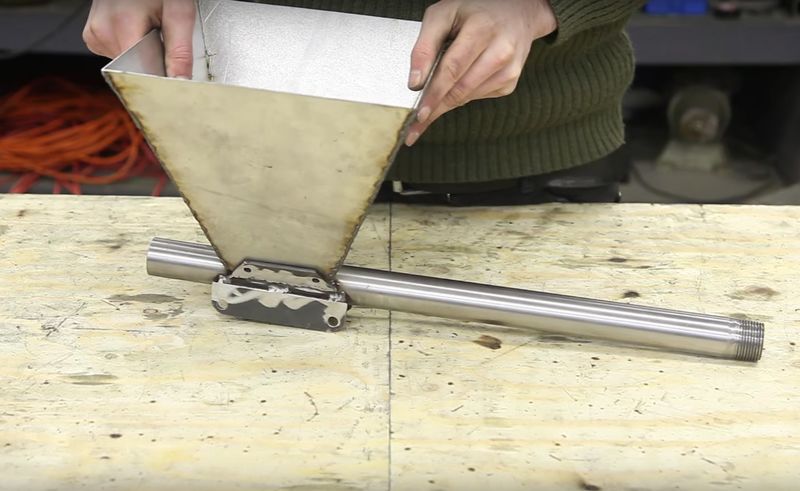
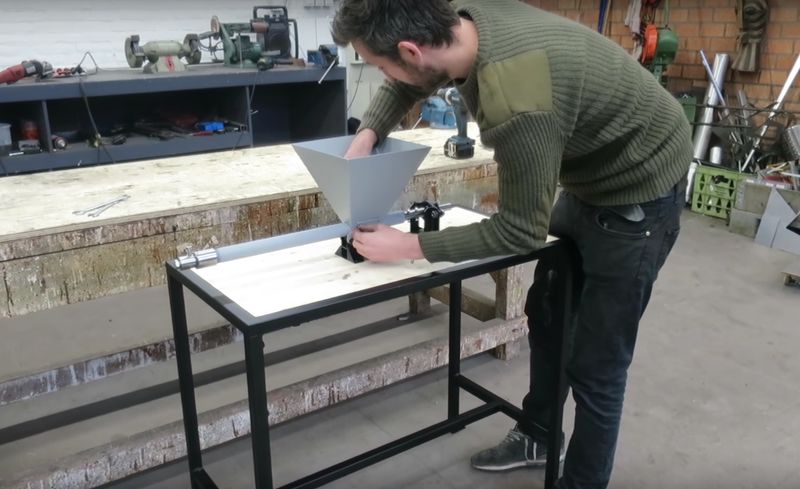
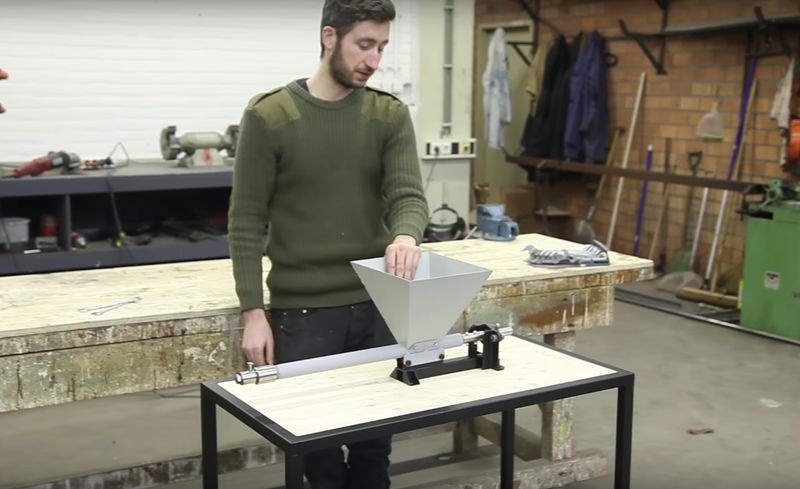
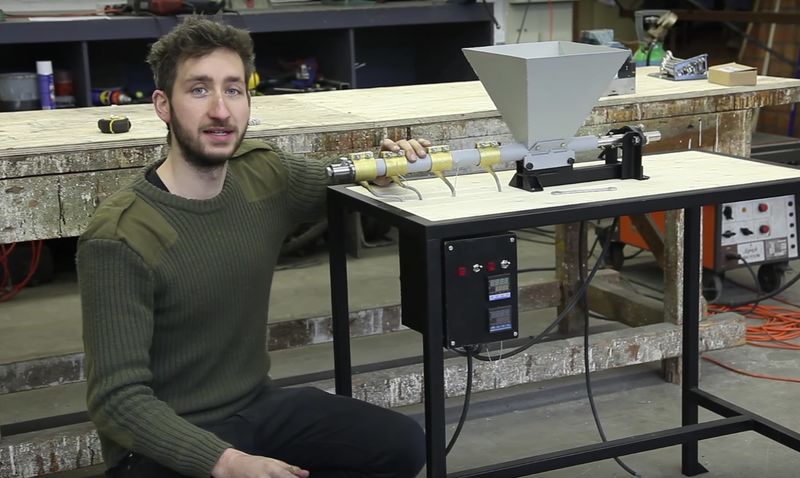
The extrusion machine has quite a specific output, a line. This is well suited to make new granulate and 3D printer filament. However use your creativity and you will find other applications for it as well. Change the nozzle for different shapes and sizes, turn it around a mold to make lamps or a handle for a knife.
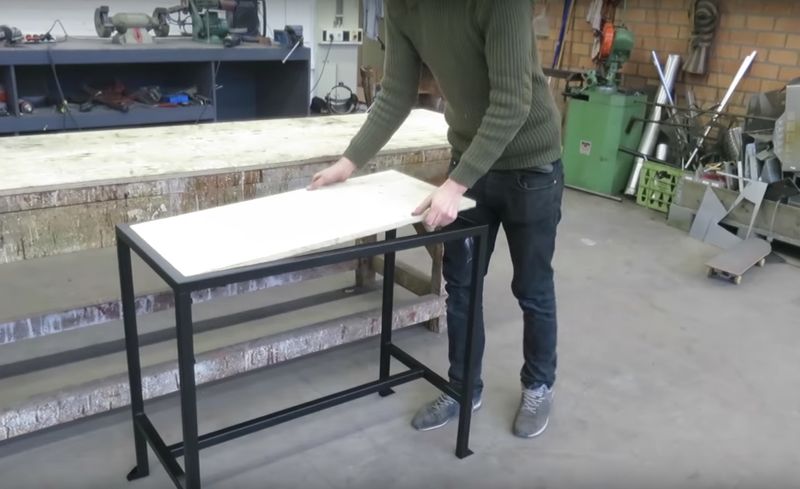
The extrusion machine consists in 6 different elements: the hopper, the barrel, the nozzle, the barrel holder, the framework and the electronics.
Matériaux
- Metal sheet plates
- Metal tubes
Outils
- Angle grinder
- Protective glasses
- Milling machine
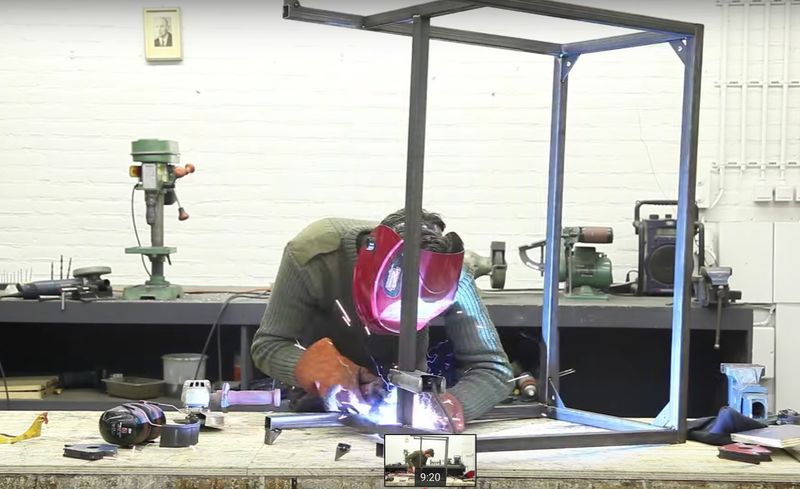
- Arc welding machine
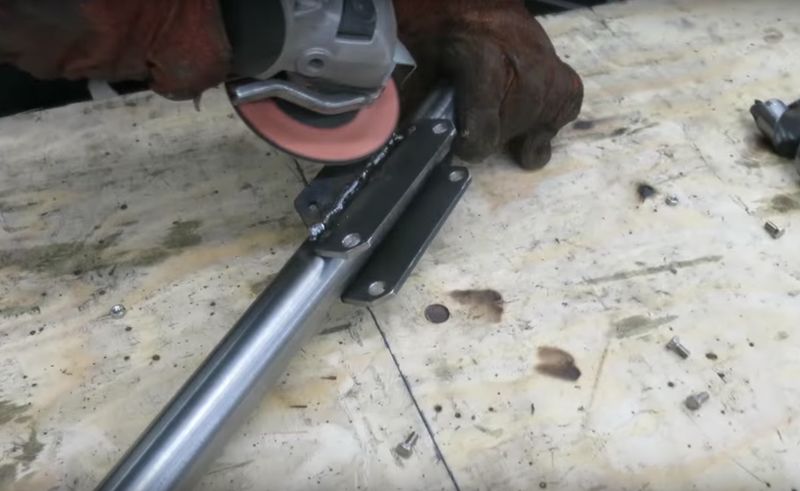
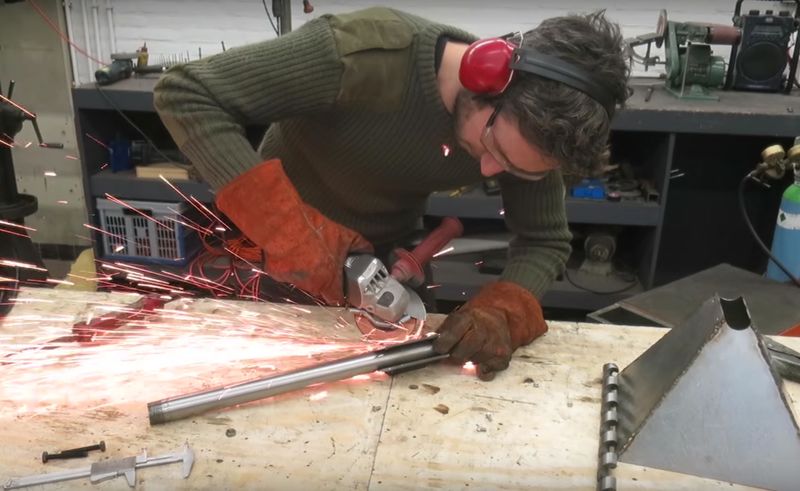
Étape 1 - Hopper: cutting metal plates
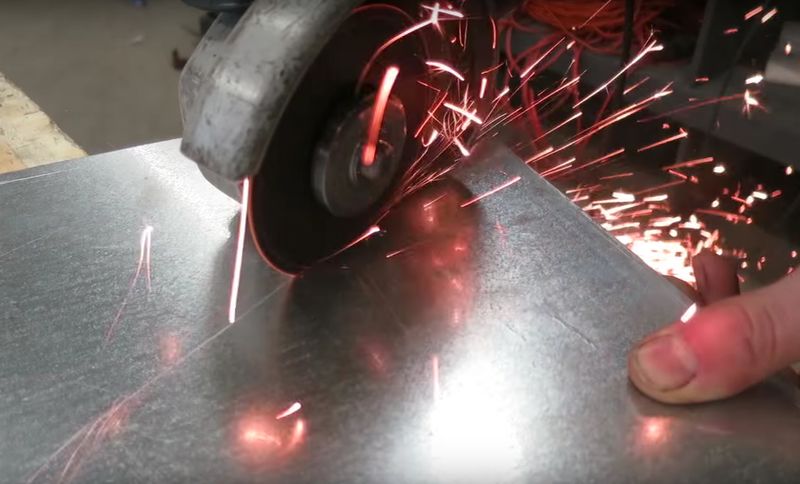
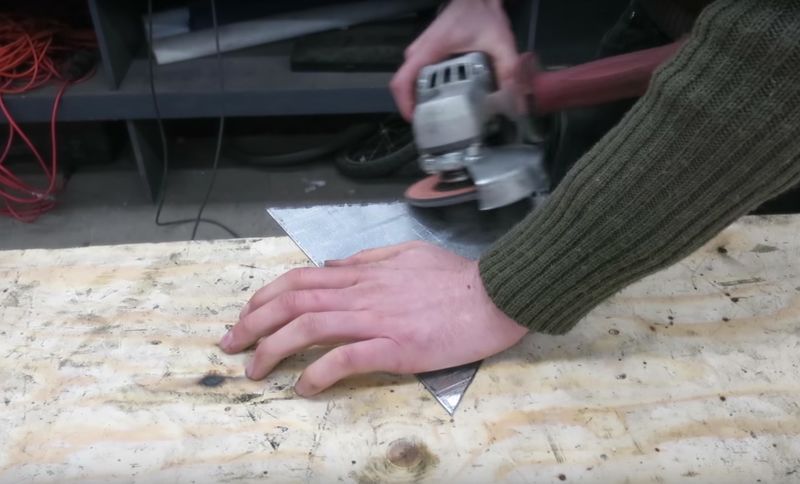
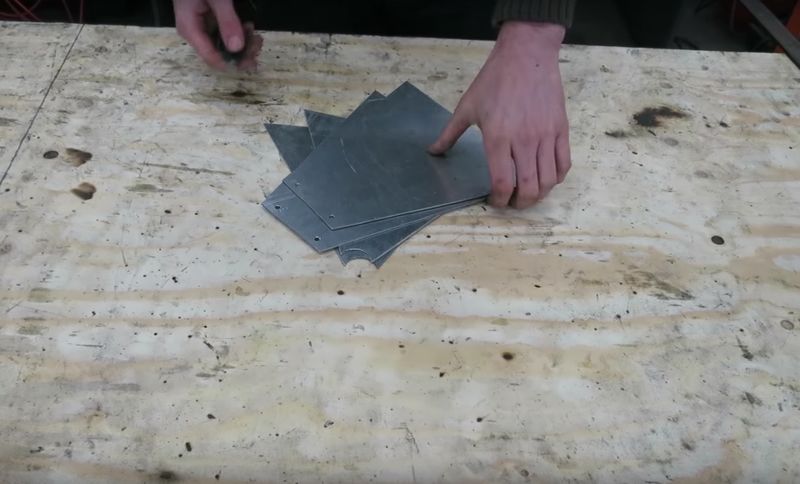
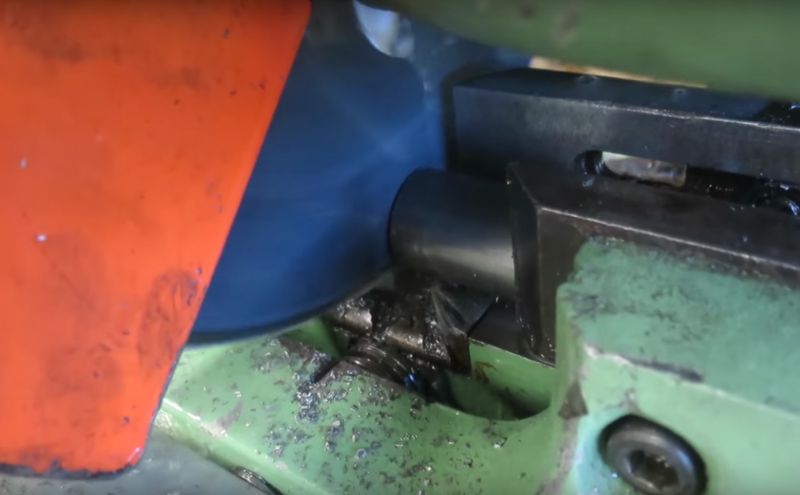
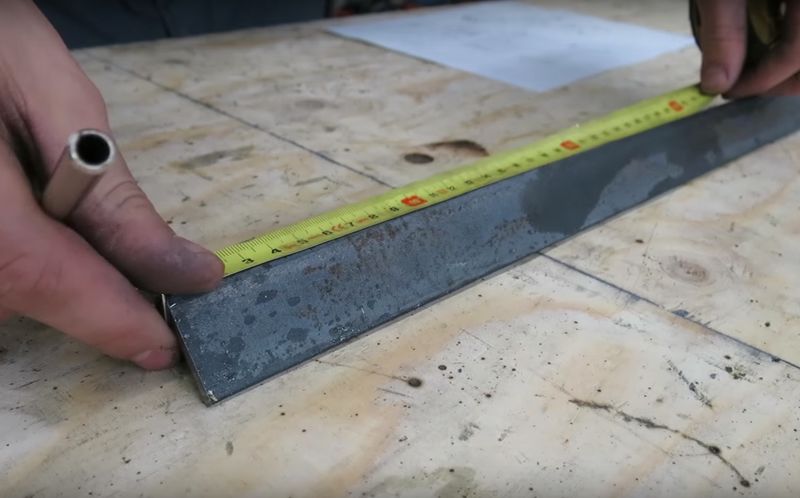
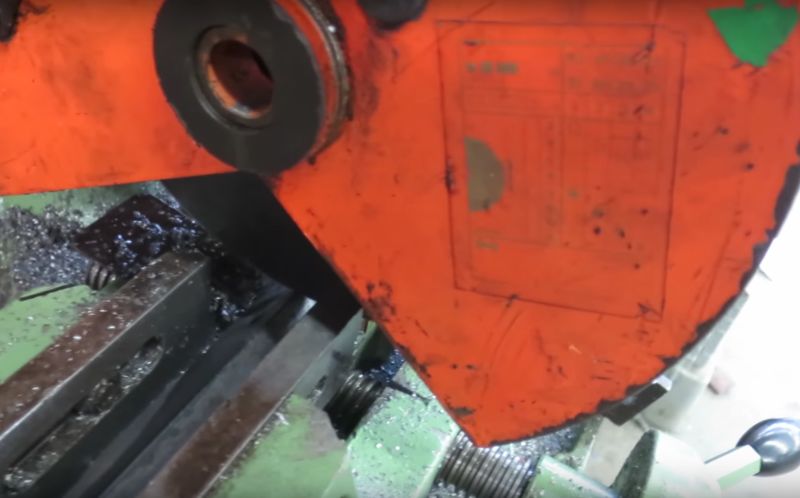
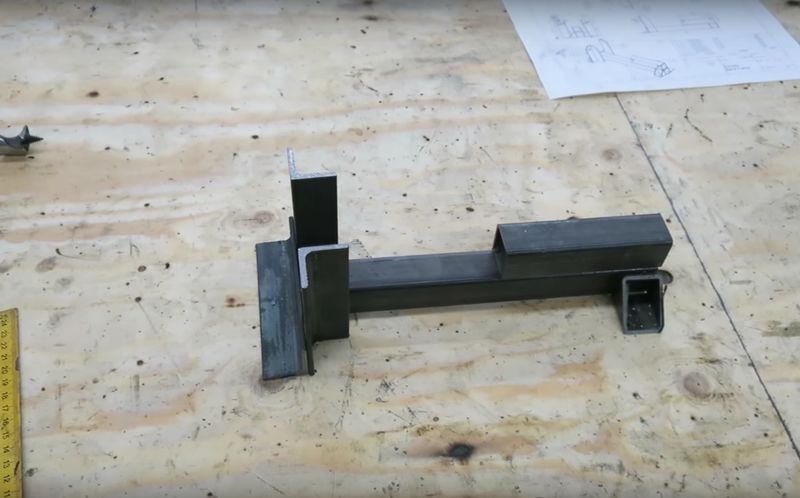
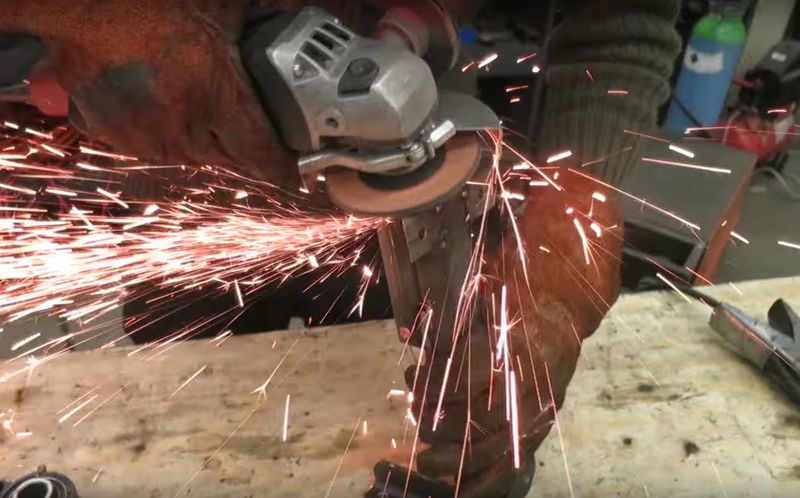
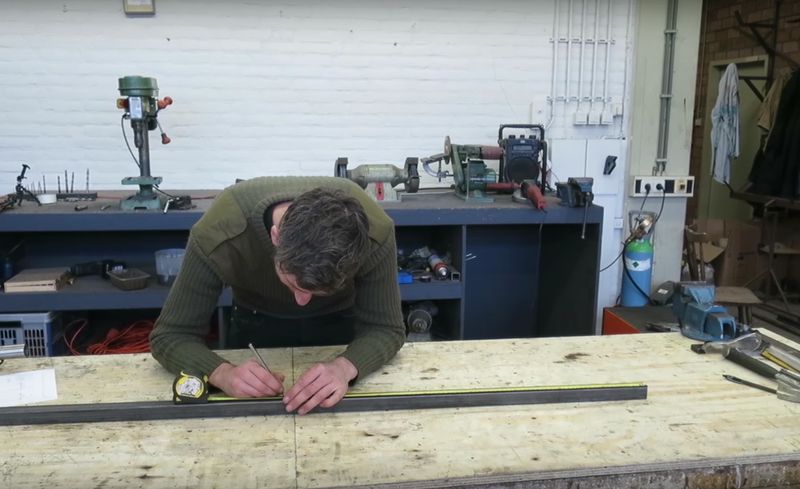
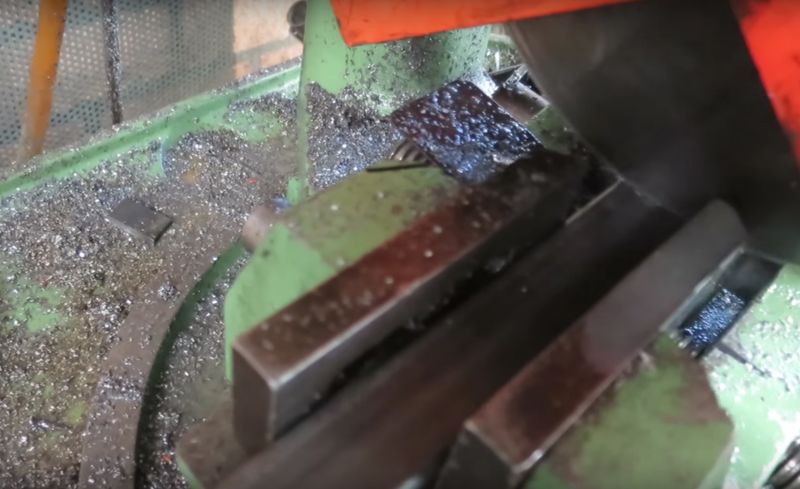
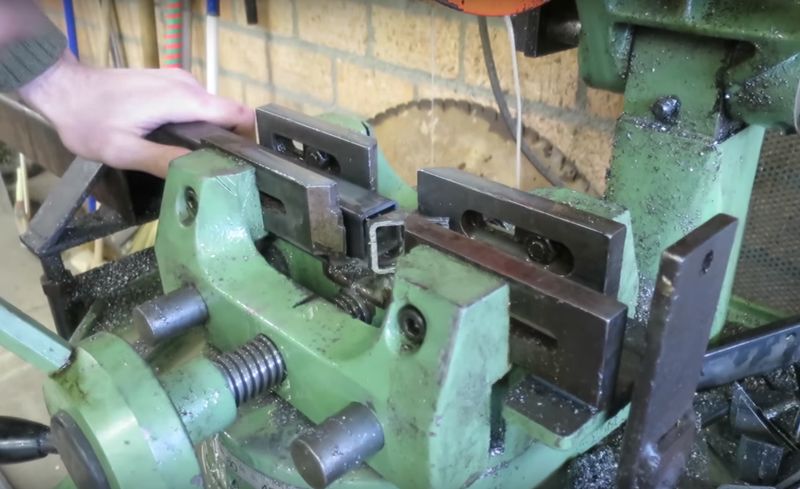
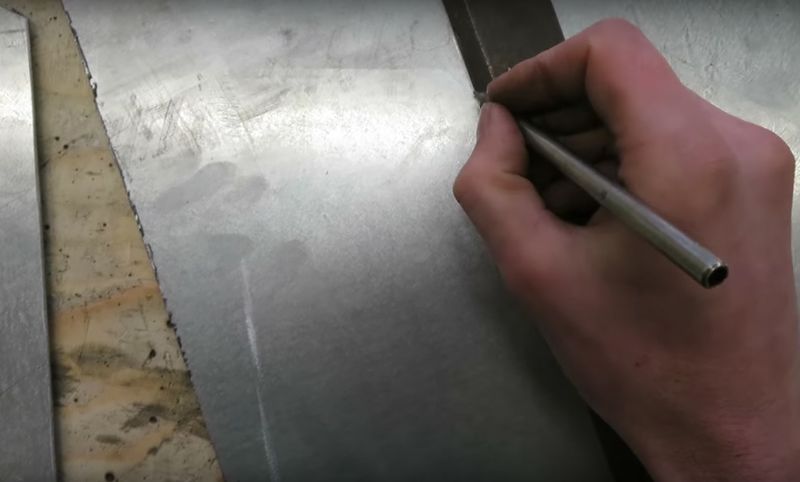
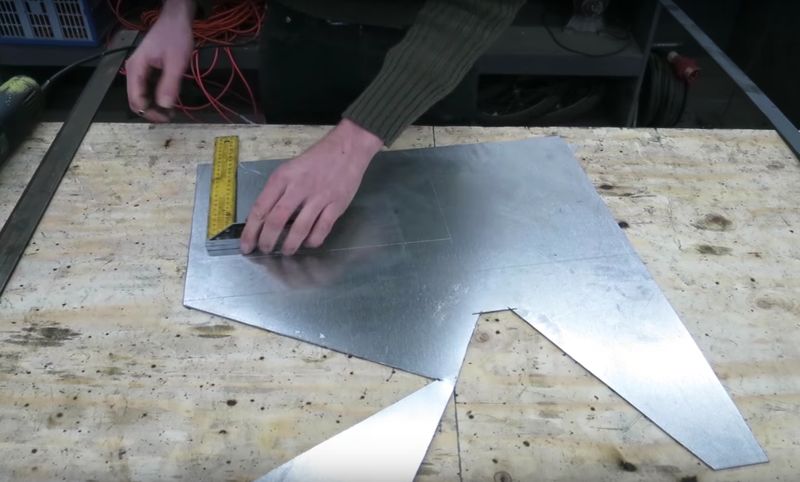
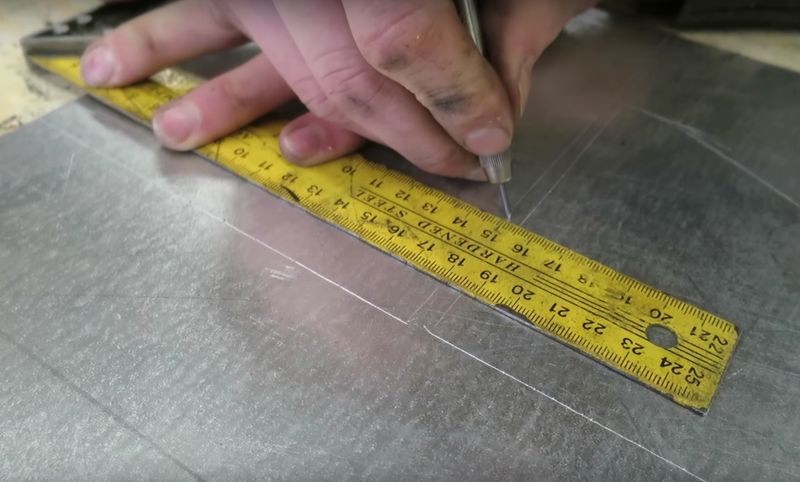
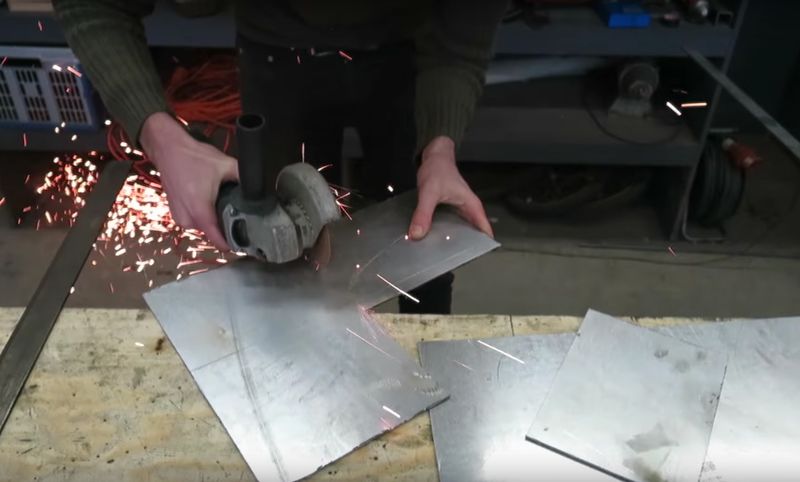
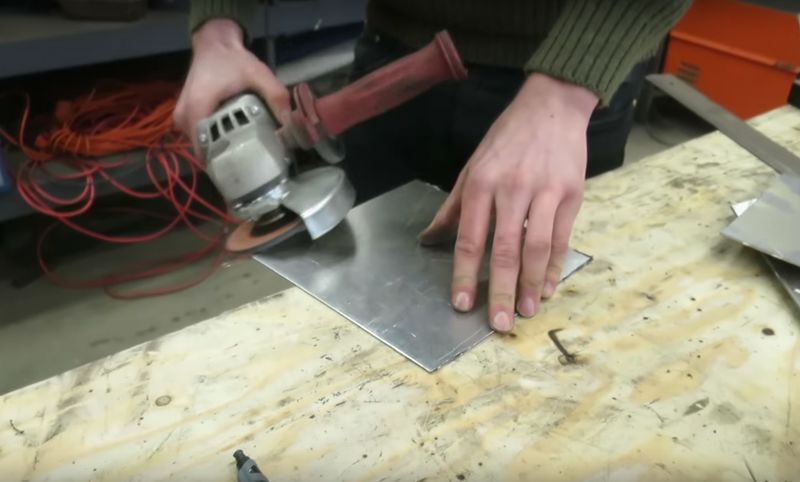
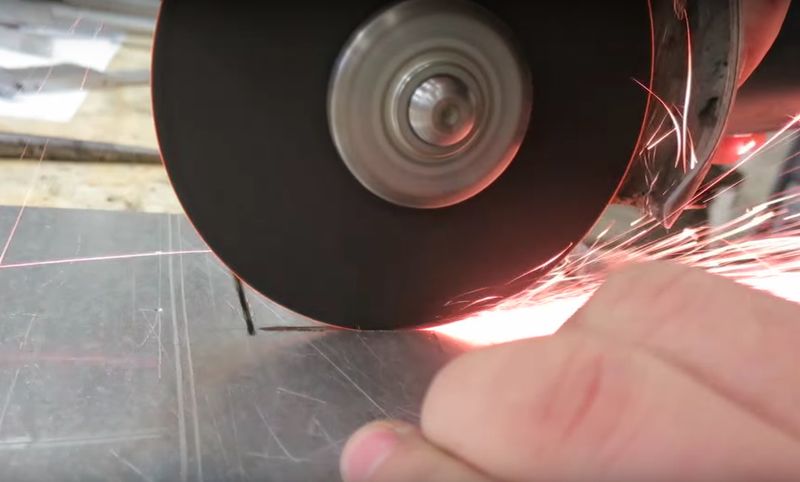
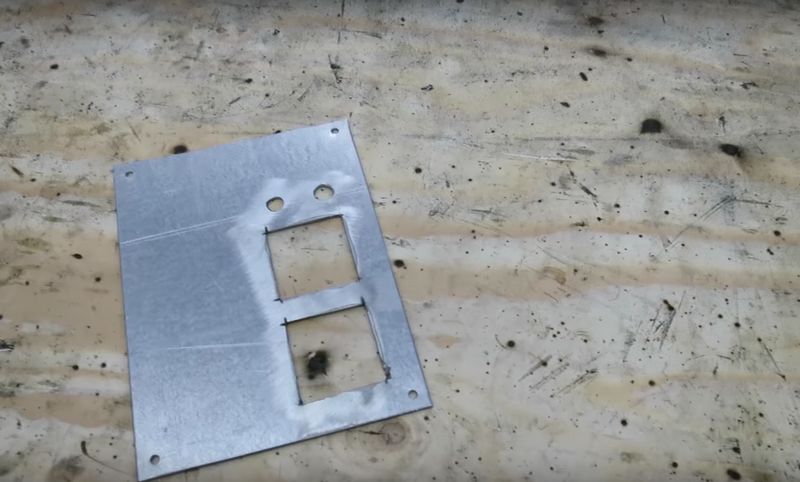
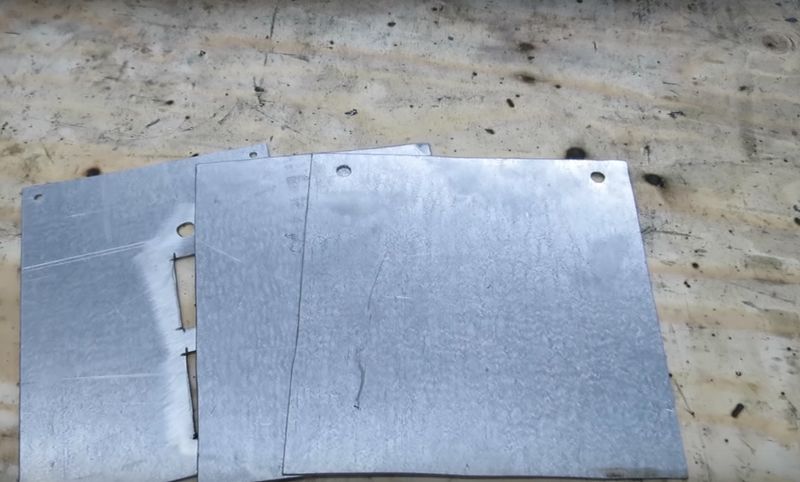
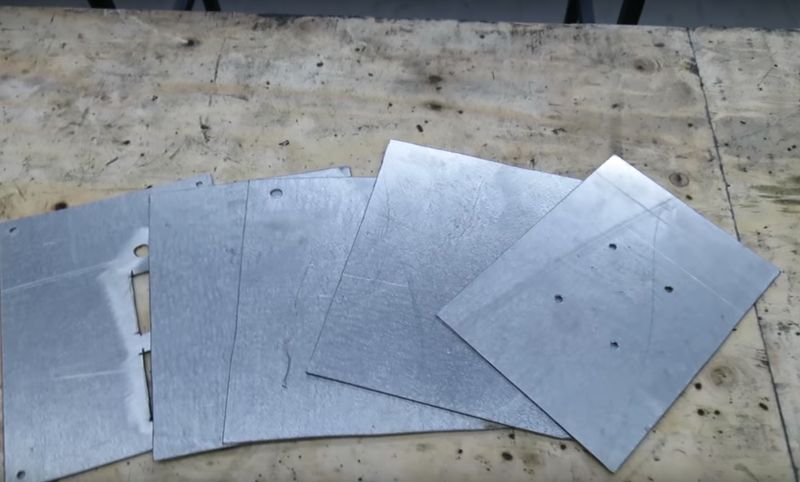
Get the metal sheet plates. Take measurements following the blue prints and cut the sheets with a grinding machine and sand metal edges.
Étape 2 - Hopper: drilling metal plates
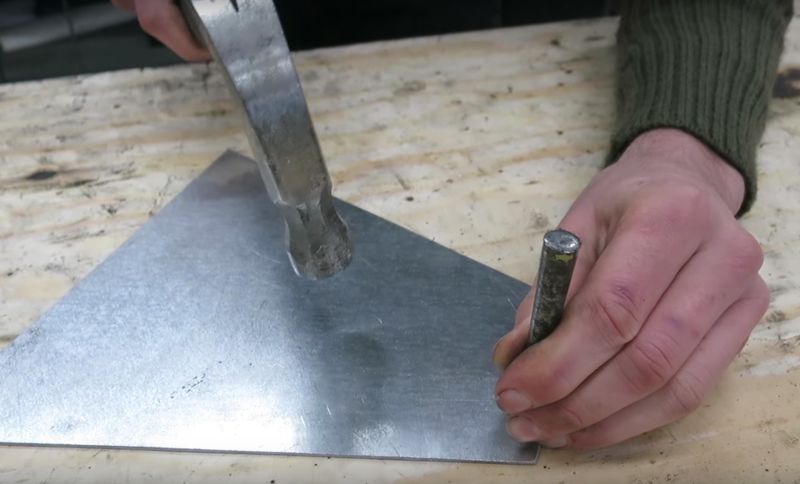
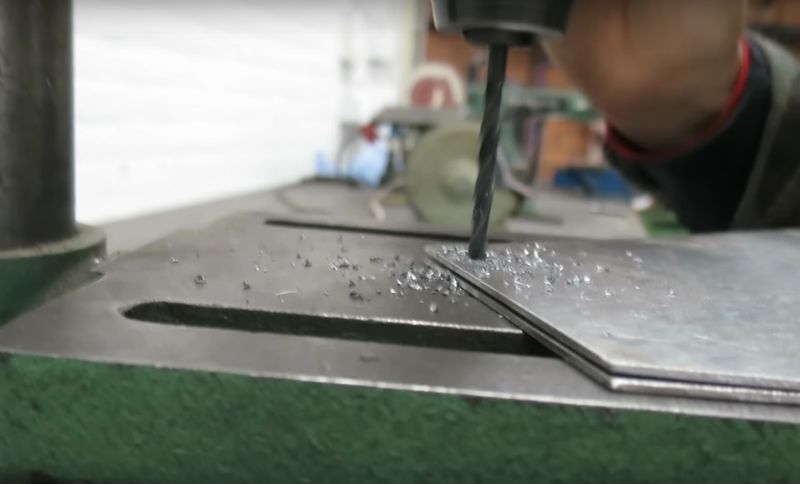
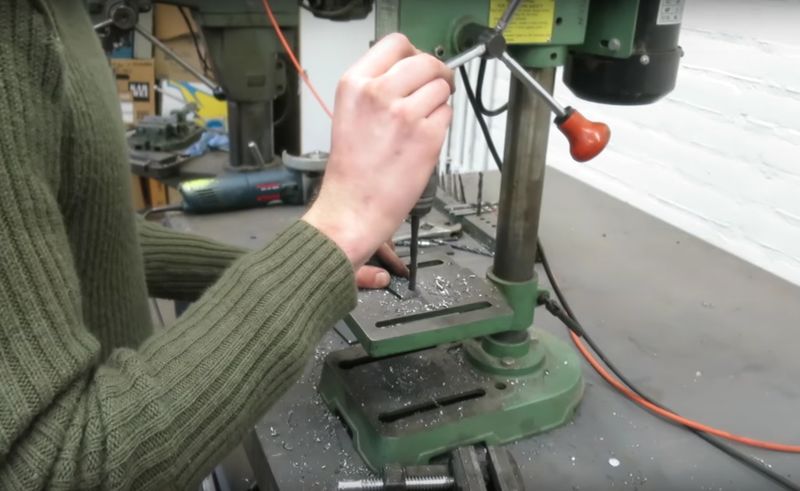
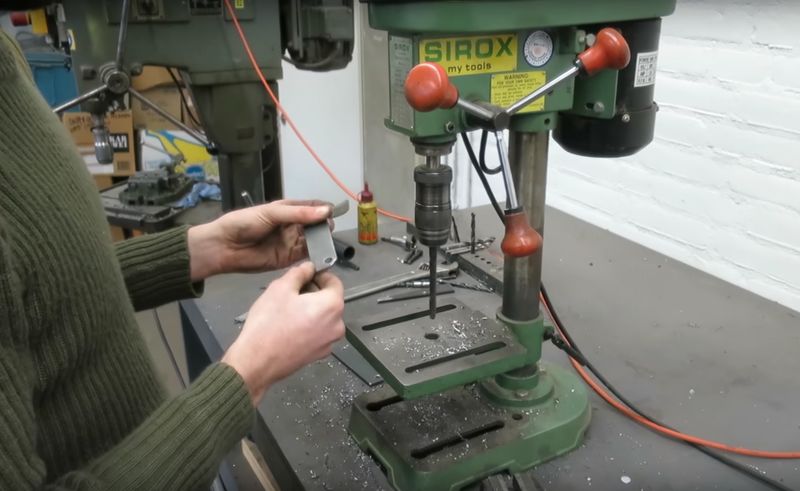
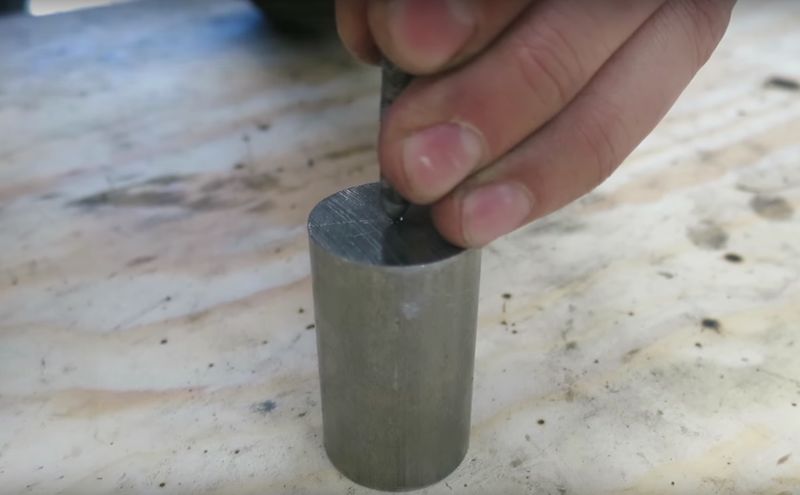
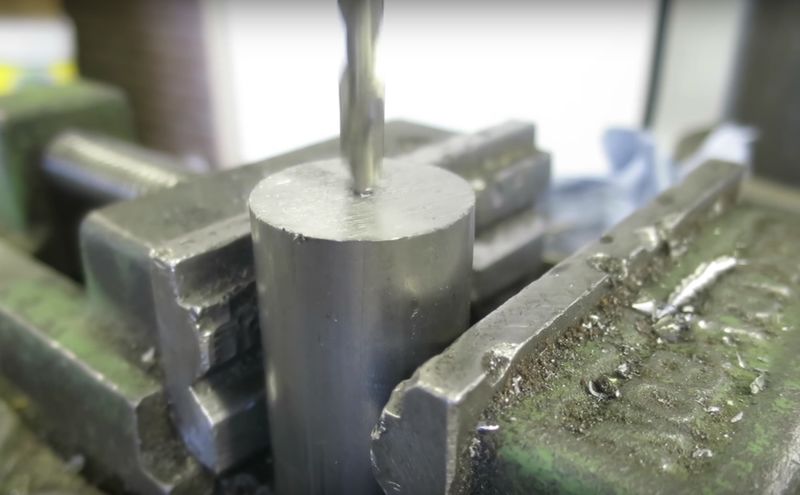
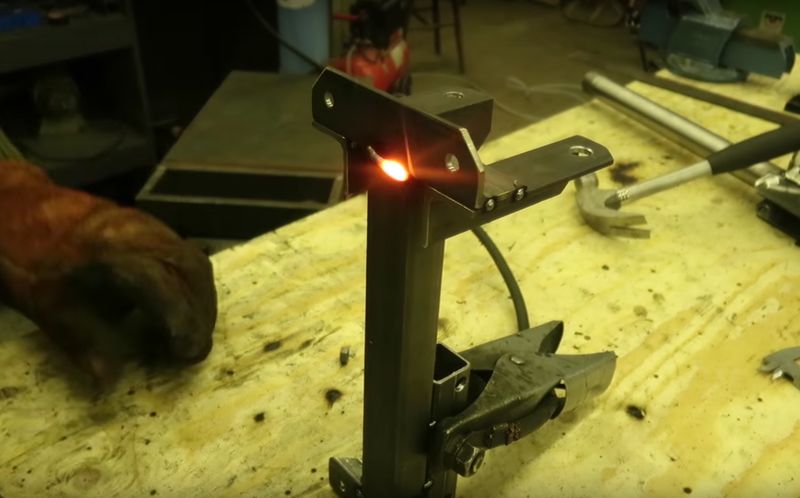
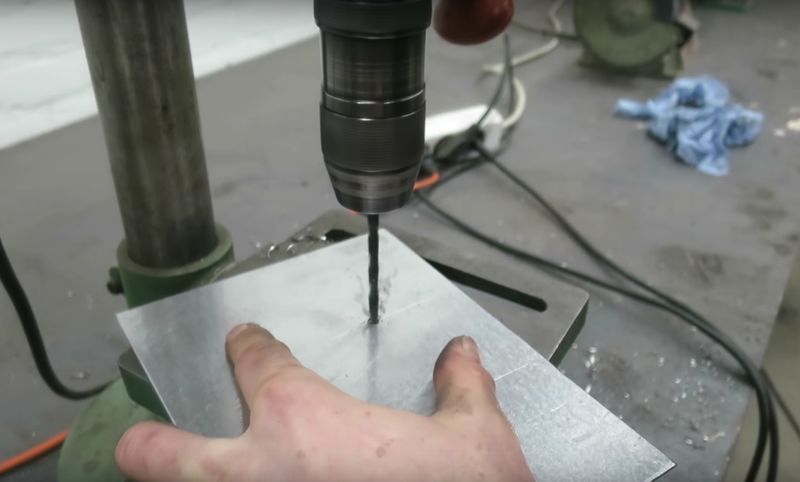
Prick the plate with a hammer and drill the metal plates on the milling machine
Étape 37 - Improvements and learn
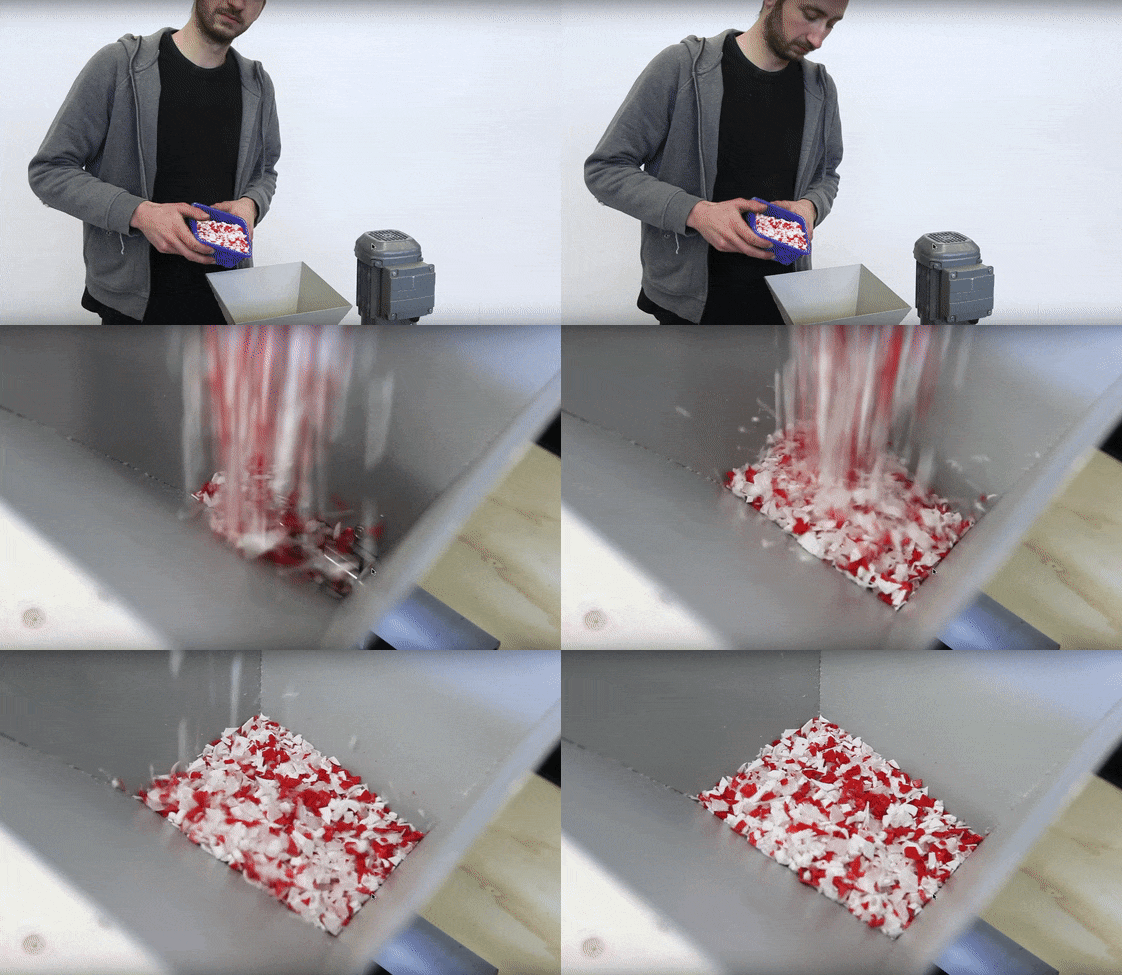
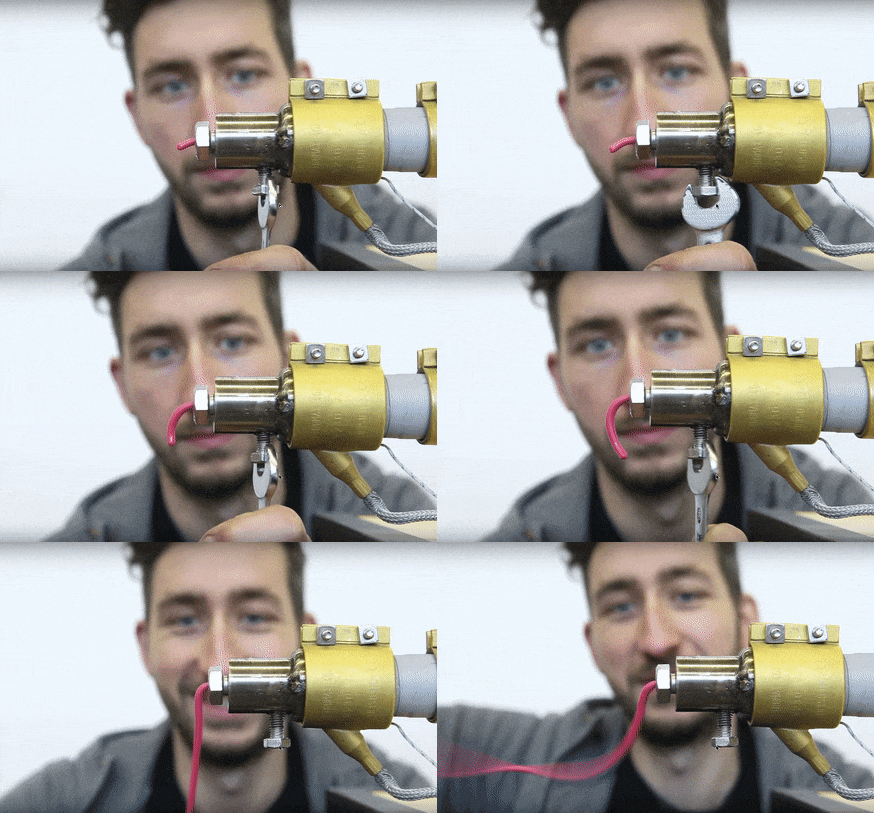
Suggestion: Currently, the nose decided the amount of plastic that comes out.
However, a better way to do this is by adding a controllable engine. There are different ways to control the speed of an engine by using different controllers or regulators.
How to use the machine
Clic here to watch our online video (starting from 15:09) to learn how to use the machine.
Thanks!
Published


 Français
 English
 Deutsch
 Español
 Italiano
 Português