(Page créée avec « {{ {{tntn|Tuto Details}} |SourceLanguage=none |Language=fr |IsTranslation=0 |Type=Technique |Area=Robotics |Tags=Robot, Arduino,, telepresence, mario, earlymakers, makersl... ») |
(update property name) |
||
| (4 révisions intermédiaires par 3 utilisateurs non affichées) | |||
| Ligne 1 : | Ligne 1 : | ||
| − | {{ | + | {{Tuto Details |
| − | | | + | |Main_Picture=Mario_robot_de_téléprésence_Mario_emlyon.png |
| − | | | + | |Licences=Attribution-ShareAlike (CC BY-SA) |
| − | | | + | |Description=Robot de télé-présence à la découpe laser et Arduino. |
| + | |Area=Robotics | ||
|Type=Technique | |Type=Technique | ||
| − | |||
| − | |||
| − | |||
|Difficulty=Hard | |Difficulty=Hard | ||
| + | |Duration=2 | ||
| + | |Duration-type=day(s) | ||
|Cost=300 | |Cost=300 | ||
|Currency=EUR (€) | |Currency=EUR (€) | ||
| − | | | + | |Tags=Robot, Arduino, telepresence, mario, earlymakers, makerslab, Découpe laser |
| − | | | + | |SourceLanguage=none |
| − | | | + | |Language=fr |
| + | |IsTranslation=0 | ||
| + | }} | ||
| + | {{Introduction | ||
| + | |Introduction=Mario est un robot de télé-présence fabriqué au [[Group:Makers' lab|makers lab de emlyon business school]] en novembre 2017. Créée à la découpe laser, le robot vous permet de vous déplacer et d'échanger à distance avec vos amis ! Bon fork et bonne balade ! | ||
}} | }} | ||
| − | {{ | + | {{TutoVideo |
| − | | | + | |TutoVideoService=youtube |
| + | |TutoVideoURL=https://youtu.be/wvOLqS3_R6o | ||
}} | }} | ||
| − | {{ | + | {{Materials |
|Material=* contre-plaqué d’épaisseur 10mm | |Material=* contre-plaqué d’épaisseur 10mm | ||
* médium 3mm | * médium 3mm | ||
| − | * | + | * Arduino |
* une tablette | * une tablette | ||
|Tools=* découpe laser | |Tools=* découpe laser | ||
* papier à poncer, perceuse-visseuse | * papier à poncer, perceuse-visseuse | ||
}} | }} | ||
| − | {{ {{ | + | {{Separator}} |
| − | {{ {{ | + | {{Tuto Step |
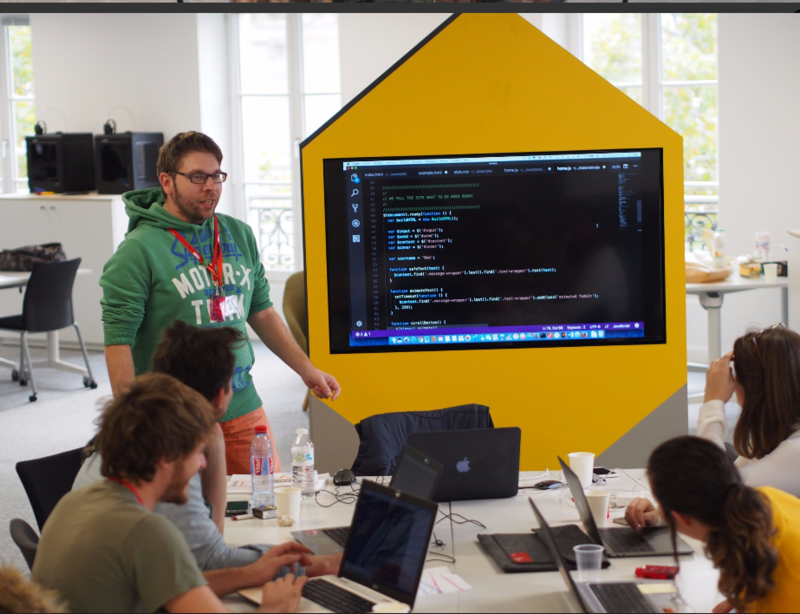
| − | |Step_Title= | + | |Step_Title=Code Arduino |
| − | |Step_Content= | + | |Step_Content=HTLM CSS JS |
| − | + | |Step_Picture_00=Mario_robot_de_téléprésence_Screenshot_2018-07-11_Tweets_de_Media_par_makers_lab_emlyon_makerslab__Twitter_4_.png | |
| − | + | }} | |
| − | + | {{Tuto Step | |
| − | + | |Step_Title= | |
| − | + | |Step_Content= | |
| − | + | |Step_Picture_00=Mario_robot_de_téléprésence_Screenshot_2018-07-11_Tweets_de_Media_par_makers_lab_emlyon_makerslab__Twitter_1_.png | |
| + | }} | ||
| + | {{Tuto Step | ||
| + | |Step_Title= | ||
| + | |Step_Content= | ||
| + | |Step_Picture_00=Mario_robot_de_téléprésence_Screenshot_2018-07-11_Tweets_de_Media_par_makers_lab_emlyon_makerslab__Twitter_3_.png | ||
| + | }} | ||
| + | {{Tuto Step | ||
| + | |Step_Title= | ||
| + | |Step_Content= | ||
| + | |Step_Picture_00=Mario_robot_de_téléprésence_Screenshot_2018-07-11_Tweets_de_Media_par_makers_lab_emlyon_makerslab__Twitter_2_.png | ||
| + | }} | ||
| + | {{Tuto Step | ||
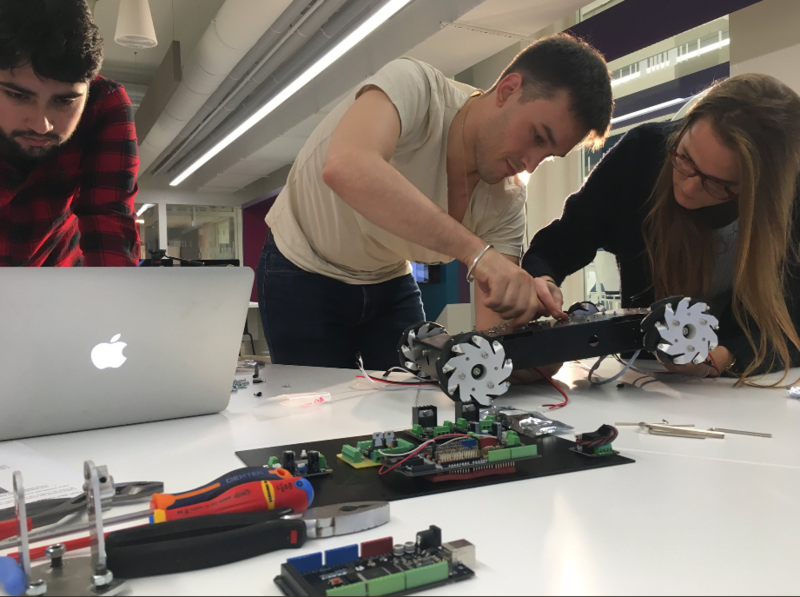
| + | |Step_Title=Assemblage final | ||
| + | |Step_Content= | ||
| + | |Step_Picture_00=Mario_robot_de_téléprésence_Screenshot_2018-07-11_Tweets_de_Media_par_makers_lab_emlyon_makerslab__Twitter.png | ||
| + | }} | ||
| + | {{Notes | ||
| + | |Notes=http://makerslab.em-lyon.com/ | ||
}} | }} | ||
| − | {{ | + | {{Tuto Status |
| − | | | + | |Complete=Draft |
}} | }} | ||
| − | |||
Version actuelle datée du 9 décembre 2019 à 11:43
Robot de télé-présence à la découpe laser et Arduino.
Difficulté
Difficile
Durée
2 jour(s)
Catégories
Robotique
Coût
300 EUR (€)
Introduction
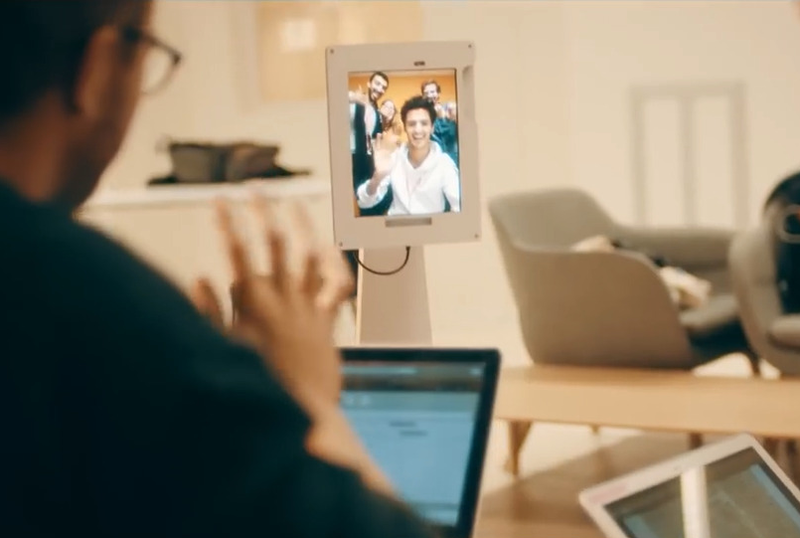
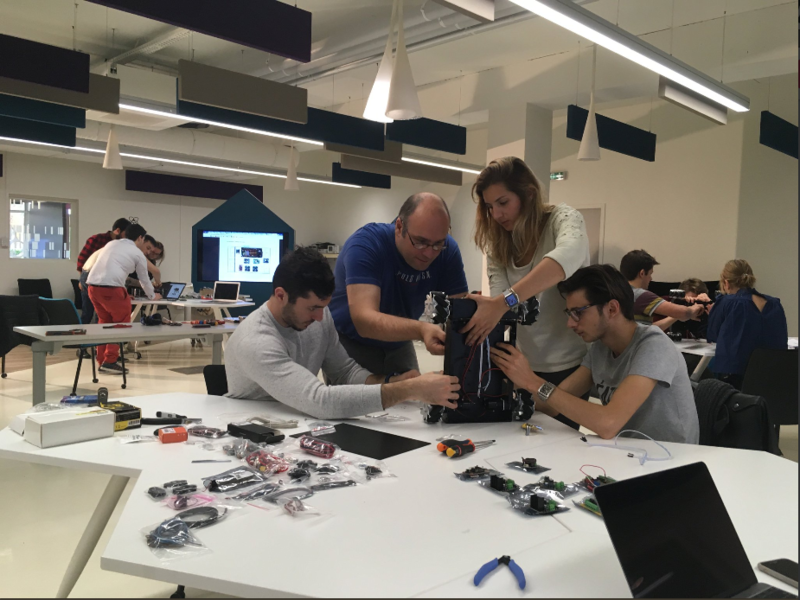
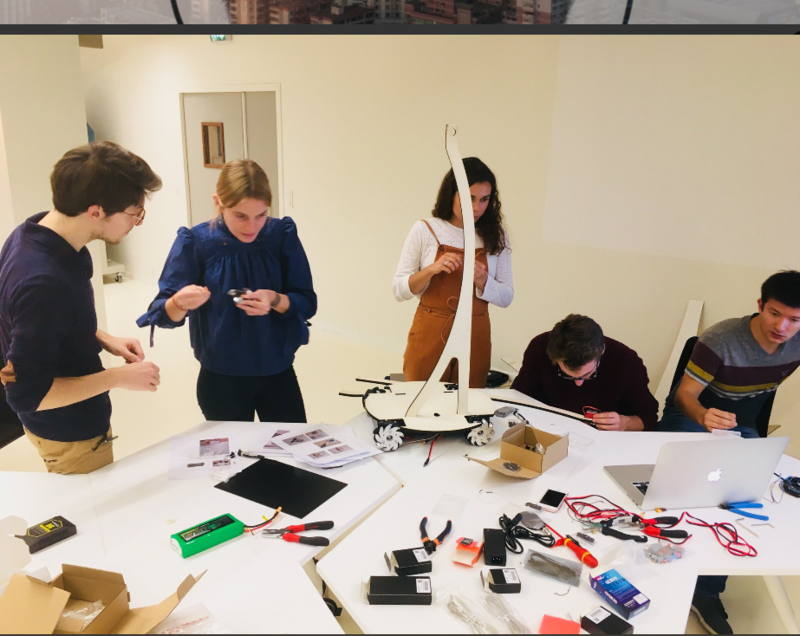
Mario est un robot de télé-présence fabriqué au makers lab de emlyon business school en novembre 2017. Créée à la découpe laser, le robot vous permet de vous déplacer et d'échanger à distance avec vos amis ! Bon fork et bonne balade !
Matériaux
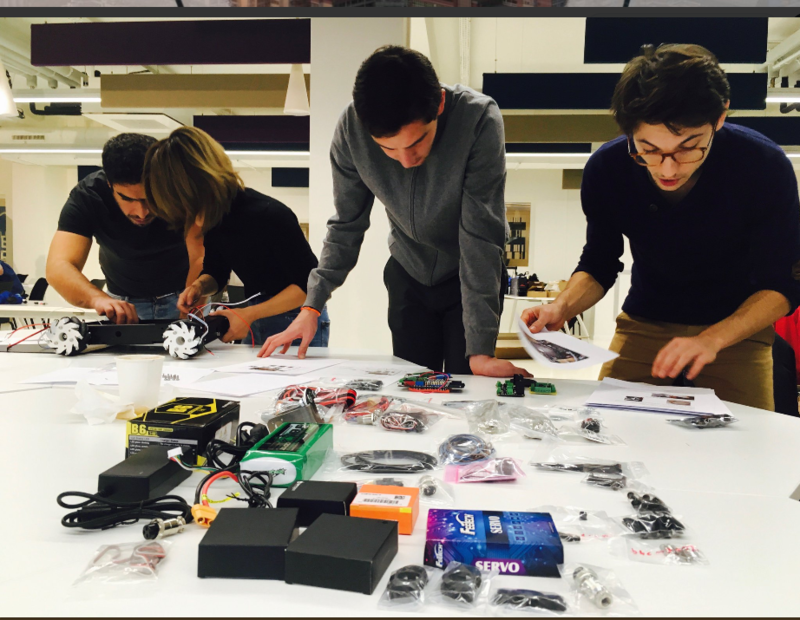
- contre-plaqué d’épaisseur 10mm
- médium 3mm
- Arduino
- une tablette
Outils
- découpe laser
- papier à poncer, perceuse-visseuse
Notes et références
Draft
 Français
 English
 Deutsch
 Español
 Italiano
 Português