(set pageLanguageSource property) |
(update property name) |
||
| (2 révisions intermédiaires par 2 utilisateurs non affichées) | |||
| Ligne 1 : | Ligne 1 : | ||
| − | {{ | + | {{Tuto Details |
| + | |Main_Picture=Lampe_projecteur_IMG_20180519_142609.jpg | ||
| + | |Licences=Attribution-ShareAlike (CC BY-SA) | ||
| + | |Description=<translate><!--T:1--> Lampe projecteur avec boîte de conserve.</translate> | ||
| + | |Area=Decoration, Recycling and Upcycling | ||
|Type=Creation | |Type=Creation | ||
| − | |||
| − | |||
| − | |||
|Difficulty=Easy | |Difficulty=Easy | ||
| + | |Duration=4 | ||
| + | |Duration-type=hour(s) | ||
|Cost=20 | |Cost=20 | ||
|Currency=EUR (€) | |Currency=EUR (€) | ||
| − | | | + | |Tags=lampe |
| − | |||
| − | |||
| − | |||
|SourceLanguage=none | |SourceLanguage=none | ||
|Language=fr | |Language=fr | ||
|IsTranslation=0 | |IsTranslation=0 | ||
}} | }} | ||
| − | {{ | + | {{Introduction |
| − | |Introduction= | + | |Introduction=<translate><!--T:2--> Lampe projecteur réalisée avec un support en tasseaux de chêne et boîte de conserve.</translate> |
}} | }} | ||
| − | {{ | + | {{Materials |
| − | + | |Material=<translate><!--T:3--> | |
| − | |Material=- Tasseaux de chêne | + | * Tasseaux de chêne |
| − | + | * Boîte de conserve | |
| − | + | * Accessoire lampe : douille + interrupteur + fil + prise | |
| − | + | * 2 vis + écrous papillon | |
| − | + | * Colle à bois</translate> | |
| − | + | |Tools=<translate><!--T:4--> | |
| − | + | * Scie à onglet | |
| − | + | * Ponceuse à bande / papier de verre | |
| − | + | * Serre joints</translate> | |
| − | |Tools=- Scie à onglet | ||
| − | |||
| − | |||
| − | |||
| − | |||
}} | }} | ||
| − | {{ | + | {{Separator}} |
| − | {{ | + | {{Tuto Step |
| − | + | |Step_Title=<translate><!--T:5--> Découpe</translate> | |
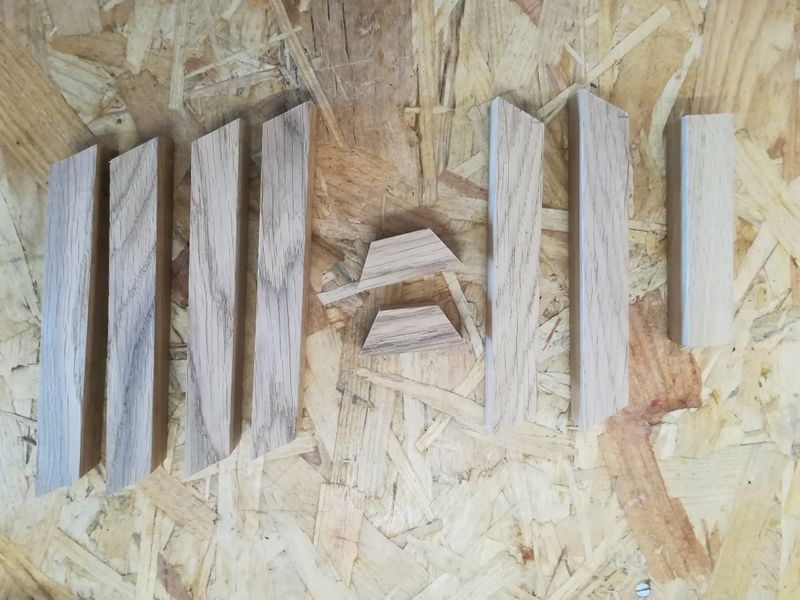
| − | + | |Step_Content=<translate><!--T:6--> 9 pièces en bois à découper avec scie à onglet.</translate> | |
| − | |Step_Title=Découpe | + | |Step_Picture_00=Lampe_projecteur_Lampe_projecteur_Vv1.jpg |
| − | |Step_Content=9 pièces en bois à découper avec scie à onglet | + | |Step_Picture_01=Lampe_projecteur_Lampe_projecteur_Vvv2.jpg |
}} | }} | ||
| − | {{ | + | {{Tuto Step |
| − | + | |Step_Title=<translate><!--T:7--> Collage triangles</translate> | |
| − | + | |Step_Content=<translate><!--T:8--> | |
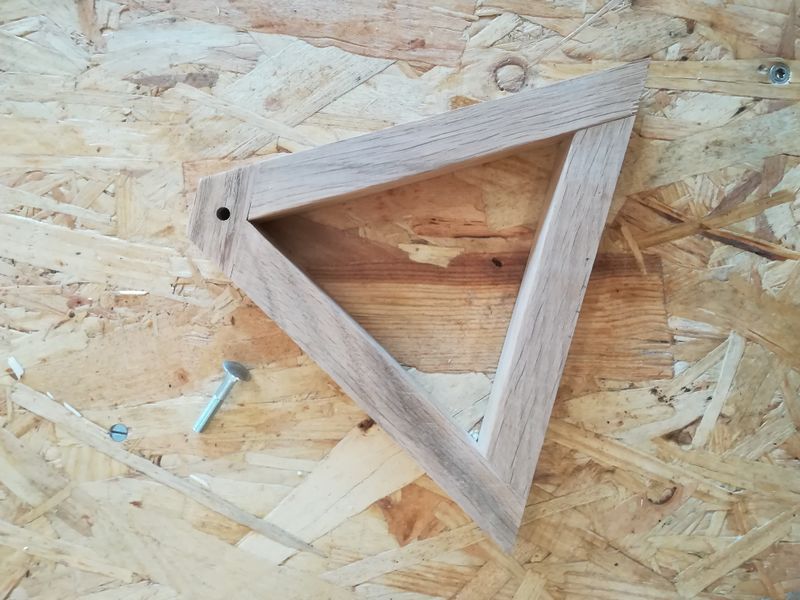
| − | |Step_Title=Collage triangles | + | Coller les pièces entre elles afin de constituer les deux triangles. |
| − | |Step_Content=Coller les pièces entre elles afin de constituer les deux triangles. | ||
| − | Utiliser pour le serrage un gabarit + serre-joints | + | <!--T:9--> |
| + | Utiliser pour le serrage un gabarit + serre-joints</translate> | ||
| + | |Step_Picture_00=Lampe_projecteur_Lampe_projecteur_V4.jpg | ||
| + | |Step_Picture_01=Lampe_projecteur_Lampe_projecteur_V3.jpg | ||
}} | }} | ||
| − | {{ | + | {{Tuto Step |
| − | + | |Step_Title=<translate><!--T:10--> Ponçage</translate> | |
| − | + | |Step_Content=<translate><!--T:11--> Avec ponceuse à bande et papier de verre</translate> | |
| − | |Step_Title=Ponçage | + | |Step_Picture_00=Lampe_projecteur_Lampe_projecteur_V5.jpg |
| − | |Step_Content=Avec ponceuse à bande et papier de verre | ||
}} | }} | ||
| − | {{ | + | {{Tuto Step |
| + | |Step_Title=<translate><!--T:12--> Douille</translate> | ||
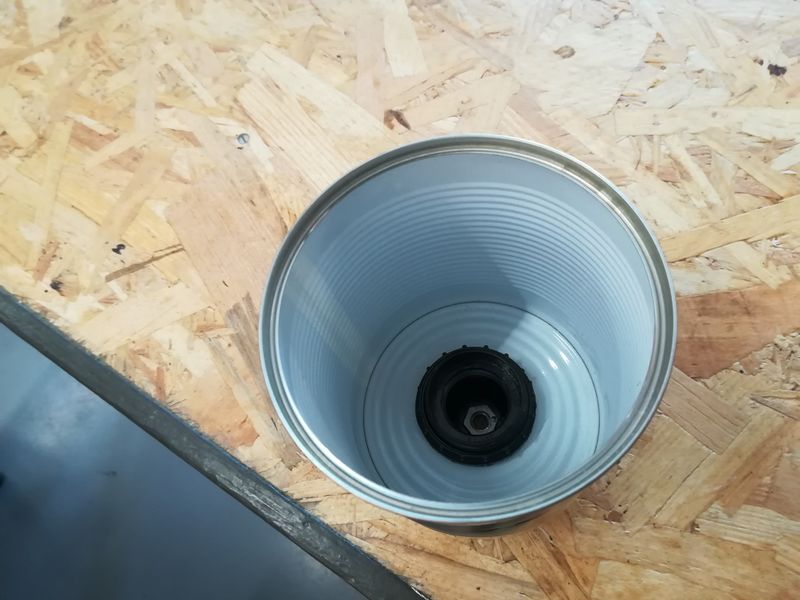
| + | |Step_Content=<translate><!--T:13--> Faire un trou dans la boite de conserve et y insérer la douille</translate> | ||
|Step_Picture_00=Lampe_projecteur_IMG_20180518_191354.jpg | |Step_Picture_00=Lampe_projecteur_IMG_20180518_191354.jpg | ||
|Step_Picture_01=Lampe_projecteur_IMG_20180519_123605.jpg | |Step_Picture_01=Lampe_projecteur_IMG_20180519_123605.jpg | ||
|Step_Picture_02=Lampe_projecteur_IMG_20180519_123623.jpg | |Step_Picture_02=Lampe_projecteur_IMG_20180519_123623.jpg | ||
| − | |||
| − | |||
}} | }} | ||
| − | {{ | + | {{Tuto Step |
| + | |Step_Title=<translate><!--T:14--> Percage</translate> | ||
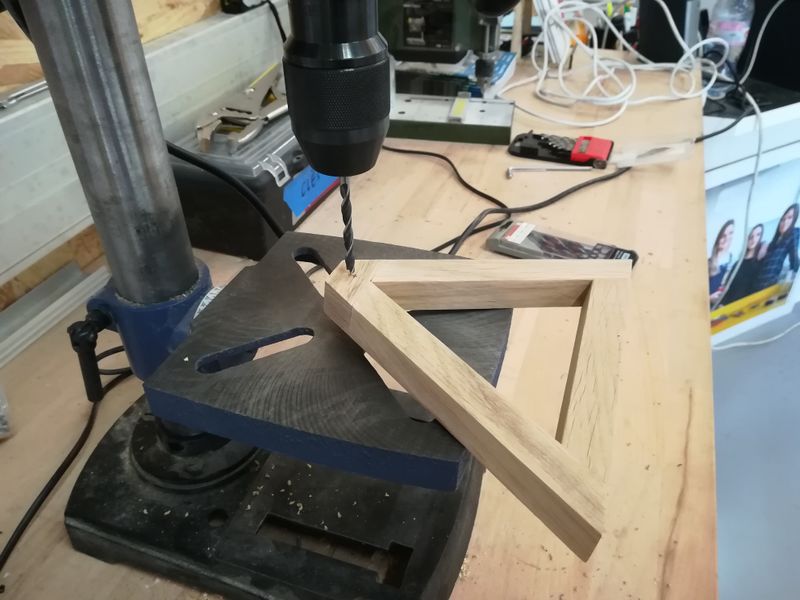
| + | |Step_Content=<translate><!--T:15--> Percer le sommet des triangles et y fixer la boîte de conserve à l'aide des vis et écrous papillon.</translate> | ||
|Step_Picture_00=Lampe_projecteur_IMG_20180519_133653.jpg | |Step_Picture_00=Lampe_projecteur_IMG_20180519_133653.jpg | ||
| − | |Step_Picture_01= | + | |Step_Picture_01=Lampe_projecteur_IMG_20180519_135635.jpg |
| − | |Step_Picture_02= | + | |Step_Picture_02=Lampe_projecteur_Lampe_projecteur_V6.jpg |
| − | |||
| − | |||
}} | }} | ||
| − | {{ | + | {{Tuto Step |
| + | |Step_Title=<translate><!--T:16--> Collage base</translate> | ||
| + | |Step_Content=<translate><!--T:17--> Coller la dernière pièce en bois entre les deux triangles.</translate> | ||
|Step_Picture_00=Lampe_projecteur_IMG_20180519_140403.jpg | |Step_Picture_00=Lampe_projecteur_IMG_20180519_140403.jpg | ||
| − | |||
| − | |||
}} | }} | ||
| − | {{ {{ | + | {{Tuto Step |
| − | |Notes= | + | |Step_Title=<translate><!--T:18--> Résultat final</translate> |
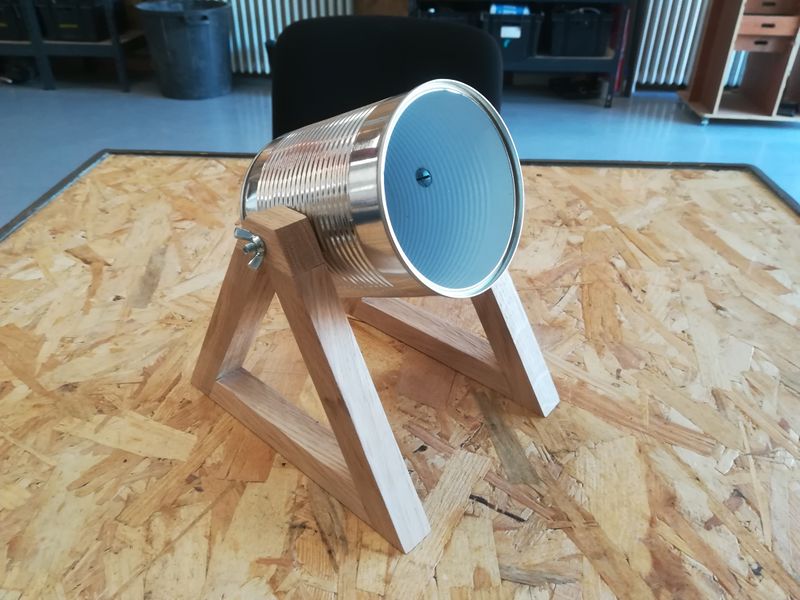
| + | |Step_Content=<translate><!--T:19--> Lumière !</translate> | ||
| + | |Step_Picture_00=Lampe_projecteur_IMG_20180519_142602.jpg | ||
| + | |Step_Picture_01=Lampe_projecteur_IMG_20180519_142535.jpg | ||
| + | }} | ||
| + | {{Notes | ||
| + | |Notes=<translate></translate> | ||
}} | }} | ||
| − | {{ | + | {{Tuto Status |
| − | |Complete= | + | |Complete=Published |
}} | }} | ||
Version actuelle datée du 9 décembre 2019 à 11:40
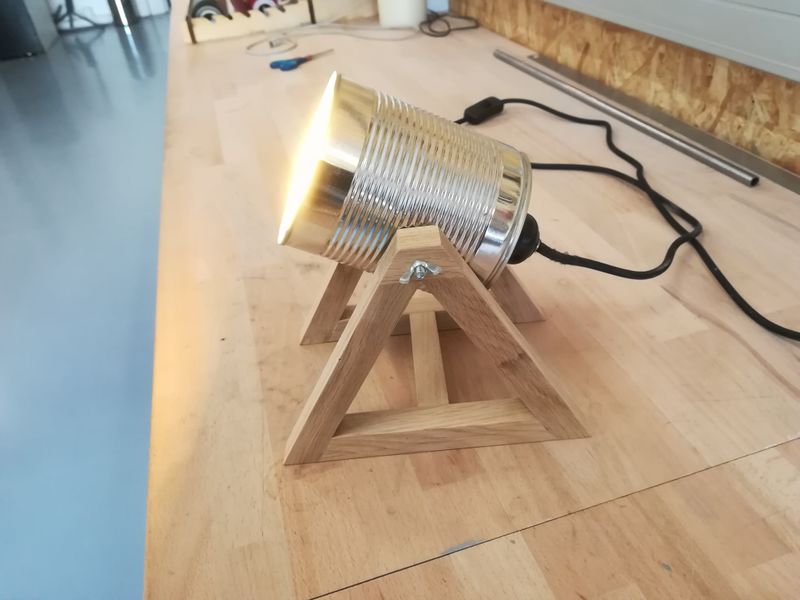
Lampe projecteur avec boîte de conserve.
Difficulté
Facile
Durée
4 heure(s)
Catégories
Décoration, Recyclage & Upcycling
Coût
20 EUR (€)
Introduction
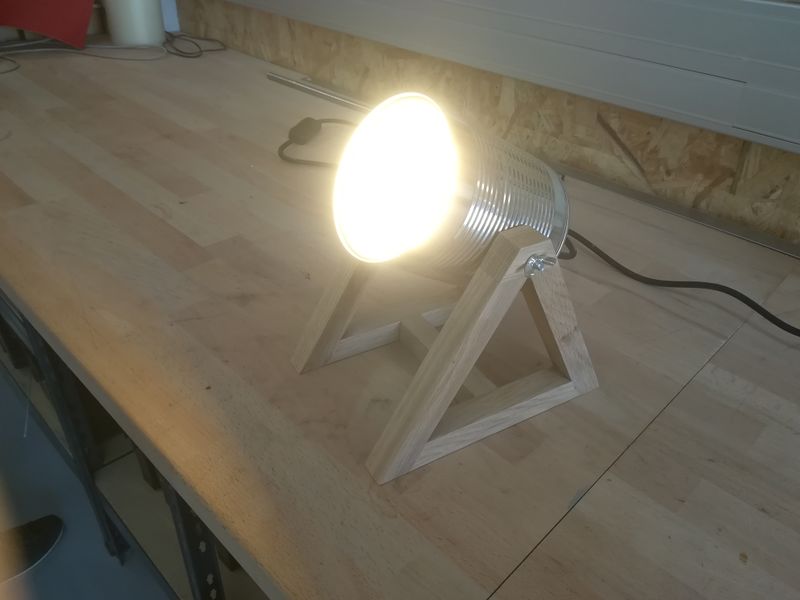
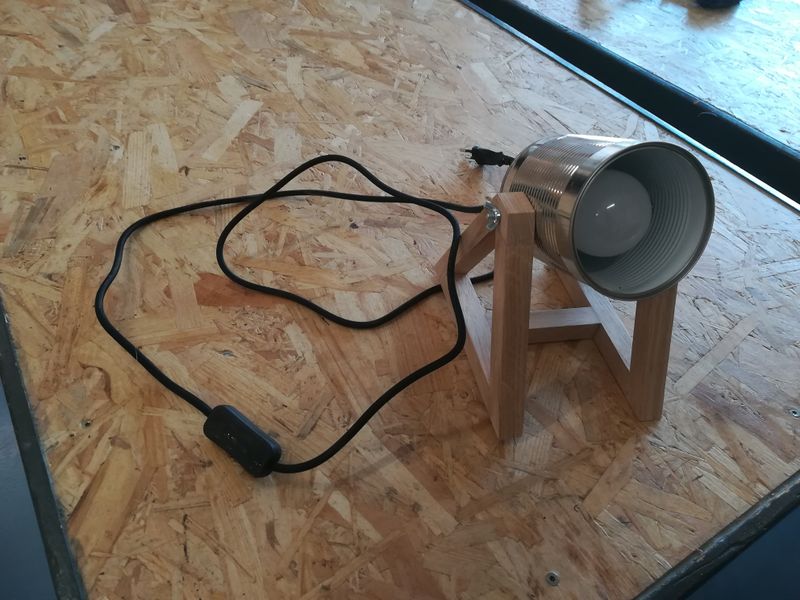
Lampe projecteur réalisée avec un support en tasseaux de chêne et boîte de conserve.
Matériaux
- Tasseaux de chêne
- Boîte de conserve
- Accessoire lampe : douille + interrupteur + fil + prise
- 2 vis + écrous papillon
- Colle à bois
Outils
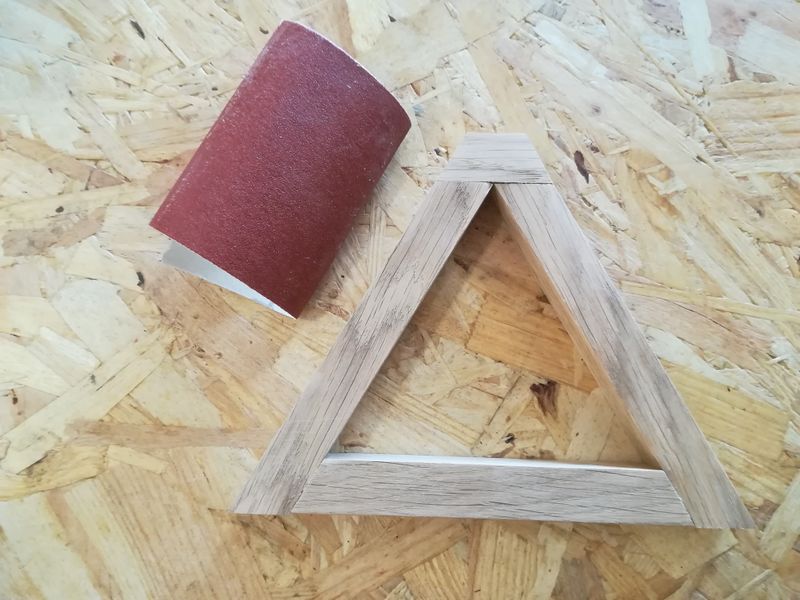
- Scie à onglet
- Ponceuse à bande / papier de verre
- Serre joints
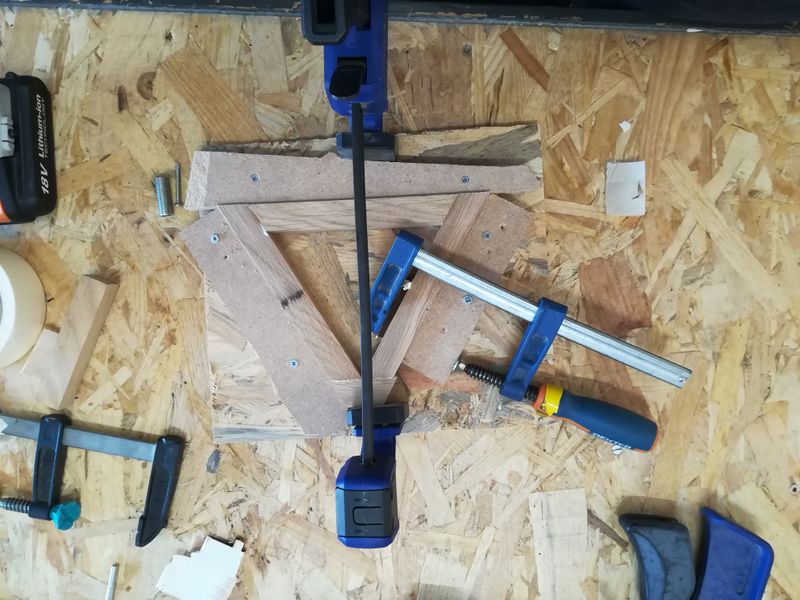
Étape 2 - Collage triangles
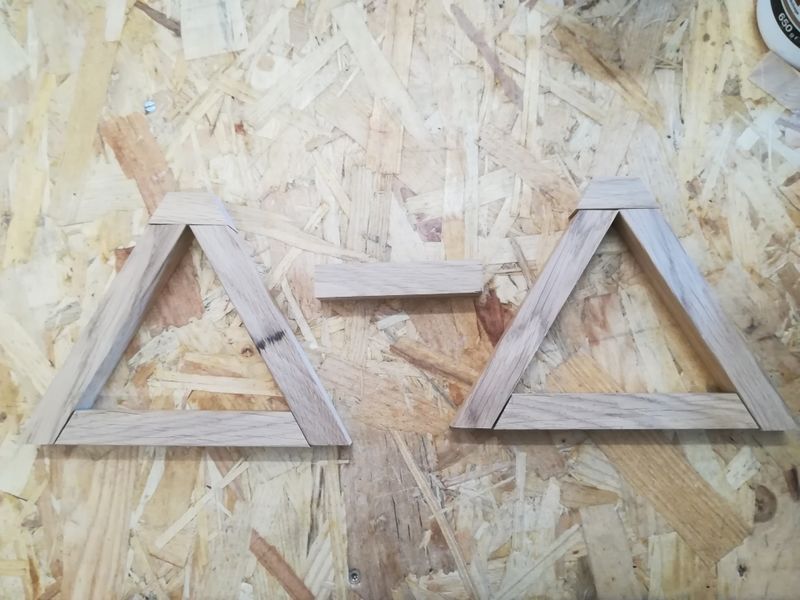
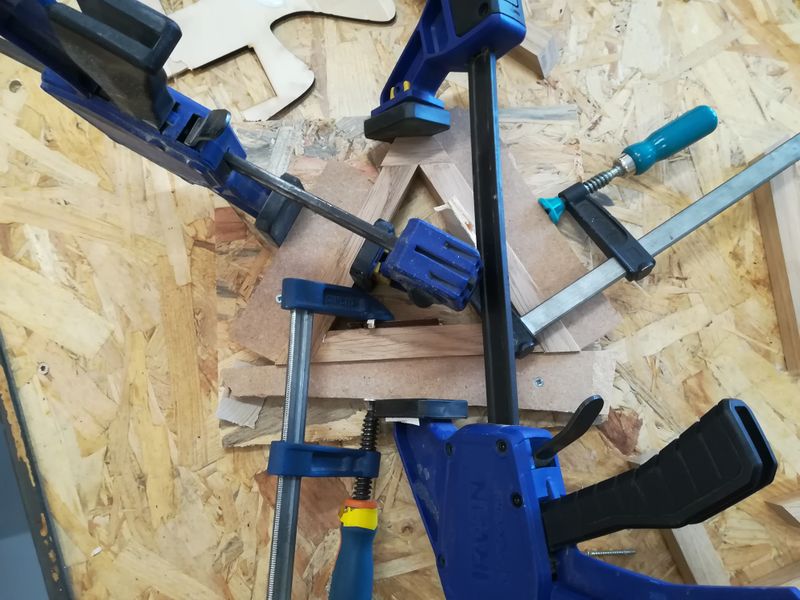
Coller les pièces entre elles afin de constituer les deux triangles.
Utiliser pour le serrage un gabarit + serre-joints
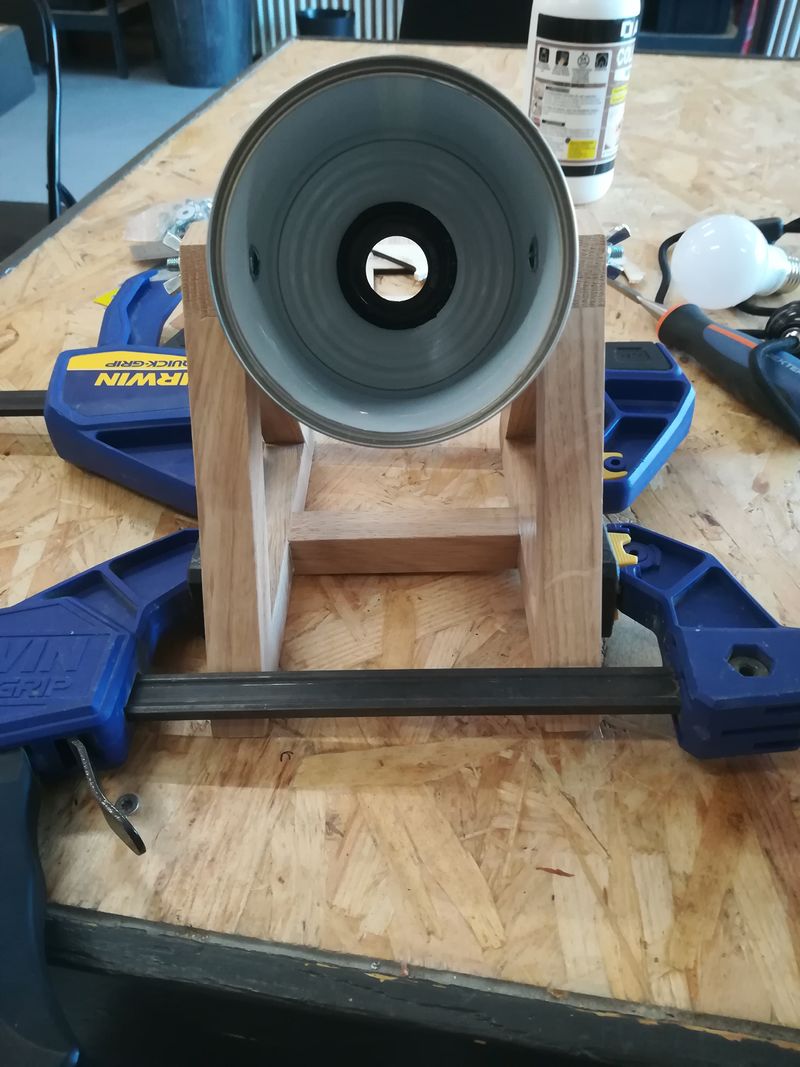
Étape 5 - Percage
Percer le sommet des triangles et y fixer la boîte de conserve à l'aide des vis et écrous papillon.
Published
 Français
 English
 Deutsch
 Español
 Italiano
 Português