| (10 révisions intermédiaires par le même utilisateur non affichées) | |||
| Ligne 21 : | Ligne 21 : | ||
{{TutoVideo | {{TutoVideo | ||
|VideoType=Mp4 | |VideoType=Mp4 | ||
| − | |mp4video=Demo | + | |mp4video=BentoGhost Demo |
}} | }} | ||
{{Materials | {{Materials | ||
| Ligne 29 : | Ligne 29 : | ||
}}{{Tuto Attachments | }}{{Tuto Attachments | ||
|Attachment=BentoGhost_fantomes.svg | |Attachment=BentoGhost_fantomes.svg | ||
| + | }}{{Tuto Attachments | ||
| + | |Attachment=BentoGhost_V_0_15_Renaud_BentoGhost.ino.ino | ||
| + | }}{{Tuto Attachments | ||
| + | |Attachment=BentoGhost__cibles_et_servo.svg | ||
}} | }} | ||
}} | }} | ||
| Ligne 48 : | Ligne 52 : | ||
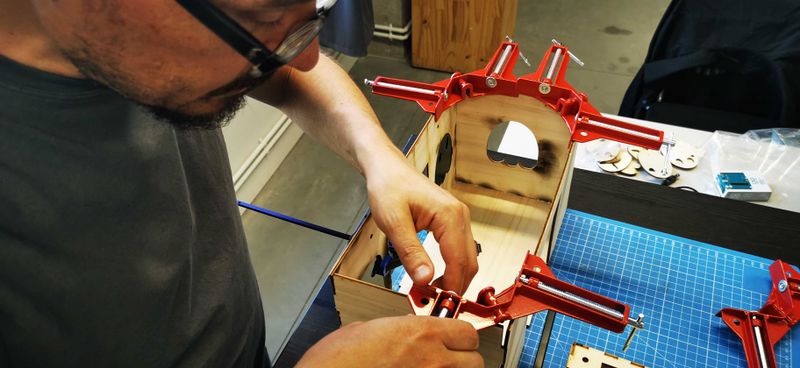
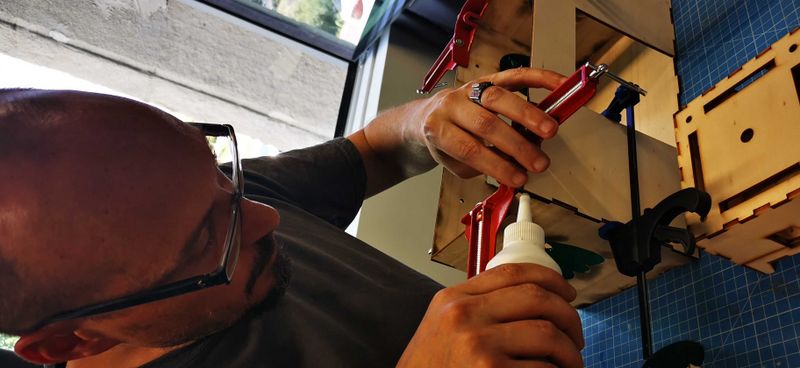
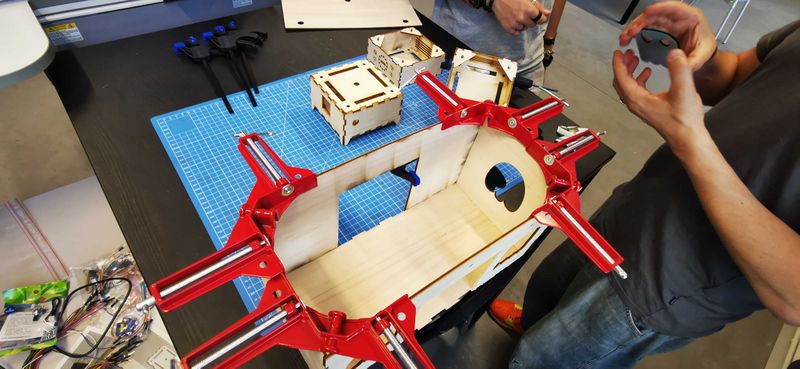
*L'assemblage est expliqué avec les photos BentoGhost02 à BentoGhost04 | *L'assemblage est expliqué avec les photos BentoGhost02 à BentoGhost04 | ||
**Coller les éléments avec de la colle à bois | **Coller les éléments avec de la colle à bois | ||
| + | * ''Le plancher qui supporte le mécanisme est décrit à l'étape suivante'' | ||
3. Découpe des fantômes, dans du plexiglas 3 mm | 3. Découpe des fantômes, dans du plexiglas 3 mm | ||
| Ligne 63 : | Ligne 68 : | ||
}} | }} | ||
{{Tuto Step | {{Tuto Step | ||
| − | |Step_Title=<translate> | + | |Step_Title=<translate>Fabrication du plancher</translate> |
| − | |Step_Content=<translate> | + | |Step_Content=<translate>*Télécharger le fichier [[BentoGhost__cibles_et_servo.svg]] (clic droit / enregistrer le fichiers sous) pour découper toutes les petites pièces qui vont servir à l'assemblage des portes-cible et de toutes les parties du plancher |
| + | *BentoGhost09 et BentoGhost10 : assemblage des 3 portes-cible | ||
| + | *BentoGhost12 : perçage d'un trou dans la partie basse des portes-cible | ||
| + | *BentoGhost13 : coller ensuite le fantôme et un lest (nous avons mis un gros écrou) | ||
| + | *Coller les autres petits éléments pour fabriquer les cales qui vont accueillir la tige filetée | ||
| + | **BentoGhost14 : puis les percer | ||
| + | **BentoGhost15 : ça ressemblera à ça</translate> | ||
| + | |Step_Picture_00=BentoGhost_BentoGhost09.jpg | ||
| + | |Step_Picture_01=BentoGhost_BentoGhost10.jpg | ||
| + | |Step_Picture_02=BentoGhost_BentoGhost12.jpg | ||
| + | |Step_Picture_03=BentoGhost_BentoGhost13.jpg | ||
| + | |Step_Picture_04=BentoGhost_BentoGhost15.jpg | ||
| + | |Step_Picture_05=BentoGhost_BentoGhost14.jpg | ||
}} | }} | ||
{{Tuto Step | {{Tuto Step | ||
| − | |Step_Title=<translate> | + | |Step_Title=<translate>Fabrication du plancher (suite 1)</translate> |
| − | |Step_Content=<translate> | + | |Step_Content=<translate>* BentoGhost16 : Vous avez alors plusieurs éléments : les 2 cales de côté, et les 3 portes-cible, dont les dimensions sont indiquées sur la photo |
| − | + | * BentoGhost17 et BentoGhost18 : visser la pale qui va entraîner le remonte-cible en étant branchée sur le servomoteur | |
| − | + | * BentoGhost19 : coller les 3 éléments du remonte-cible pour obtenir, sur les photos BentoGhost20 et 21, tous les éléments préconfigurés | |
| − | |||
| − | |||
| − | |||
| − | |||
| − | |||
| − | |||
| − | |||
| − | |||
| − | |||
| − | |||
| − | |||
| − | |||
| − | |||
| − | |||
| − | |||
| − | |||
| − | |||
| − | |||
| − | |||
| − | |||
| − | |||
| − | |||
| − | |||
| − | |||
| − | |||
| − | |||
| − | |||
| − | |||
| − | |||
| − | |||
| − | |||
| − | |||
| − | |||
| − | |||
| − | |||
| − | |||
| − | |||
| − | |||
| − | |||
| − | |||
| − | |||
| − | |||
| − | |||
| − | |||
| − | |||
| − | |||
| − | |||
| − | |||
| − | |||
| − | |||
| − | |||
| − | |||
| − | |||
| − | |||
| − | |||
| − | |||
| − | |||
| − | |||
| − | |||
| − | |||
| − | |||
| − | |||
| − | |||
| − | |||
| − | |||
| − | |||
| − | |||
| − | |||
| − | |||
| − | |||
| − | |||
| − | |||
| − | |||
| − | |||
| − | |||
| − | |||
| − | |||
| − | |||
| − | |||
| − | |||
| − | |||
| − | |||
| − | |||
| − | |||
| − | |||
| − | |||
| − | |||
| − | |||
| − | |||
| − | |||
| − | |||
| − | |||
| − | |||
| − | |||
| − | |||
| − | |||
| − | |||
| − | |||
| − | |||
| − | |||
| − | |||
| − | |||
| − | |||
| − | |||
| − | |||
| − | |||
| − | |||
| − | |||
| − | |||
| − | |||
| − | |||
| − | |||
| − | |||
| − | |||
| − | |||
| − | |||
| − | |||
| − | |||
| − | |||
| − | |||
| − | |||
| − | |||
| − | |||
| − | |||
| − | |||
| − | |||
| − | |||
| − | |||
| − | |||
| − | |||
| − | |||
| − | |||
| − | |||
| − | |||
| − | |||
| − | |||
| − | |||
| − | |||
| − | |||
| − | |||
| − | |||
| − | |||
| − | |||
| − | |||
| − | |||
| − | |||
| − | |||
| − | |||
| − | |||
| − | |||
| − | |||
| − | |||
| − | |||
| − | |||
| − | |||
| − | |||
| − | |||
| − | |||
| − | |||
| − | |||
| − | |||
| − | |||
| − | |||
| − | |||
| − | |||
| − | |||
| + | <br /></translate> | ||
| + | |Step_Picture_00=BentoGhost_BentoGhost16.jpg | ||
| + | |Step_Picture_01=BentoGhost_BentoGhost17.jpg | ||
| + | |Step_Picture_02=BentoGhost_BentoGhost18.jpg | ||
| + | |Step_Picture_03=BentoGhost_BentoGhost19.jpg | ||
| + | |Step_Picture_04=BentoGhost_BentoGhost20.jpg | ||
| + | |Step_Picture_05=BentoGhost_BentoGhost21.jpg | ||
| + | }} | ||
| + | {{Tuto Step | ||
| + | |Step_Title=<translate>Fabrication du plancher (suite 2)</translate> | ||
| + | |Step_Content=<translate></translate> | ||
| + | }} | ||
| + | {{Tuto Step | ||
| + | |Step_Title=<translate>Shéma électrique</translate> | ||
| + | |Step_Content=<translate>Voilà le schéma et une capture d'écran du branchement électrique sur Tinkercad</translate> | ||
| + | |Step_Picture_00=BentoGhost_BentoGhost.pdf | ||
| + | |Step_Picture_01=BentoGhost_BentoGhost.pdf | ||
| + | }} | ||
| + | {{Tuto Step | ||
| + | |Step_Title=<translate>Code</translate> | ||
| + | |Step_Content=<translate>Télécharger le fichier : | ||
| − | + | *BentoGhost_V_0_15_Renaud_BentoGhost.ino.ino pour faire fonctionner votre BentoGhost | |
| − | |||
| − | + | Il vous reste à trouver un nerf à fléchettes ou à balles en mousse pour dégommer des fantômes :)</translate> | |
| − | + | |Step_Picture_00=BentoGhost_BentoGhost_final.jpg | |
| − | |||
| − | |||
| − | |||
| − | |||
| − | |||
| − | |||
| − | |||
| − | |||
| − | |||
| − | |||
| − | |||
| − | |||
| − | |||
| − | |||
| − | |||
| − | |||
| − | |||
| − | |||
| − | |||
| − | |||
| − | |||
| − | |||
| − | |||
| − | |||
| − | |||
| − | |||
| − | |||
| − | |||
| − | |||
| − | |||
| − | |||
| − | |||
| − | |||
| − | |||
| − | |||
| − | |||
| − | |||
| − | |||
| − | |||
| − | |||
}} | }} | ||
{{Notes | {{Notes | ||
Version actuelle datée du 24 juin 2022 à 15:29
Fabrication d'un troisième étage "jeu de massacre" d'une Bento Box
Difficulté
Moyen
Durée
2 jour(s)
Catégories
Électronique, Jeux & Loisirs
Coût
40 EUR (€)
Introduction
Boite fabriquée en suivant la formation de l'IMT basée sur les tutoriels suivants :
Mp4
BentoGhost Demo
Étape 1 - Fabrication de la BentoBox
Fabrication 3ème étage
1. Fabrication à la découpeuse laser.
- Plan à télécharger : BentoGhost_volume1.svg (clic droit / enregistrer le fichier sous)
2. Découpage et collage des morceaux
- Bien penser à supprimer les écritures permettant d'identifier les faces avant la découpe
- Bois utilisé : contreplaqué peuplier 3 mm
- Réglages utilisés sur la PerezCamp 140 W
- puissance max : 40 %
- puissance min : 30 %
- vitesse : 40 mm / s
- L'assemblage est expliqué avec les photos BentoGhost02 à BentoGhost04
- Coller les éléments avec de la colle à bois
- Le plancher qui supporte le mécanisme est décrit à l'étape suivante
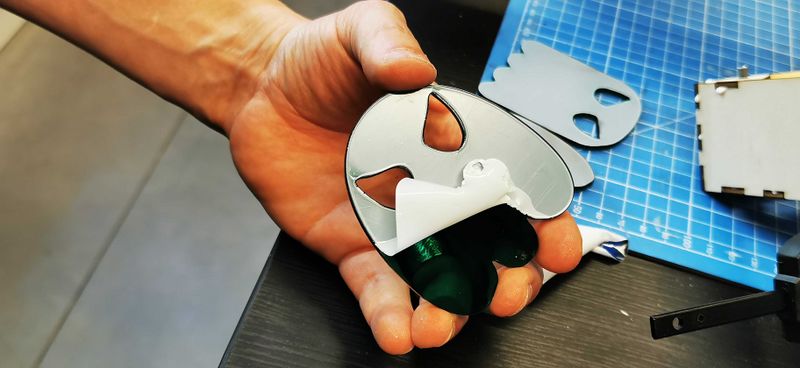
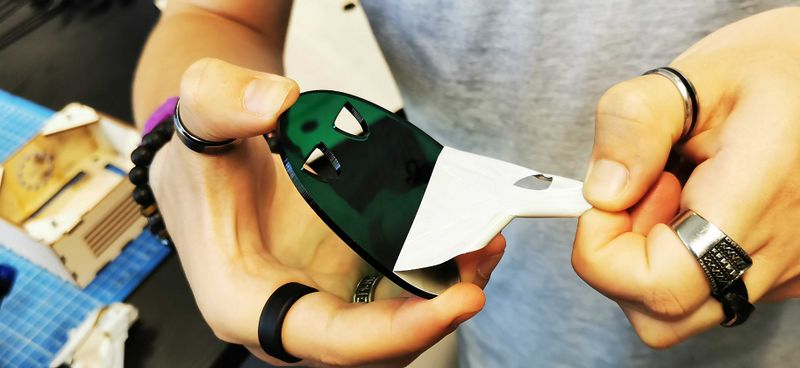
3. Découpe des fantômes, dans du plexiglas 3 mm
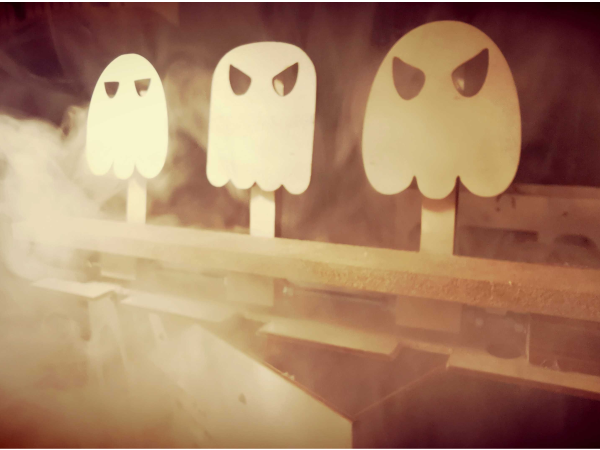
- Plan à télécharger : BentoGhost_fantomes.svg (clic droit / enregistrer le fichier sous)
- Remarque : les 4 fantômes découpés dans la boite sont en haut de dessin, mais vous pouvez sélectionner ceux que vous voulez à partir du moment où ils sont de la même forme que ceux de la boîte
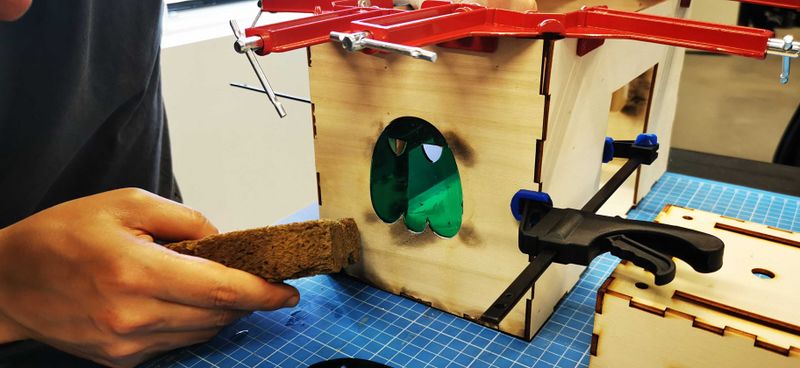
- L'assemblage est expliqué avec les photos BentoGhost05 à BentoGhost07
- Remarque : les fantômes peuvent également être collés à la colle à bois. Il faut bien les nettoyer tout de suite pour ne pas avoir de résidus de colle sur le plexiglas.
Étape 2 - Fabrication du plancher
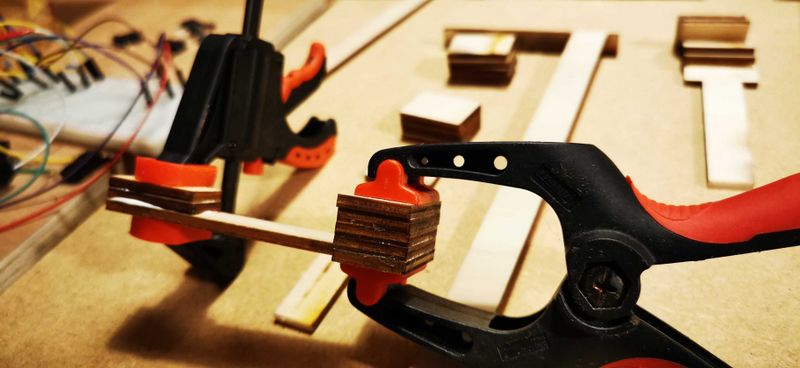
- Télécharger le fichier BentoGhost__cibles_et_servo.svg (clic droit / enregistrer le fichiers sous) pour découper toutes les petites pièces qui vont servir à l'assemblage des portes-cible et de toutes les parties du plancher
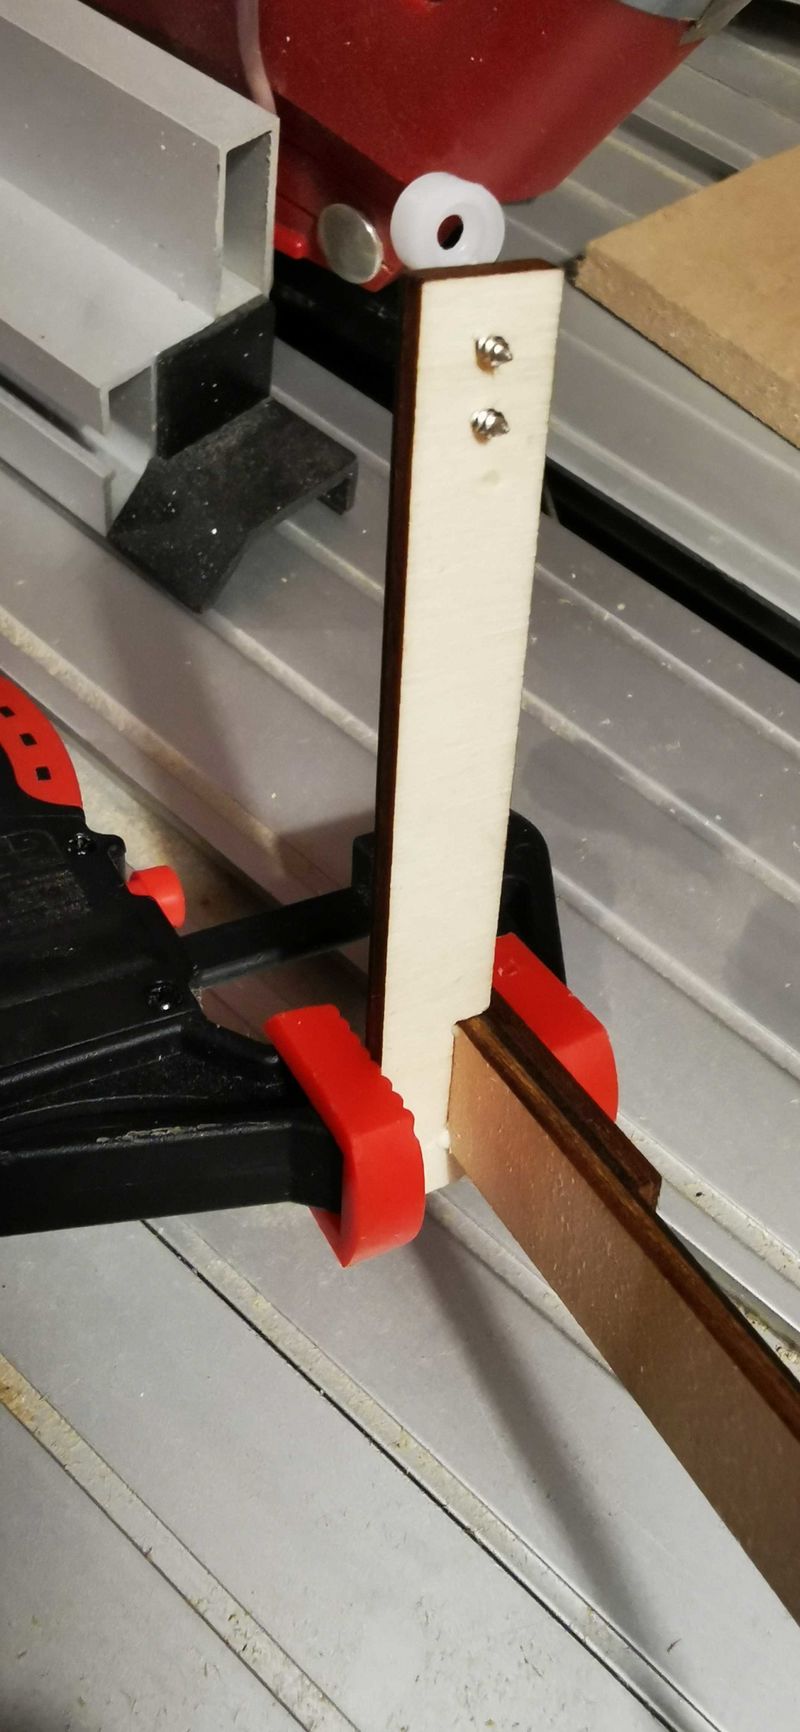
- BentoGhost09 et BentoGhost10 : assemblage des 3 portes-cible
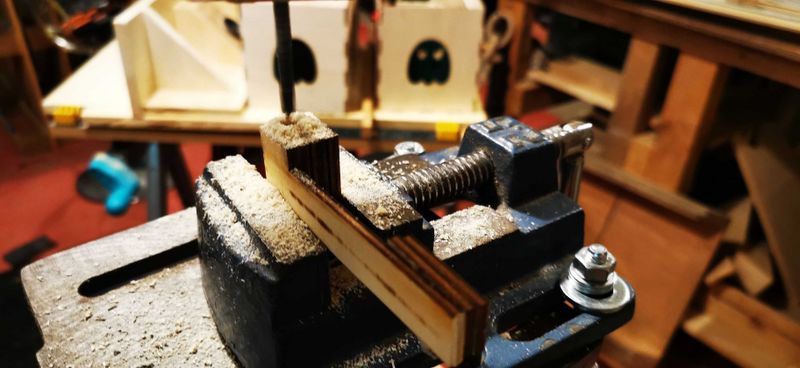
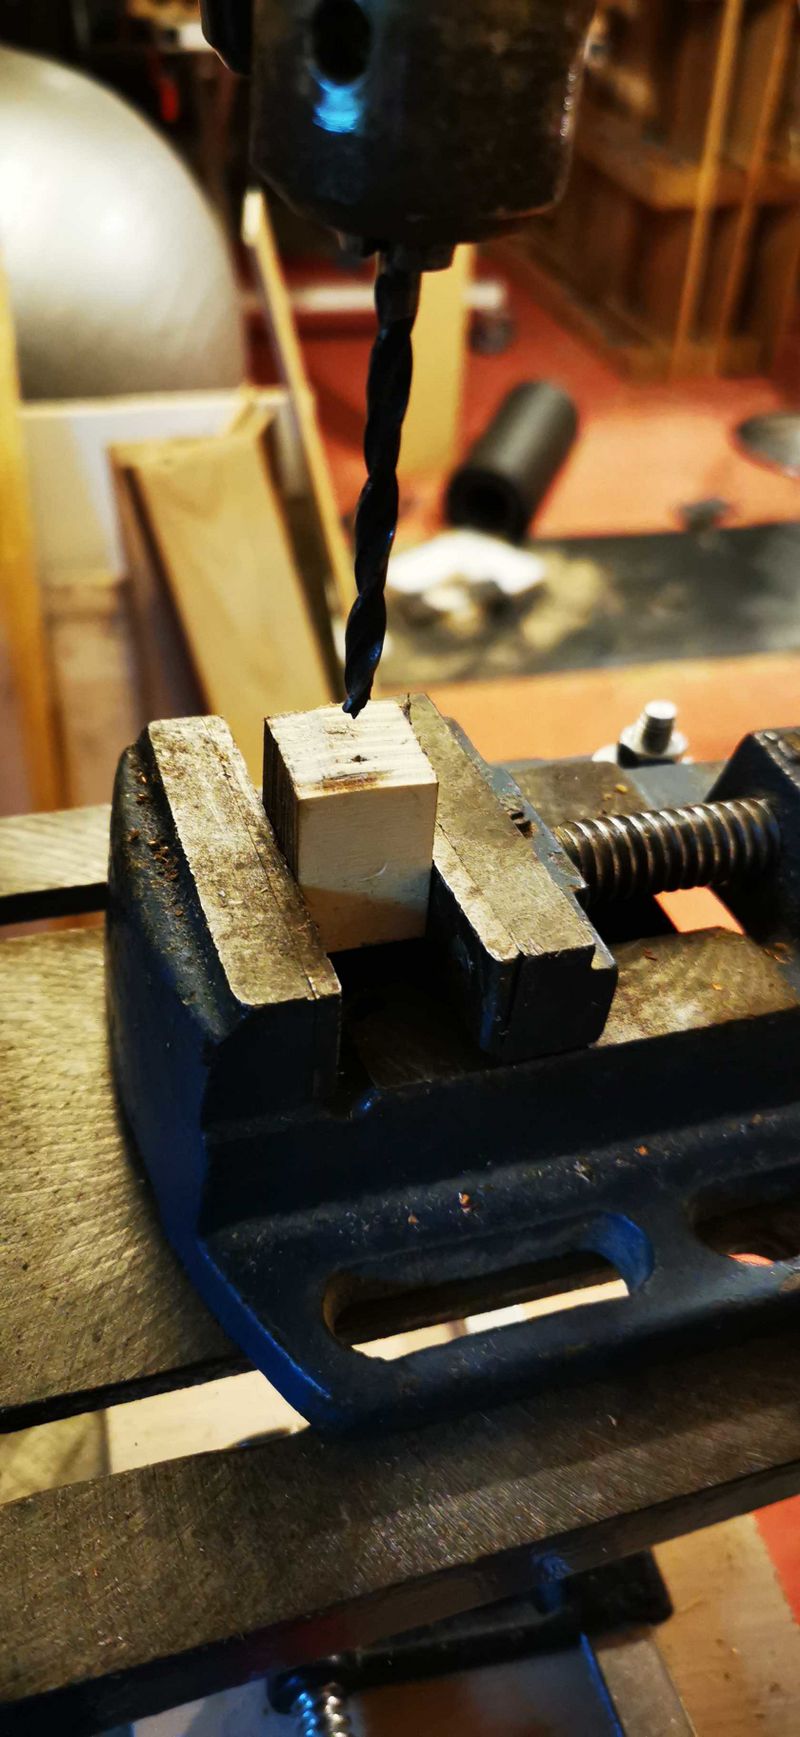
- BentoGhost12 : perçage d'un trou dans la partie basse des portes-cible
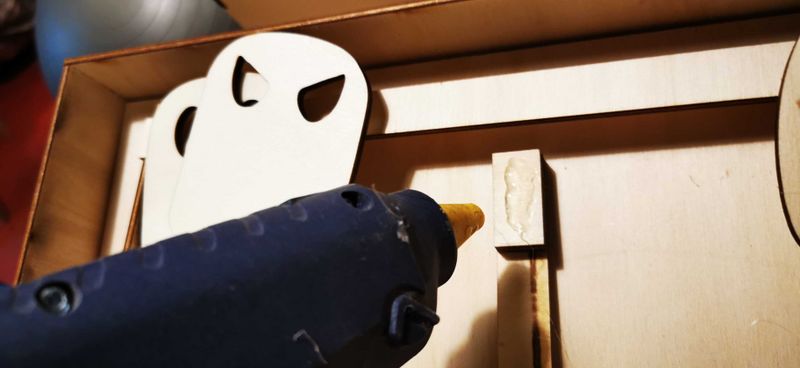
- BentoGhost13 : coller ensuite le fantôme et un lest (nous avons mis un gros écrou)
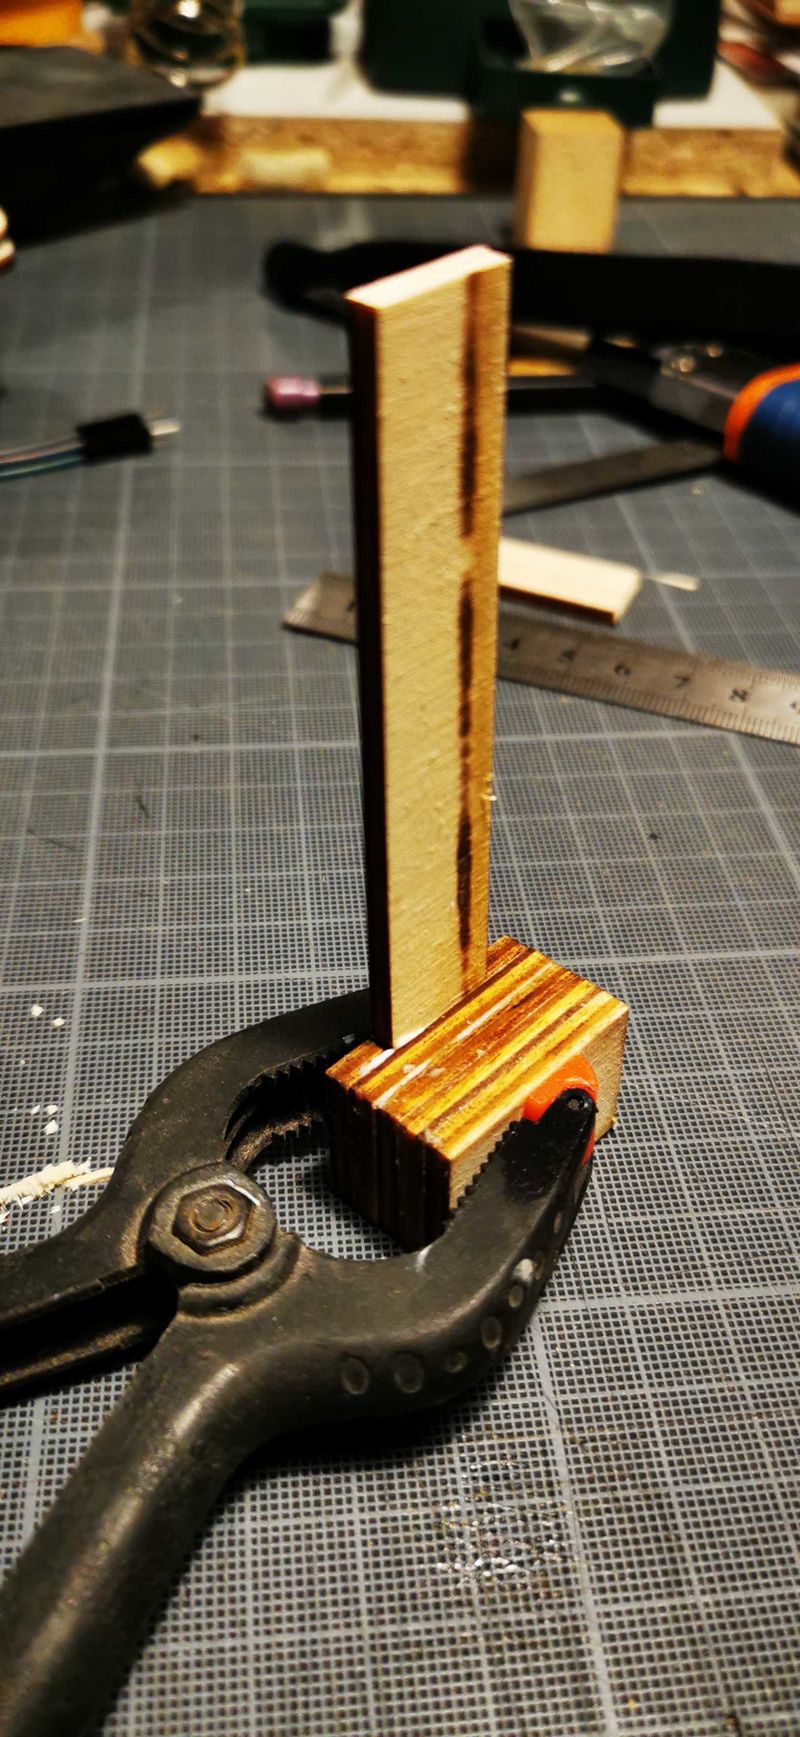
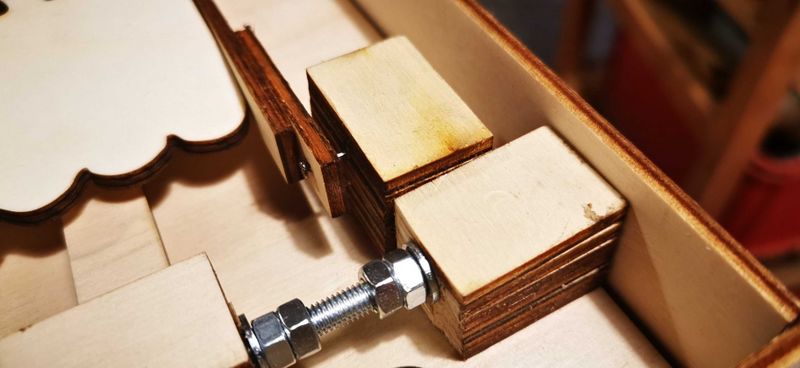
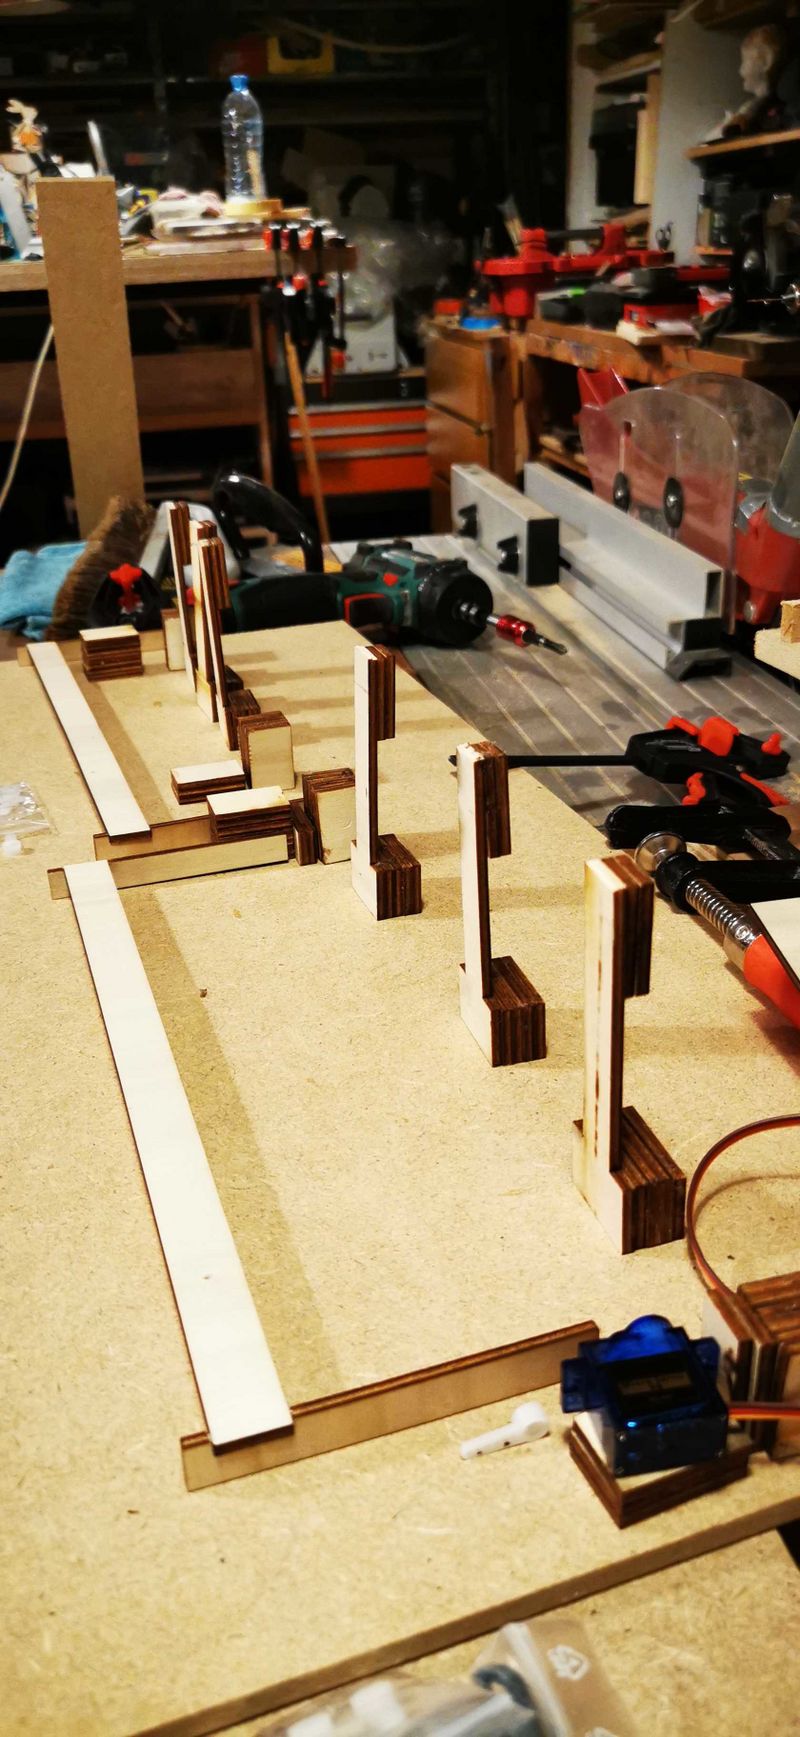
- Coller les autres petits éléments pour fabriquer les cales qui vont accueillir la tige filetée
- BentoGhost14 : puis les percer
- BentoGhost15 : ça ressemblera à ça
Étape 3 - Fabrication du plancher (suite 1)
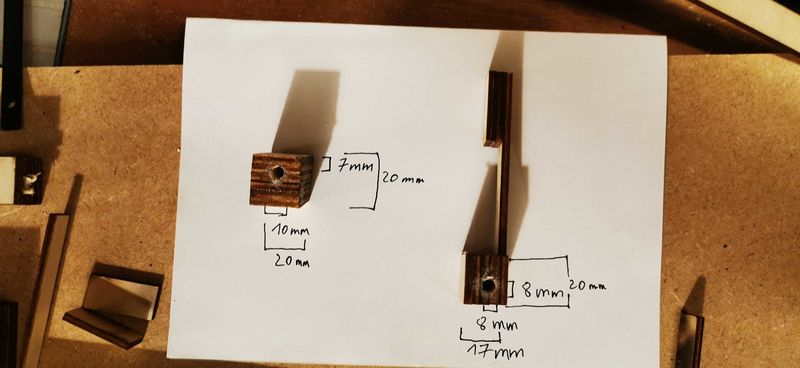
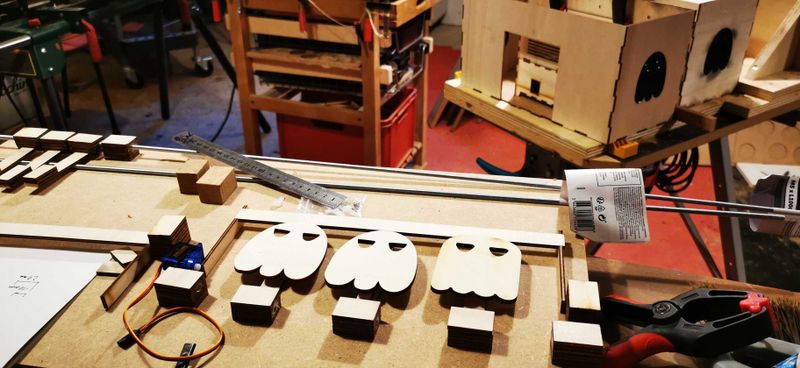
- BentoGhost16 : Vous avez alors plusieurs éléments : les 2 cales de côté, et les 3 portes-cible, dont les dimensions sont indiquées sur la photo
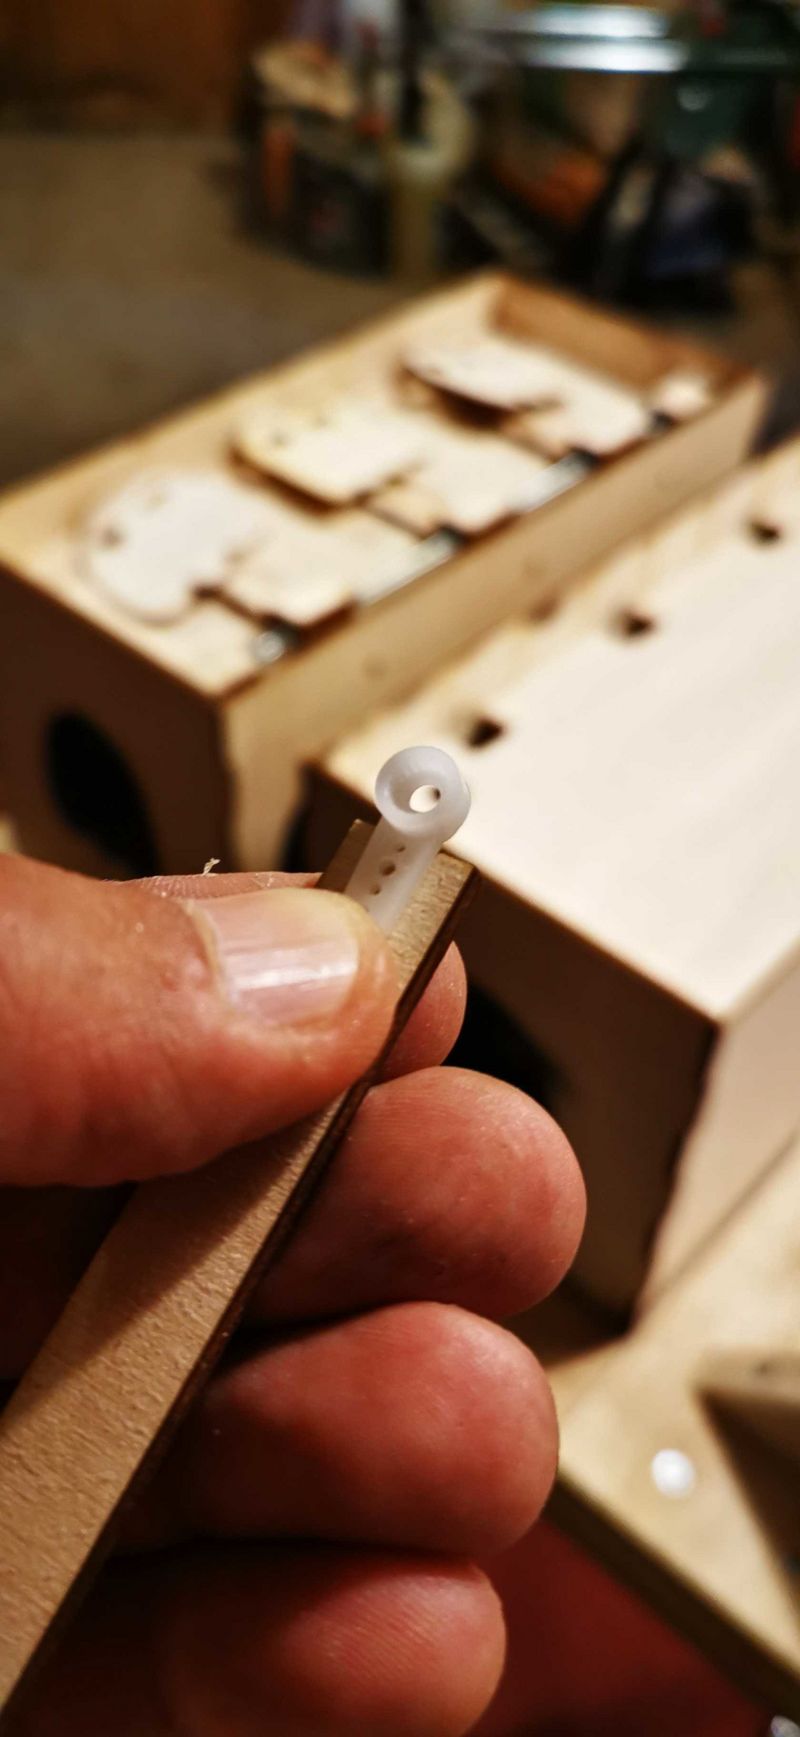
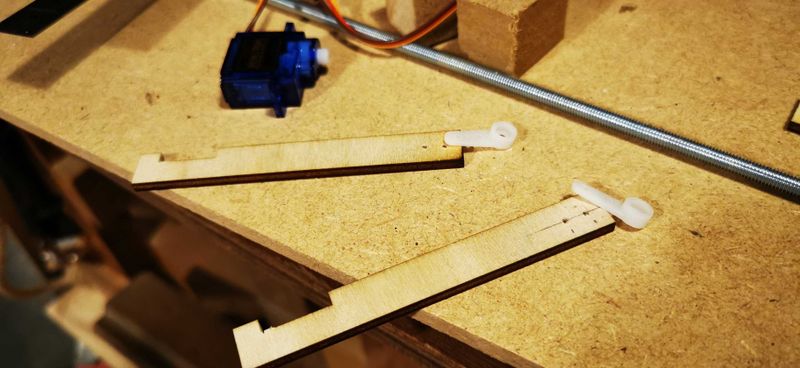
- BentoGhost17 et BentoGhost18 : visser la pale qui va entraîner le remonte-cible en étant branchée sur le servomoteur
- BentoGhost19 : coller les 3 éléments du remonte-cible pour obtenir, sur les photos BentoGhost20 et 21, tous les éléments préconfigurés
Étape 4 - Fabrication du plancher (suite 2)
Étape 5 - Shéma électrique
Voilà le schéma et une capture d'écran du branchement électrique sur Tinkercad
Étape 6 - Code
Télécharger le fichier :
- BentoGhost_V_0_15_Renaud_BentoGhost.ino.ino pour faire fonctionner votre BentoGhost
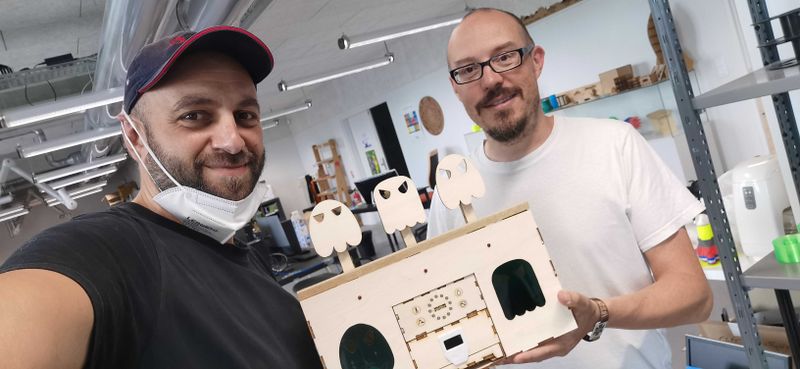
Il vous reste à trouver un nerf à fléchettes ou à balles en mousse pour dégommer des fantômes :)
Draft
 Français
 English
 Deutsch
 Español
 Italiano
 Português