| (3 révisions intermédiaires par le même utilisateur non affichées) | |||
| Ligne 1 : | Ligne 1 : | ||
{{Tuto Details | {{Tuto Details | ||
| − | |Description=<translate>Bentolux | + | |Description=<translate>Bentolux créé lors de la formation hybride à IMT Mines Albi de février 2022 à juin 2022. L'idée est d'utiliser l'impression 3D ou la découpe Laser pour compléter le dernier étage d'une station météo.</translate> |
|Area=Art, Electronics, Machines and Tools, Play and Hobbies, Robotics, Science and Biology | |Area=Art, Electronics, Machines and Tools, Play and Hobbies, Robotics, Science and Biology | ||
|Type=Creation | |Type=Creation | ||
| Ligne 11 : | Ligne 11 : | ||
}} | }} | ||
{{Introduction | {{Introduction | ||
| − | |Introduction=<translate> | + | |Introduction=<translate>Ce projet s'inscrit dans le cadre de la formation hybride d'IMT Mines Albi de février à juin 2022. La formation est composée de 3 MOOC et de 16 ateliers en présentiel. L'objectif est de réaliser une station météo Bentolux et de personnaliser le 3e étage. La description faite ici portera uniquement sur ce 3ème étage. |
| − | Bentolux Night Sky | + | Bentolux Night Sky fonctionne sur le principe "work hard, play even harder". L'idée est de créer un lieu de rencontre pour les "jeunes cool" qui travaillent dans la station météo. Mais il y a un hic : seuls ceux qui ont le code peuvent y accéder !</translate> |
}} | }} | ||
{{Materials}} | {{Materials}} | ||
| Ligne 20 : | Ligne 20 : | ||
|Step_Content=<translate>'''3D Printing''' | |Step_Content=<translate>'''3D Printing''' | ||
| − | * | + | *Filament: PVA and ABS |
| + | *Wood | ||
'''Electronic ''' | '''Electronic ''' | ||
| − | * 1 Arduino Uno cards | + | *1 Arduino Uno cards |
| − | * male-male and male-female prototyping cables | + | *male-male and male-female prototyping cables |
| − | * LCD SSD1306 128 x 64 | + | *LCD SSD1306 128 x 64 |
| − | * 1 LED 8mm | + | *1 LED 8mm |
| − | * | + | *2 ring of 12 LEDs |
| − | * 1 potentiometer | + | *1 potentiometer |
| − | * 1 BME280 weather sensor | + | *1 BME280 weather sensor |
| − | * 1 switch | + | *1 switch |
| − | * 1 x 5V power supply | + | *1 x 5V power supply |
| − | + | *220 and 10000 Ohms resistors | |
| − | * 220 and 10000 Ohms resistors | + | *3 x servomotors |
| − | * 3 x servomotors | + | *Buzzer |
| − | === Tools === | + | ===Tools=== |
'''Machines''' | '''Machines''' | ||
| − | * 3D printer | + | *3D printer |
| + | *Découpeur de laser | ||
'''Software ''' | '''Software ''' | ||
| − | * Tinkercad, Microsoft 3D builder, Blender | + | *Tinkercad, Microsoft 3D builder, Blender |
| − | * Cura Ultimaker | + | *Cura Ultimaker |
| − | * Arduino | + | *Arduino |
'''Prototyping''' | '''Prototyping''' | ||
| − | * soldering iron | + | *soldering iron |
| − | * cutting pliers | + | *cutting pliers |
| − | * wire stripper | + | *wire stripper |
| − | * glue</translate> | + | *glue</translate> |
}} | }} | ||
{{Tuto Step | {{Tuto Step | ||
|Step_Title=<translate>Building of the 3D models</translate> | |Step_Title=<translate>Building of the 3D models</translate> | ||
| − | |Step_Content=<translate>Using Blender, i modelled two faces. After which i added the faces to the 3D bodies downloaded from Microsoft 3D builder using TinkerCad | + | |Step_Content=<translate>Using Blender, i modelled two faces. After which i added the faces to the 3D bodies downloaded from Microsoft 3D builder using TinkerCad.</translate> |
|Step_Picture_00=Bento_Night_Sky_Screenshot_2022-05-14_233747.jpg | |Step_Picture_00=Bento_Night_Sky_Screenshot_2022-05-14_233747.jpg | ||
|Step_Picture_01=Bento_Night_Sky_Screenshot_2022-05-14_235104.jpg | |Step_Picture_01=Bento_Night_Sky_Screenshot_2022-05-14_235104.jpg | ||
| Ligne 63 : | Ligne 65 : | ||
}} | }} | ||
{{Tuto Step | {{Tuto Step | ||
| − | |Step_Title=<translate> | + | |Step_Title=<translate>Design of the 3rd Stage</translate> |
| − | |Step_Content=<translate></translate> | + | |Step_Content=<translate>Using Inkscape, I designed the "boite". After which I glued the servomotor to the entrance in order open and close based on need</translate> |
| + | }} | ||
| + | {{Tuto Step | ||
| + | |Step_Title=<translate>Code</translate> | ||
| + | |Step_Content=<translate>I used an IF loop, in identifying when or not to open the door and other different commands based on the Temperature/Pressure Sensor. | ||
| + | |||
| + | Example: | ||
| + | |||
| + | When the humidity is between 53 and 55 | ||
| + | |||
| + | if (hum >53 & hum <= 55){ | ||
| + | |||
| + | fadeall(); //turn off Leds | ||
| + | |||
| + | for( int i = 0; i < 7; i++) | ||
| + | |||
| + | { leds1[i] = CRGB::Blue; //leds 1 to 6 shows Blue | ||
| + | |||
| + | FastLED.show(); | ||
| + | |||
| + | delay (1000); | ||
| + | |||
| + | } | ||
| + | |||
| + | display.clear(); //clear previous screen | ||
| + | |||
| + | display.printFixed(40, 14, "You have", STYLE_NORMAL); | ||
| + | |||
| + | display.printFixed(15, 34,humC, STYLE_BOLD); //percentage of humidity translated to cool factor | ||
| + | |||
| + | display.printFixed(45, 34, "% cool factor", STYLE_NORMAL); | ||
| + | |||
| + | lcd_delay(3000); //wait 3s before clearing screen | ||
| + | |||
| + | display.clear(); | ||
| + | |||
| + | delay(200); | ||
| + | |||
| + | notcool(); //show bitmap | ||
| + | |||
| + | loserlights();// lights | ||
| + | |||
| + | delay(1000); | ||
| + | |||
| + | display.clear();//clear screen | ||
| + | |||
| + | fadeall(); | ||
| + | |||
| + | } | ||
| + | |||
| + | <br /></translate> | ||
}} | }} | ||
{{Notes | {{Notes | ||
Version actuelle datée du 16 juin 2022 à 00:37
Bentolux créé lors de la formation hybride à IMT Mines Albi de février 2022 à juin 2022. L'idée est d'utiliser l'impression 3D ou la découpe Laser pour compléter le dernier étage d'une station météo.
Difficulté
Moyen
Durée
2 mois
Catégories
Art, Électronique, Machines & Outils, Jeux & Loisirs, Robotique, Science & Biologie
Coût
100 EUR (€)
Introduction
Ce projet s'inscrit dans le cadre de la formation hybride d'IMT Mines Albi de février à juin 2022. La formation est composée de 3 MOOC et de 16 ateliers en présentiel. L'objectif est de réaliser une station météo Bentolux et de personnaliser le 3e étage. La description faite ici portera uniquement sur ce 3ème étage.
Bentolux Night Sky fonctionne sur le principe "work hard, play even harder". L'idée est de créer un lieu de rencontre pour les "jeunes cool" qui travaillent dans la station météo. Mais il y a un hic : seuls ceux qui ont le code peuvent y accéder !
Matériaux
Outils
Étape 1 - Materials
3D Printing
- Filament: PVA and ABS
- Wood
Electronic
- 1 Arduino Uno cards
- male-male and male-female prototyping cables
- LCD SSD1306 128 x 64
- 1 LED 8mm
- 2 ring of 12 LEDs
- 1 potentiometer
- 1 BME280 weather sensor
- 1 switch
- 1 x 5V power supply
- 220 and 10000 Ohms resistors
- 3 x servomotors
- Buzzer
Tools
Machines
- 3D printer
- Découpeur de laser
Software
- Tinkercad, Microsoft 3D builder, Blender
- Cura Ultimaker
- Arduino
Prototyping
- soldering iron
- cutting pliers
- wire stripper
- glue
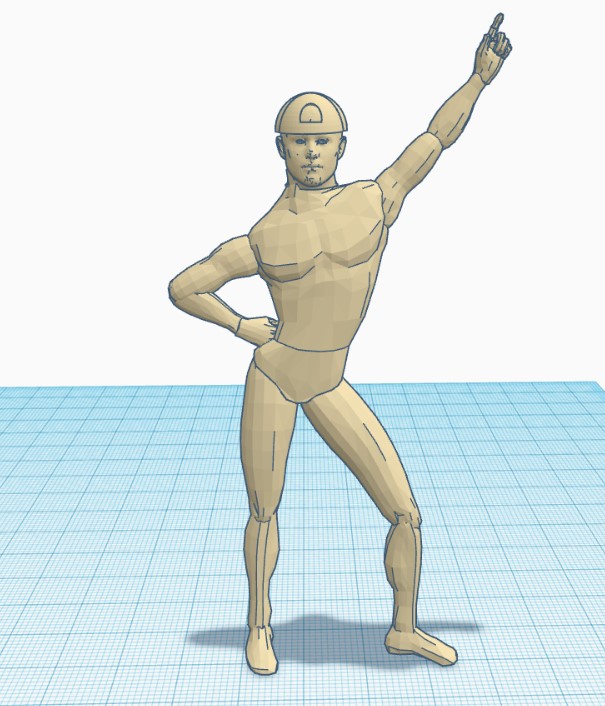
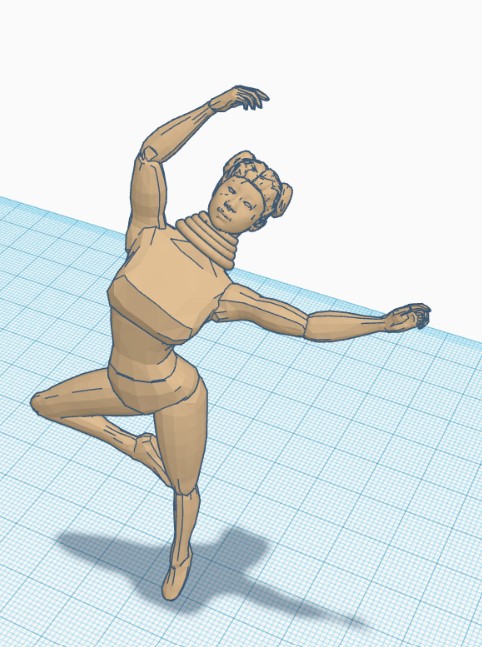
Étape 2 - Building of the 3D models
Using Blender, i modelled two faces. After which i added the faces to the 3D bodies downloaded from Microsoft 3D builder using TinkerCad.
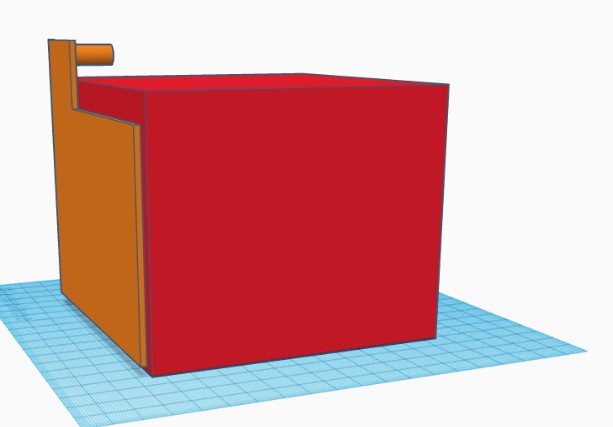
Étape 3 - Design of the 3rd Stage
Using Inkscape, I designed the "boite". After which I glued the servomotor to the entrance in order open and close based on need
Étape 4 - Code
Draft


 Français
 English
 Deutsch
 Español
 Italiano
 Português