Sommaire
- 1 Introduction
- 2 Our solution and its expectable benefits
- 3 Required Conditions
- 3.1 Étape 2 - Read and inspire from the "Humanure Handbook"
- 3.2 Étape 3 - Build the Humanure Toilet with hinged top - 1 of 3
- 3.3 Étape 4 - Build the Humanure Toilet with hinged top - 2 of 3
- 3.4 Étape 5 - Build the Humanure Toilet with hinged top - 3 of 3
- 3.5 Étape 6 - Tricks - I do not have the required tools, what can I do?
- 3.6 Étape 7 - Tricks - How can I cut a round shape with a hand saw?
- 3.7 Étape 8 - Tricks - I cannot find a toilet seat… what should I do?
- 3.8 Étape 9 - Tricks - I cannot find the required wood size at my local timber yard, what can I do?
- 3.9 Notes et références
- 4 Go further…
- 5 Bibliography
Introduction
In Uganda and Kenya, and for sure many other places worldwide, we acknowledge that the people use pit latrines to deal with human excreta. Sometimes the same room is used for showering and toilets. If you are not yet familiar with pit latrines, it is rather simple: dig a pit (6 to 30 ft deep), install a floor on top of the pit with a hole in the middle: you have pit latrines. On the one hand, pit latrines are a rather forward way of dealing with human refuses (urine and feces) and easy to install with low technology in remote areas with little or no access to sanitation infrastructure and where water is too precious to urinate or defecate in (is it not the case everywhere???). But on the other hand, pit latrines also:
- Attract insects such as flies, mosquitoes and cockroaches; those insects are well-known vectors for diseases (going back and forth from latrine to kitchen…),
- Pollute the soil due to the high density of pathogenic agents from human refuses,
- Eventually pollute the water: underground water if water table less than 10 feet \ three meters under the pit OR during rainy seasons as water table raises. According to “The Humanure Handbook” and a doctor we met in Mayuge, East Uganda, 80% of diseases are waterborne,
- Smell bad (personal statement).
Moreover, some of the farms we visited wish to become organic but do not manage to get rid of chemicals to fertilize crops and kill “pests”. We could write a lot about this topic but, in a nutshell, it is a vicious circle: the chemicals harm the soil, the soil cannot support the plants as efficiently as desired, the farmers use chemicals to secure a yield, repeat.
Our solution and its expectable benefits
Use locally-available material, simple technics and tools to build Humanure Dry Toilets to:
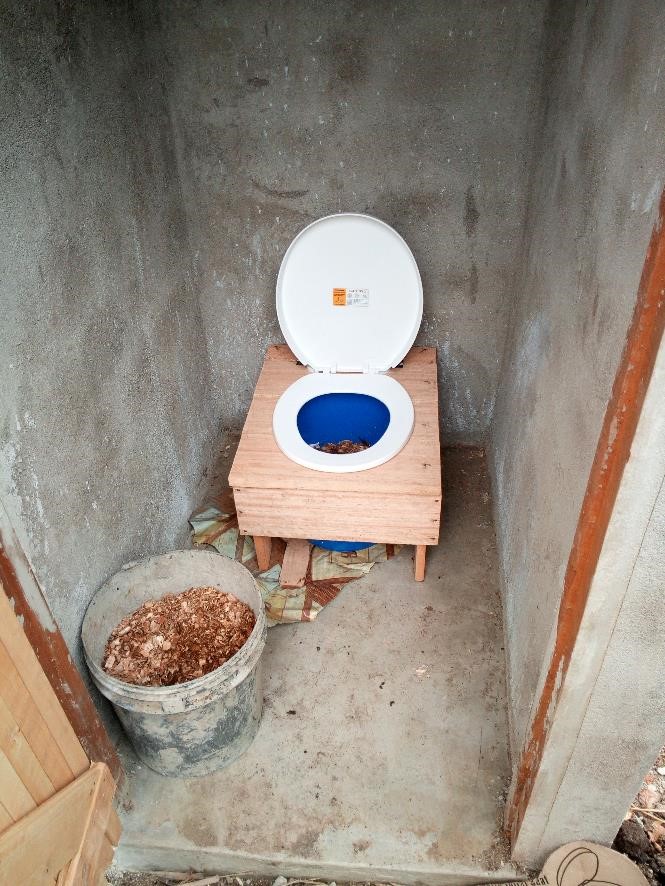
- Collect human refuses (urine and feces) without insect nor bad smell,
- Mitigate sanitation issues related to black water and human excreta,
- Reduce soil pollution,
- Reduce water pollution,
- Reduce waterborne diseases,
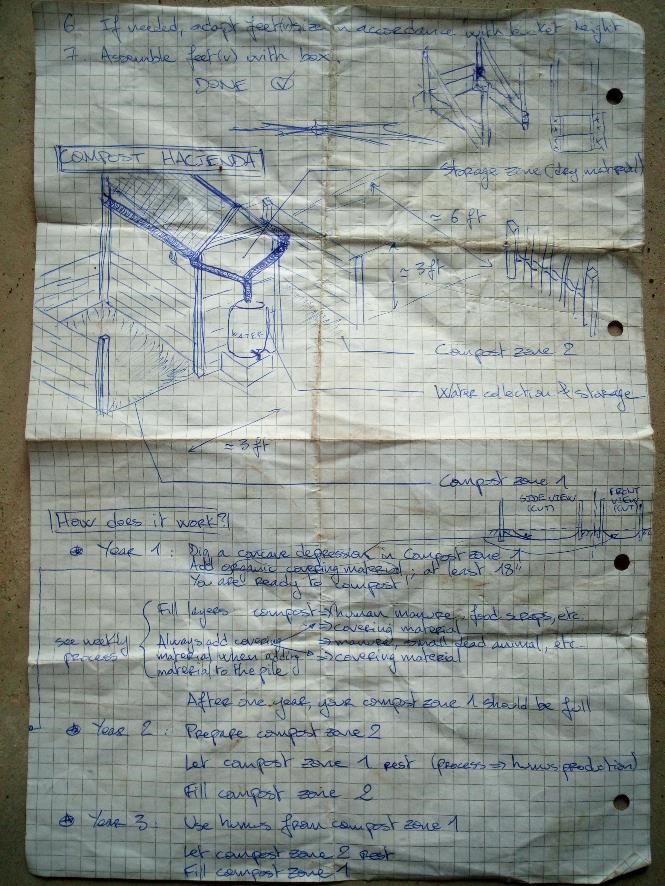
- Generate potent fertilizers for the garden,
- Reduce (if not eradicate) use of chemicals (fertilizer, biocides, chemical soaps…),
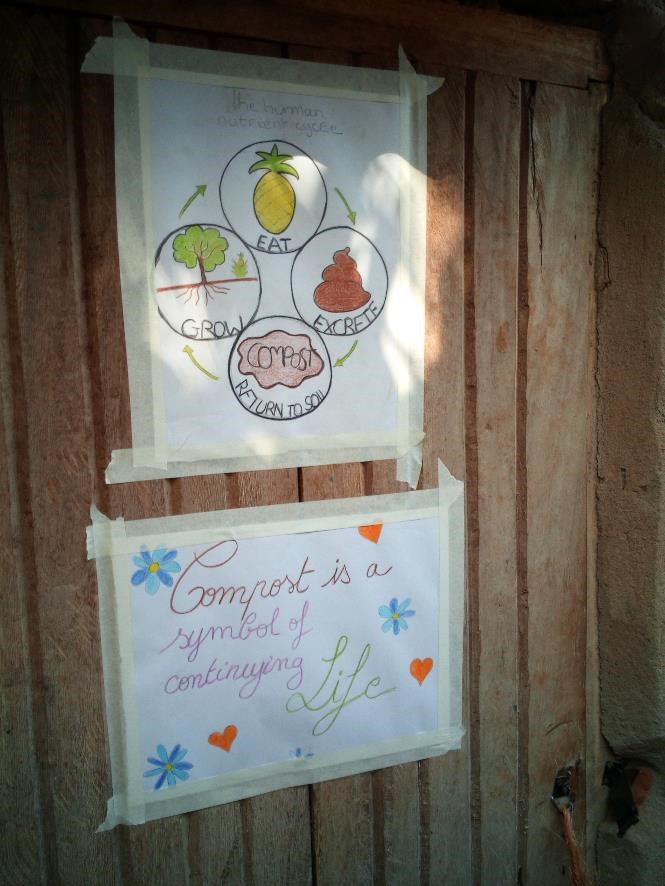
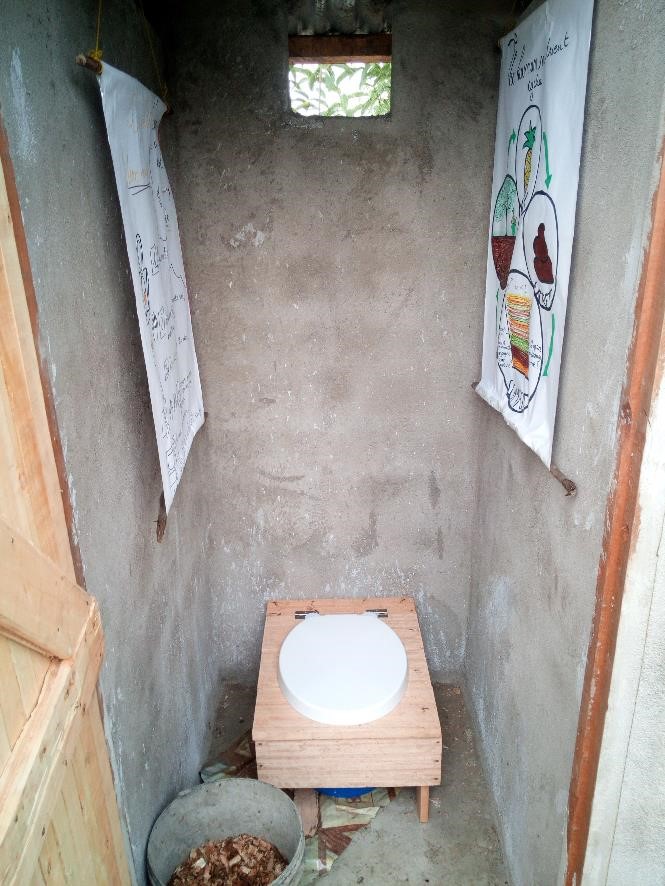
- Raise awareness about the human nutrient cycle and the ecosystemic logic of Nature.
Matériaux
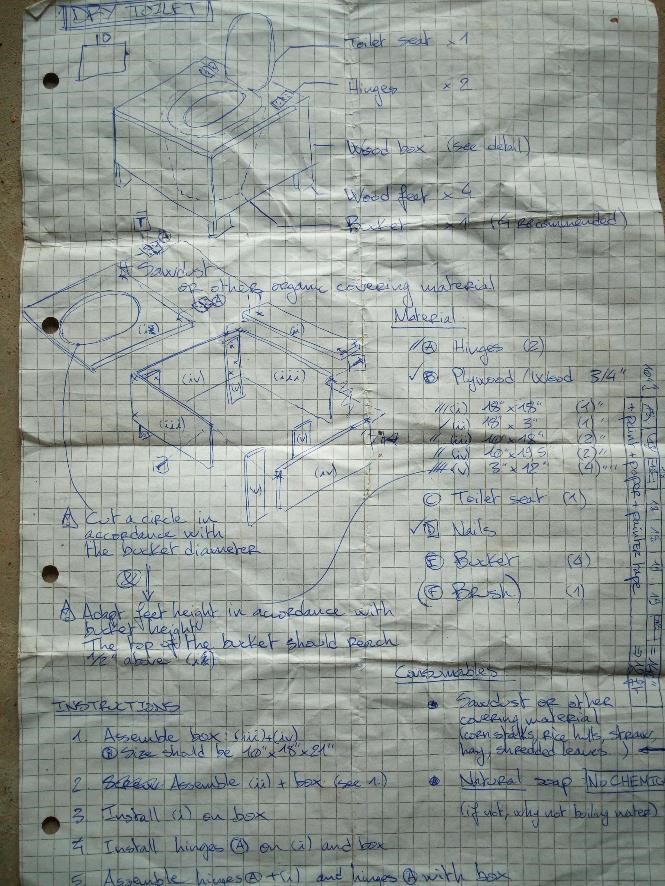
- Parts:
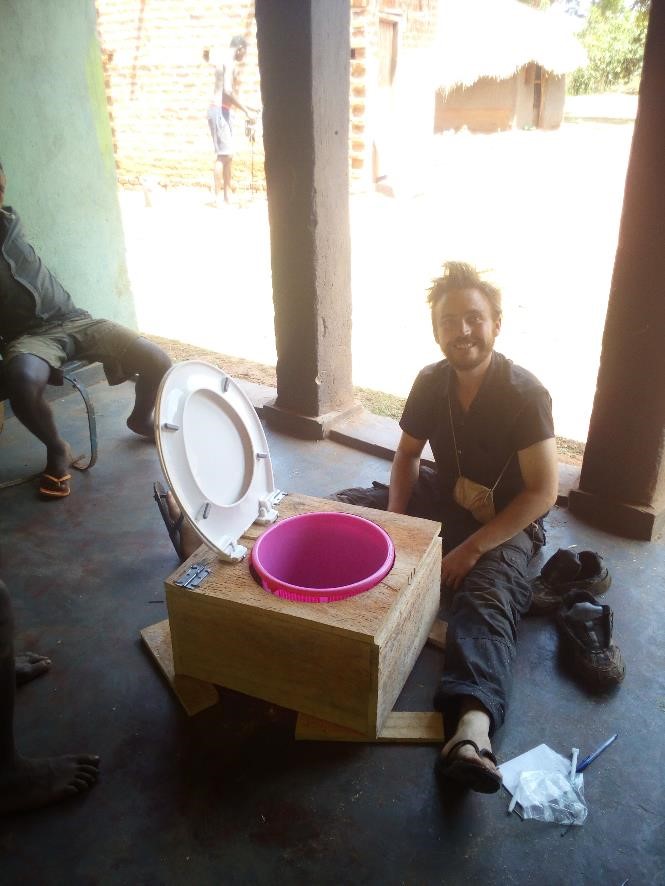
- ¾”-thick wood (see FAQ & Troubleshooting? for alternative sizes):
- (1) 18” x 18” [A],
- (1) 18” x 3” [B],
- (2) 10” x 18” [C1] and [C2],
- (2) 10” 19,5” [D1] and [D2],
- (4) 3” x 12” [E1] to [E4];
- (2) Hinges,
- (1) Toilet seat,
- (4) Buckets (20 L, identical),
- ¾”-thick wood (see FAQ & Troubleshooting? for alternative sizes):
- Consumables:
- Nails AND/OR screws* (for wood) (2” \ 5 cm),
- Sandpaper;
Outils
- Tools (*if you use screws)(see FAQ & Troubleshooting? for alternatives):
- (1) Saw,
- (1) Hammer with fork head,
- (1*) Screwdriver,
- (1) Drill,
- (1) Square,
- (1) Pair of pliers,
- (1) File;
Étape 1 - How?
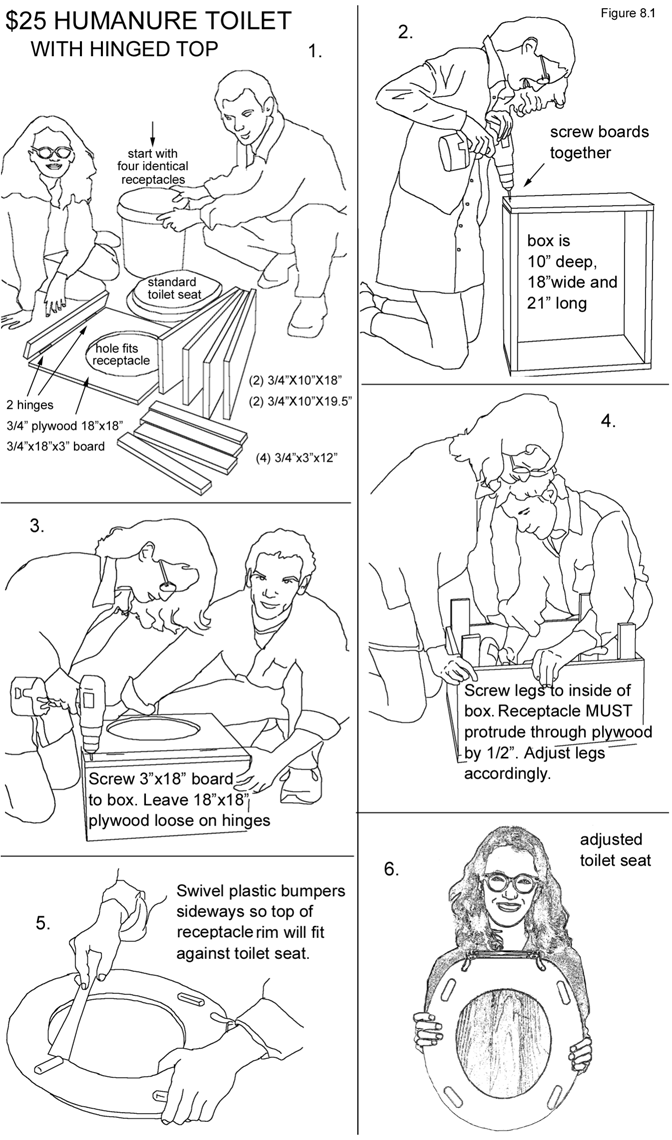
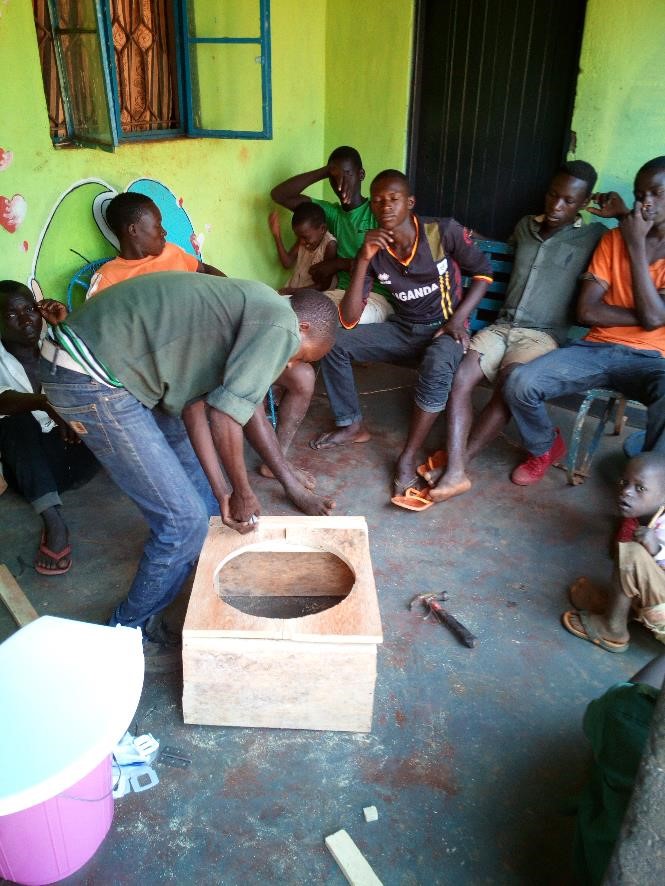
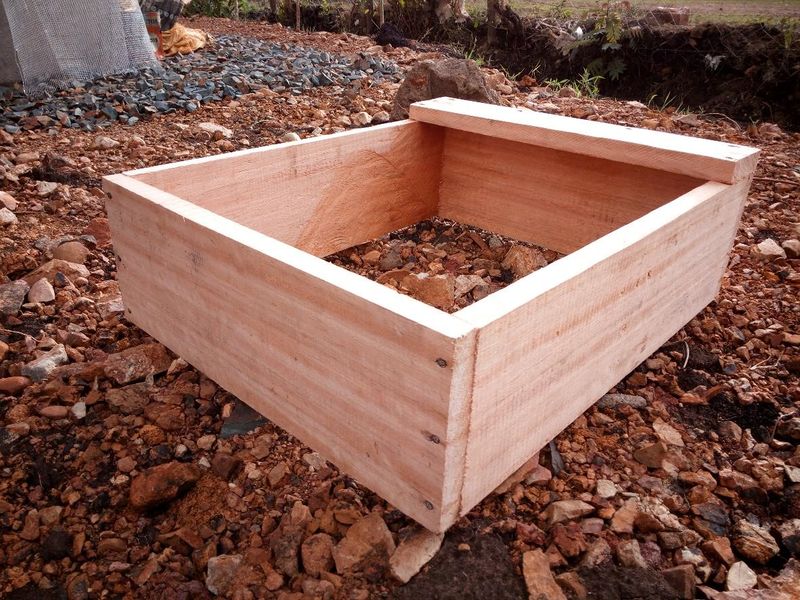
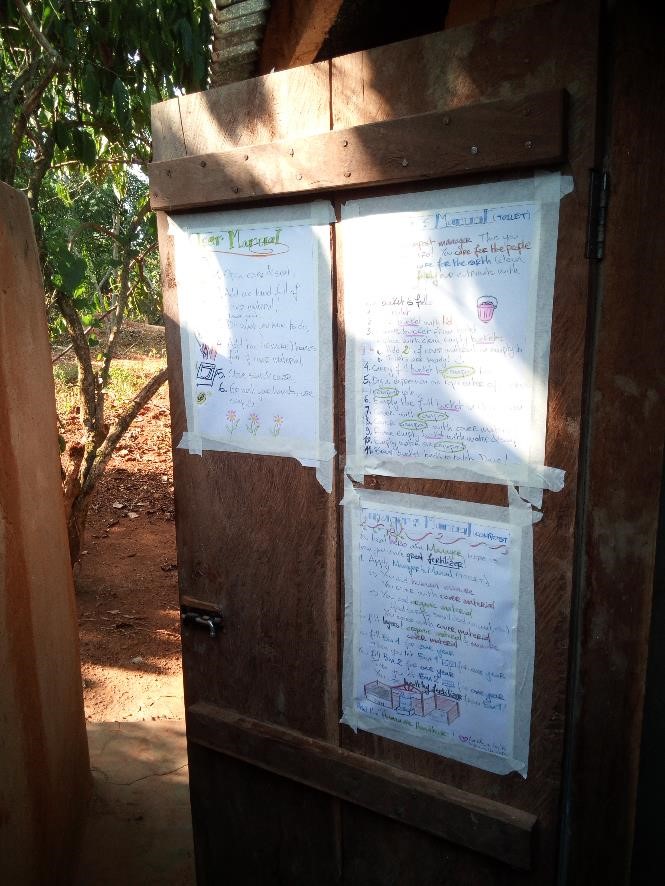
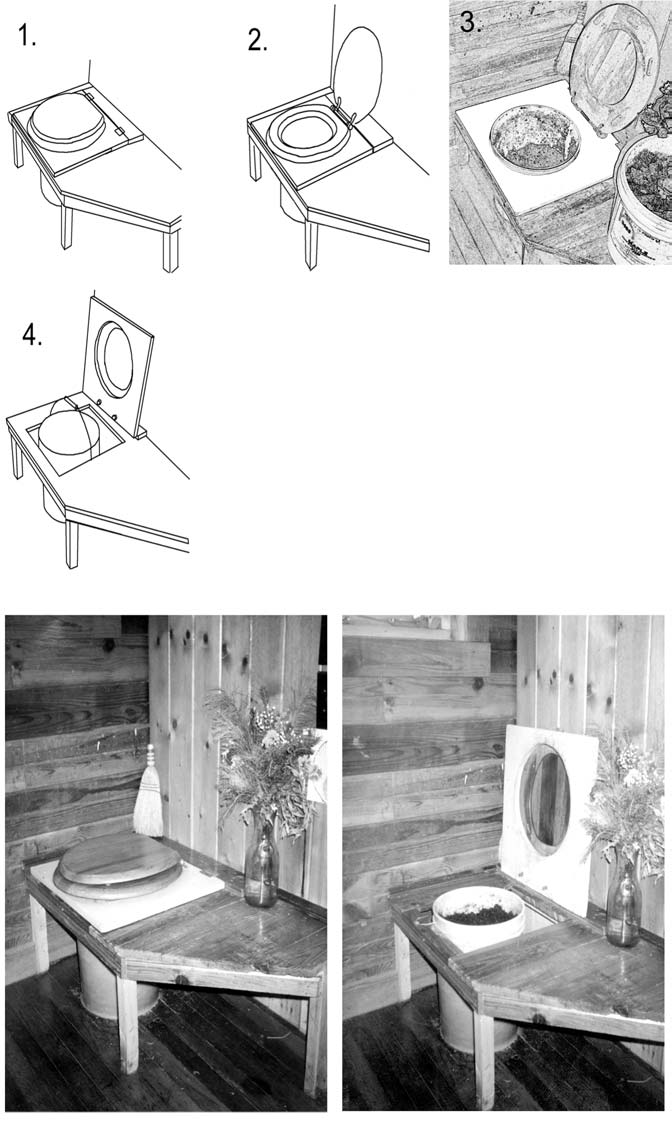
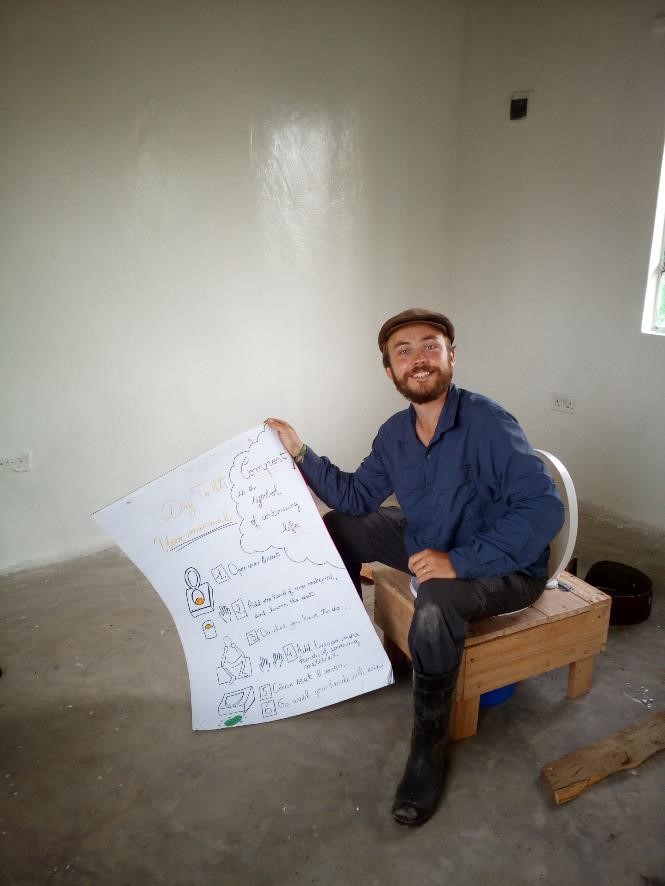
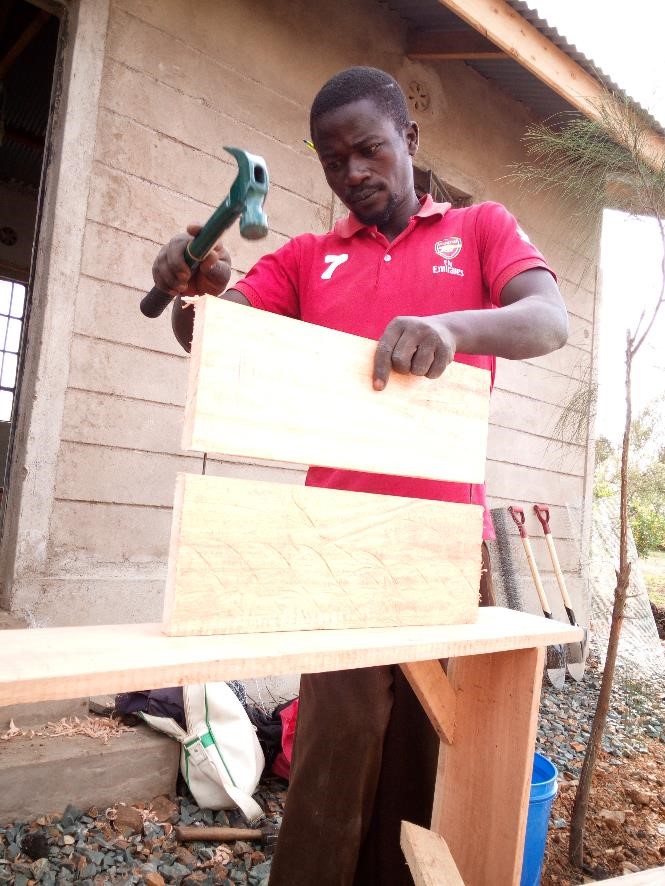
Refer to the pictures available in the gallery. Proceed as follows to build you own Humanure Dry Toilets.
Required Conditions
- Team:
- Two
- Required skills:
- Basic carpentry skills to properly use the tools
- Duration:
- Two hours
- Preliminary requirements:
- NA (except acquire the necessary parts and consumables)
Étape 2 - Read and inspire from the "Humanure Handbook"
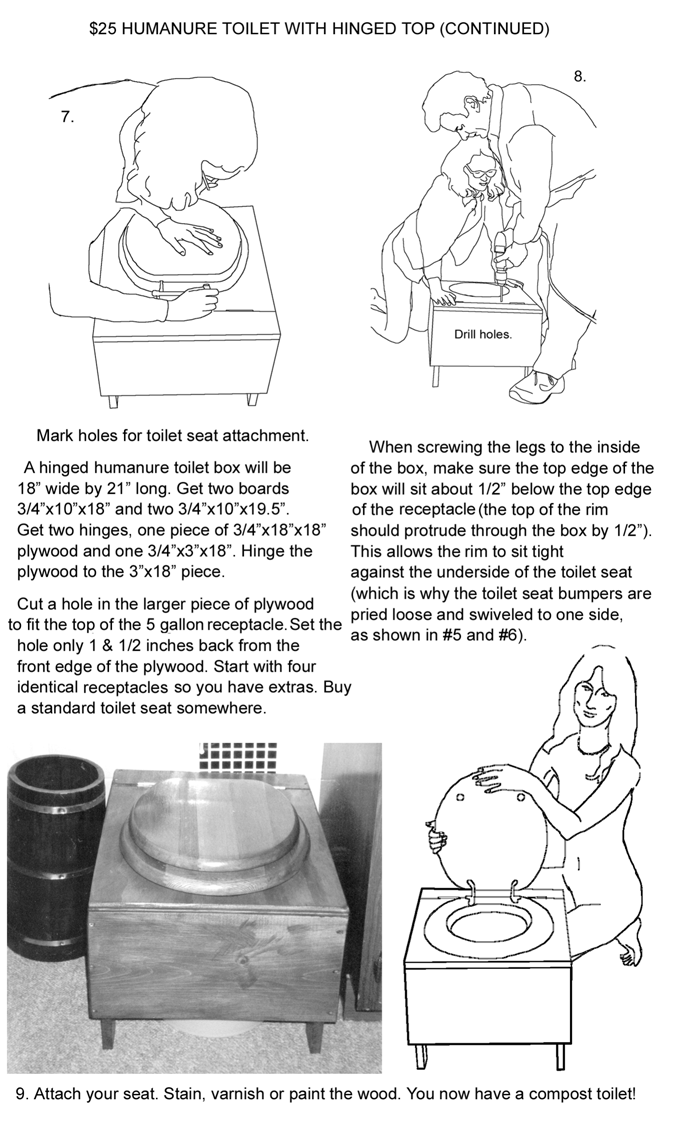
We largely (totally), inspire from the great “The Humanure Handbook”, a Guide to Composting Human Manure by Joseph Jenkins; more specifically “Chapter 8: The Tao of Compost”. Since, “Portions of this book may be copied and distributed without permission as long as a) the information is not changed, b) the publishing source is credited and c) the distribution is not for profit.” (Jenkins, 2005), we directly reproduce the procedure from “The Humanure Handbook”.
Étape 6 - Tricks - I do not have the required tools, what can I do?
First, feel free to ask a friend or relative if you can borrow his or her tools. You can also look for places or communities that share exchange tools, goods and services. If those options remain not accessible, we can propose the alternatives that follow: Saw: ask a local carpenter to perform the wood work for you = cut the wood in accordance with measures. Fork head: you can use pliers instead. Drill: you can use wood scissor and a hammer to cut out a square-shaped hole. If you do not have wood scissors, you can use a strong flat screwdriver and a hammer to cut out a square-shaped hole. Square: you could proceed without a square. However, square will provide you with more precision and, thus, better result. If you do not have a square, you can use a piece of paper and proceed as follows to get a square (90°):
- Fold the paper in two (ne no need to be very precise at this point),
- Use the fold line to fold the paper in four: make sure that each newly-folded segment of the fold line match on the fold line,
- Good job!
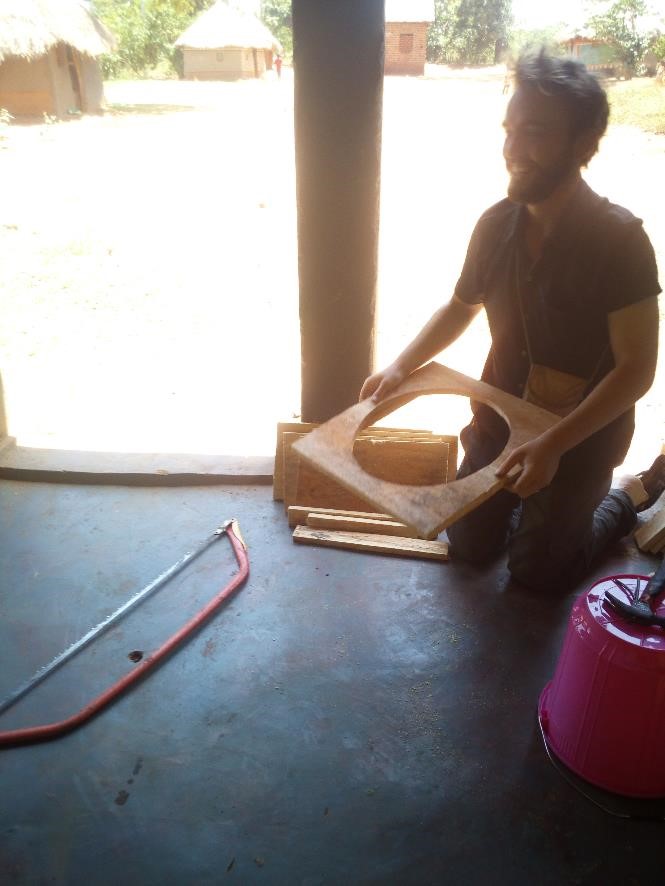
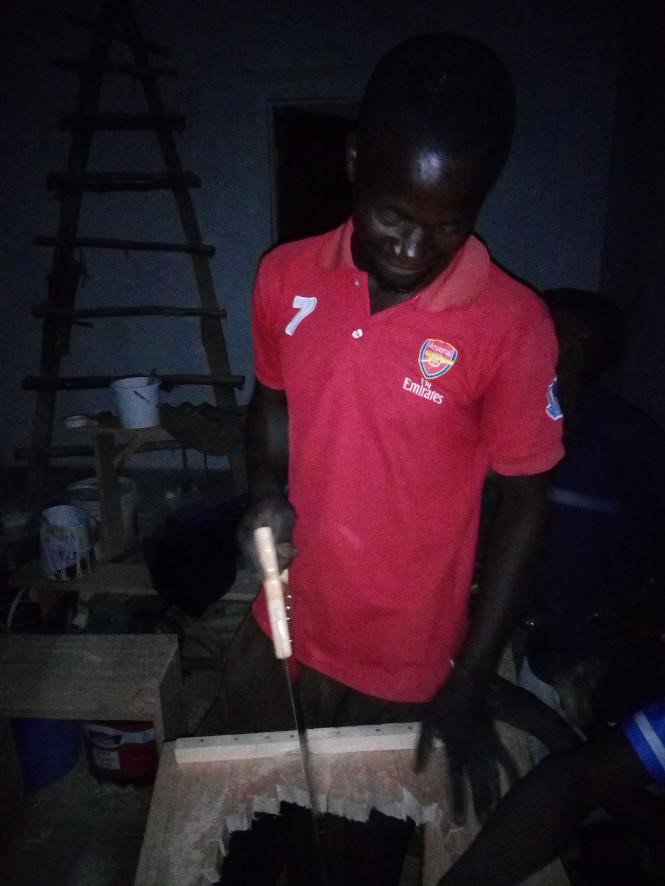
Étape 7 - Tricks - How can I cut a round shape with a hand saw?
Good question… What we did?
- Use the handsaw to cut the biggest chunks (inside the 18” x 18” circle),
- Use the hand saw to cut many lines from center of the circle to the border of the circle; you want many small chunks of wood,
- Use the hammer and the wood scissor to remove the small chunks of wood along the border of the circle,
- Use a file to smooth the surface,
- Use sandpaper to finalize the smoothing.
Étape 8 - Tricks - I cannot find a toilet seat… what should I do?
We had the same problem! In Mayirinya, Uganda, we had to go to Mayuge, Uganda, to order it and pick it up the next day. Near Homa Bay, Kenya, we had to go to town (Homa Bay) and go to several hardware shops before we could find it. The best tip is to reach the biggest city nearby and ask (a lot of) people until you finally get it.
Another alternative could be to make a toilet seat yourself with the help from a skilled carpenter.
Étape 9 - Tricks - I cannot find the required wood size at my local timber yard, what can I do?
If you cannot find the applicable thickness, adapt measures in accordance with available thickness to reach the final size of the toilet box. If you cannot find the applicable width: we acknowledge that it is not easy to find an 18”-long x 18”-wide piece of wood in small-town timber yards. The best solution is to assemble it yourself. For example, starting from three pieces of wood 18”x6”:
- Install the three pieces of wood in the desired outcome position (align them along the long side),
- Mark the relative position of pieces of wood #1, #2 and #3:
- Add one mark ±1” \ ±3 cm from the top of piece of wood #1 and piece of wood #2, on the interface between piece of wood #1 and piece of wood #2,
- Add one mark ±1” \ ±3 cm from the bottom of piece of wood #1 and piece of wood #2, on the interface between piece of wood #1 and piece of wood #2,
- Add one mark ±1” \ ±3 cm from the top of piece of wood #2 and piece of wood #3, on the interface between piece of wood #2 and piece of wood #3,
- Add one mark ±1” \ ±3 cm from the bottom of piece of wood #2 and piece of wood #3, on the interface between piece of wood #2 and piece of wood #3;
- Disassemble pieces of wood #1, #2 and #3,
- Extend each mark on the slices of pieces of wood #1, #2 and #3,
- Add a mark on the middle of each slice mark;
- Prepare the holes for assembly:
- Install a nail on the upper mark on slice of piece of wood #1,
- Use the hammer to insert half of the nail in piece of wood #1,
- Use the fork head to remove the nail from piece of wood #1,
- If necessary, use the hammer to make the nail strait,
- Install a nail on the lower mark on slice of piece of wood #1,
- Use the hammer to insert half of the nail in piece of wood #1,
- Use the fork head to remove the nail from piece of wood #1,
- If necessary, use the hammer to make the nail strait,
- Install a nail on the upper mark on slice of piece of wood #2,
- Use the hammer to insert half of the nail in piece of wood #2,
- Use the pliers to cut the head of the nail off,
- Install a nail on the lower mark on slice of piece of wood #2,
- Use the hammer to insert half of the nail in piece of wood #2,
- Use the pliers to cut the head of the nail off,
- Install piece of wood #1 on piece of wood #2,
- Make sure that the nails from piece of wood #2 align with the holes in piece of wood #1,
- Use a hammer to assemble piece of wood #1 and piece of wood #2,
- Repeat the steps above to assemble piece of wood #2 and piece of wood #3;
- After you have assembled your pieces of wood with nails, use an extra piece of wood as a bracket to assemble the pieces of wood:
- Install the bracket over the inner part of the assembly,
- Use nails and the hammer to assemble the bracket with the assembly,
- Repeat the steps above to assemble a second bracket on the other inner side of the assembly.
Notes et références
Go further…
Please share with us with your remarks, comments, improvements, achievements, etc.
Learn more about our projects: https://sustainable-autonomy.weebly.com/
Read about our volunteering in Mayirinya, Uganda: https://sustainable-autonomy.weebly.com/blog/omutukuvu-projects Read about our volunteering in Homa Bay, Kenya: will come soon 😊
Follow us: Twitter logo => https://twitter.com/Sustainomy/
Learn more about humanure & buy, read online or download the book: http://humanurehandbook.com/
Bibliography
Jenkins, J. (2005). The Humanure Handbook - Third Edition - A Guide to Composting Human Manure. Grove City, PA , USA: Joseph Jenkins, Inc.
Yes






 Français
 English
 Deutsch
 Español
 Italiano
 Português