
In this activity, participants will set up their weather station, sent it up in the air, and monitor the recordings (light, temperature, humidity) in real time via the Blynk app.

Difficulté
Très facile
Durée
1 minute(s)
Catégories
Électronique, Machines & Outils, Sport & Extérieur
Coût
1 EUR (€)
Youtube
Matériaux
Outils
Étape 1 - Setting up the weather station
Follow the instructions on page 1-4 on tutorial
Étape 2 - Monitoring the values recorded by the station via Blynk
Follow the instructions on page 4-8 on this tutorial.
Étape 3 - Setting up the flying station
In order to send your weather station up in the air, first of all you ll need to engineer a system similar to that of a hot air balloon.
Create a case to accommodate the weather station. This can be made of cardboard or any other material, as long as the weight is not too significant. Beware that helium balloons can only lift very light masses.
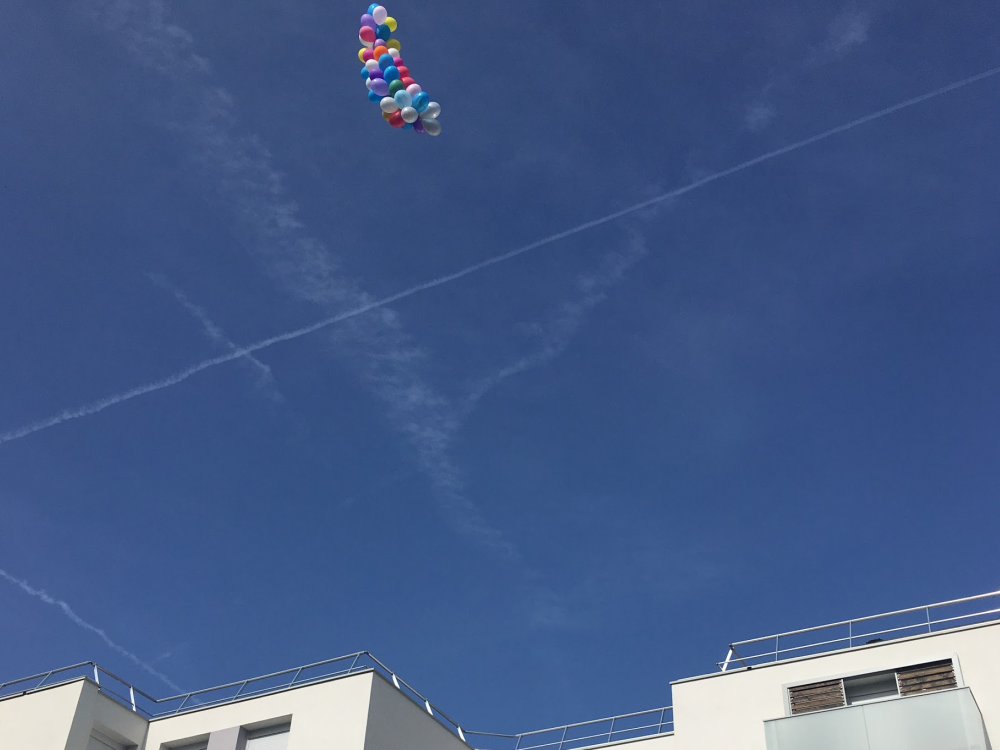
Once you've secured the weather station to the case, attach the former to the helium balloons. You may need to use multiple balloons in order to be able to lift the weather station off the ground.
Don’t forget to tie some nylon wire to the flying system so that you ll be able to take it back to the ground at any time.
Watch the flying station in action on youtube
Notes et références
List of parts
1x ESP32 weather station
1x helium bottle
1x nylon wire bobbin
several inflatable balloons.
Draft
 Français
 English
 Deutsch
 Español
 Italiano
 Português