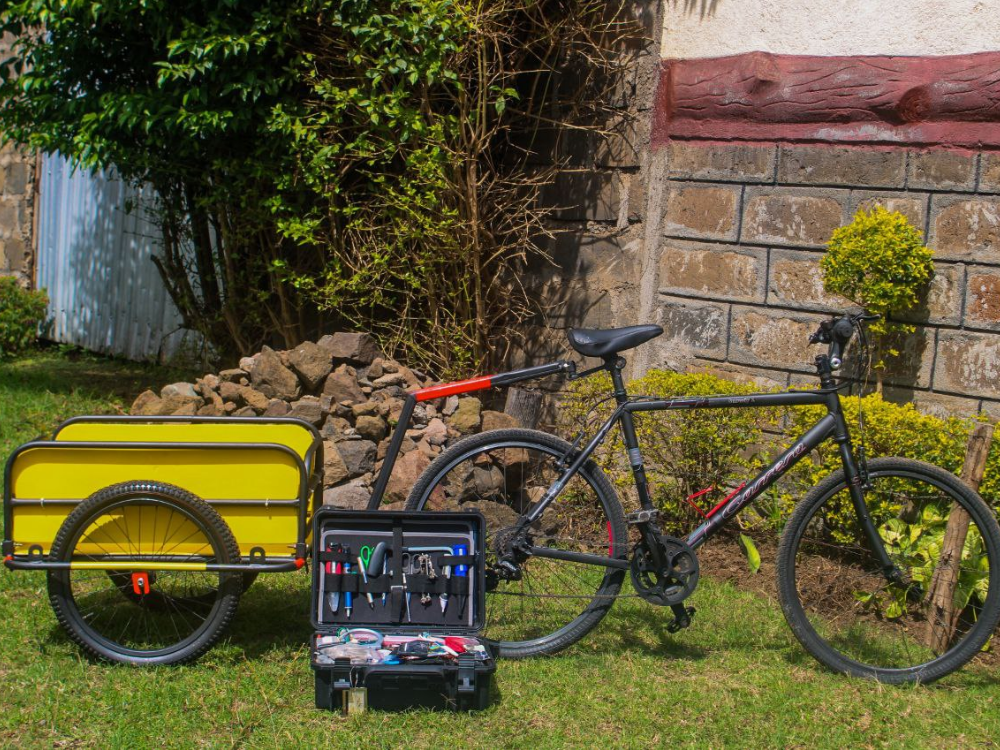
First Prototype of a Community Repair Mobile (COREMO) Trailer designed to provide repair services by means of #ASKotec (Access to Skills and Knowledge - open tech emergency case) and other tool-kits/ mobile makerspaces in remote areas with difficult road access. (Currently developed in Kenya)

Difficulté
Difficile
Durée
7 jour(s)
Catégories
Machines & Outils, Recyclage & Upcycling, Transport
Coût
500 USD ($)
Sommaire
- 1 Introduction
- 2 Étape 1 - Drafting the metal frame
- 3 Étape 2 - Preparing the parts
- 4 Étape 3 - Welding the metal frame
- 5 Étape 4 - Detail: Building the coupling
- 6 Étape 5 - Building the side frames
- 7 Étape 6 - Cutting the wooden side panels
- 8 Étape 7 - Detail: All connectors for wheels and frames
- 9 Étape 8 - Painting the frame
- 10 Étape 9 - Assembling the frame
- 11 Étape 10 - Finishing the side panels
- 12 Étape 11 - Attaching the trailer
- 13 Commentaires
Introduction
Repair services of all kinds provided in workshops or other fixed locations are seldom available in remote rural areas of Kenya - as well as many other remote rural areas of the Global South. People, who are in real need of fixing their limited equipment or finding a solution to a technical problem, are stuck for lack of basic tools and materials.
This is why mobile repair services are not only a great solution, but also one that significantly reduces costs and the use of resources, while allowing people to be active and creative in the repair process.
This step-by-step tutorial serves as an Open Source set of instructions for the prototype of a Community Repair Mobile - COREMO (Trailer Edition) intended for remote areas. COREMO Trailer will provide remote communities with access to repair services through the use of the #ASKotec (Access to Skills and Knowledge - open tech emergency case) and other mobile makerspaces/tool-kits.
COREMO is currently developed in Kenya by Adam Abdumalik with support from international makerspace community members.
COREMO Trailer serves as a first stage solution for future additional variations, modules and adaptations that will include:
- Use of Solar Power (Soldering, Charging, etc.) through the addition of solar panels
- Solar electric mobility
- Scaling production, decentralised and Open Source implementation


Matériaux
- Bicycle
- Steel (tubes, plates)
- Wooden plates
- Wheels
- Toolkit (any)
- Screws
- Zip ties
- Paint
Outils
- (1) Welding machine
- (2) Tube Bender
- (3) Angle Grinder
- (4)File
- (5) Drill
- (6) Hammer
- (7) Wrench
- (8) Paint brush
- (9) Pencil and paper
- (10) Yard stick
Étape 1 - Drafting the metal frame
In order to fit the bicycle selected, the frame should match typical sizes of bikes.
Step 1 includes:
- Sketching the size
- Collecting materials
- Measuring all parts
Necessary materials:
- Steel (tubes, plates)
Necessary tools:
- Paper and pencil
- Yard stick
- Angle grinder
- Tube bender

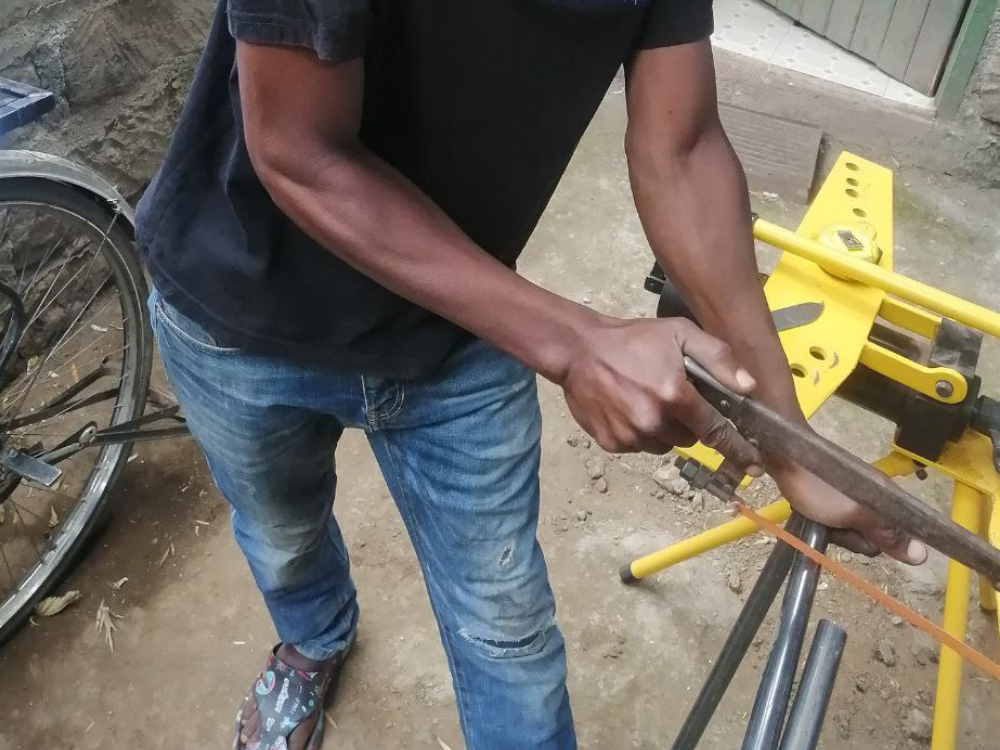
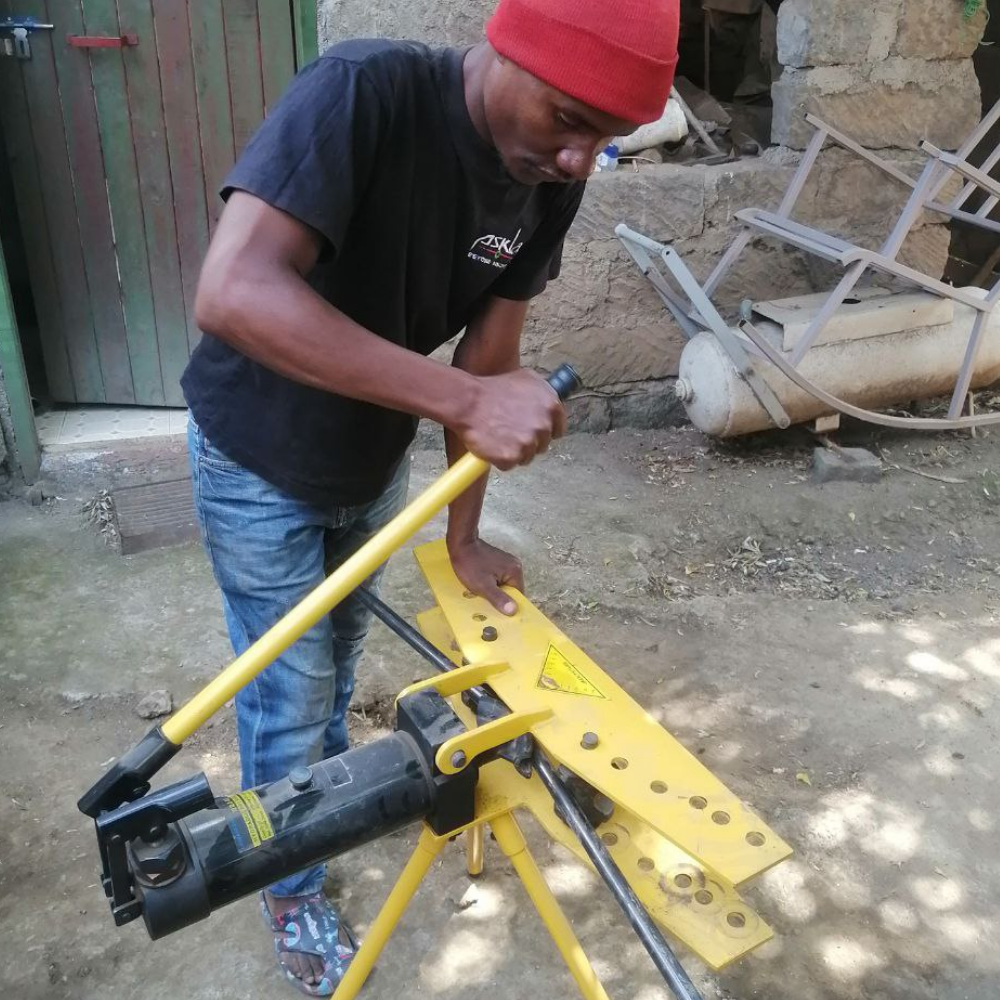
Étape 2 - Preparing the parts
Step 2 includes:
- Cutting the metal to the necessary sizes
- Bending the tubes
- ..
Necessary materials:
- Steel (tubes, plates)
- Fitting the wheels
Necessary tools:
- File
- Drill
- Hammer
- Wrench

Étape 3 - Welding the metal frame
Step 3 includes:
- Welding together the different parts of the metal frame
Necessary materials:
- Steel (tubes, plates)
Necessary tools:
- Welding machine

Étape 4 - Detail: Building the coupling
Step 4 includes building the the connection between the bicycle and the trailer:
- ..
- ..
- ..
Necessary materials:
- ..
- ..
Necessary tools:
- ..
- ..

Étape 5 - Building the side frames
Step 5 includes:
- Selecting the metals parts needed to build the side frames
- Welding the side frames to the main frame
Necessary materials:
- Steel (tubes, plates)
Necessary tools:
- Welding machine
- Tube bender
- Hammer

Étape 6 - Cutting the wooden side panels
Step 6 includes:
- Choosing the wooden panels that are suited for this purpose
- Measuring the size needed for the metal frame
- Cutting them to the sizes suited for the metal frame
Necessary materials:
- Wooden plates
Necessary tools:
- Angle grinder
- File
- Yard stick

Étape 7 - Detail: All connectors for wheels and frames
Step 7 includes building the connectors for the wheels, the frames and the strap-connectors:
- ..
- ..
- ..
Necessary materials:
- Steel (tubes, plates)
- (Did you buy the connectors, or did you make them?)
Necessary tools:
- File
- ..
- ..
Étape 8 - Painting the frame
Step 8 includes:
- Painting the metal frame
Necessary materials:
- Paint
Necessary tools:
- Paint brush

Étape 9 - Assembling the frame
Step 9 includes:
- assembling together the frame: walls, panels and wheels
Necessary tools:
Necessary materials:


Étape 10 - Finishing the side panels
Step 10 includes:
- Paint the side panels to give it some character
- Fix the panels with Zip Ties
- Add your first toolkit(e.g. #ASKotec)
- Make final touches to the frame and trailer
Necessary materials:
- Paint
- Zip ties
Necessary tools:
- Paint brush
- Wrench

Étape 11 - Attaching the trailer
- Attach the Coupling
- Make a test ride
- Enjoy :
Necessary materials:
Necessary tools:
- Wrench
- Hammer


Published
 Français
 English
 Deutsch
 Español
 Italiano
 Português