Introduction
In this activity, kids experiment with an analogic drawing pad, to grasp the concept of a cnc machine moving along its x, y, and z axis.
The analogic pad has a pen mounted onto it that can move along the x and y axis of the pad.
Kids can attempt to draw simple geometrical shapes such as squares, rectangles, triangles, etc. on the analogic pad, and later observe a cnc machine (such as a 3D printer) that moves along its x, y, and z axis to create a 3D object. They will notice that the basic working principles of the two systems are very similar.
What follows is a step by step tutorial on how to build your own analogic drawing padYoutube
Matériaux
10x M4x25mm screws
34x M4 Nuts
2x big pulleys
8 x small pulleys
1x A4 size MDF board, 3mm thick
2 long wooden skewers
nylon wire
Outils
Étape 1 - Draw the different parts of the pad on the wooden board
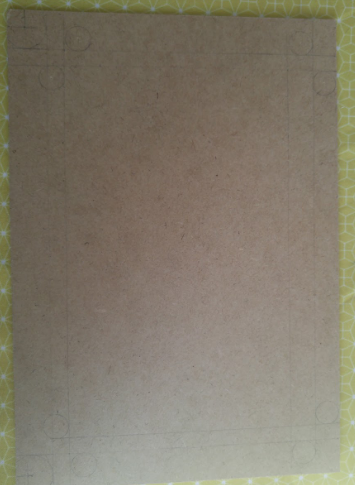
You will need to draw 10 pulleys in total. To draw the pulleys, just place them on the board and draw their contour.
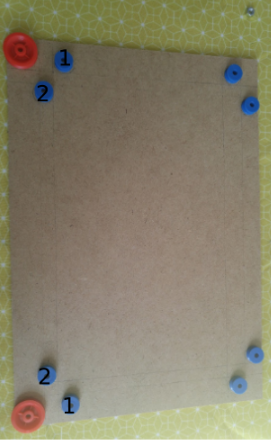
Place de pulleys marked with “1” at 2cm from the sides of the board, and 5cm from the bottom of the board (the bottom of the board is the longest side).
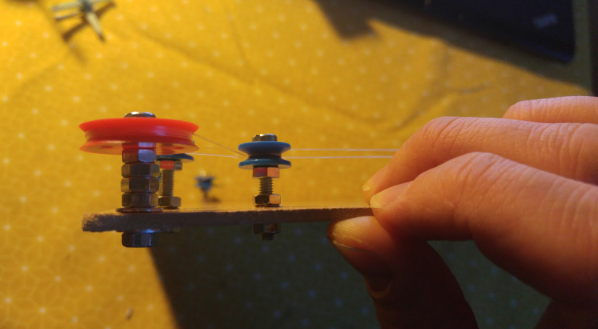
Étape 2 - Lock the pulleys to the board, using screws and bolts and washers
Use 3 bolts in total for the small pulleys (the blue ones) and 5 bolts plus 2 washers for the big pulleys (the control pulleys -in red)
Étape 3 - Wrap the nylon wire around the blue pulleys and the control pulleys
Watch this video to learn how
You can also watch this video if you struggle with the wiring.
Use a piece of cardboard to place two wooden skewers at 90° angles with respect to one another.
The skewers need to be long enough to reach the nylon wire on the top bottom left and right of the pad.
Draft


 Français
 English
 Deutsch
 Español
 Italiano
 Português