Matériaux
Outils
Étape 1 - Inverter Box (1/8 pallet Euro norm box)
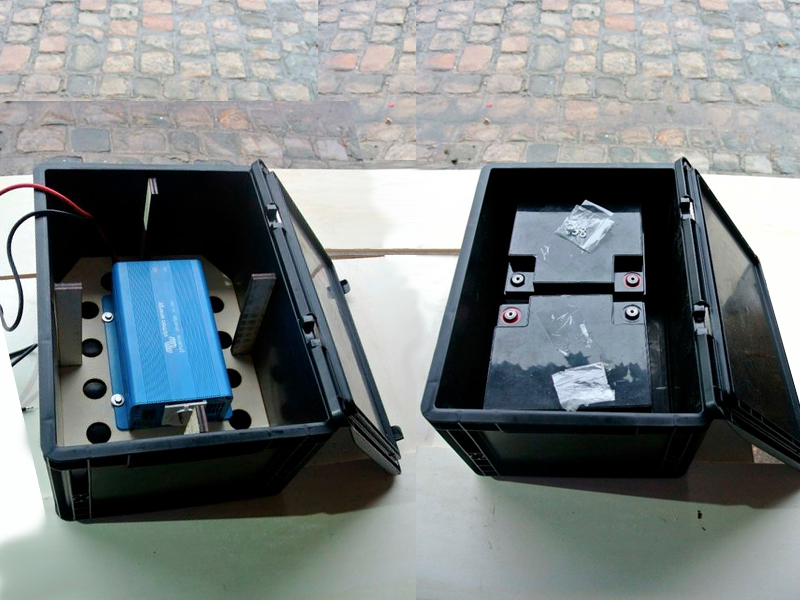
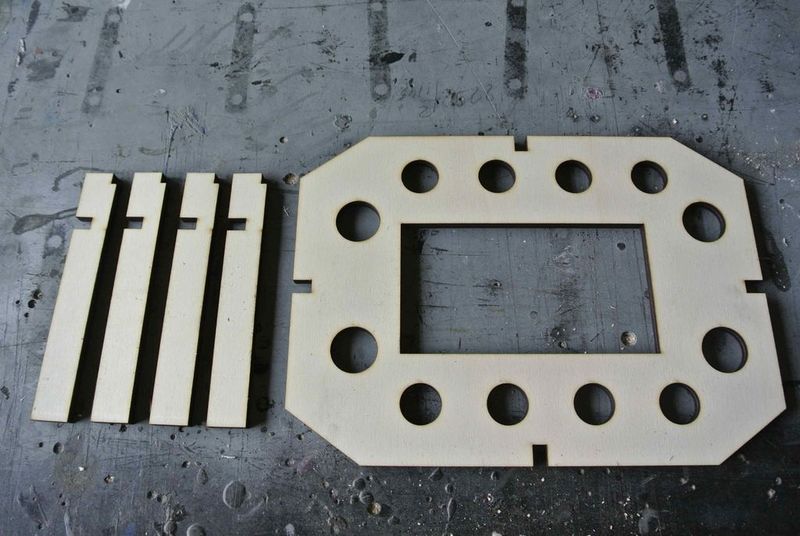
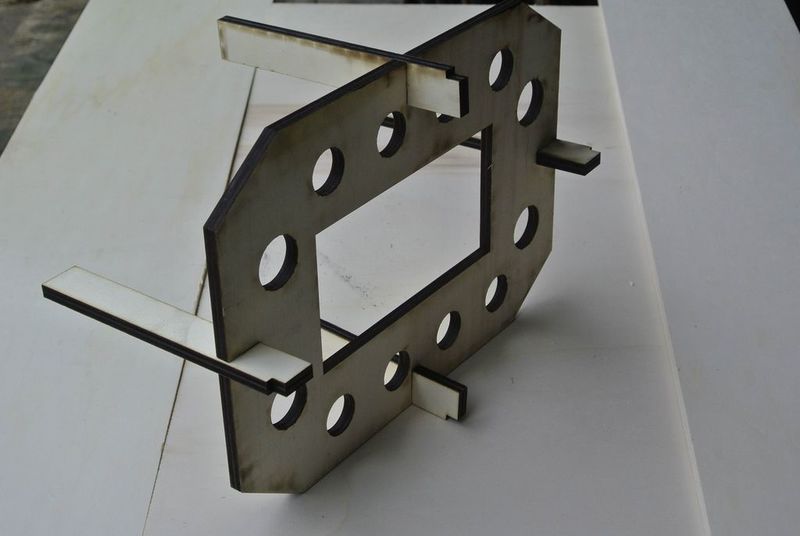
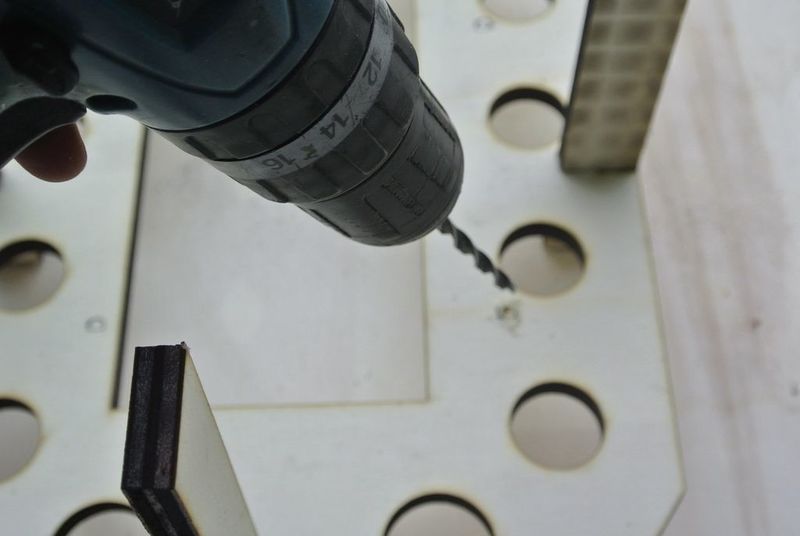
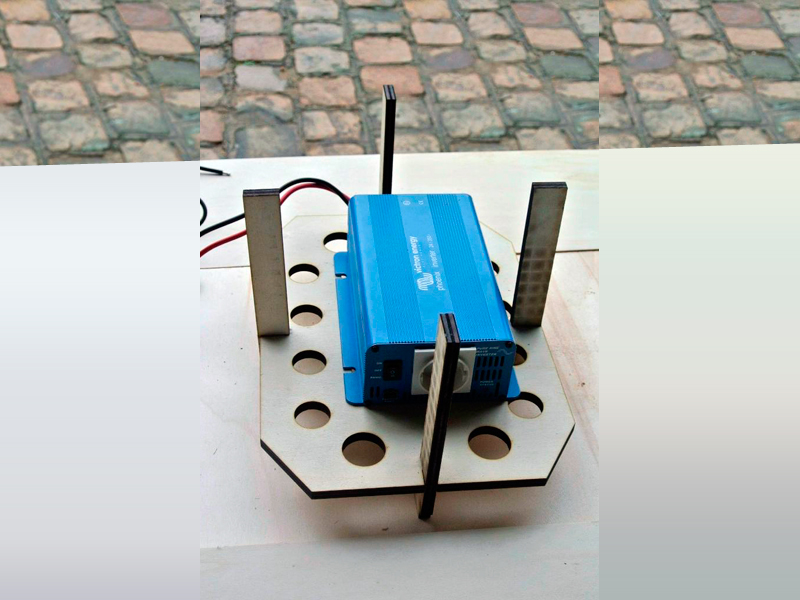
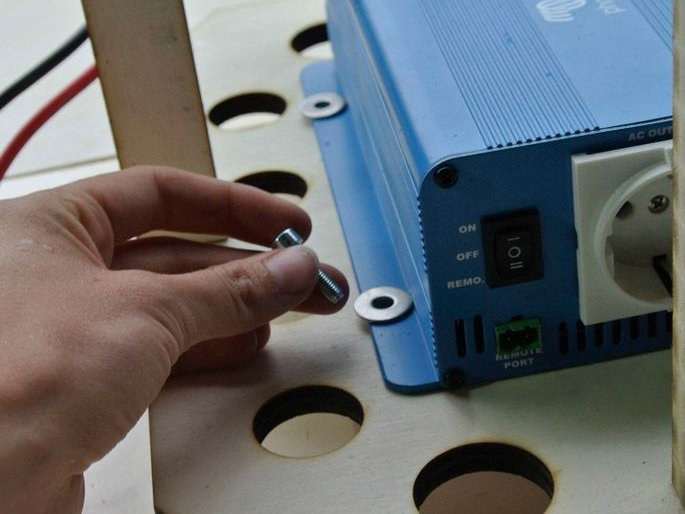
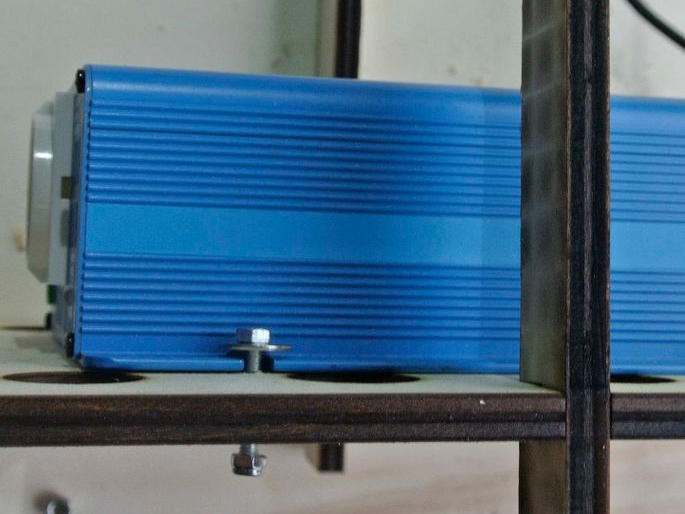
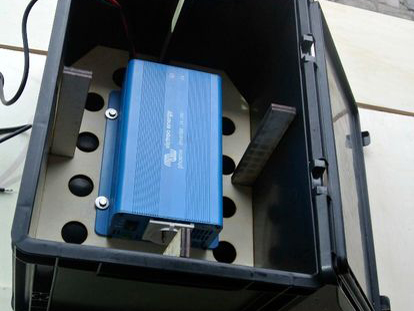
To make sure that the inverter can't move around inside the inverter boxes, an inner mounting structure is required. The inverter attaches to the mounting structure, fixing it in place. The mounting structure is fabricated using laser cut wood structures. The .DXF source files for the laser cutting can be downloaded below.
When using the files with the laser cutter, refer to the laser cutter tutorial.
The inverter and its mounting structure fit inside one of the 1/8 EURO norm boxes, which have external dimensions of 230mm (H) x 400mm (L) x 300mm (W), and usable internal dimensions of 208mm (H) x 370mm (L) x 270mm (W).
One piece of plywood measuring 800mm (L) x 600mm (W) x 10mm (th) is sufficient to laser cut parts for both the inverter and battery boxes' internal structures (see next step).
Étape 3 - Battery Box (1/8 pallet Euro norm box)
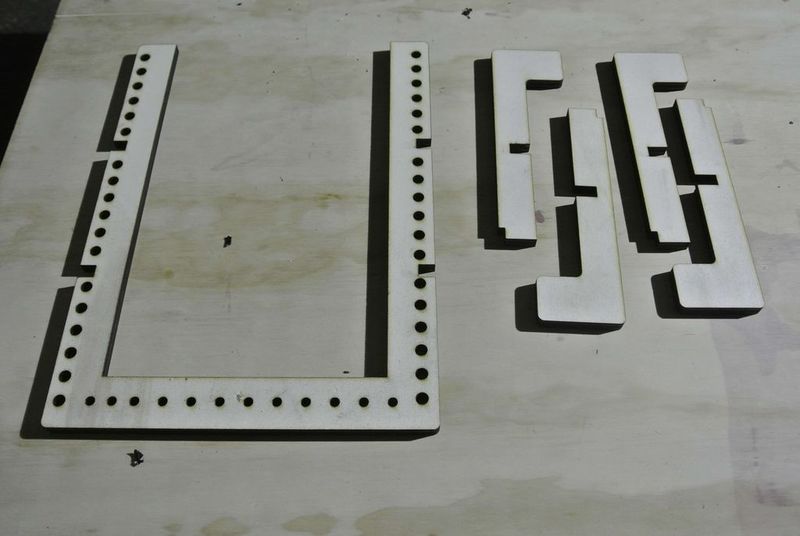
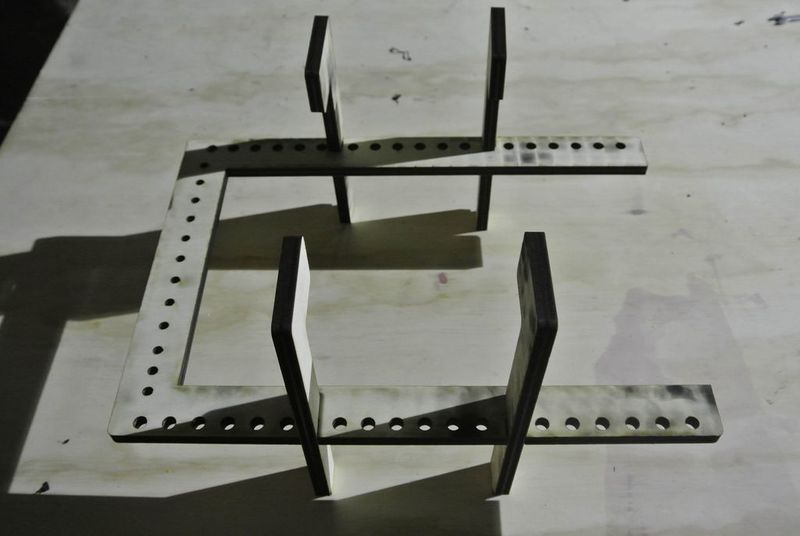
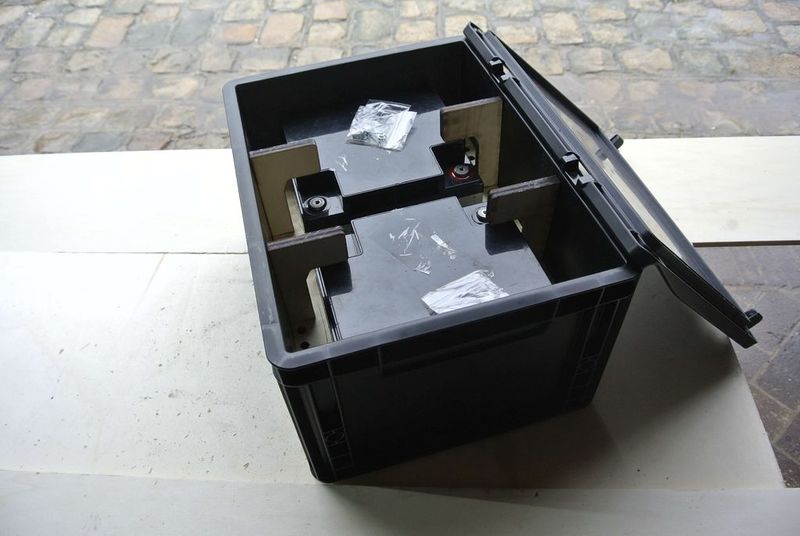
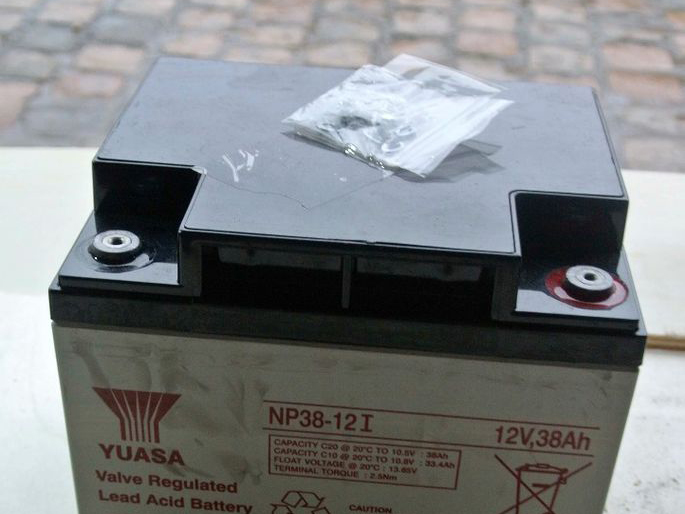
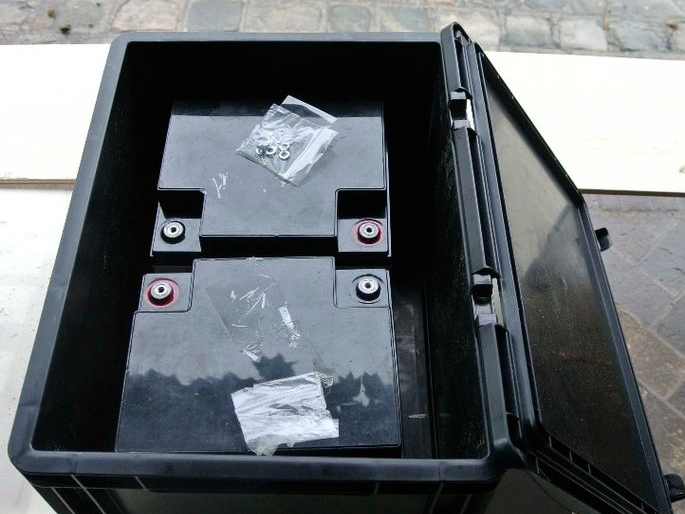
To make sure that the battery can´t move around inside the battery boxes, an inner mounting structure is required. The batteries are held in place by the mounting structure, and no physical attachment is required. As with the inverter box, the battery box mounting structure is fabricated using laser cut wood structures. The .DXF source files for the laser cutting can be downloaded below.
When using the files with the laser cutter, refer to the laser cutter tutorial.
The batteries and their mounting structure fit inside one of the 1/8 EURO norm boxes, which have external dimensions of 230mm (H) x 400mm (L) x 300mm (W), and usable internal dimensions of 208mm (H) x 370mm (L) x 270mm (W).
As mentioned in the previous step, one piece of plywood measuring 800mm (L) x 600mm (W) x 10mm (th) is sufficient to laser cut parts for both the inverter and battery boxes' internal structures.
Published
 Français
 English
 Deutsch
 Español
 Italiano
 Português