Sommaire
- 1 Introduction
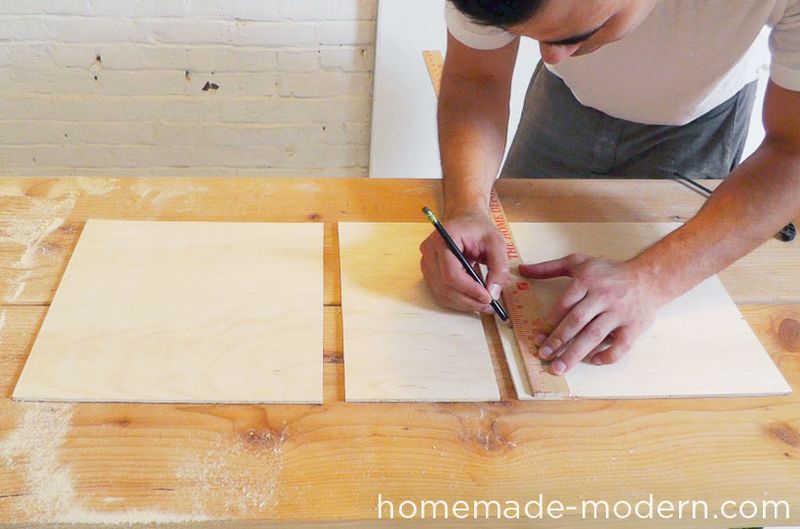
- 2 Étape 1 - Measure and mark the plywood strips
- 3 Étape 2 - Cut the pieces
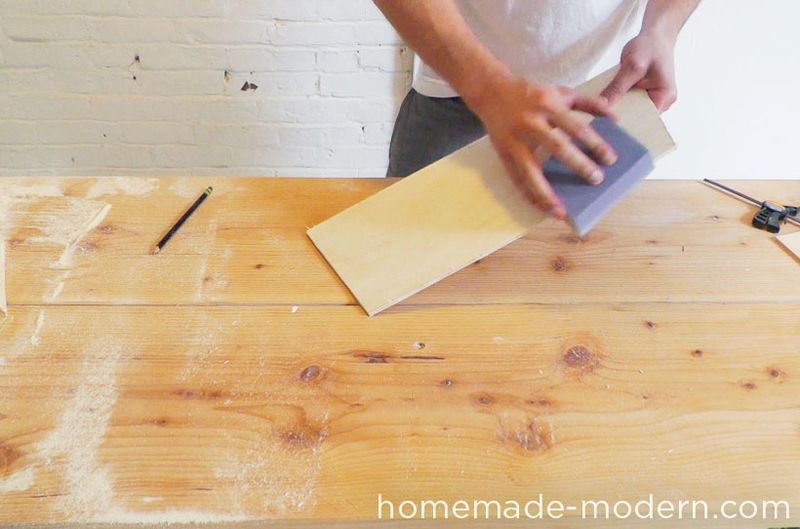
- 4 Étape 3 - Sand the edges
- 5 Étape 4 - Mark the holes
- 6 Étape 5 - Drill the holes
- 7 Étape 6 - Loosely stitch the boards together
- 8 Étape 7 - Shape and tighten
- 9 Étape 8 - Add supports (Method A)
- 10 Étape 9 - Add supports (Method B)
- 11 Étape 10 - Tada!
- 12 Notes et références
- 13 Commentaires
Introduction
Matériaux
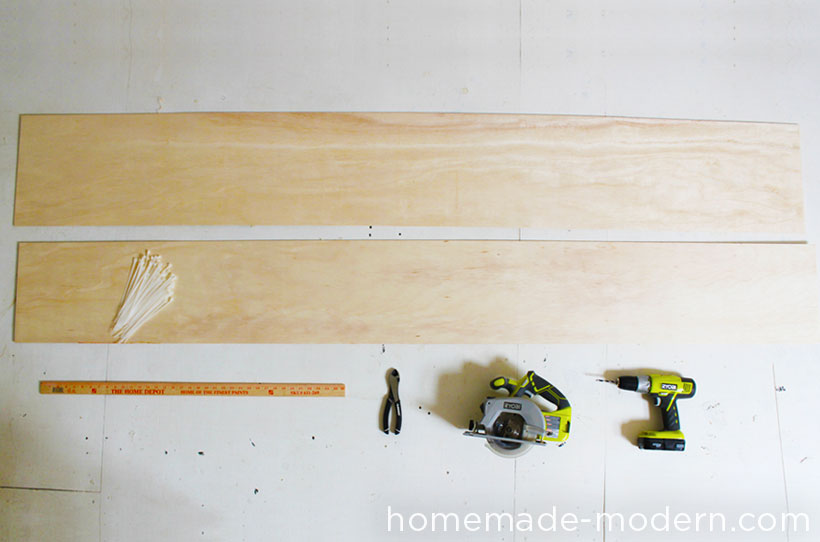
4'x 8' Sheet of 1/2” Thick Plywood. There are a lot of different types of plywood. I used ¼” plywood which is strong enough to hold my weight but might not stand the test of time. 3/8” or ½” thick plywood would provide superior durability.
Zip Ties Zip ties – also called cable ties or tie wraps – come in a variety of different sizes. I tried both large 10” ties and thinner 4” ties. The thinner ties are much easier to work with.
Outils
- Cordless Drill
- Circular Saw
- Diagonal Pliers
- Long Nose Pliers
Étape 2 - Cut the pieces
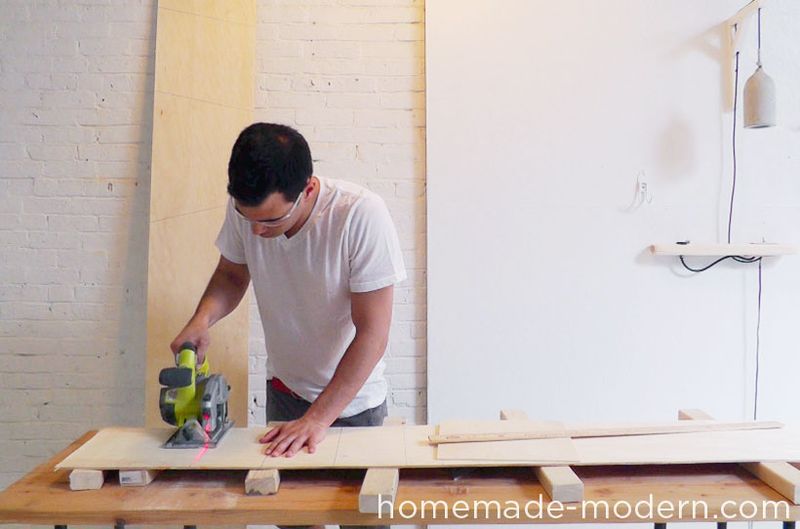
I used my Circular Saw with a plywood blade to make the cuts. The laser guide makes it really easy to follow the lines. If you don’t have a laser then clamp a guide to the plywood.
Étape 4 - Mark the holes
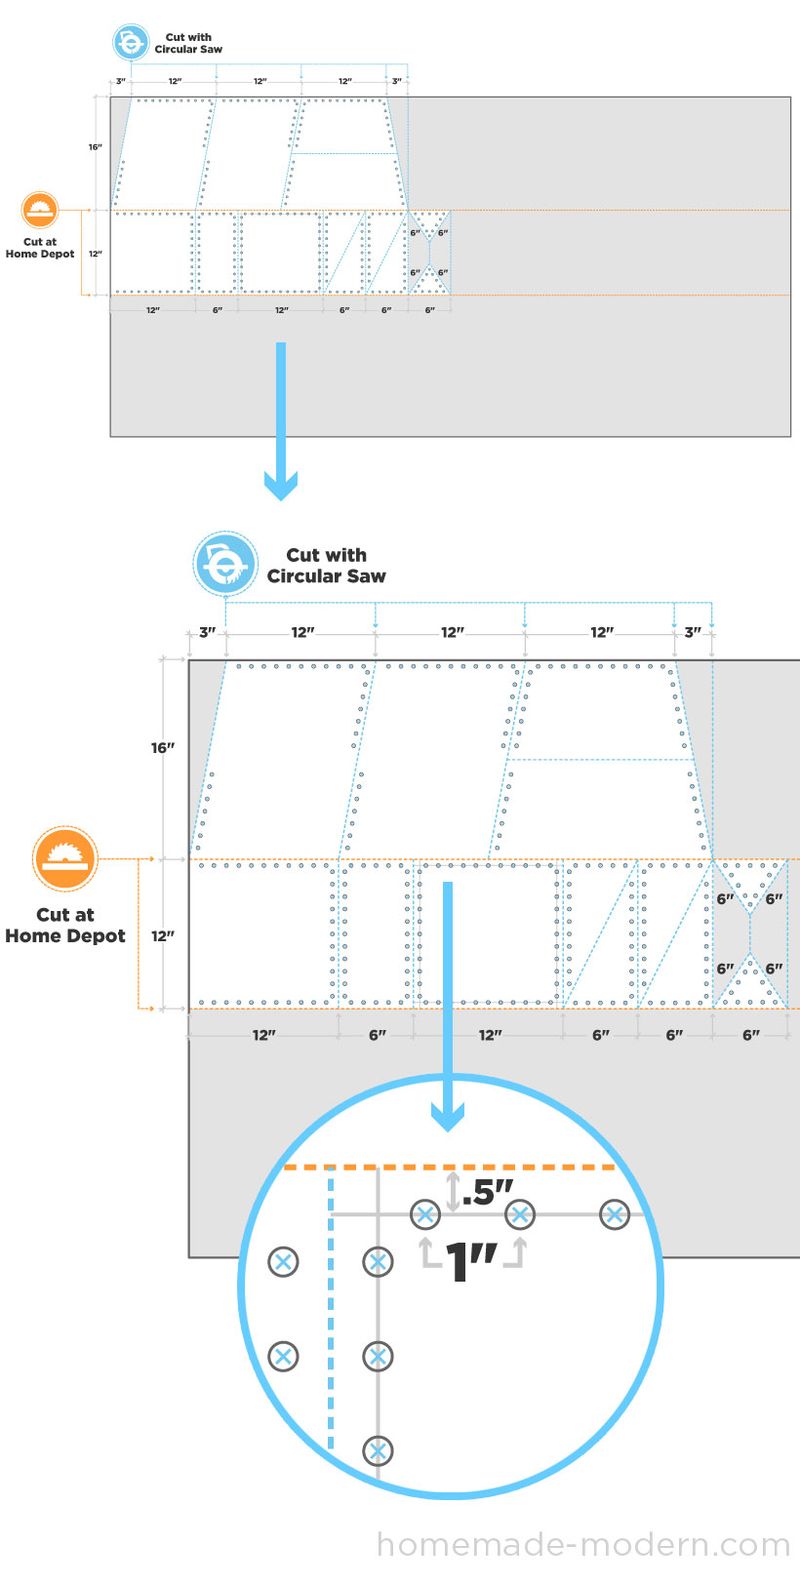
I measured a line 1/2” from the edges and marked an X every 1" inch down the line to indicate drill marks.
Étape 5 - Drill the holes
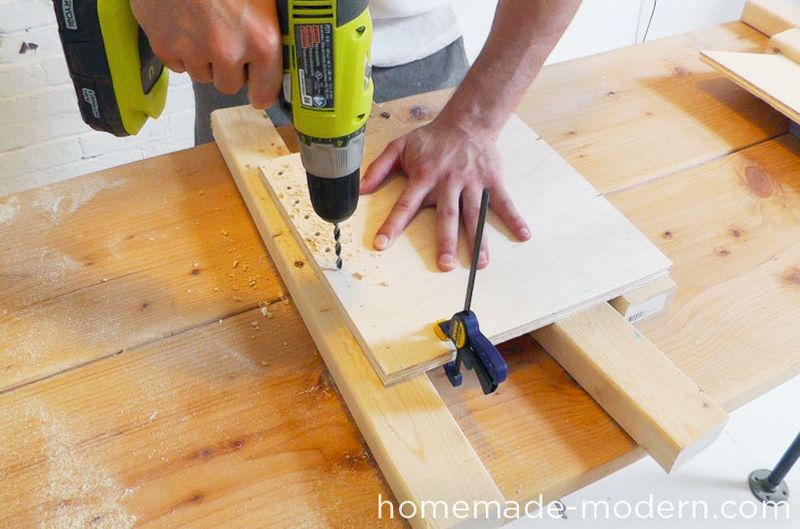
I clamped 2 to 3 boards together to drill the holes on multiple pieces at the same time.
Étape 6 - Loosely stitch the boards together
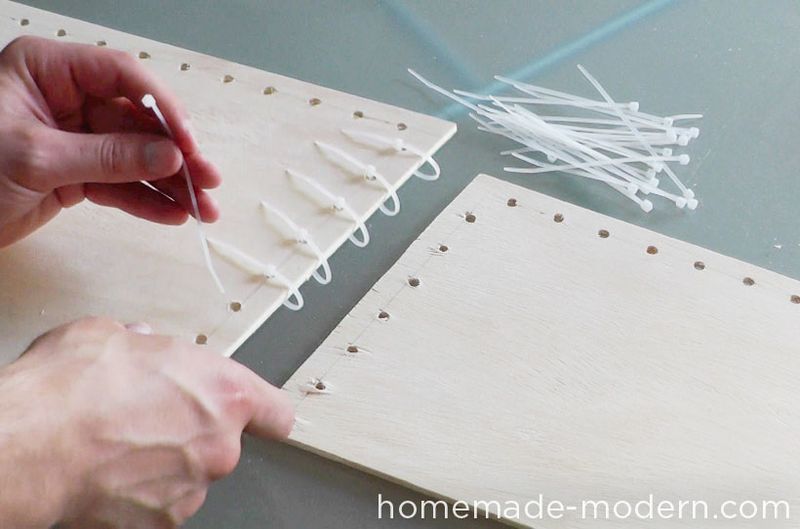
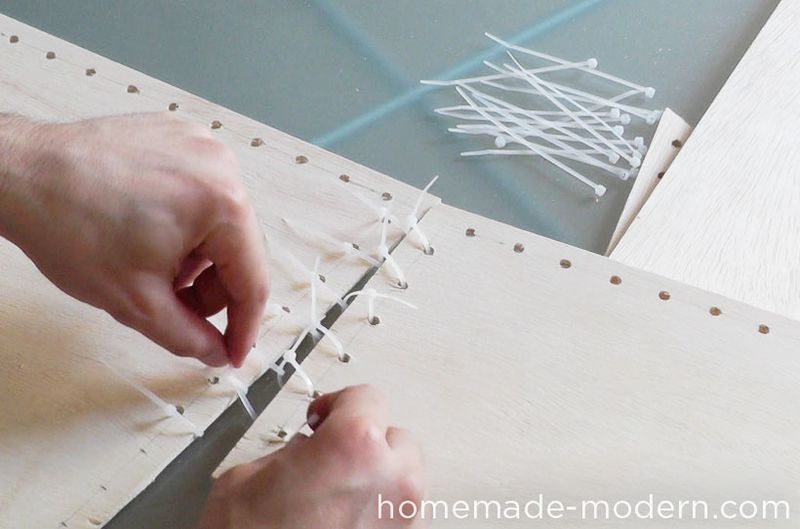
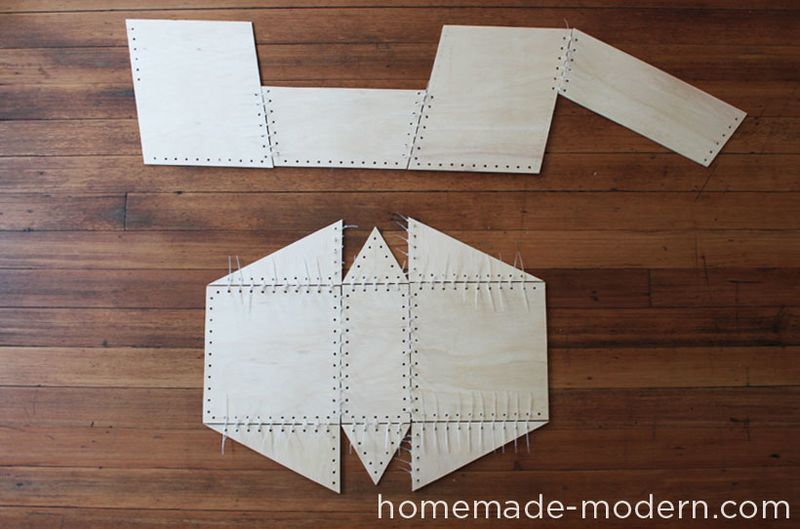
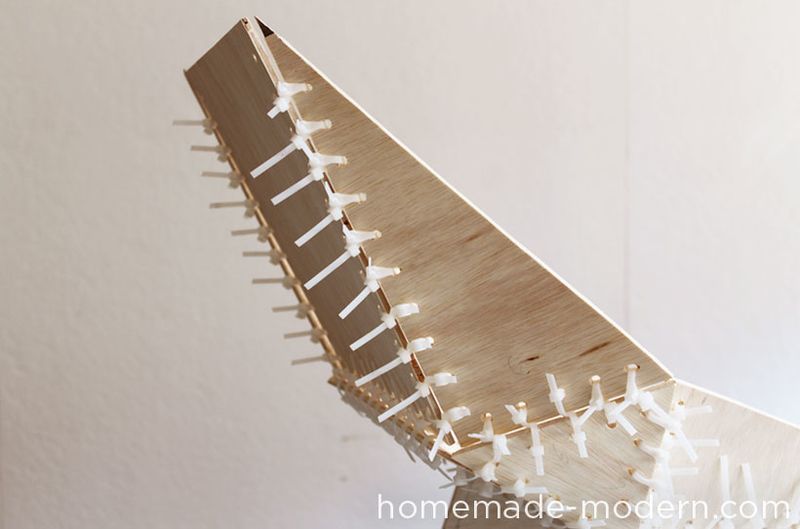
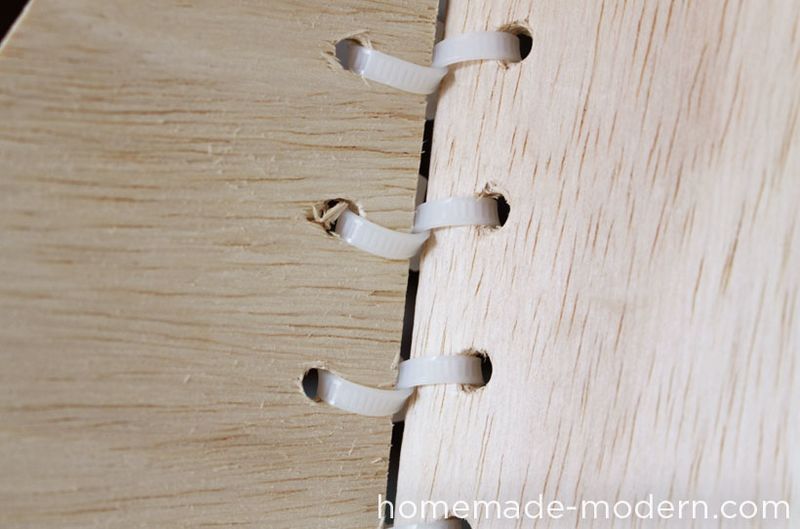
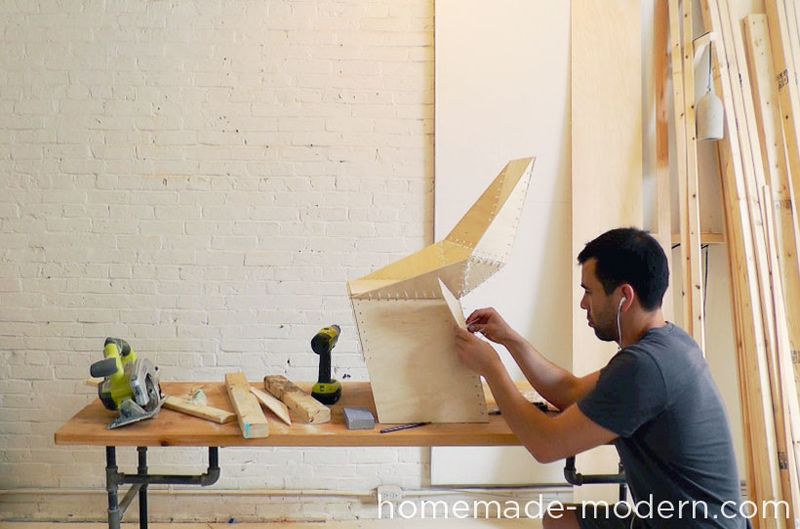
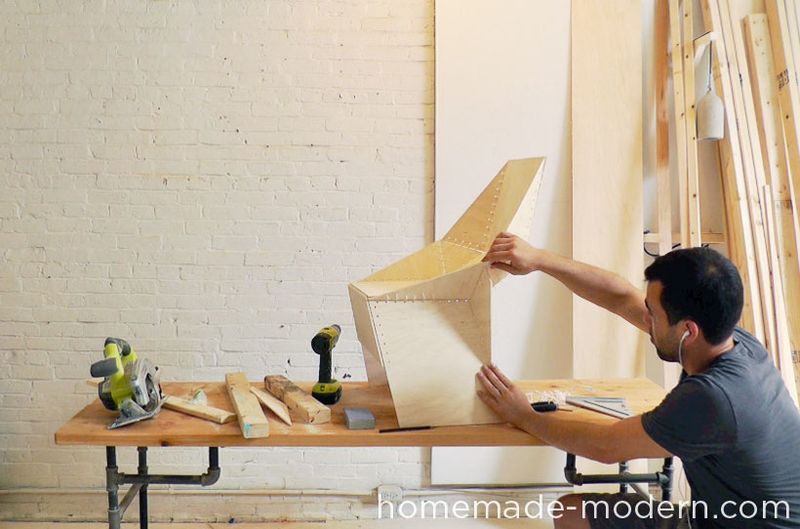
I zipped a series of loops into the drilled holes in the first piece. Then I strung zip ties through the holes in the second piece and the zip tie loops in the first piece. This creates a zip tie to zip tie connection/link. Keep the links loose for now.
Étape 7 - Shape and tighten
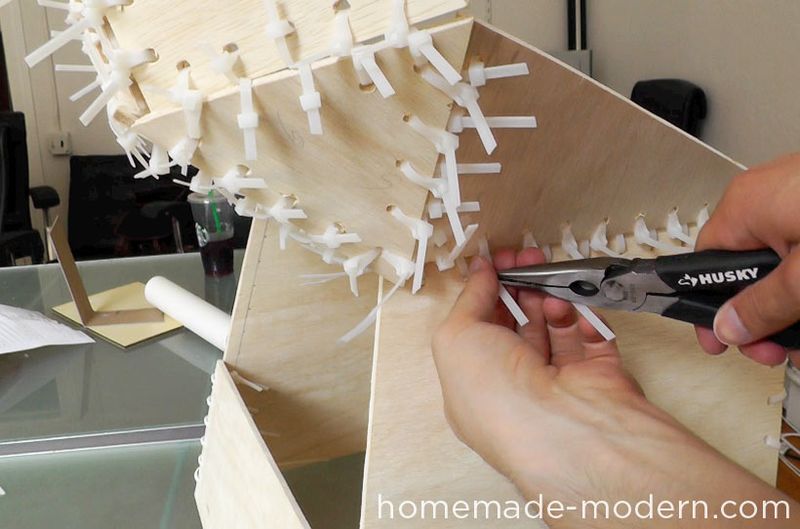
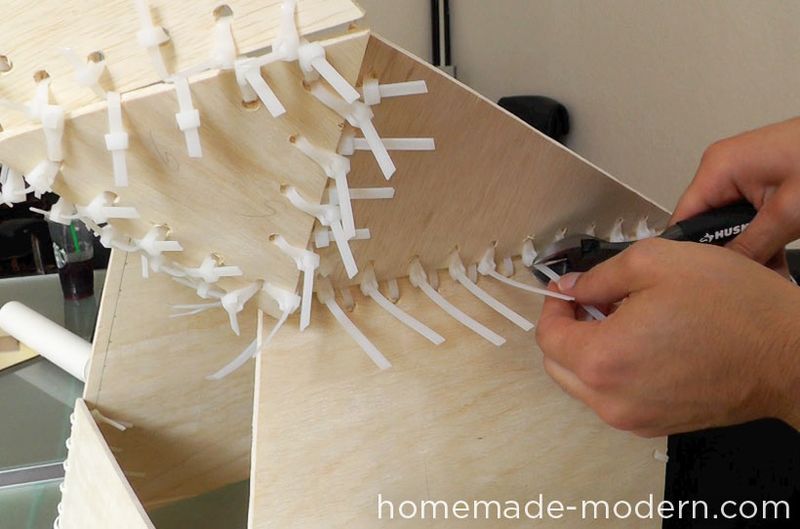
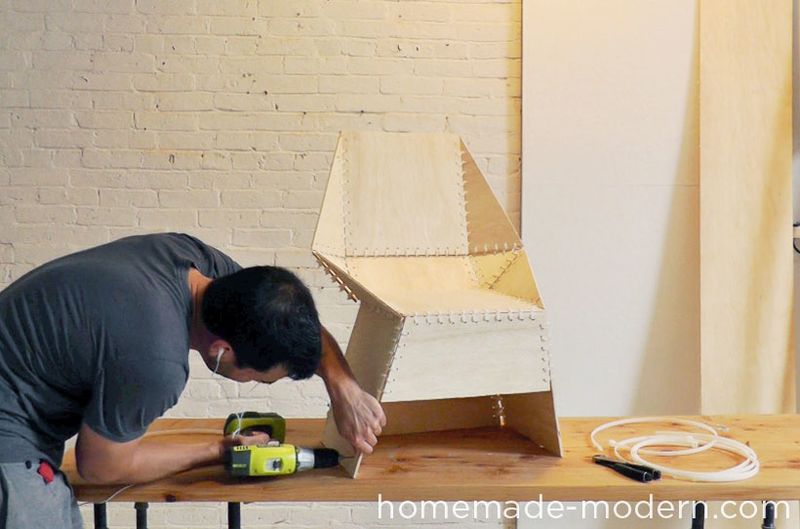
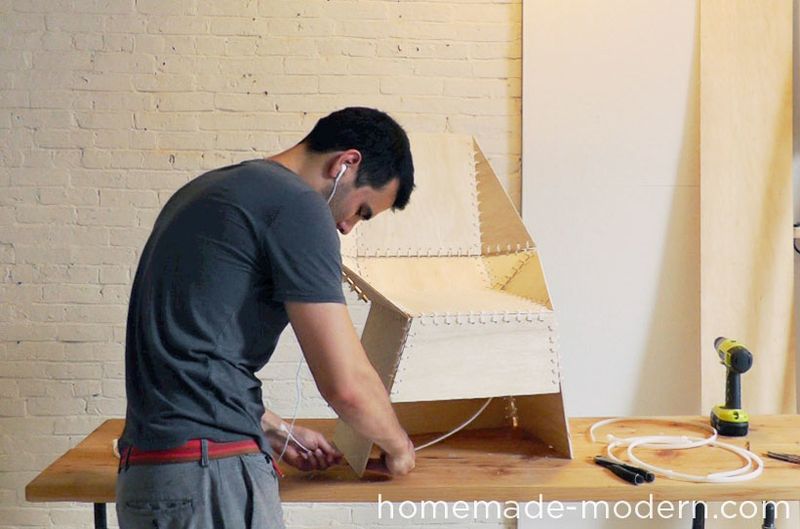
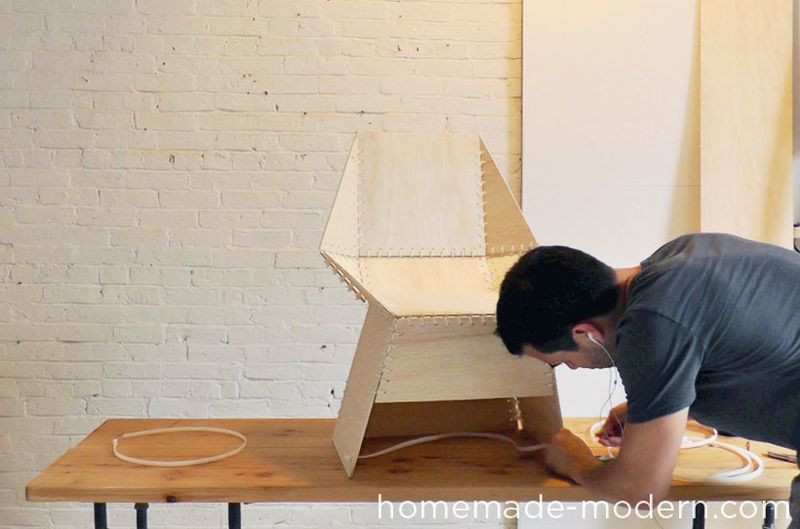
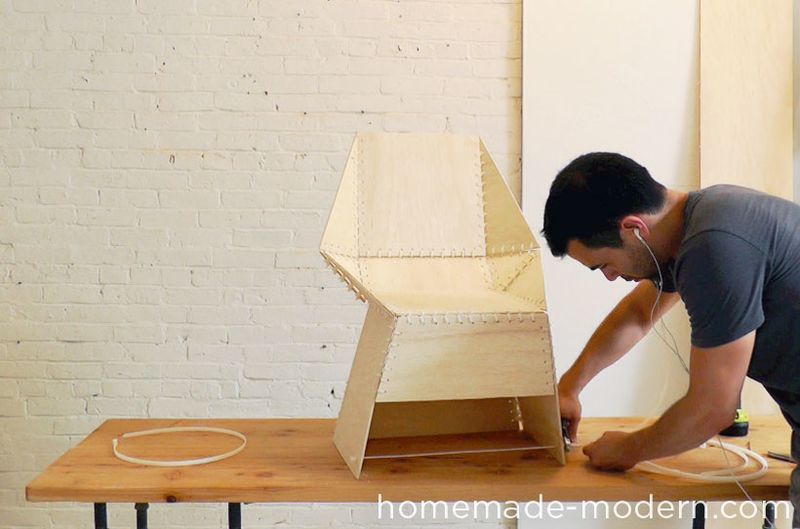
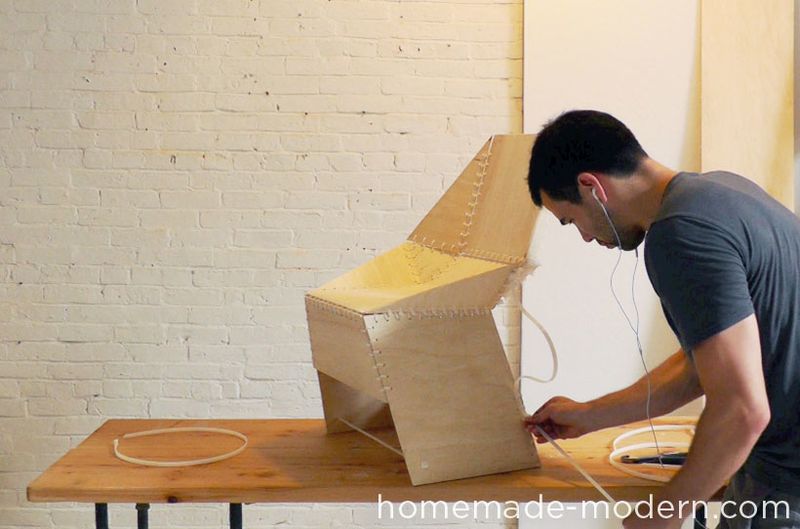
Shaping and tightening the zip ties is an incremental process that requires a bit of patience. The good news is that you can always cut and redo zip ties if you make a mistake. Use long nose pliers to tighten the ties and diagonal pliers to cut the long ends.
Étape 8 - Add supports (Method A)
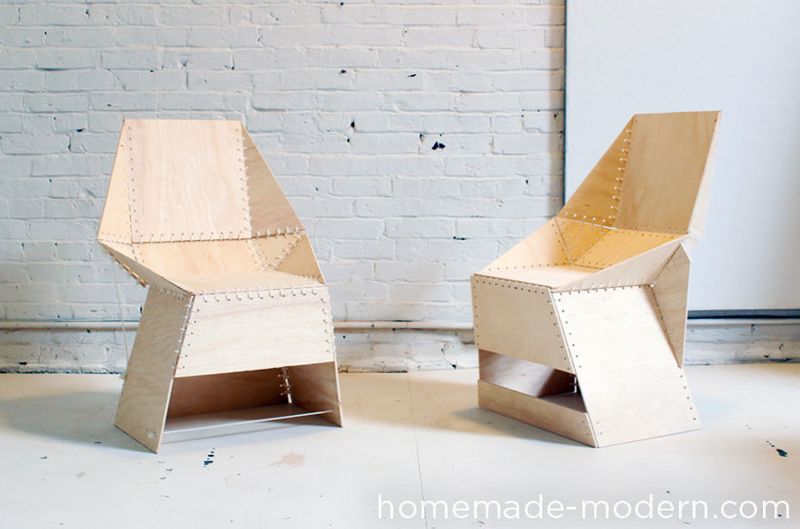
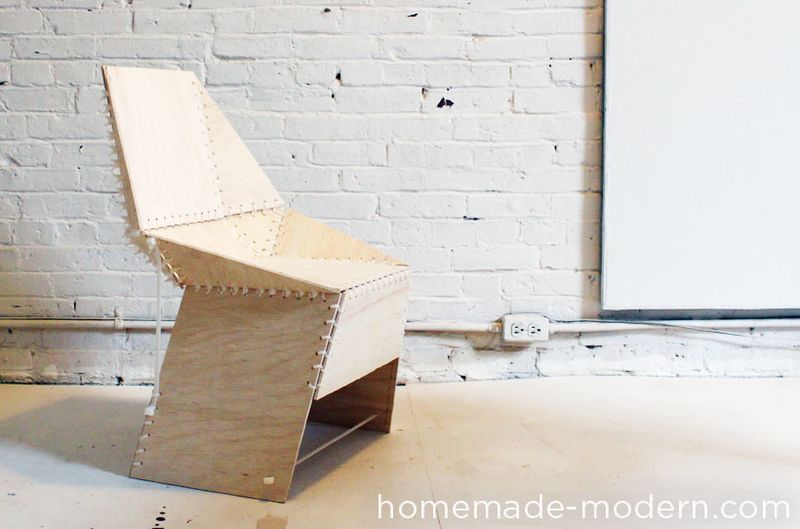
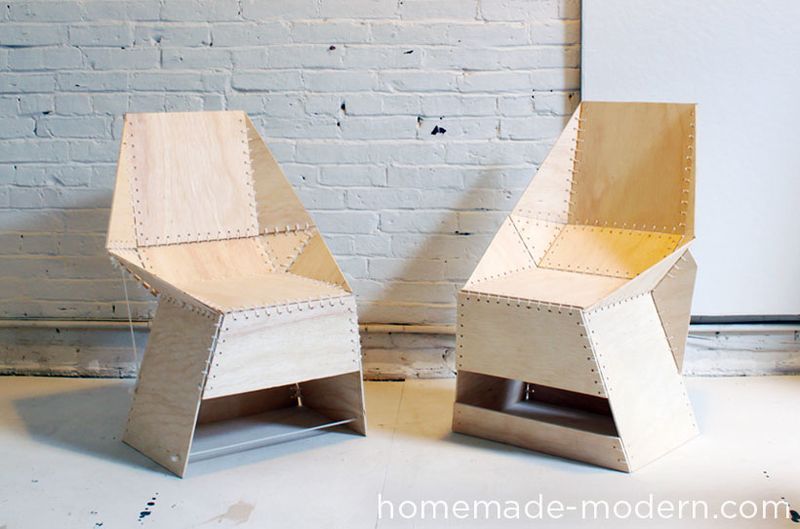
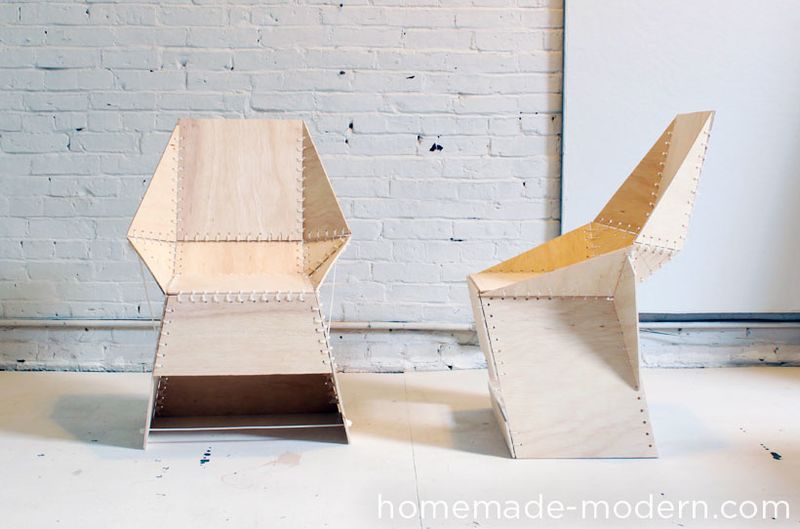
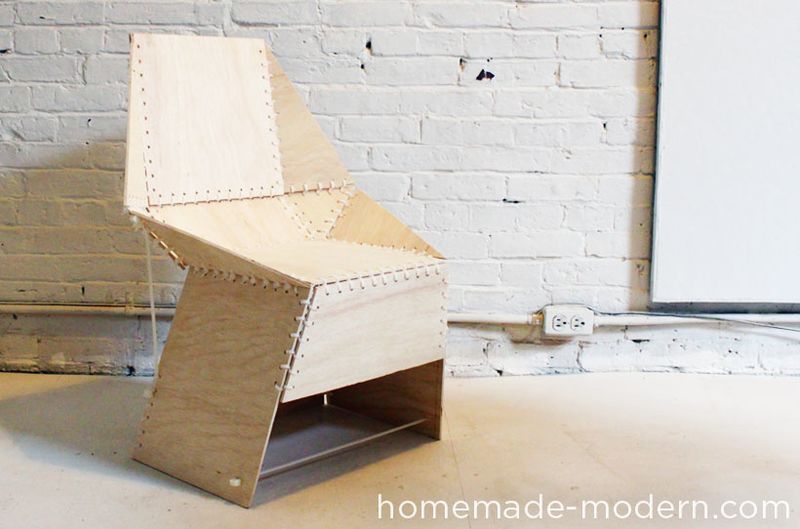
I used giant, 3 foot zip ties to make tension supports for the chair. Simply drilling two holes through the plywood and using a box cutter to carve out the area between the holes, I was able to create a rectangular hole large enough to strap part of the zip tie through. I then cut the head off of a second tie to cap the other end. I used the same method to make vertical supports that keep the back from reclining too far.
Étape 9 - Add supports (Method B)
For the second chair, I cut some scrap plywood into supports and zip tied them to both the leg and back pieces of the chair.
Étape 10 - Tada!
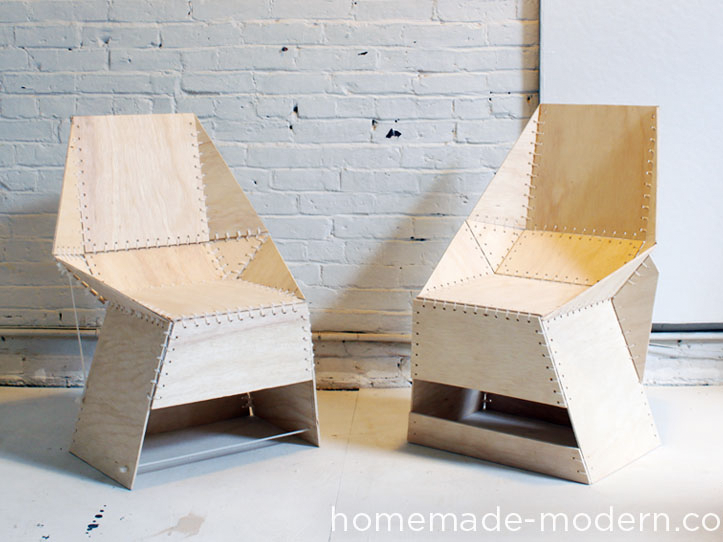
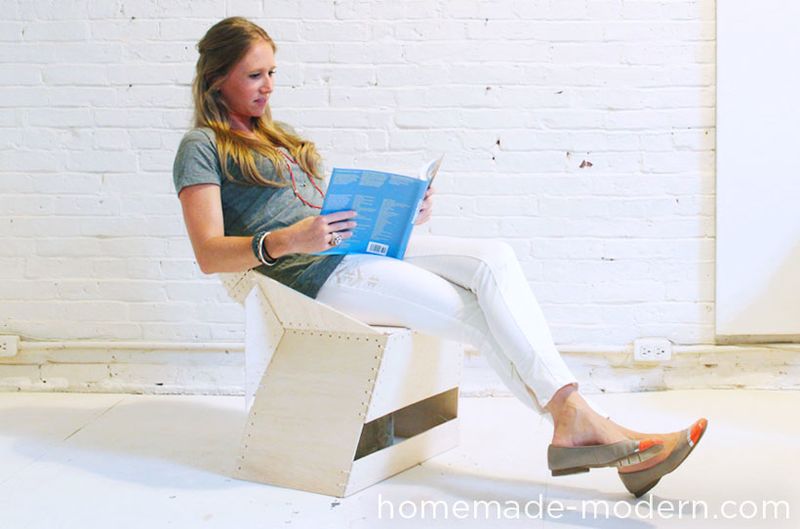
Good luck making your own ZipStich Chair and please email or tweet photos to @benuyeda or ben@homemade-modern.com.
For more detailed instructions, dimensioned drawings and different variations of the project, check out our soon-to-be-released book.
Notes et références
This project is also available on my blog. Watch the video tutorial of this chair on my Youtube channel
Yes



 Français
 English
 Deutsch
 Español
 Italiano
 Português