Sommaire
- 1 Introduction
- 2 Étape 1 - Download and Install DRmare Apple Music Converter
- 3 Étape 2 - Add Apple Music Tracks to DRmare
- 4 Étape 3 - Select Output Format for iMovie
- 5 Étape 4 - Convert Apple Music Tracks for iMovie
- 6 Étape 5 - Import Converted Apple Music Tracks to iMovie
- 7 Notes et références
- 8 Commentaires
Introduction
Matériaux
Part 1. Convert Apple Music to DRM-Free Format
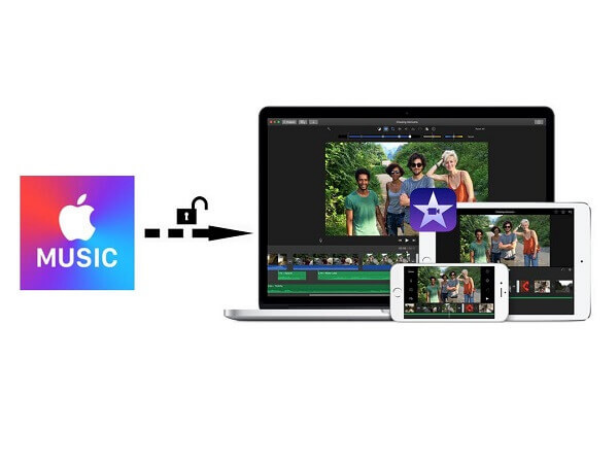
First, you'll need to convert the Apple Music tracks to a DRM-free format. One popular tool for this is the DRmare Apple Music Converter. It has the ability to unlock the protection and convert Apple Music to iMovie-compatible audio files, like M4A, MP3, etc. Here’s how you can do it:
Outils
Étape 1 - Download and Install DRmare Apple Music Converter
1. Visit the DRmare website and download the Apple Music Converter.
2. Install the software on your computer following the on-screen instructions.
Étape 2 - Add Apple Music Tracks to DRmare
1. Open DRmare Apple Music Converter.
2. Click on the "Load iTunes Library" button to import the Apple Music tracks you want to use in your iMovie project.
3. You can either drag and drop the songs directly or use the “Add Files” button to browse your library.
Étape 3 - Select Output Format for iMovie
1. Choose an output format compatible with iMovie, such as MP3 or AAC.
2. Adjust other settings like bit rate, sample rate, and channel according to your preferences.
Étape 4 - Convert Apple Music Tracks for iMovie
1. Click the "Convert" button to start the conversion process.
2. The converted DRM-free files will be saved to your designated output folder.
Étape 5 - Import Converted Apple Music Tracks to iMovie
Step 1. Open iMovie: Launch iMovie on your Mac.
Step 2. Create or Open a Project: Create a new project by clicking on “Create New” and selecting “Movie.” Alternatively, open an existing project by selecting it from the Projects screen.
Step 3. Import Audio Files: Click on the “Import Media” button or drag and drop the converted Apple Music files directly into the iMovie media library. Navigate to the location where you saved the converted Apple Music files and select them for import.
Step 4. Add Music to Your Timeline: Drag the imported music file from the media library to the timeline. Place the audio track where you want it to start in your video project.
Step 5. Adjust Audio Settings: Click on the audio clip in the timeline to access audio adjustments. You can trim the clip, adjust the volume, fade in/out, and more to fit your project perfectly.
Step 6. Finalize Your Project: After adding and adjusting the music, you can finalize your iMovie project:
Step 7. Preview Your Project: Play back your project to ensure the music fits well with your video.
Step 8. Make Necessary Edits: Make any additional edits or adjustments needed to perfect your project.
Step 9. Export Your Video: Once you are satisfied with your project, click on the “Export” button to save your video. Choose the desired export settings and format, and click “Next” to finalize the export process.
Notes et références
Tips for a Successful Integration
Choose the Right Music: Ensure the music complements the mood and theme of your video.
Volume Levels: Balance the volume of the music with the other audio elements in your project.
By following these steps, you can successfully add Apple Music to your iMovie projects, enhancing your videos with high-quality soundtracks. Happy editing!
Draft

 Français
 English
 Deutsch
 Español
 Italiano
 Português