(Page créée avec « {{Tuto Details |Main_Picture=Connected_weather_station_Dtmwno.jpg |Description=<translate>In this tutorial you will learn how to set up a weather station based on ESP32, a... ») |
|||
| Ligne 2 : | Ligne 2 : | ||
|Main_Picture=Connected_weather_station_Dtmwno.jpg | |Main_Picture=Connected_weather_station_Dtmwno.jpg | ||
|Description=<translate>In this tutorial you will learn how to set up a weather station based on ESP32, and how to monitor its readings remotely, via the Blynk app as well as via a website.</translate> | |Description=<translate>In this tutorial you will learn how to set up a weather station based on ESP32, and how to monitor its readings remotely, via the Blynk app as well as via a website.</translate> | ||
| − | |Area=Electronics | + | |Area=Electronics, Machines and Tools |
|Type=undefined | |Type=undefined | ||
| − | |Difficulty= | + | |Difficulty=Medium |
|Duration=1 | |Duration=1 | ||
|Duration-type=hour(s) | |Duration-type=hour(s) | ||
| − | |Cost= | + | |Cost=50 |
|Currency=EUR (€) | |Currency=EUR (€) | ||
}} | }} | ||
| Ligne 124 : | Ligne 124 : | ||
}} | }} | ||
{{PageLang | {{PageLang | ||
| + | |Language=en | ||
|SourceLanguage=none | |SourceLanguage=none | ||
|IsTranslation=0 | |IsTranslation=0 | ||
| − | |||
}} | }} | ||
{{Tuto Status | {{Tuto Status | ||
|Complete=Draft | |Complete=Draft | ||
}} | }} | ||
Version actuelle datée du 4 février 2020 à 14:16
Sommaire
- 1 Video d'introduction
- 2 Étape 1 - Wiring up the components
- 3 Étape 2 - Program the ESP32 board
- 4 Étape 3 - Monitor the weather station remotely via Blynk App
- 5 Create a new project in the Blynk app
- 6 Choose Your Hardware
- 7 Auth Token
- 8 Set up the Blynk app
- 9 Étape 4 - Program the ESP32 board
- 10 Notes et références
- 11 List of parts
- 12 Commentaires
Youtube
Matériaux
Outils
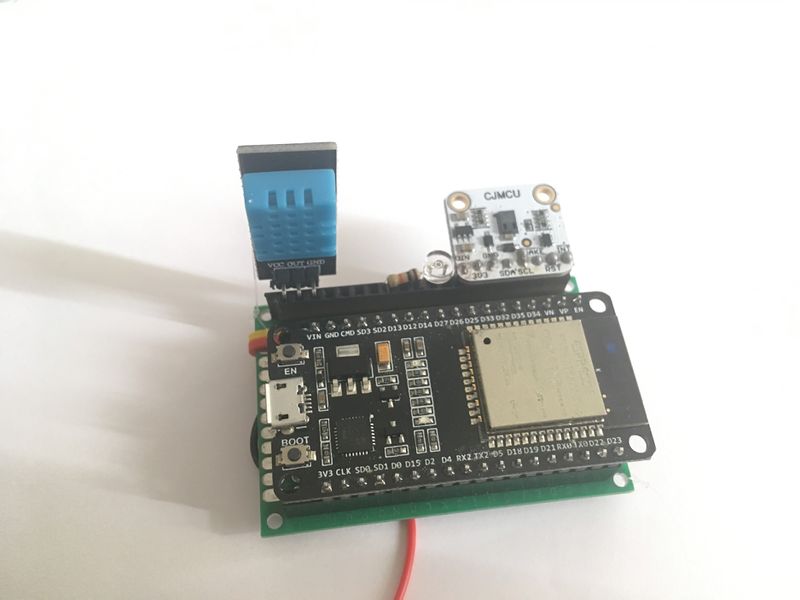
Étape 1 - Wiring up the components
Connect the sensors as follows:
Light sensor
One end to 3V
the other end to the 10kohm resistor which in turn is connected to GND. the same end of the LDR is also connected to pin D34 on the ESP32
CJMCU CCS811
3V →3V on the ESP32 board
GND→ GND
SDA→D21 pin on ESP32
SCL→D22 pin on ESP32
WAKE→GND
DHT11
GND→GND on ESP32
VCC→3V on ESP32
OUT→D34 on ESP32
Étape 2 - Program the ESP32 board
Launch Arduino IDE.
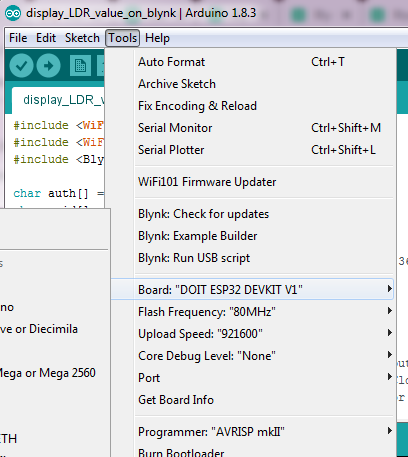
Select your ESP32 board from the Tools menu.
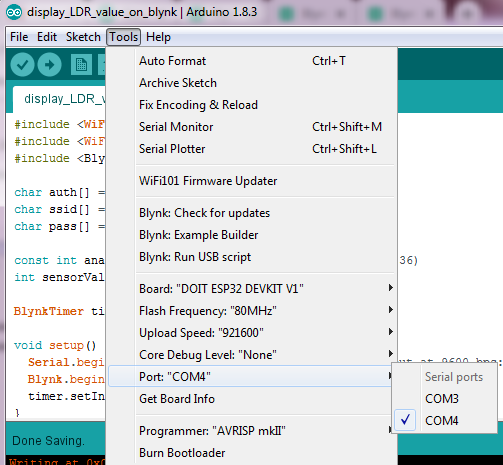
Make sure you’ve also selected the correct Port.
Upload this code on to the board.
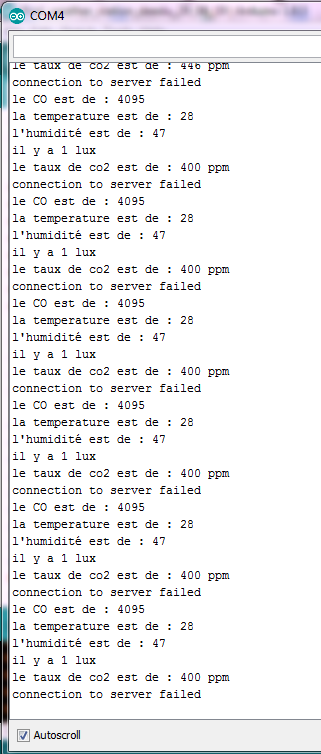
If you open the serial monitor (set the baud rate to 9600), you should be able to view the values recorded by the different sensors.
Étape 3 - Monitor the weather station remotely via Blynk App
Blynk app enables us to monitor the values recorded by the weather station remotely, directly on our smartphone, regardless our distance from the weather station.
All we need is the blynk app and an internet connection. In this project you’ll learn how to monitor the values recorded by the LDR sensor and the DHT11 sensor only.
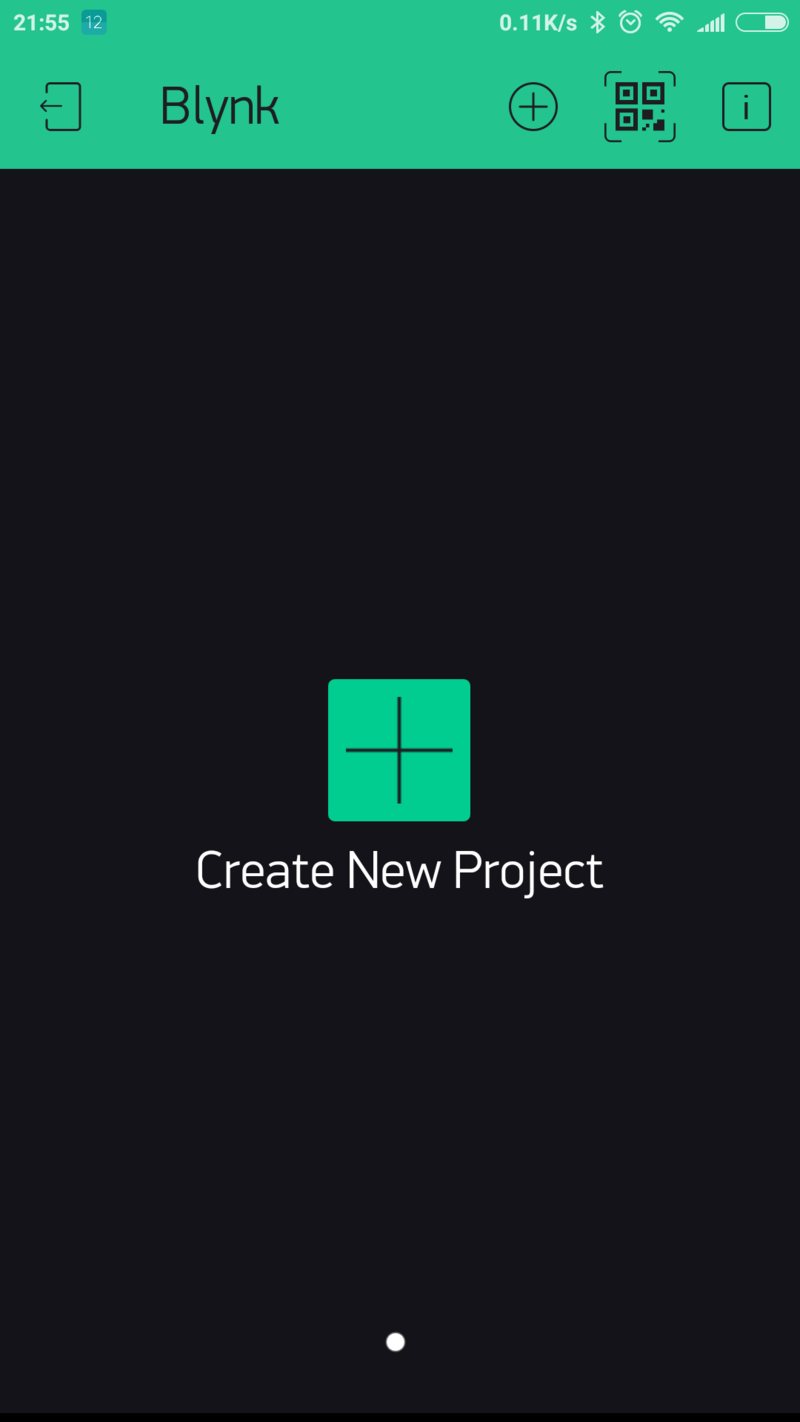
Create a new project in the Blynk app
After you’ve download the app and you’ve successfully logged into your account, start by creating a new project.
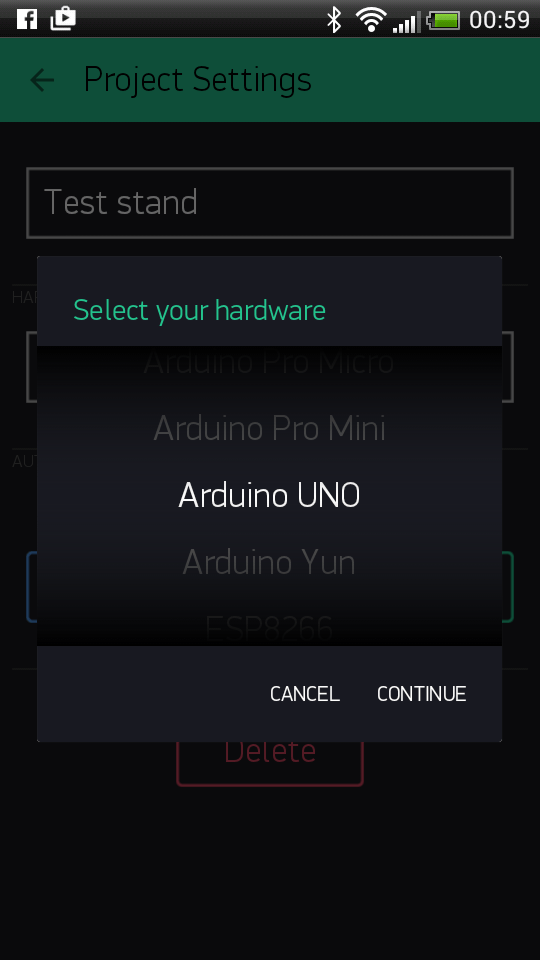
Choose Your Hardware
Select the hardware model you will use. If you are following this tutorial you ll probably be using an ESP32 board.
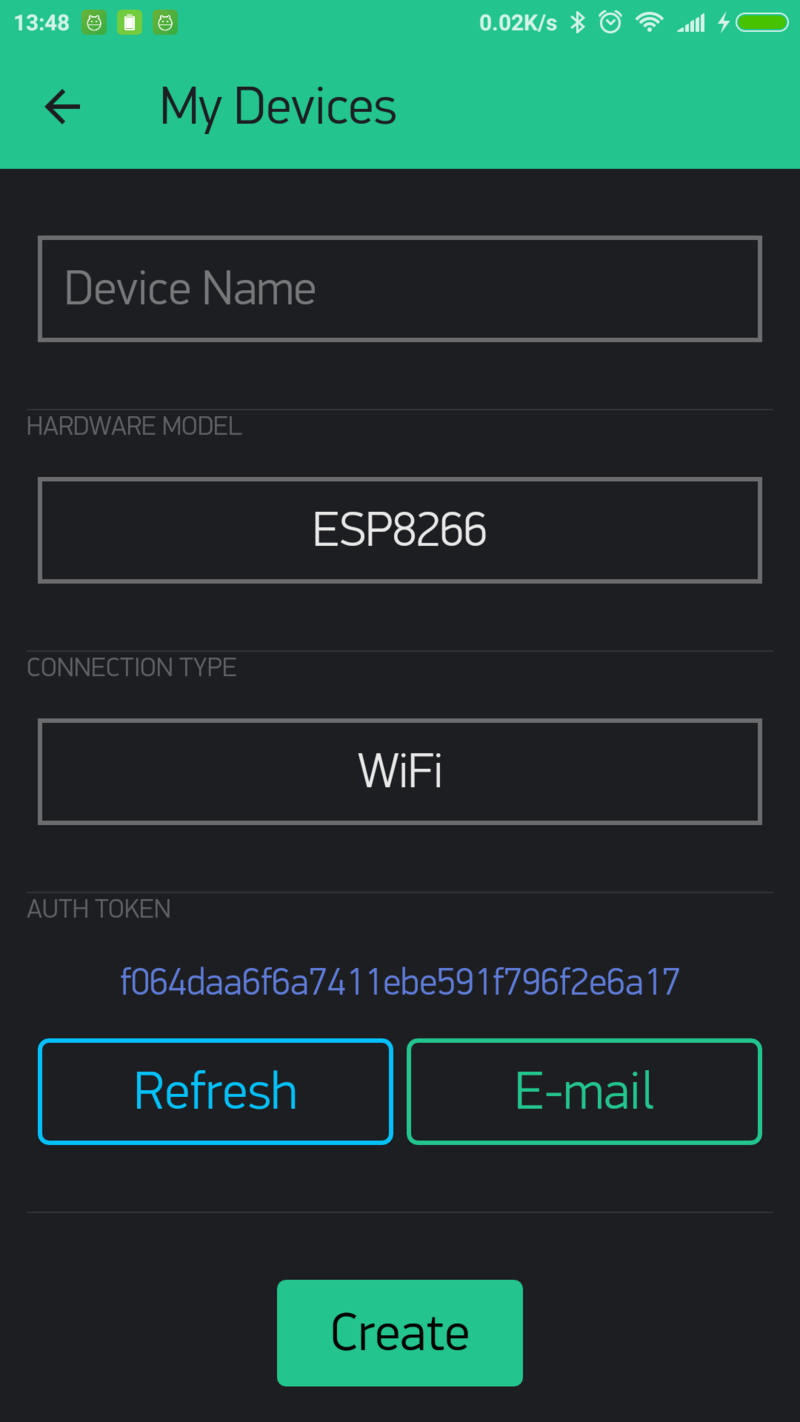
Auth Token
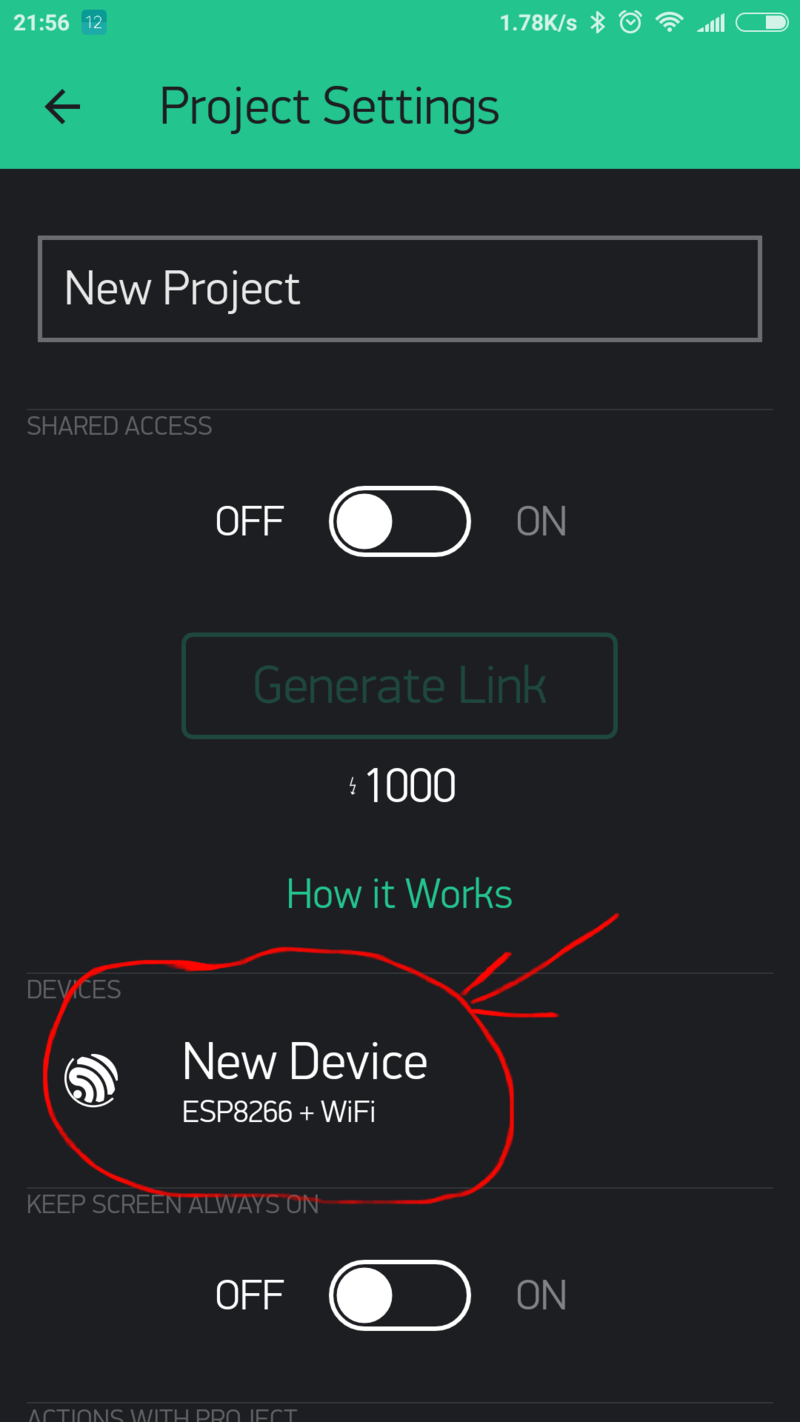
Auth Token is a unique identifier which is needed to connect your hardware to your smartphone. Every new project you create will have its own Auth Token. You’ll get Auth Token automatically on your email after project creation. You can also copy it manually. Click on devices section and selected required device:
And you’ll see token :
Set up the Blynk app
You will need to create a project on blynk which is tailored for the purpose of monitoring the parameters recorded by the weather station.
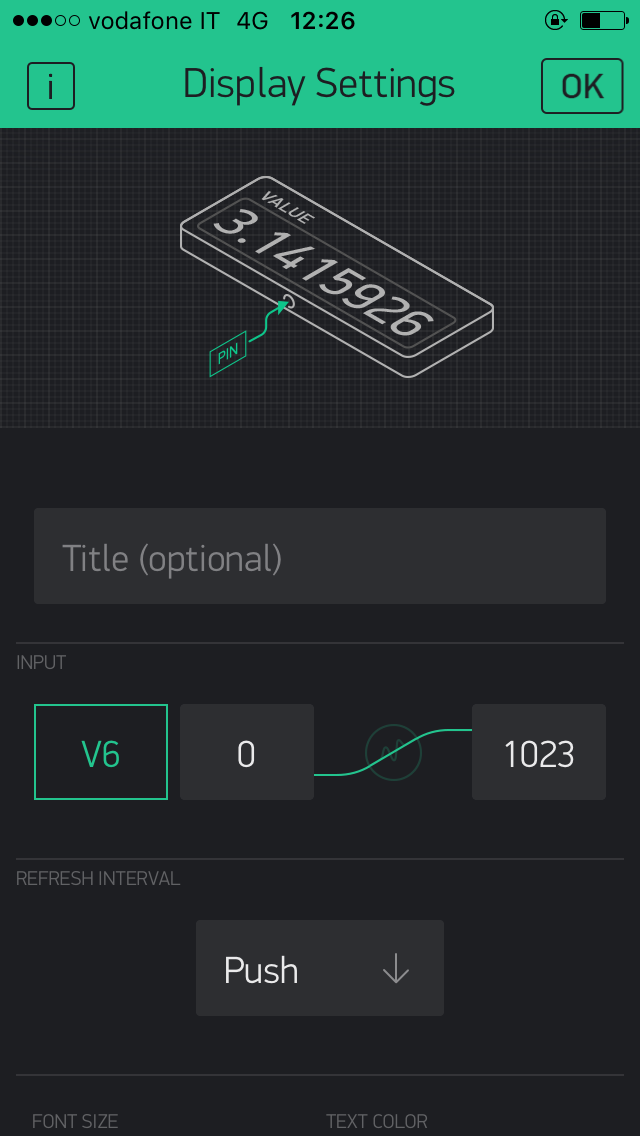
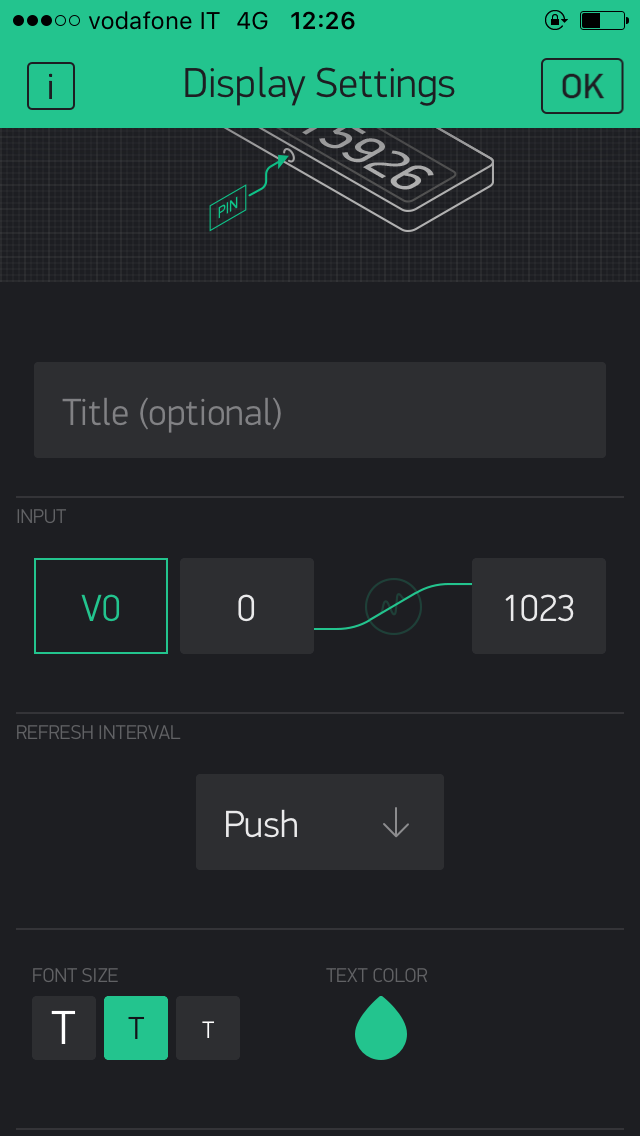
Grab 3 value display widgets.
Configure them one by one. The first will receive V6 as input, the second V5 and the third V0. You ll notice that they re all set to push mode.
Étape 4 - Program the ESP32 board
Launch arduino IDE and open this program.
Select the board you re using from the Tools menu, as well as the correct Port.
Upload the code.
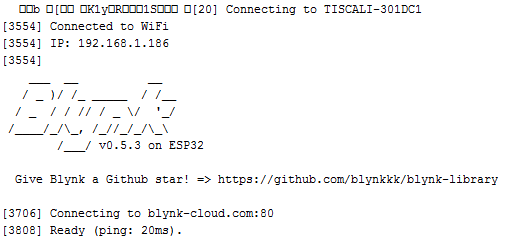
If upload is successful, you should be able to see a message from Blynk on the serial monitor.
Notes et références
List of parts
1x ESP32 board + usb power cable
1x DHT11 sensor
1x light sensor
1x 10 Kohm resistor
1x CJMCU CCS811 sensor
several jumper wires
a number of breadboards or a PCB (if you decide to do some soldering)
female headers (if you decide to do the soldering).
Draft
 Français
 English
 Deutsch
 Español
 Italiano
 Português