(Cette version a été marquée pour être traduite) |
(update property name) |
||
| Ligne 1 : | Ligne 1 : | ||
| − | {{ | + | {{Tuto Details |
|Main_Picture=Water_Bottle_fan_final-product.jpg | |Main_Picture=Water_Bottle_fan_final-product.jpg | ||
|Licences=Attribution-ShareAlike (CC BY-SA) | |Licences=Attribution-ShareAlike (CC BY-SA) | ||
| Ligne 21 : | Ligne 21 : | ||
|IsTranslation=0 | |IsTranslation=0 | ||
}} | }} | ||
| − | {{ | + | {{Introduction |
|Introduction=<translate><!--T:3--> pictures CC-BY 4.0 Vuga William</translate> | |Introduction=<translate><!--T:3--> pictures CC-BY 4.0 Vuga William</translate> | ||
}} | }} | ||
| − | {{ | + | {{Materials |
|Material=<translate><!--T:4--> | |Material=<translate><!--T:4--> | ||
An empty bottle of water (500ml) | An empty bottle of water (500ml) | ||
| Ligne 62 : | Ligne 62 : | ||
<!--T:16--> | <!--T:16--> | ||
Sucker</translate> | Sucker</translate> | ||
| − | |ExternalAttachmentsLinks={{ | + | |ExternalAttachmentsLinks={{ExternalAttachmentsLinks |
|ExternalAttachmentsLinks=https://github.com/ASKnet-Open-Training/WaterBottleFan | |ExternalAttachmentsLinks=https://github.com/ASKnet-Open-Training/WaterBottleFan | ||
}} | }} | ||
}} | }} | ||
| − | {{ | + | {{Separator}} |
| − | {{ | + | {{Tuto Step |
|Step_Title=<translate><!--T:17--> Tools and Materials</translate> | |Step_Title=<translate><!--T:17--> Tools and Materials</translate> | ||
|Step_Content=<translate><!--T:18--> Before we started, the team list the materials and tools needed to complete the project, and where collected in one place.</translate> | |Step_Content=<translate><!--T:18--> Before we started, the team list the materials and tools needed to complete the project, and where collected in one place.</translate> | ||
| Ligne 73 : | Ligne 73 : | ||
|Step_Picture_01=Water_Bottle_fan_Tools_and_Materials.jpg | |Step_Picture_01=Water_Bottle_fan_Tools_and_Materials.jpg | ||
}} | }} | ||
| − | {{ | + | {{Tuto Step |
|Step_Title=<translate><!--T:19--> Two Empty Bottles of water</translate> | |Step_Title=<translate><!--T:19--> Two Empty Bottles of water</translate> | ||
|Step_Content=<translate><!--T:20--> | |Step_Content=<translate><!--T:20--> | ||
| Ligne 82 : | Ligne 82 : | ||
|Step_Picture_00=Empty Bottles of Water.jpg | |Step_Picture_00=Empty Bottles of Water.jpg | ||
}} | }} | ||
| − | {{ | + | {{Tuto Step |
|Step_Title=<translate><!--T:22--> Swich</translate> | |Step_Title=<translate><!--T:22--> Swich</translate> | ||
|Step_Content=<translate><!--T:23--> | |Step_Content=<translate><!--T:23--> | ||
| Ligne 94 : | Ligne 94 : | ||
|Step_Picture_00=Switch and The Holder.jpg | |Step_Picture_00=Switch and The Holder.jpg | ||
}} | }} | ||
| − | {{ | + | {{Tuto Step |
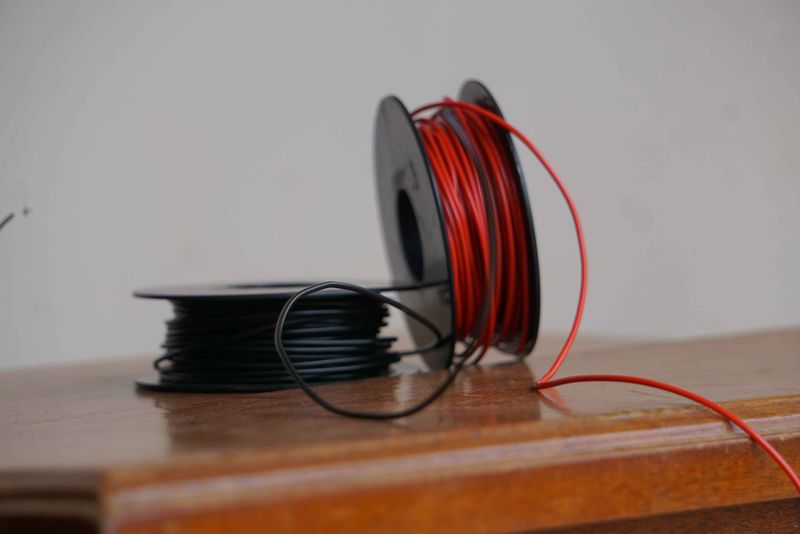
|Step_Title=<translate><!--T:26--> Wire</translate> | |Step_Title=<translate><!--T:26--> Wire</translate> | ||
|Step_Content=<translate><!--T:27--> was used for connecting wires</translate> | |Step_Content=<translate><!--T:27--> was used for connecting wires</translate> | ||
|Step_Picture_00=Water_Bottle_fan_Wire.jpg | |Step_Picture_00=Water_Bottle_fan_Wire.jpg | ||
}} | }} | ||
| − | {{ | + | {{Tuto Step |
|Step_Title=<translate><!--T:28--> Soldering gun and soldering wire</translate> | |Step_Title=<translate><!--T:28--> Soldering gun and soldering wire</translate> | ||
|Step_Content=<translate><!--T:29--> Soldering gun for soldering the wire on the switch and soldering wire help in connection, for sealing wire on the switch.</translate> | |Step_Content=<translate><!--T:29--> Soldering gun for soldering the wire on the switch and soldering wire help in connection, for sealing wire on the switch.</translate> | ||
| Ligne 105 : | Ligne 105 : | ||
|Step_Picture_01=Soldering_Wire.jpg | |Step_Picture_01=Soldering_Wire.jpg | ||
}} | }} | ||
| − | {{ | + | {{Tuto Step |
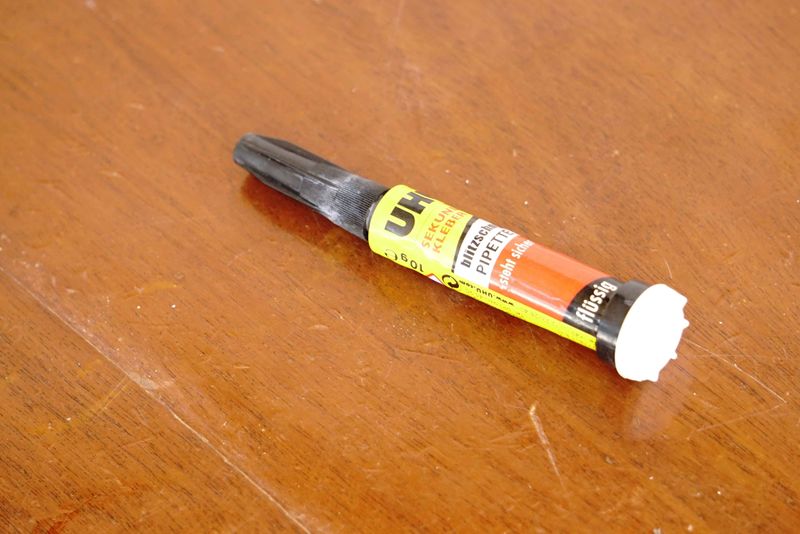
|Step_Title=<translate><!--T:30--> Supper Glue</translate> | |Step_Title=<translate><!--T:30--> Supper Glue</translate> | ||
|Step_Content=<translate><!--T:31--> Gluing anything on the bottle</translate> | |Step_Content=<translate><!--T:31--> Gluing anything on the bottle</translate> | ||
|Step_Picture_00=Supper_Glue.jpg | |Step_Picture_00=Supper_Glue.jpg | ||
}} | }} | ||
| − | {{ | + | {{Notes |
|Notes=<translate></translate> | |Notes=<translate></translate> | ||
}} | }} | ||
| − | {{ | + | {{Tuto Status |
|Complete=Published | |Complete=Published | ||
}} | }} | ||
Version actuelle datée du 9 décembre 2019 à 12:05
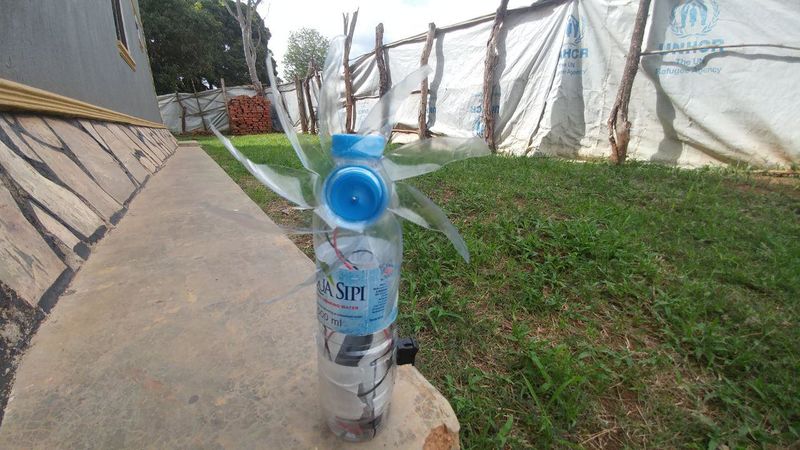
During the practical part of the training, this group came up with an idea of building a bottle water fan from scratch. Before we started, the team list the materials and tools needed to complete the project, and where collected in one place.
Take your time to pass through all the processes as documented below
Introduction
Matériaux
An empty bottle of water (500ml)
Super glue
Seal tape
Marker pen
Switch
Wires
Mortar
Battery
Soldering wires
Outils
Scissor
Soldering gun
Multi-Meter
Sucker
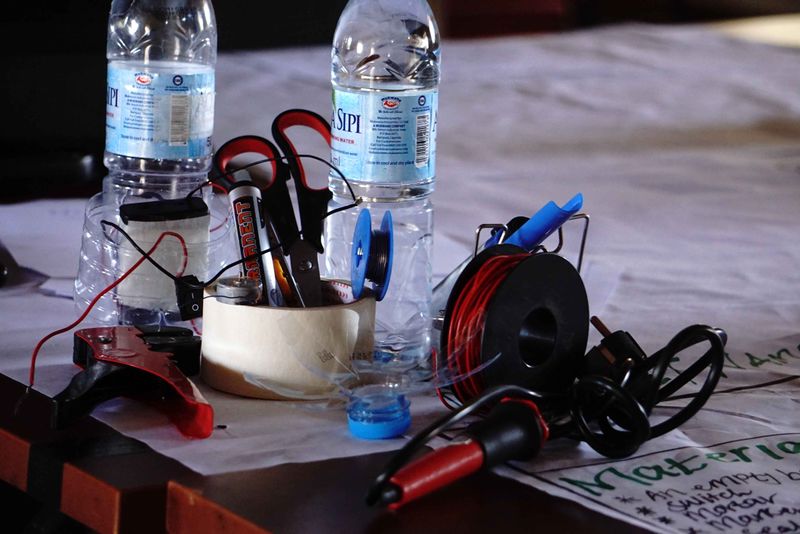
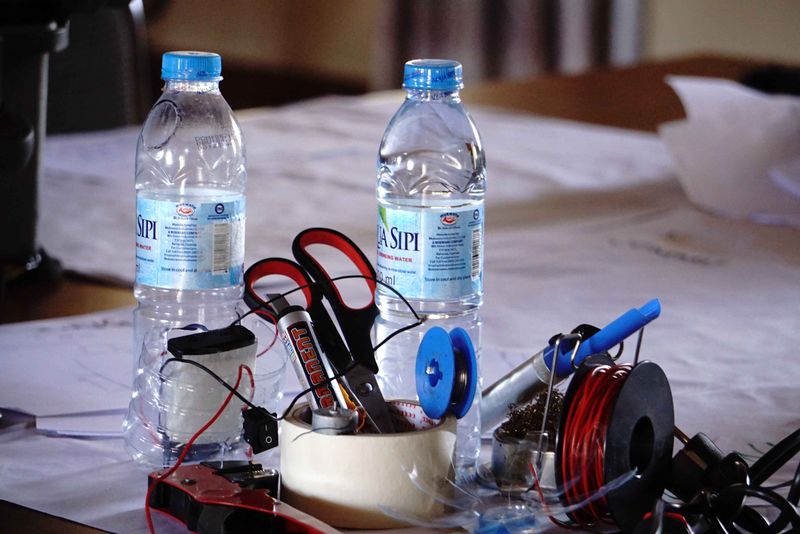
Étape 1 - Tools and Materials
Before we started, the team list the materials and tools needed to complete the project, and where collected in one place.
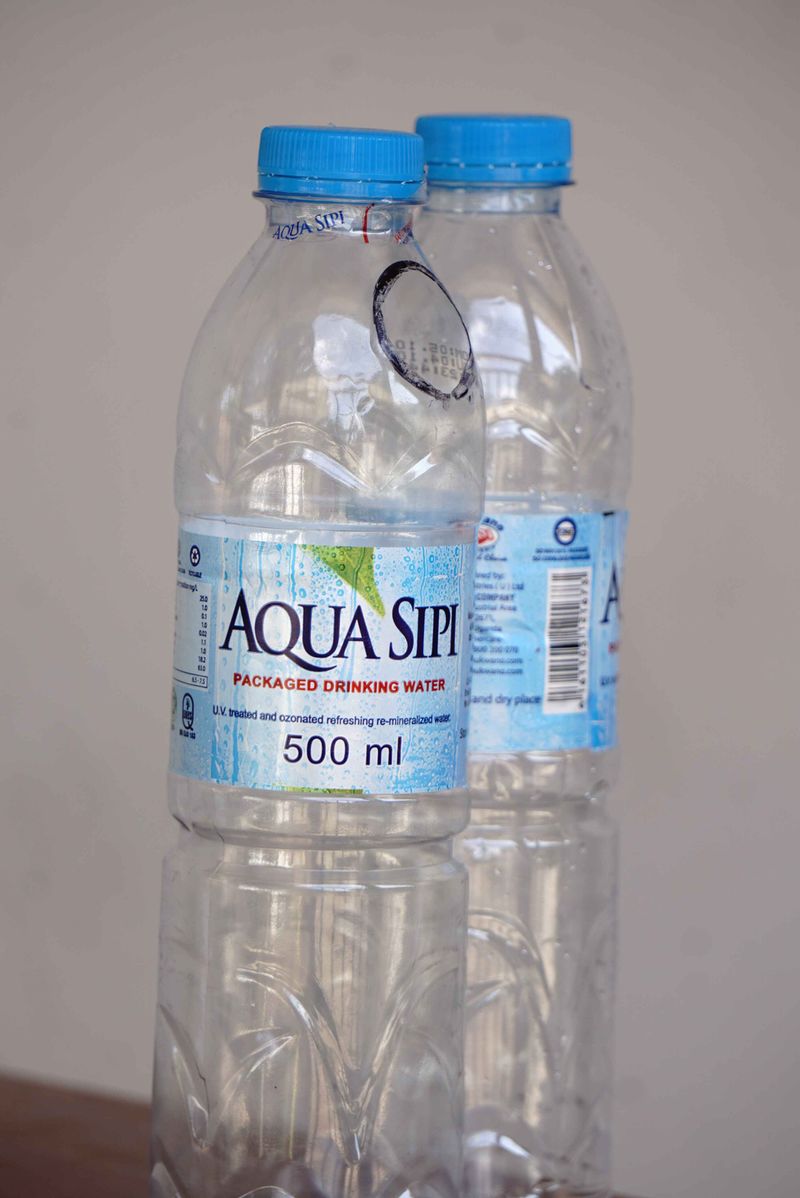
Étape 2 - Two Empty Bottles of water
One for erecting the fan and other for making the propeller and switch holder
A hole was cut on a bottle with some water inside to place the mortar on it.
Étape 3 - Swich
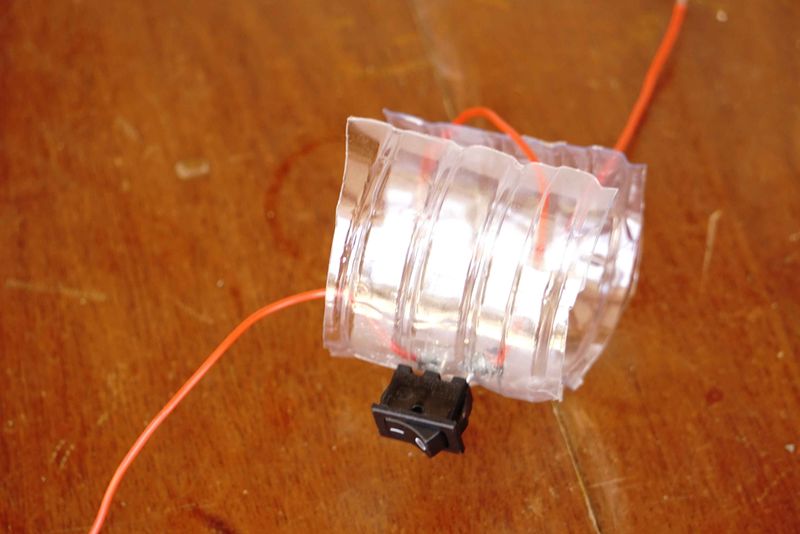
There was an idea to put a switch on the fan.
For switching on and off the fan
One more bottle was cut and attached with a switch
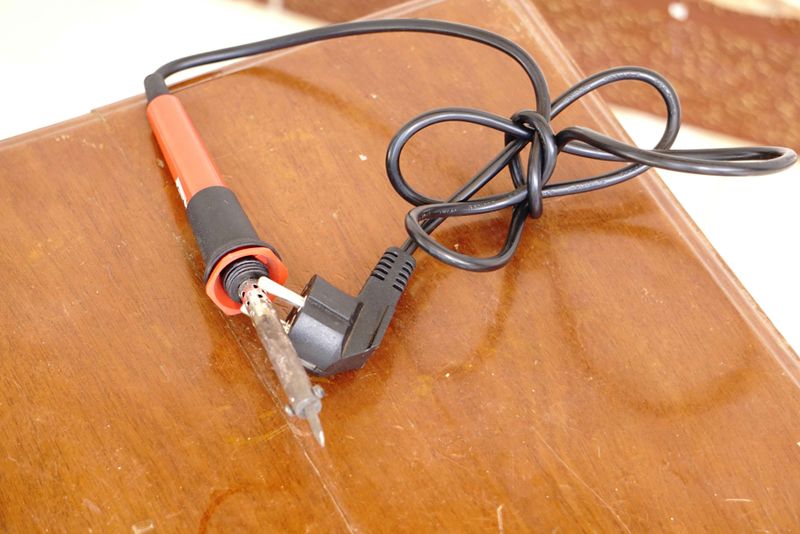
Étape 5 - Soldering gun and soldering wire
Soldering gun for soldering the wire on the switch and soldering wire help in connection, for sealing wire on the switch.
Published
 Français
 English
 Deutsch
 Español
 Italiano
 Português