| Ligne 43 : | Ligne 43 : | ||
}} | }} | ||
{{Tuto Step | {{Tuto Step | ||
| − | |Step_Title=<translate></translate> | + | |Step_Title=<translate>Use labels for reference</translate> |
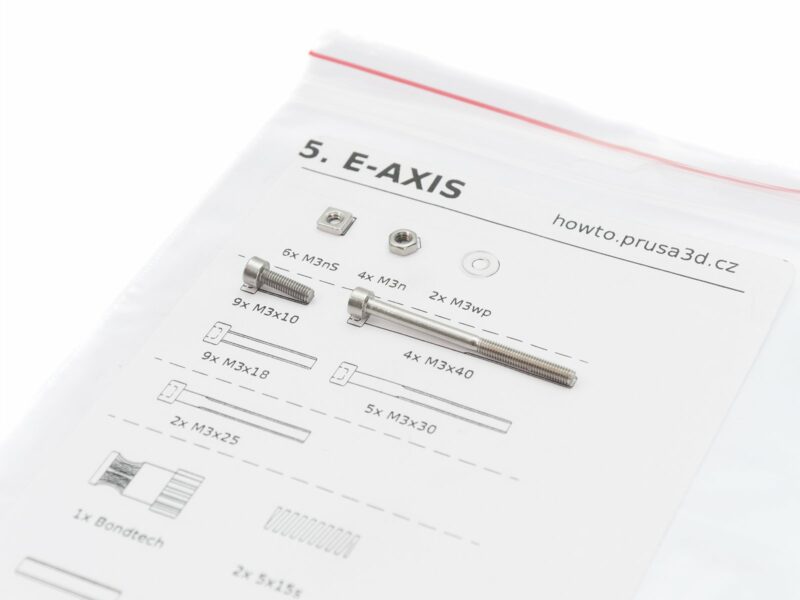
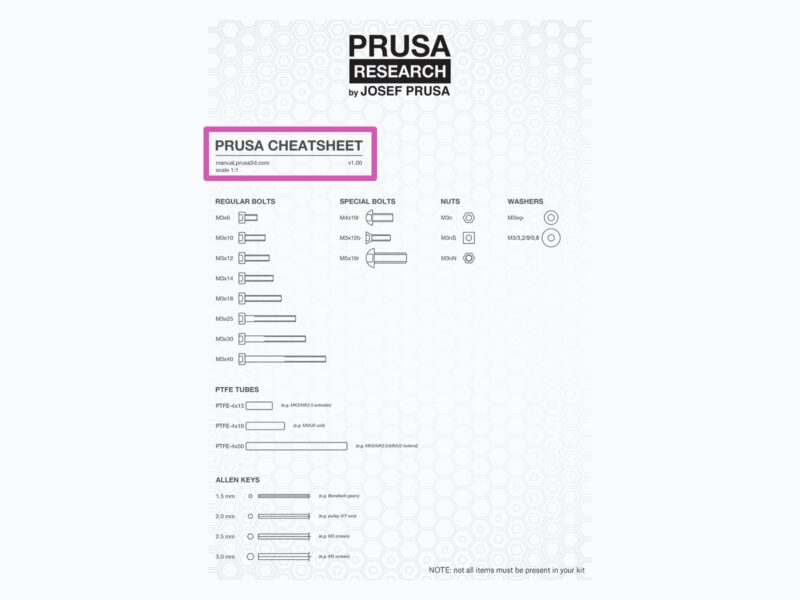
| − | |Step_Content=<translate></translate> | + | |Step_Content=<translate>{{Info|Most of the labels are scaled 1:1 and can be used to identify the part :-)}} |
| + | |||
| + | *<span style="color:#ff00ff;">For the most common screws, nuts and PTFE tubes. You can also use the enclosed letter, which contains Prusa Cheatsheet on the other side.</span> | ||
| + | {{Info|You can help.prusa3d.com/cheatsheet from our site. Print it at 100 %, don't rescale it, otherwise, it won't work.}}<br /></translate> | ||
| + | |Step_Picture_00=Original_Prusa_i3_MK3S_kit_assembly_Step2-1.jpg | ||
| + | |Step_Picture_01=Original_Prusa_i3_MK3S_kit_assembly_Step2-2.jpg | ||
}} | }} | ||
{{Notes | {{Notes | ||
Version du 24 juillet 2020 à 14:16
MK3S
Difficulté
Très facile
Durée
10 minute(s)
Catégories
Électronique
Coût
0 USD ($)
Étape 1 - All the required tools are included
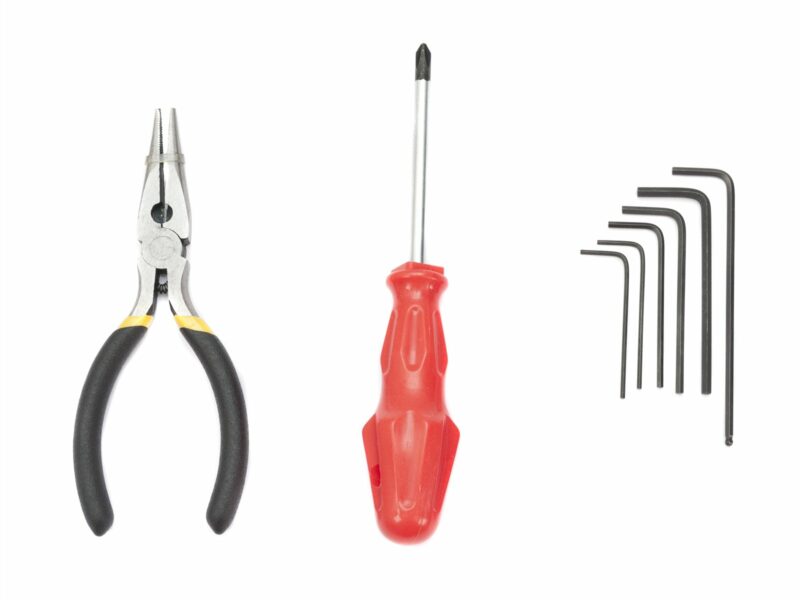
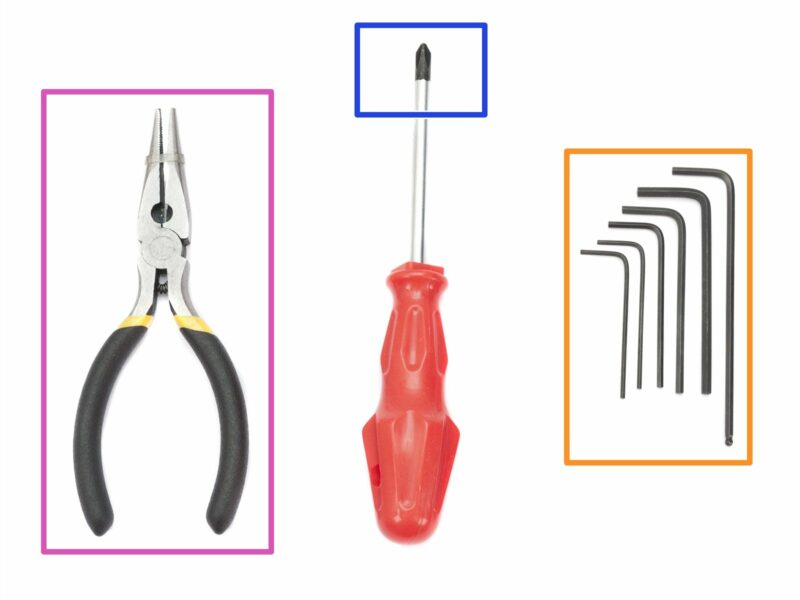
- The kit includes
- Needle-nose pliers (1x)
- Philips screwdriver (1x)
- Allen key (6x)
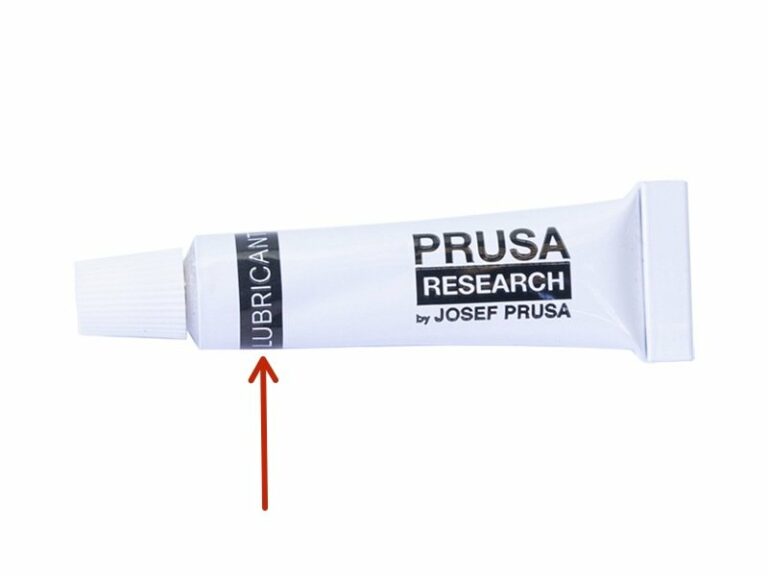
- The printer's package contains a lubricant, which is intended for maintenance. No need to use it now the bearings are lubricated. There is a dedicated online manual on how to clean the printer and apply the lubricant. See help.prusa3d.com/maintenance-tips
No soldering is required.
No wire crimping is required.
Étape 2 - Labels guide
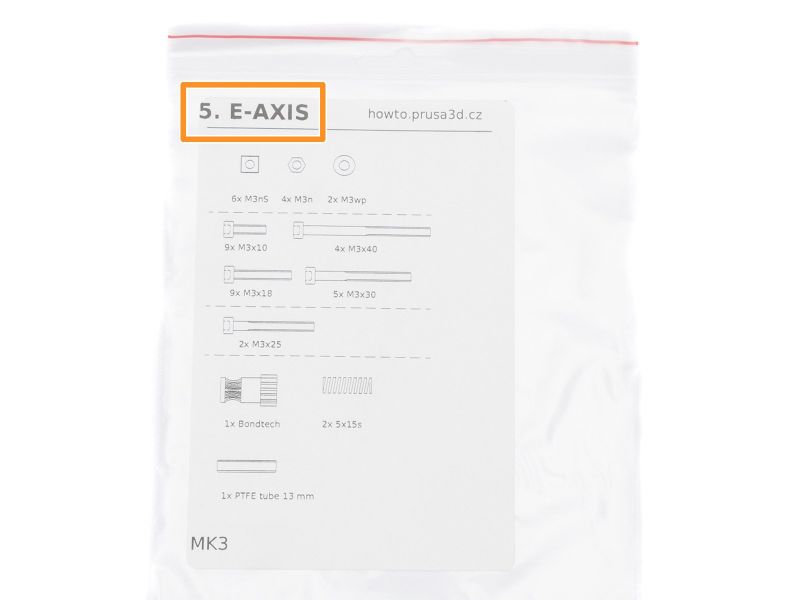
- All the boxes and bags including parts for the build are labelled.
- Number (or numbers) in the header tells you for which chapter you'll need that bag (or box).
Étape 3 - Use labels for reference
- For the most common screws, nuts and PTFE tubes. You can also use the enclosed letter, which contains Prusa Cheatsheet on the other side.
Draft
 Français
 English
 Deutsch
 Español
 Italiano
 Português